Welcome to our comprehensive guide on how to fix a leaking concrete water tank in New Zealand. Maintaining a water-tight tank is crucial for ensuring a clean water supply and preventing wastage, especially given the importance of water conservation. Whether you’re dealing with natural wear and tear, structural damage, or environmental factors, addressing leaks promptly is essential. In this guide, we’ll walk you through the common causes of leaks, preliminary steps before repairs, various fixing methods, and preventative maintenance tips. By the end, you’ll have the knowledge to confidently tackle any leaks and keep your concrete water tank in top condition. For professional help, contact experienced concrete specialists in your area.
To fix a leaking concrete water tank in New Zealand, start by inspecting the tank to locate the source of the leak. Drain and clean the tank thoroughly. For small cracks, use hydraulic cement or epoxy to patch the affected areas. For larger cracks, consider applying an epoxy or polyurethane injection. Finish by applying a waterproofing membrane or coating to ensure a durable, long-lasting repair. Regular inspections and maintenance can help prevent future leaks.
- Understanding The Causes Of Leaks
- Preliminary Steps Before Fixing The Leak
- Common Methods To Fix Leaking Concrete Water Tanks
- Detailed Step-By-Step Repair Process
- Preventative Maintenance Tips
- When To Call A Professional
- FAQs: About How To Fix Leaking Concrete Water Tank NZ
- Conclusion
- Find A Professional Concrete Company Near You!
Understanding The Causes Of Leaks
When dealing with a leaking concrete water tank in NZ, it is crucial to understand the underlying causes of these leaks. This knowledge not only helps in effective repair but also in preventing future issues. Here, we delve into the common causes of leaks in concrete water tanks.
Natural Wear and Tear
Over time, all materials are subject to natural wear and tear, and concrete is no exception. The constant pressure of water, coupled with the natural aging process, can cause concrete to deteriorate. Tiny cracks and fissures may develop, allowing water to seep through. Regular maintenance and inspections can help identify and address these issues before they become significant problems.
Structural Damage from Earthquakes or Ground Movement
New Zealand is known for its seismic activity, which can significantly impact the integrity of concrete structures, including water tanks. Earthquakes and ground movement can create stress on the tank walls, leading to cracks and leaks. It’s essential to ensure that your concrete water tank is built to withstand such events and to inspect it thoroughly after any seismic activity.
Poor Construction or Materials
The quality of construction and materials used plays a vital role in the longevity of a concrete water tank. Poor workmanship, substandard materials, or improper curing processes can lead to early deterioration and leaks. When constructing a new tank, it is crucial to use high-quality materials and employ experienced professionals to ensure a durable and leak-resistant structure.
Environmental Factors
Environmental factors such as freeze-thaw cycles and tree roots can also contribute to the leaking of concrete water tanks in NZ. In areas where temperatures fluctuate, water inside the concrete can freeze and expand, causing cracks. Additionally, tree roots can grow towards the water source, penetrating and cracking the tank walls in their search for moisture. Regular monitoring of the surrounding environment and preventive measures, like insulating the tank or planting trees at a safe distance, can mitigate these risks.
By understanding these common causes, you can take proactive steps to maintain your concrete water tank in NZ and prevent leaks. Regular inspections, quality construction, and environmental management are key to ensuring the longevity and reliability of your water storage solution.
Preliminary Steps Before Fixing The Leak
Fixing a leaking concrete water tank requires meticulous preparation. Before diving into the actual repair work, it’s crucial to undertake several preliminary steps to ensure the process is smooth, efficient, and effective. These steps not only help in pinpointing the problem accurately but also set a safe working environment. Here’s a detailed breakdown of what you need to do before you start fixing the leak.
Inspecting the Tank to Identify the Source of the Leak
The first and foremost step is to thoroughly inspect the water tank to identify the exact source of the leak. This might sound straightforward, but leaks can be tricky. Sometimes, the water seeps through minute cracks that are not easily visible. Start by visually examining the exterior and interior surfaces of the tank. Look for any visible cracks, holes, or weak spots. If the leak is not immediately obvious, you might need to fill the tank with a small amount of water and observe where it seeps out. Using dye or food coloring in the water can also help in spotting the exact location of the leak.
Draining the Tank and Ensuring It is Clean and Dry
Once you have identified the source of the leak, the next step is to drain the tank completely. It’s important to ensure that all the water is removed from the tank to create a dry working environment. This not only makes the repair process easier but also helps ensure that the repair material adheres properly to the concrete surface. After draining the tank, clean it thoroughly. Remove any debris, dirt, algae, or mineral deposits that might have accumulated over time. Use a stiff brush and a suitable cleaning agent to scrub the surfaces clean. Once cleaned, allow the tank to dry completely before proceeding with any repair work. This step is crucial because a clean and dry surface ensures better bonding of the repair material.
Safety Precautions to Take When Working with Concrete and Water
Safety should always be a priority when working with concrete and water. Here are some essential safety precautions to take:
1. Wear Protective Gear: Always wear appropriate protective gear, including gloves, safety goggles, and a dust mask. This protects your skin, eyes, and respiratory system from dust, debris, and harmful chemicals.
2. Ensure Proper Ventilation: If you are working inside the tank, make sure there is adequate ventilation. Concrete repair materials can emit fumes that might be harmful if inhaled in a confined space.
3. Use Safe Ladders and Scaffolding: Ensure that any ladders or scaffolding you use are stable and secure. This helps prevent accidents caused by falls.
4. Be Cautious with Electrical Tools: If you are using any electrical tools or equipment, ensure they are suitable for use in wet conditions and follow all safety guidelines to avoid electrical hazards.
5. Follow Manufacturer’s Instructions: Always follow the manufacturer’s instructions when using repair materials. This includes mixing, application, and curing times to ensure the repair is effective and long-lasting.
By meticulously following these preliminary steps, you set a solid foundation for a successful leak repair. Taking the time to inspect the tank, clean and dry it thoroughly, and adhere to safety precautions will not only make the repair process more efficient but also enhance the durability and reliability of the repair.
Common Methods To Fix Leaking Concrete Water Tanks
Concrete water tanks are a robust solution for water storage, but they can develop leaks over time due to various factors like cracks, poor construction, or wear and tear. Fixing these leaks is crucial to maintaining the integrity of the tank and ensuring a steady water supply. Here are some common and effective methods to repair leaking concrete water tanks.
Method 1: Using Hydraulic Cement
Description of Hydraulic Cement and Its Properties
Hydraulic cement is a type of cement that sets and hardens upon exposure to water. Unlike traditional cement, it is designed to work in wet conditions, making it ideal for fixing leaks in concrete structures such as water tanks. Its key properties include rapid setting, high durability, and the ability to expand as it sets, which helps it fill cracks and gaps effectively.
Step-by-Step Guide to Applying Hydraulic Cement
1. Preparation: Begin by draining the tank and cleaning the area around the leak. Remove any loose concrete or debris to ensure a clean surface for the hydraulic cement to adhere to.
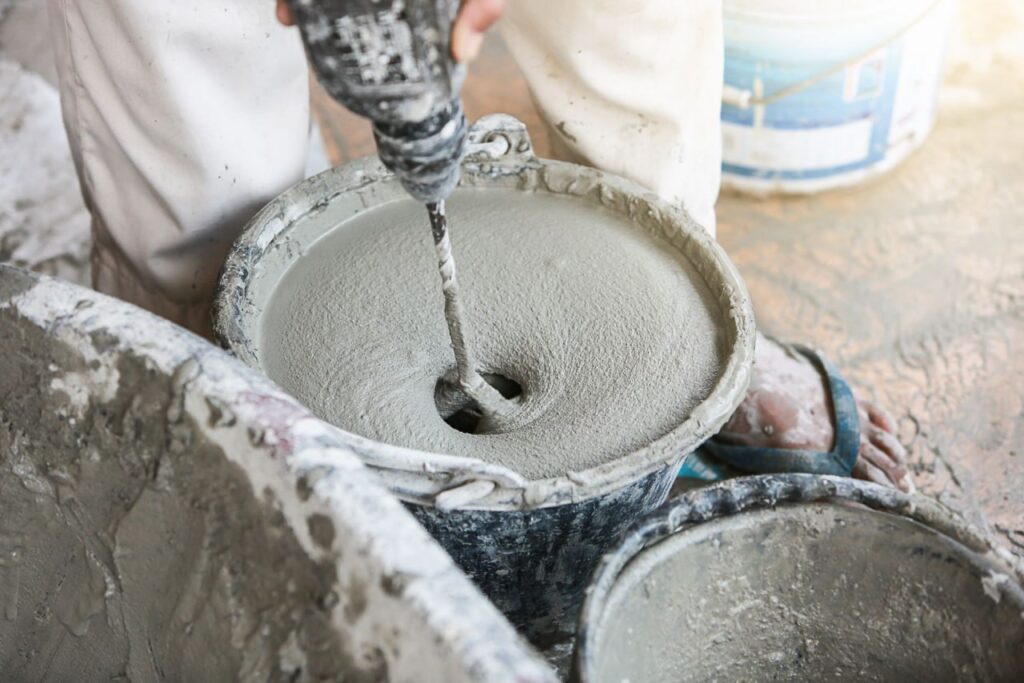
2. Mixing: Follow the manufacturer’s instructions to mix the hydraulic cement. It typically involves adding water to the cement powder to achieve a thick, putty-like consistency.
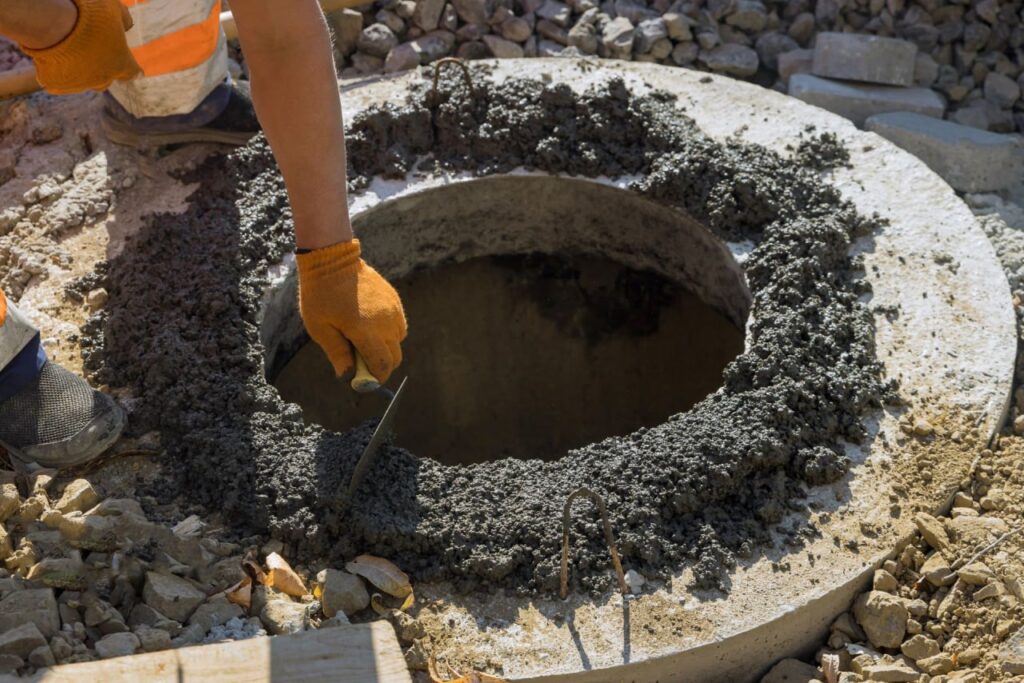
3. Application: Quickly apply the mixed hydraulic cement to the crack or hole. Since hydraulic cement sets fast, work efficiently to press it into the damaged area, ensuring it fills the entire crack.
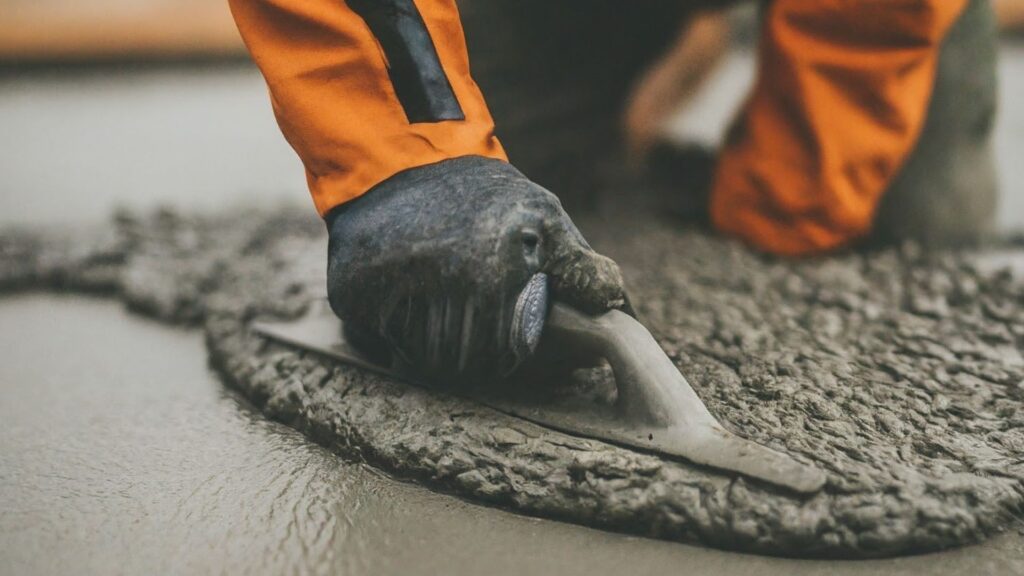
4. Smoothing: Use a trowel or a similar tool to smooth the surface of the applied cement, making sure it blends with the surrounding concrete.
5. Curing: Allow the hydraulic cement to cure according to the manufacturer’s instructions. This usually takes a few minutes to a few hours, depending on the specific product used.
Method 2: Applying Epoxy or Polyurethane Injection
Differences Between Epoxy and Polyurethane
Epoxy and polyurethane are two different materials used for sealing leaks in concrete structures. Epoxy is known for its high strength and excellent bonding properties, making it suitable for structural repairs. It cures slowly, allowing deep penetration into cracks. Polyurethane, on the other hand, is flexible and expands upon curing, making it ideal for sealing dynamic cracks that may expand or contract over time.
Application Process for Each Method
Epoxy Injection:
1. Preparation: Clean the crack area thoroughly and allow it to dry. Place injection ports along the crack at regular intervals.
2. Sealing: Seal the surface of the crack between the ports with an epoxy paste to contain the injected epoxy.
3. Injection: Inject the epoxy into the ports using an injection gun, starting from the lowest port and moving upwards. Continue until the epoxy fills the crack and begins to seep out of the upper ports.
4. Curing: Allow the epoxy to cure as per the manufacturer’s instructions, usually within 24 hours.
Polyurethane Injection:
1. Preparation: Clean the crack area and insert injection ports as with epoxy injection.
2. Sealing: Seal the surface of the crack between the ports with a polyurethane sealant.
3. Injection: Inject the polyurethane resin into the ports, starting from the lowest port. The polyurethane will expand and fill the crack.
4. Curing: Allow the polyurethane to cure, typically within a few hours, depending on the product used.
Method 3: Using a Waterproofing Membrane
Types of Waterproofing Membranes Available
Waterproofing membranes are available in various forms, including liquid-applied membranes, sheet membranes, and cementitious coatings. Liquid-applied membranes are easy to apply and provide seamless coverage, while sheet membranes offer pre-formed, consistent thickness. Cementitious coatings are cement-based products that create a waterproof barrier when applied to concrete surfaces.
How to Apply a Waterproofing Membrane to a Concrete Tank
1. Preparation: Empty the tank and clean the interior surface thoroughly. Remove any loose concrete, dirt, or debris.
2. Repair Cracks: Before applying the membrane, repair any visible cracks using hydraulic cement or an appropriate crack filler.
3. Applying the Membrane:
- Liquid-Applied Membrane: Apply the liquid membrane using a brush, roller, or spray equipment. Ensure even coverage and extend the application beyond the repaired cracks.
- Sheet Membrane: Cut the membrane sheets to fit the tank’s dimensions. Apply an adhesive to the concrete surface and press the membrane sheets into place, ensuring there are no air bubbles or gaps.
- Cementitious Coating: Mix the cementitious coating as per the manufacturer’s instructions. Apply it using a brush or trowel, creating a uniform layer over the tank’s interior.
4. Curing: Allow the membrane to cure according to the product specifications. This typically involves keeping the surface moist for a certain period to ensure proper curing and adhesion.
In conclusion, fixing a leaking concrete water tank requires choosing the right method based on the type and extent of the damage. Whether using hydraulic cement, epoxy or polyurethane injections, or waterproofing membranes, each method has its advantages and specific application processes. Proper preparation, application, and curing are essential to ensure a durable and effective repair.
Detailed Step-By-Step Repair Process
Repairing a concrete water tank might seem like a daunting task, but with the right approach and tools, it can be done efficiently. Here’s a detailed step-by-step process to help you through the repair.
Step 1: Cleaning and Preparing the Tank
Before any repair work can begin, it is crucial to thoroughly clean and prepare the tank. This step ensures that the repair materials adhere properly and that the tank is safe to work on.
Removing Debris, Algae, and Loose Materials
Begin by draining the tank completely to access the interior. Once empty, remove any debris, algae, and loose materials from the surface. This can be done using a stiff-bristled brush or a pressure washer for more stubborn grime. Cleaning is essential as it prevents contaminants from interfering with the repair materials.
Tools and Materials Needed for Cleaning
- For this step, you will need:
- A stiff-bristled brush or a pressure washer
- Protective gloves and eyewear
- A bucket and cleaning solution (a mild detergent or a specialized concrete cleaner)
- Scrapers or wire brushes for tough spots
Step 2: Patching Small Cracks
After the tank is clean, the next step is to identify and repair any small cracks. These minor imperfections, if left unattended, can lead to more significant damage over time.
How to Identify Small Cracks
Small cracks can be tricky to spot. Run your hand over the surface to feel for any irregularities or use a flashlight to illuminate potential cracks. Look for hairline fractures or slight discolorations that indicate a breach in the concrete.
Using Cement Patch or Epoxy to Fill Cracks
Once identified, clean the cracks of any dust or debris. Use a cement patch or epoxy filler to seal these cracks. Follow the manufacturer’s instructions for mixing and applying the patching material. Ensure the material is pressed firmly into the crack and smooth out the surface to blend with the surrounding area.
Step 3: Sealing Larger Cracks and Holes
For larger cracks and holes, a more robust approach is needed to ensure the repair holds up under the stress of holding water.
Techniques for Sealing Larger Cracks
Larger cracks and holes may require a combination of epoxy injections and hydraulic cement. Start by cleaning out the crack thoroughly. For epoxy injections, use a caulking gun to inject the epoxy into the crack, ensuring it fills the entire gap. For larger holes, use hydraulic cement, which expands as it cures, providing a strong seal.
Ensuring a Smooth and Even Application
After applying the repair material, smooth out the surface with a trowel or putty knife. This not only helps the patch blend in but also prevents any weak spots from forming. Allow the material to cure as per the manufacturer’s instructions before proceeding to the next step.
Step 4: Applying Waterproof Coating
Once all cracks and holes are repaired, the final step is to apply a waterproof coating to protect the tank from future leaks and damage.
Choosing the Right Waterproof Coating for Concrete
Selecting the appropriate waterproof coating is crucial. Look for products specifically designed for concrete water tanks. Options include epoxy-based sealers, polyurethane coatings, and cementitious waterproofing products. Each has its benefits, so choose one that suits your tank’s specific needs.
Application Techniques and Drying Times
Begin by stirring the waterproof coating thoroughly to ensure an even consistency. Apply the coating with a brush or roller, working in manageable sections. Follow the manufacturer’s instructions regarding the number of coats required and the drying times between each layer. Ensure the entire surface is covered evenly, paying extra attention to seams and corners.
By following these detailed steps, you can effectively repair a concrete water tank, ensuring it remains watertight and durable. Proper cleaning, careful patching, and applying a high-quality waterproof coating are critical components of a successful repair process. Regular maintenance and inspections can further prolong the life of your tank, preventing the need for frequent repairs.
Preventative Maintenance Tips
Preventing issues with your concrete water tank starts with regular and thorough maintenance. By following these preventative maintenance tips, you can extend the life of your tank and ensure its optimal performance for years to come.
Regular Inspections to Catch Early Signs of Leaks
Regular inspections are crucial in identifying potential problems before they escalate. Make it a routine to check your water tank for any signs of leaks or damage. Look for cracks, discoloration, or damp spots around the tank. Early detection of leaks can save you from costly repairs and water loss. Consider scheduling a professional inspection at least once a year to ensure thorough evaluation.
Keeping the Tank Clean and Free of Debris
A clean tank operates more efficiently and is less likely to suffer from contamination or damage. Regularly remove any debris, such as leaves, twigs, or dirt, from the tank. This prevents blockages and reduces the risk of bacterial growth. Cleaning the tank also allows for better inspection of its condition. Use a non-toxic cleaning solution and avoid harsh chemicals that could damage the concrete.
Using Protective Coatings and Sealants Periodically
Applying protective coatings and sealants to your water tank can significantly enhance its durability. These coatings act as a barrier against moisture penetration and environmental damage. Periodically reapplying these treatments, as recommended by the manufacturer, helps maintain the tank’s integrity. This step is especially important in areas with harsh weather conditions or fluctuating temperatures.
Addressing Surrounding Environmental Factors
The environment around your water tank can greatly impact its longevity. Be mindful of tree roots that might grow toward the tank and cause structural damage. Monitor soil movement and ensure proper drainage around the tank to prevent water accumulation and pressure on the concrete. Taking proactive measures to manage these environmental factors can prevent unexpected damage and prolong the tank’s lifespan.
Implementing these preventative maintenance tips will not only help you avoid costly repairs but also ensure that your concrete water tank remains in excellent condition. Regular inspections, cleanliness, protective coatings, and environmental management are key to a long-lasting and efficient water storage solution. By staying proactive, you can enjoy the benefits of a well-maintained water tank for many years.
When To Call A Professional
Situations Where DIY Repair May Not Be Sufficient
While tackling small repairs on your concrete water tank can be satisfying and cost-effective, certain scenarios necessitate the expertise of a professional. If your water tank has severe structural cracks, significant water leakage, or persistent moisture issues that DIY solutions can’t fix, it’s time to call a professional. Additionally, if the damage affects the water quality or poses a risk to the tank’s structural integrity, professional intervention is essential. Professionals have the tools and knowledge to handle these complex issues, ensuring the tank is safe and functional.
Benefits of Professional Repair Services
Opting for professional repair services for your concrete water tank offers numerous advantages. Professionals bring specialized knowledge and experience, ensuring the job is done correctly and efficiently. They can identify underlying issues that might not be apparent to an untrained eye, preventing future problems and extending the tank’s lifespan. Moreover, professionals use high-quality materials and advanced techniques, providing durable and long-lasting repairs. This level of expertise minimizes the risk of further damage, ultimately saving you time and money in the long run.
How to Choose a Reputable Water Tank Repair Service in NZ
Selecting a reputable water tank repair service in New Zealand involves several key considerations. Start by researching local companies and reading customer reviews to gauge their reliability and quality of work. It’s crucial to choose a service with a proven track record in water tank repairs, ensuring they have the necessary experience and expertise. Ask for recommendations from friends or family who have had similar repairs done. Additionally, verify that the company is licensed and insured, providing peace of mind that you’re dealing with qualified professionals. Finally, get multiple quotes and compare them, considering both the cost and the scope of services offered. A reputable service will provide a detailed estimate and explain the repair process, helping you make an informed decision.
By knowing when to call a professional, understanding the benefits of their services, and choosing a reputable repair service, you can ensure your concrete water tank remains in optimal condition, providing safe and reliable water storage for years to come.
FAQs: About How To Fix Leaking Concrete Water Tank NZ
Conclusion
Fixing a leaking concrete water tank is crucial for ensuring a reliable water supply and preventing further structural damage. To recap, identifying the leak source is the first step, followed by preparing the tank surface and selecting the right sealant for repairs. Thoroughly cleaning and drying the area before applying the sealant ensures a long-lasting fix. It’s essential to maintain regular checks and perform routine maintenance to avoid future leaks and extend the tank’s lifespan. Consistently addressing minor issues before they escalate will save time and costs in the long run. For residents seeking reliable solutions, understanding on how to fix leaking concrete water tank in NZ is invaluable for safeguarding their water storage systems.
Find A Professional Concrete Company Near You!
- Asphalt Carpark Construction Wairarapa
- Asphalt Contractors Auckland
- Asphalt Contractors Hawkes Bay
- Asphalt Dannevirke
- Asphalt Driveways Tauranga
- Christchurch Concrete Services
- Concrete Contractors Nelson
- Concrete Contractors Tauranga
- Concrete Dannevirke
- Concrete Driveways Lower Hutt
- Concrete Driveways Upper Hutt
- Concrete Floor Slabs Kapiti Coast
- Concrete Foundations Kapiti
- Concrete Layers Auckland
- Concrete Layers Cambridge
- Concrete Layers Hamilton
- Concrete Layers Invercargill
- Concrete Layers Kapiti
- Concrete Layers Levin
- Concrete Layers Lower Hutt
- Concrete Layers North Shore
- Concrete Layers Northland
- Concrete Layers Pukekohe
- Concrete Layers Te Awamutu
- Concrete Layers Upper Hutt
- Concrete Layers Waikato
- Concrete Layers Wellington
- Concrete Manuwatu
- Concrete Services Rotorua
- Concrete Whangarei
- Hastings Concrete Company
- Hawkes Bay Concrete Company
- Napier Concrete Company
About the Author:
Mike Veail is a recognized digital marketing expert with over 6 years of experience in helping tradespeople and small businesses thrive online. A former quantity surveyor, Mike combines deep industry knowledge with hands-on expertise in SEO and Google Ads. His marketing strategies are tailored to the specific needs of the trades sector, helping businesses increase visibility and generate more leads through proven, ethical methods.
Mike has successfully partnered with numerous companies, establishing a track record of delivering measurable results. His work has been featured across various platforms that showcase his expertise in lead generation and online marketing for the trades sector.
Learn more about Mike's experience and services at https://theleadguy.online or follow him on social media: