Welcome to your go-to guide on replacing weatherboards in NZ, whether you’re dealing with peeling paint, warped panels, or just a home that’s seen better days, you’re not alone. Many Kiwi homeowners face the same issues as their houses age and weather conditions take a toll. Replacing weatherboards isn’t just about fixing how your home looks, it’s about protecting it from moisture, drafts, and long-term structural damage. This guide will walk you through everything you need to know, from spotting the signs of damage to choosing the right materials and understanding the replacement process, so you can make confident, informed decisions about your home.
Replacing weatherboards in NZ involves removing damaged boards and installing new ones to protect your home from weather damage and improve curb appeal. Common materials include timber, fibre cement, and PVC, each offering different benefits in durability, cost, and maintenance. Homeowners should watch for signs like rot, cracks, or peeling paint, and consult a professional to decide between repair or full replacement.
- What Are Weatherboards?
- Signs It’s Time To Replace Your Weatherboards
- Should You Repair Or Replace?
- What Are Your Weatherboard Options In NZ?
- What’s The Process For Replacing Weatherboards?
- How Long Does It Take?
- How Much Does It Cost To Replace Weatherboards In NZ?
- Can You Do It Yourself?
- Choosing The Right Contractor
- Keeping Your New Weatherboards In Top Shape
- FAQs: About Replacing Weatherboards In NZ
- Conclusion
- Find A Professional Cladding Company Near You!
What Are Weatherboards?
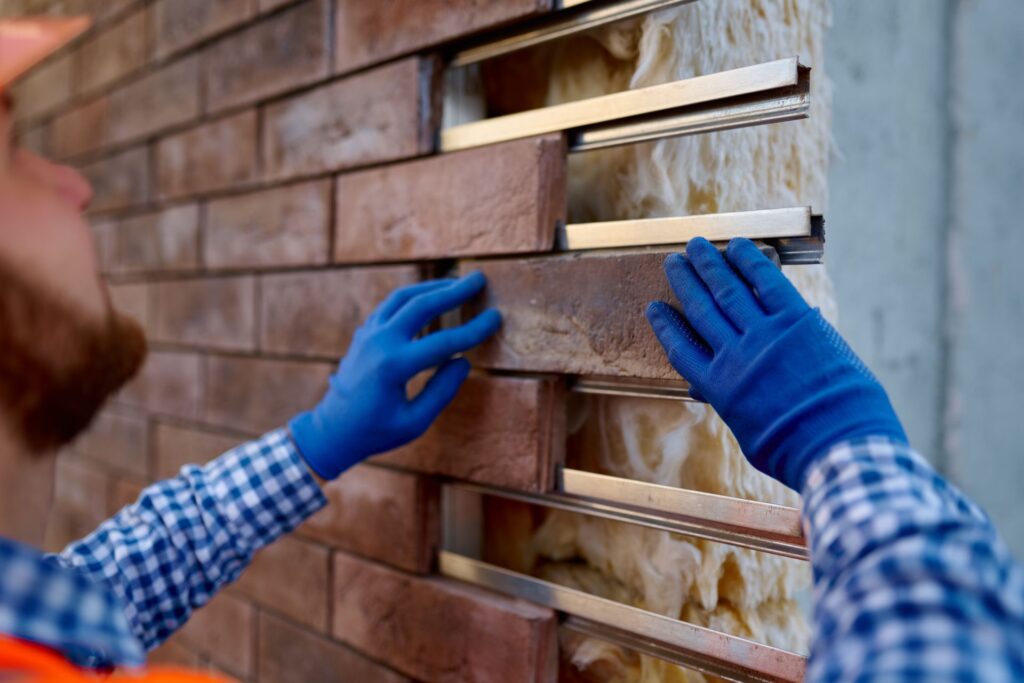
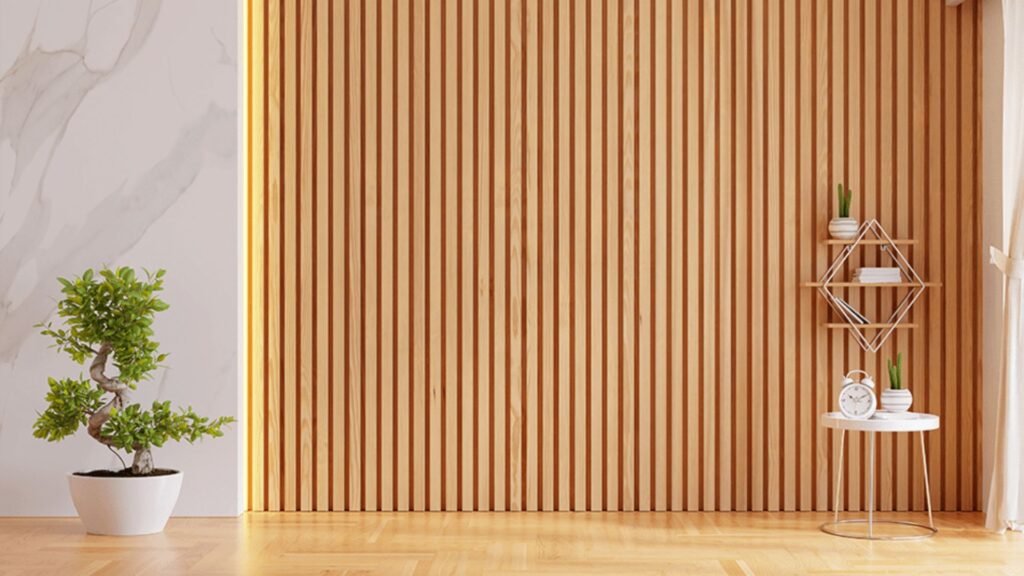
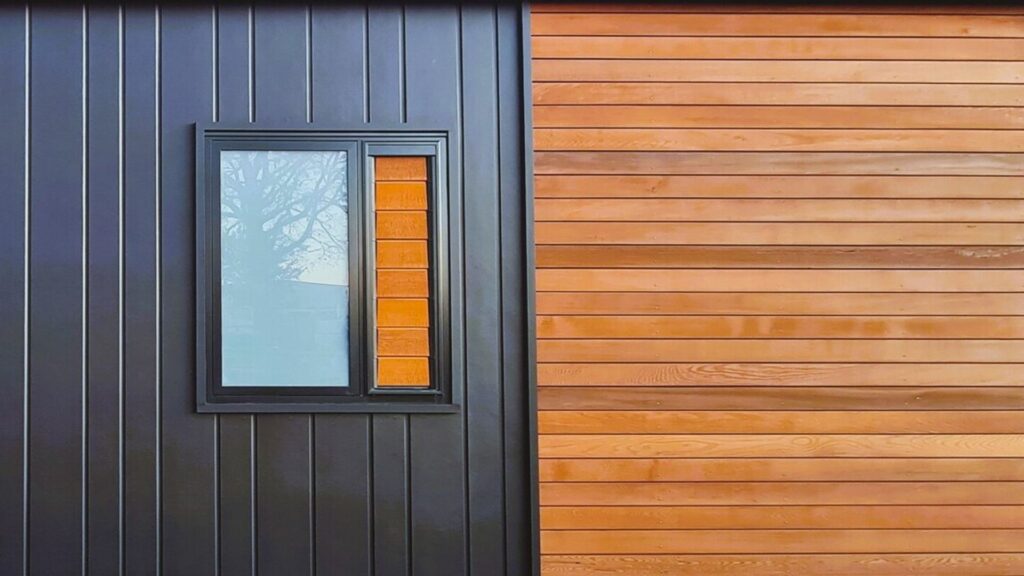
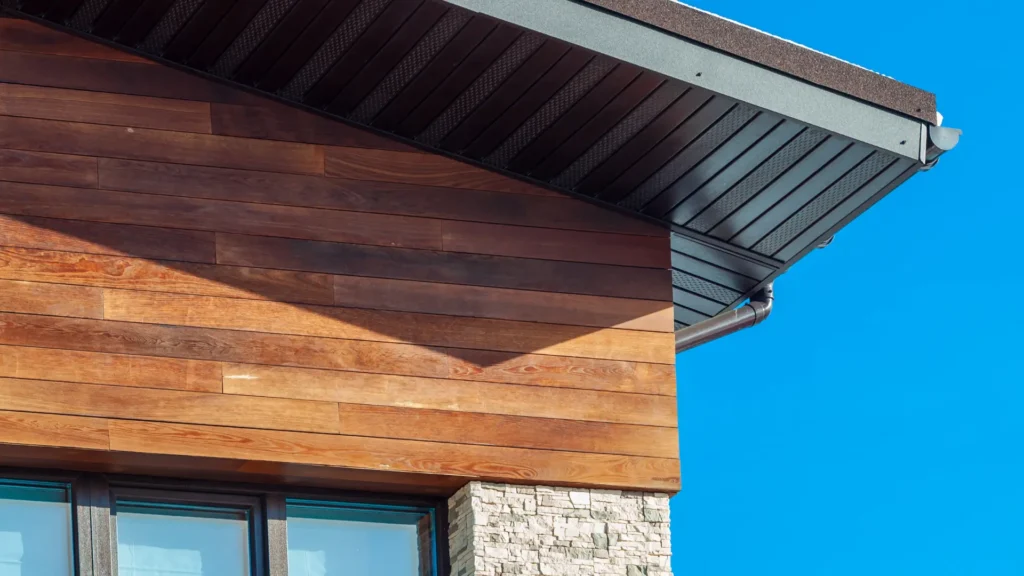
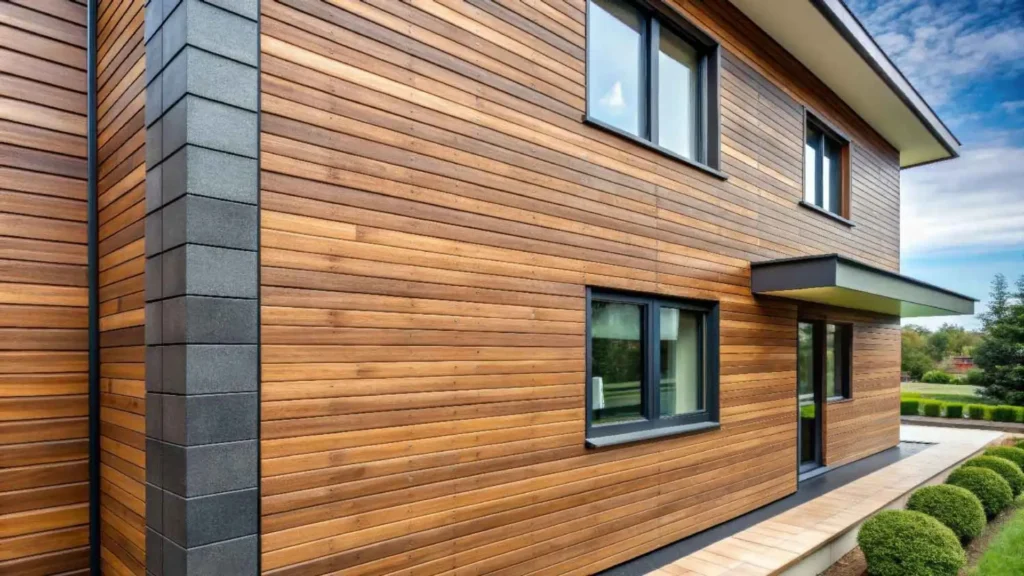
Weatherboards are long, horizontal panels that form the outer layer of many New Zealand homes. In simple terms, they’re the cladding you see on the outside of a house, especially those built in traditional or coastal styles. Their main job is to keep the weather out. They shield your home from wind, rain, and moisture, while also helping to keep the inside warm and dry.
In New Zealand, where the climate can shift quickly, sunny one day, stormy the next, weatherboards play a key role in protecting your home from damage. Without them, water could seep into your walls, leading to rot, mould, or even structural issues over time.
There are a few common types of weatherboard materials used across NZ homes.
- Timber: This is the most classic option. Kiwi villas and older bungalows often use timber for its natural beauty. It’s easy to paint or stain and gives homes a warm, traditional look. But timber needs regular maintenance to prevent rot and keep it weather-tight.
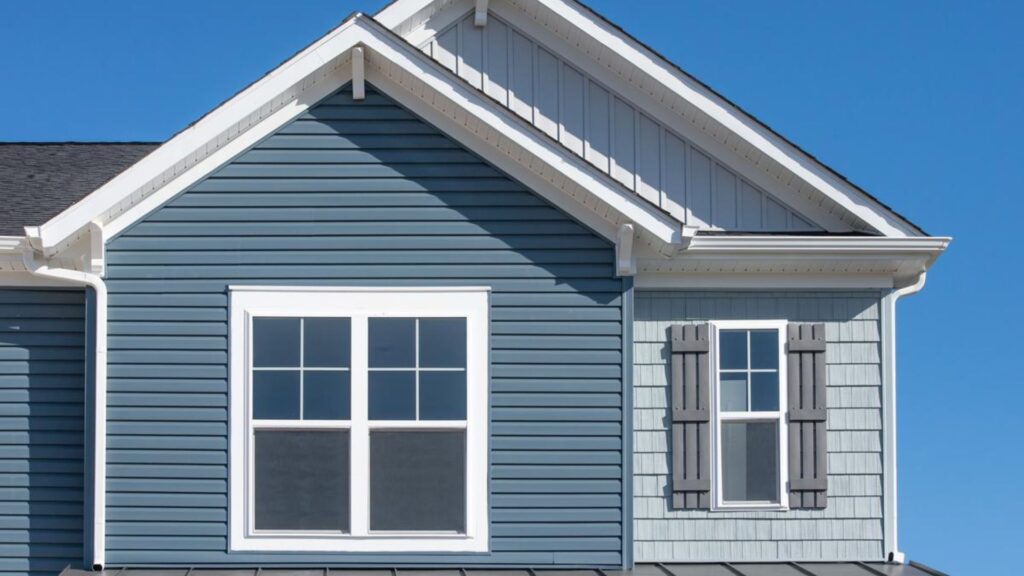
- Fibre cement: A tough, low-maintenance alternative that resists moisture and pests. It doesn’t warp or swell like wood and is often used in modern builds. While it doesn’t have the same natural texture as timber, you can still paint it to match your home’s style.
- PVC (or Vinyl): This synthetic option is known for durability and very low upkeep. It holds up well against NZ’s coastal conditions and doesn’t need repainting. It’s not as common yet but is gaining popularity for its long lifespan and low cost over time.
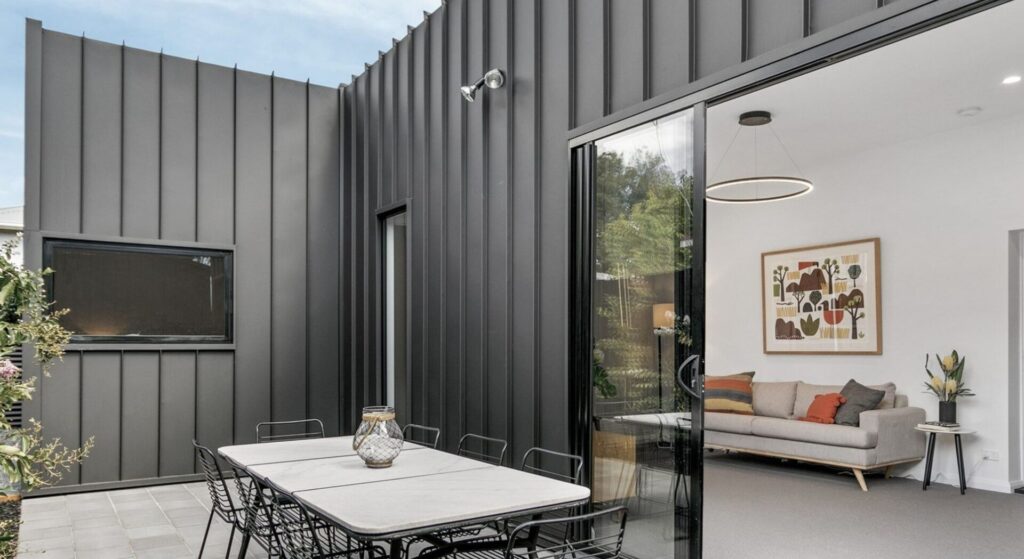
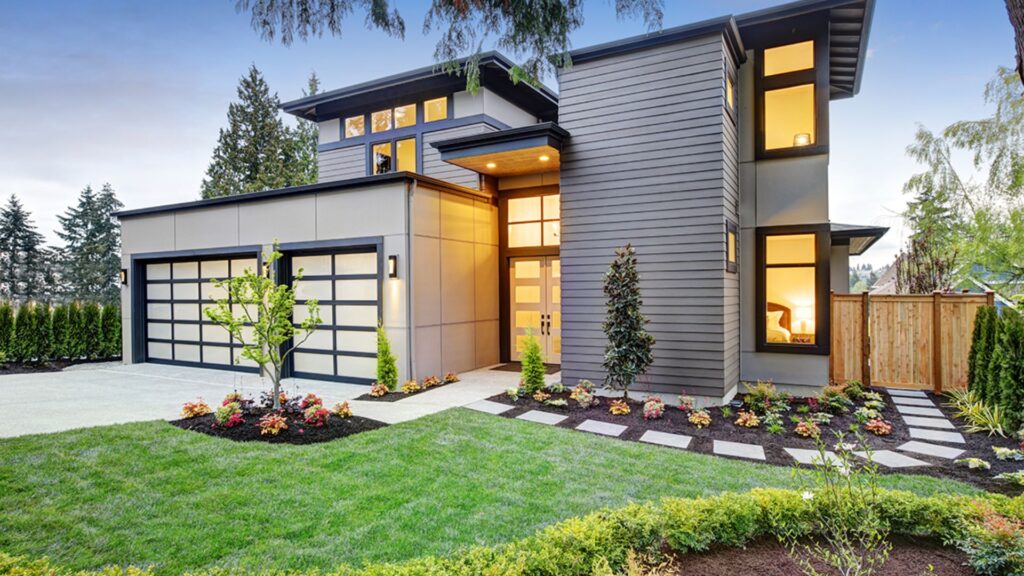
Aside from protection, weatherboards also affect your home’s overall look. The style, material, and colour can dramatically change the feel of your property, from traditional cottage charm to clean, modern lines. That’s why many homeowners choose weatherboard replacements not just for function, but for a fresh update to their home’s street appeal.
If you’re thinking about replacing your weatherboards, understanding the material options and their pros and cons can help you choose what’s best for your budget, climate, and style preferences.

Signs It’s Time To Replace Your Weatherboards
Weatherboards play a critical role in protecting your home from New Zealand’s tough weather. But like any exterior feature, they wear out over time. Knowing when to replace them helps prevent serious damage, reduce long-term costs, and maintain your home’s value.
Here’s what to look out for:
Cracks, Gaps, Or Visible Rot
Small cracks may seem harmless at first, but they can let in moisture, leading to rot beneath the surface. Rot is especially common in older timber boards. If you spot softness, dark patches, or flaking wood, your weatherboards are likely compromised. Gaps between boards can also let water seep in, causing hidden structural issues.
Warping Or Buckling
Warped or uneven boards are a clear sign of water exposure or heat damage. You might notice boards pulling away from the wall or bulging in certain areas. This not only looks bad but also affects your home’s insulation and weather resistance.
Paint Peeling Too Often
If your boards constantly need repainting, it’s a warning sign. Quality paint should last 5 to 10 years on exterior wood. Frequent peeling means the wood underneath might be absorbing moisture or breaking down. Instead of repainting every year, replacing the boards could save more in the long run.
Drafts Or Water Leaks Inside
Feeling a cold breeze near walls or spotting damp patches indoors? Your weatherboards might no longer be doing their job. Damaged boards allow water and air to sneak into your home, which can lead to mould, mildew, and increased heating or cooling use.
Rising Energy Bills
When weatherboards fail, your home loses its ability to trap heat in winter and block it in summer. This means your heating and cooling systems work harder, leading to higher power bills. If your energy usage has spiked, your cladding might be to blame.
Early Replacement Saves Money Long-Term
Waiting too long can lead to more than cosmetic damage. Once moisture gets into your wall framing, you could be looking at costly repairs beyond just replacing boards. Getting ahead of the problem with a full replacement can prevent those bigger expenses, improve comfort, and boost property value.
If you notice one or more of these signs, don’t wait. A professional inspection can confirm what’s needed and help you plan the next steps. Investing in new weatherboards now can protect your home for decades.
Should You Repair Or Replace?
When your weatherboards start to crack, warp, or peel, the first question is usually this, should you repair the damage or replace the boards entirely? The right choice depends on how serious the damage is, how much of your home is affected, and what your long-term plans are.
When A Patch-Up Might Work
A simple repair can be enough if the damage is limited. If only one or two boards have minor issues, such as small cracks or flaking paint, you can often fix just those spots. Repairs are also a good option when.
- The rest of the weatherboards are in good condition
- The damage is only on the surface
- You need a short-term solution while planning a full renovation
- You’re on a tight budget but want to keep your home protected
Small fixes like sanding, repainting, or replacing a single board can extend the life of your cladding without the cost of a full replacement.
When Full Replacement Makes More Sense
Sometimes, repairing just delays a bigger issue. If the damage is widespread, deeper, or starting to affect your home’s structure, it’s smarter to replace the weatherboards now. Full replacement is usually the better choice when.
- There’s visible rot, mold, or soft patches on several boards
- Boards are pulling away or have large gaps between them
- Water has gotten behind the boards and caused internal damage
- You’ve already done repairs in the past that didn’t last
- The cladding is outdated or you’re upgrading the home’s exterior
While replacing weatherboards is a bigger job, it gives your home long-term protection and a fresh, updated look. It also improves insulation and energy efficiency, which can save you money over time.
Why An Inspection Matters
Not sure which way to go? Get a professional inspection. A licensed builder or cladding specialist can check for signs you might miss, like hidden leaks, warped framing, or trapped moisture. With their help, you’ll know exactly what needs fixing and whether you’re better off repairing a few boards or starting fresh.
Skipping this step could cost you more later. A quick repair might seem cheaper now, but if it doesn’t solve the root problem, you’ll be back to square one within months.
Making the right call starts with getting the right advice. Don’t guess, get a clear, honest assessment and move forward with confidence.
What Are Your Weatherboard Options In NZ?
When it comes to replacing weatherboards in New Zealand, choosing the right material matters. Each option comes with its own pros, cons, and cost considerations. Your final decision should reflect your budget, desired look, climate conditions, and long-term maintenance plans. Below is a breakdown of the three most common weatherboard options used across NZ homes today.
Timber Weatherboards
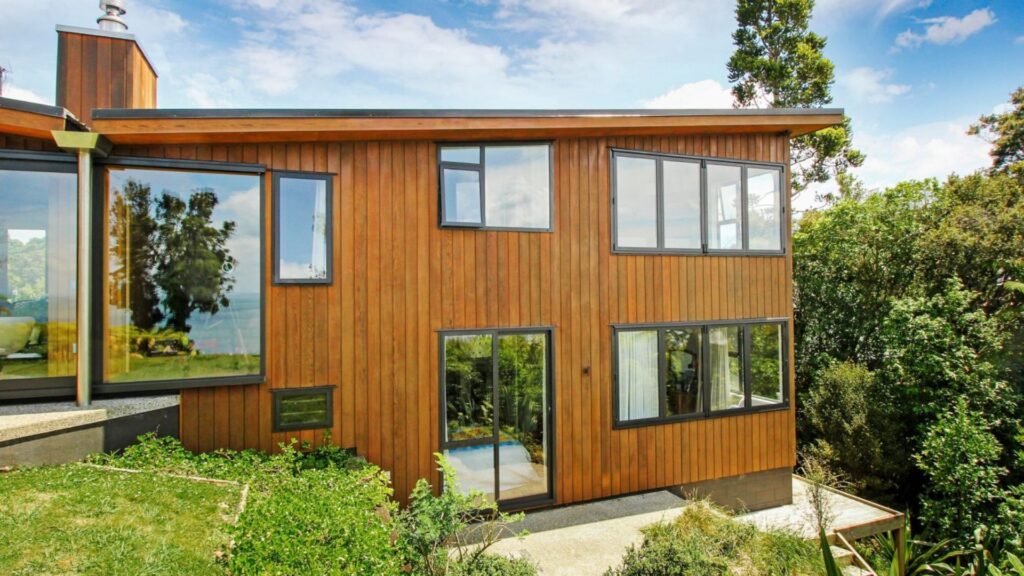
Timber remains one of the most traditional and widely used cladding options in New Zealand. It’s especially popular in older villas and bungalows, giving homes a warm, natural look that blends well with classic architecture.
Pros
- Offers a timeless, authentic appearance
- Easy to paint in any colour to match home style
- Can be locally sourced, supporting NZ timber industries
Cons
- Needs regular maintenance (sanding, repainting, sealing)
- Prone to rot, warping, or pest damage if not properly cared for
- May require more frequent replacement over decades
Timber weatherboards are ideal for homeowners who value style, tradition, and flexibility in finish. But they do demand more upkeep to maintain their condition over time, especially in wetter climates like Auckland or the West Coast.
Fibre Cement Boards
Fibre cement is a manufactured weatherboard made from a mix of cement, sand, and cellulose. It’s now a go-to choice for many modern NZ homes due to its durability and lower maintenance requirements.
Pros
- Resistant to fire, rot, and pests
- Doesn’t warp or crack easily in changing weather
- Minimal maintenance compared to timber
Cons
- Heavier and harder to install, increasing labour costs
- Doesn’t offer the same natural texture as wood
Fibre cement works well in areas like Wellington or Dunedin, where homes need to withstand wind and changing weather patterns. It’s also a great option if you’re looking for a low-fuss cladding solution that lasts for decades with minimal upkeep.
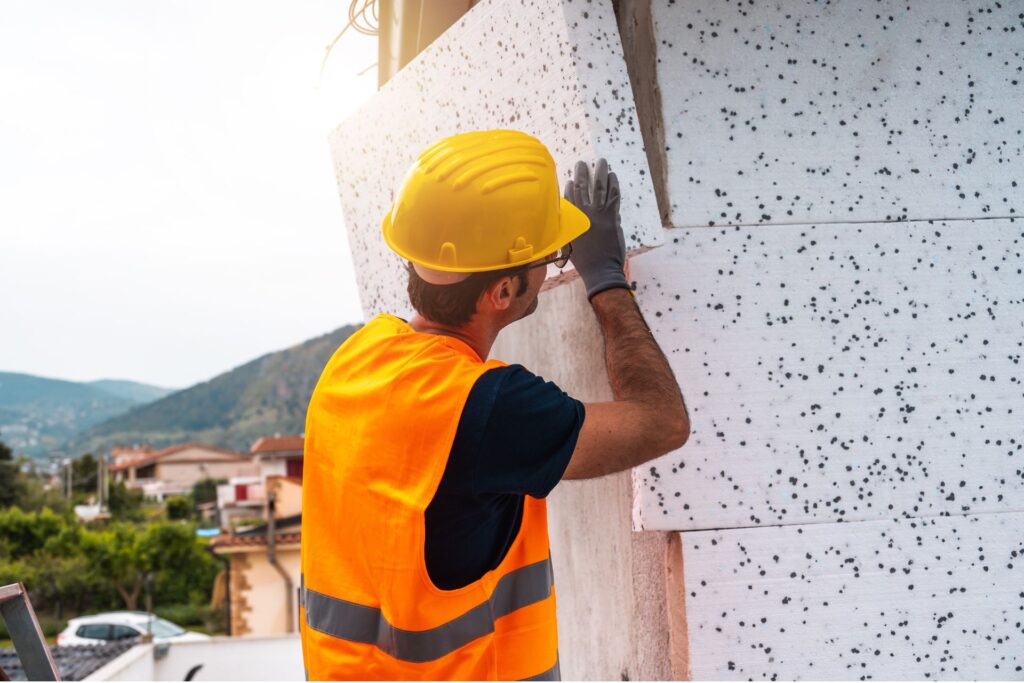
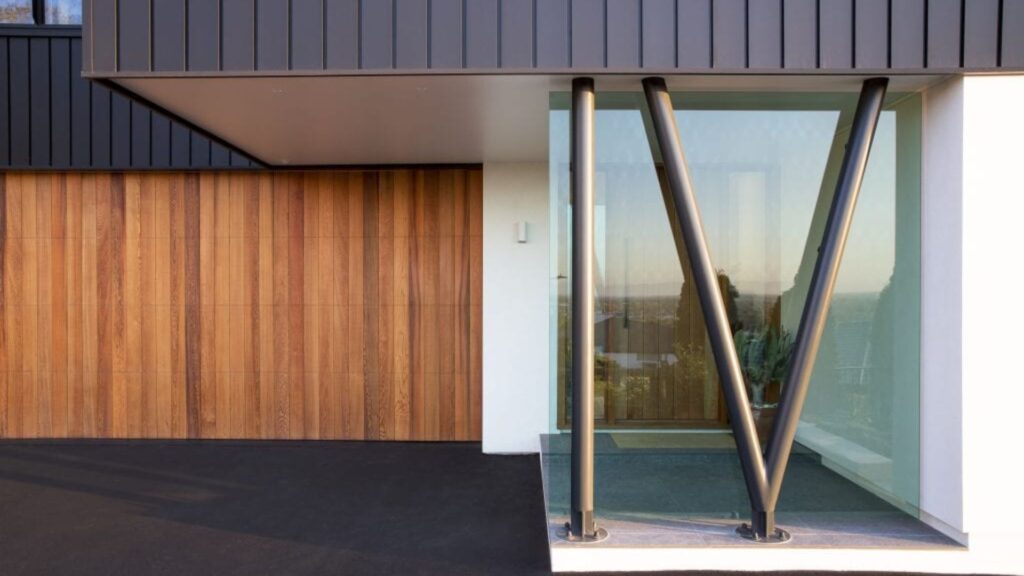
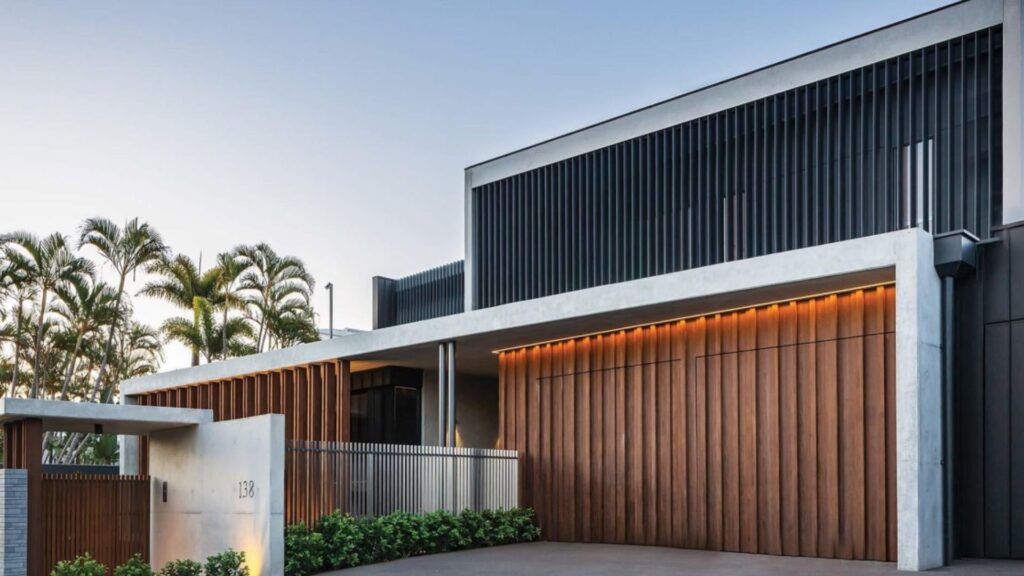
PVC Or Composite Alternatives
PVC and other composite boards are newer to the NZ market but growing in popularity fast. They’re made from engineered plastics or mixed materials designed to handle extreme weather without cracking or fading.
Pros
- Extremely low maintenance, no painting or sealing needed
- Long lifespan with minimal wear and tear
- Resistant to moisture, pests, and UV damage
Cons
- Higher upfront material cost
- Less natural look compared to timber
These are often found in newer developments or areas with strict weatherproofing-palmerston-north/”>roofing requirements, such as coastal regions. Christchurch, for instance, sees increasing use of composite cladding in new builds for its clean look and long-term performance.
Regional And Council Preferences
Material choices may also depend on where you live. Some local councils have design rules or heritage guidelines that limit or favour specific materials. For example,
- Auckland: In heritage zones, timber may be required to maintain traditional aesthetics.
- Christchurch: Newer developments may lean toward fibre cement or composite due to rebuild standards post-earthquakes.
- Wellington: Durability and weather resistance matter more than appearance due to coastal exposure.
Before choosing a material, check with your local council or builder to ensure it meets compliance and design rules in your region.
Choosing the right weatherboard isn’t just about cost, it’s about creating a home that lasts, looks great, and handles NZ’s unique climate. Think long-term, and always weigh the benefits of each option against how much time and effort you’re willing to invest in maintenance.
What’s The Process For Replacing Weatherboards?
Replacing weatherboards isn’t just a quick swap, it’s a step-by-step process that helps protect your home and improve its look for years to come. If your boards are old, cracked, or rotting, replacing them the right way matters. Here’s what to expect during the replacement process.
Initial Inspection And Quote
Every good project starts with a proper inspection. A qualified builder or cladding specialist will assess the current condition of your weatherboards. They’ll check for signs of damage, rot, moisture, and possible structural issues hiding underneath. Once the inspection is done, you’ll receive a quote based on your home’s size, the materials you choose, and the amount of prep work needed. It’s a good idea to get two or three quotes to compare.
Choosing Materials And Finishes
Next comes the fun part, choosing the new weatherboards. In New Zealand, popular options include timber, fibre cement, and PVC. Timber gives your home a warm, natural look, but it needs regular maintenance. Fibre cement is strong, low-maintenance, and holds up well in coastal areas. PVC or composite boards offer a long-lasting option with minimal upkeep. You’ll also decide on finishes, such as paint or stain, which impact both appearance and durability.
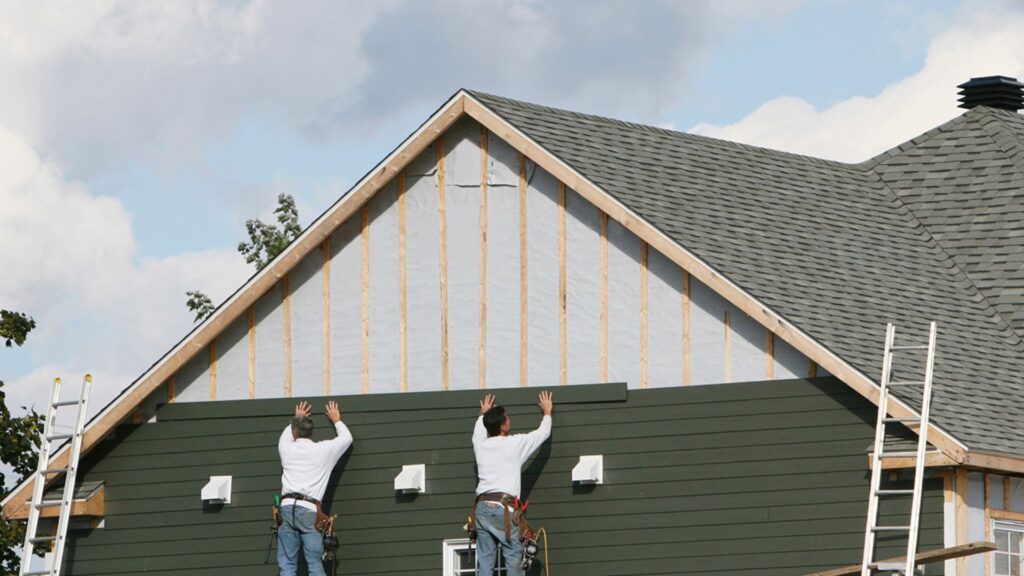
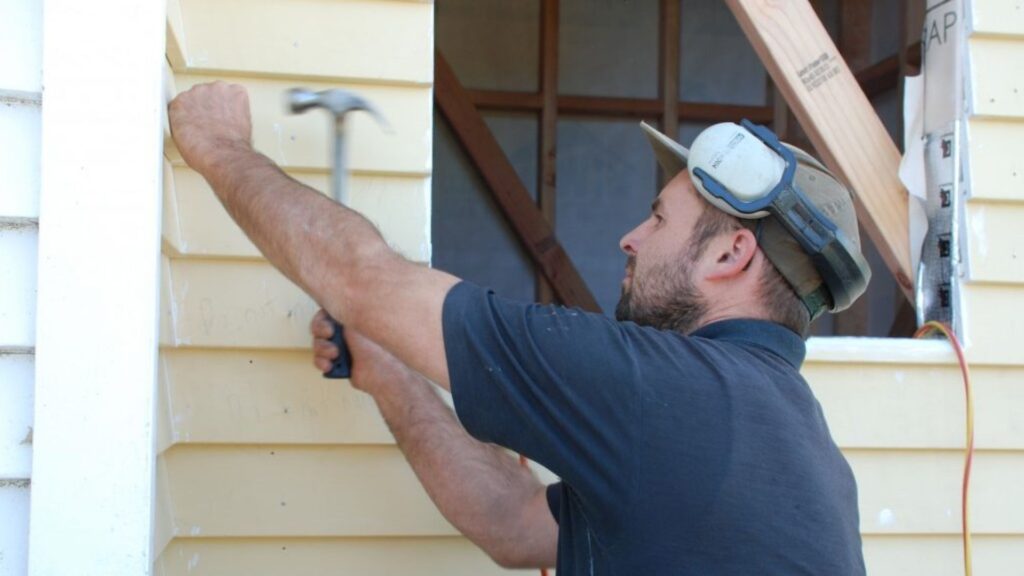
Removing Old Boards
Once everything’s decided, the crew begins removing the old boards. This has to be done carefully to avoid damaging the frame or insulation underneath. Depending on the condition of your current cladding, this step might reveal hidden issues, like moisture damage or decayed timber, that need fixing before new boards go up.
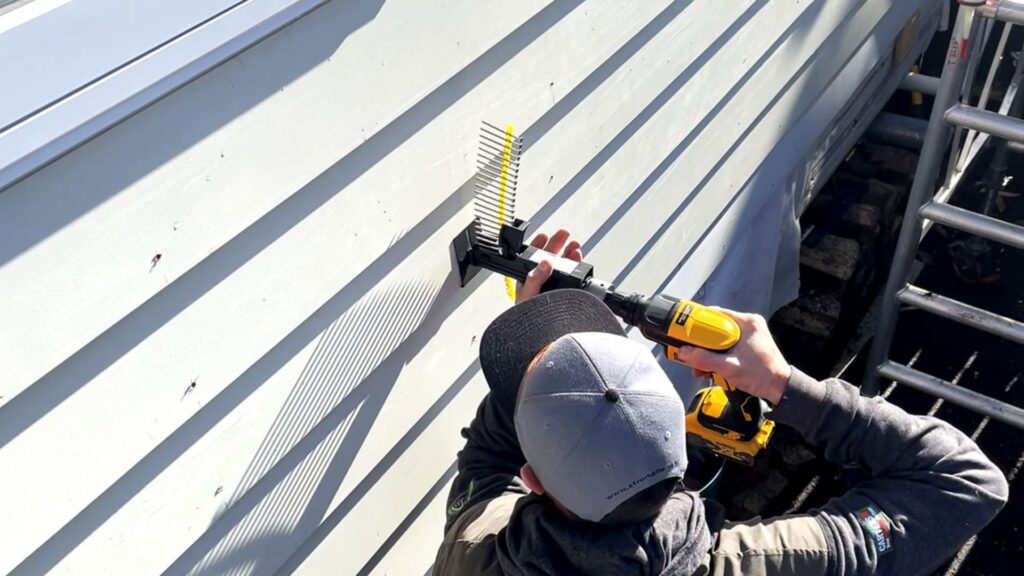
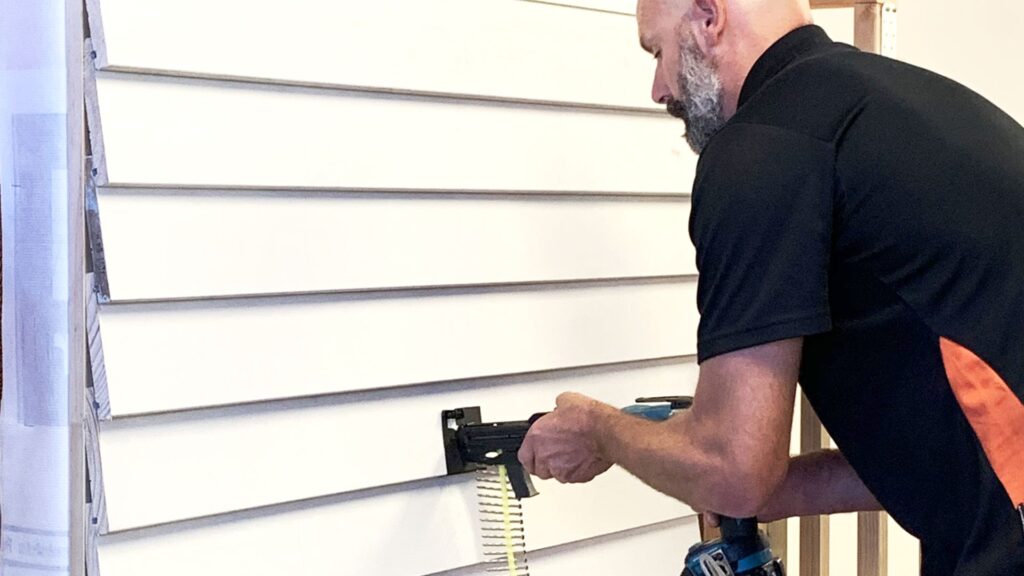
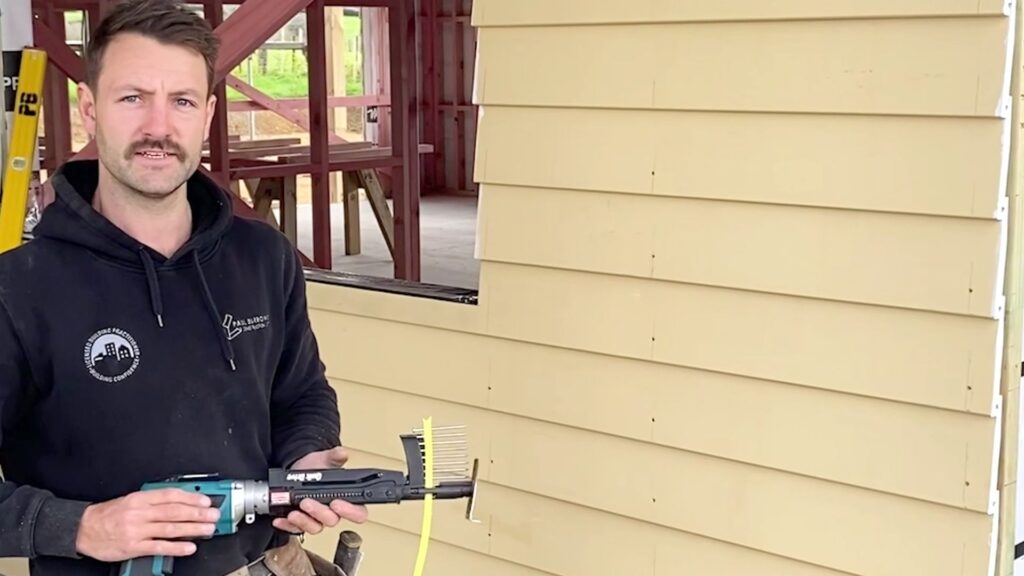
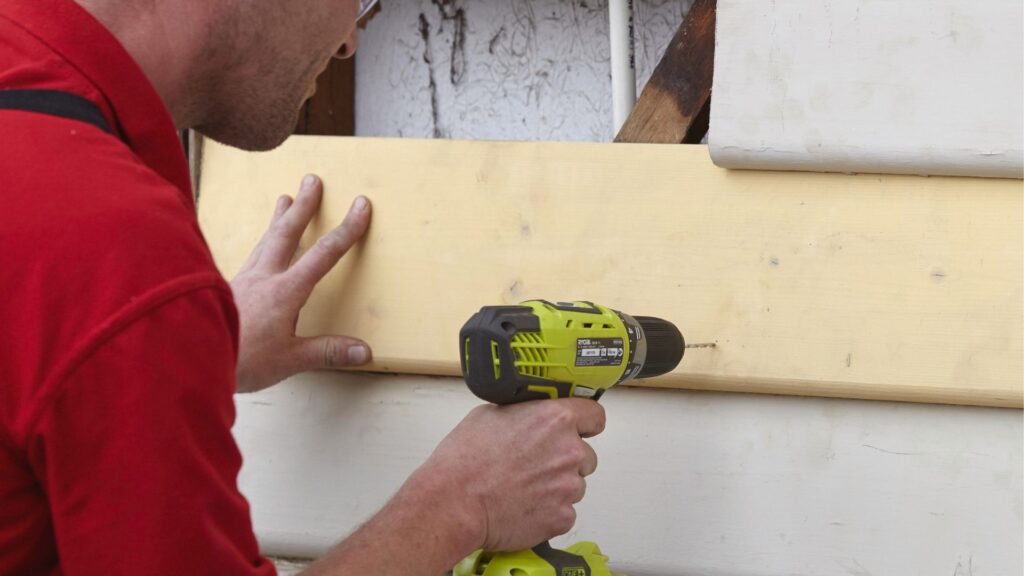
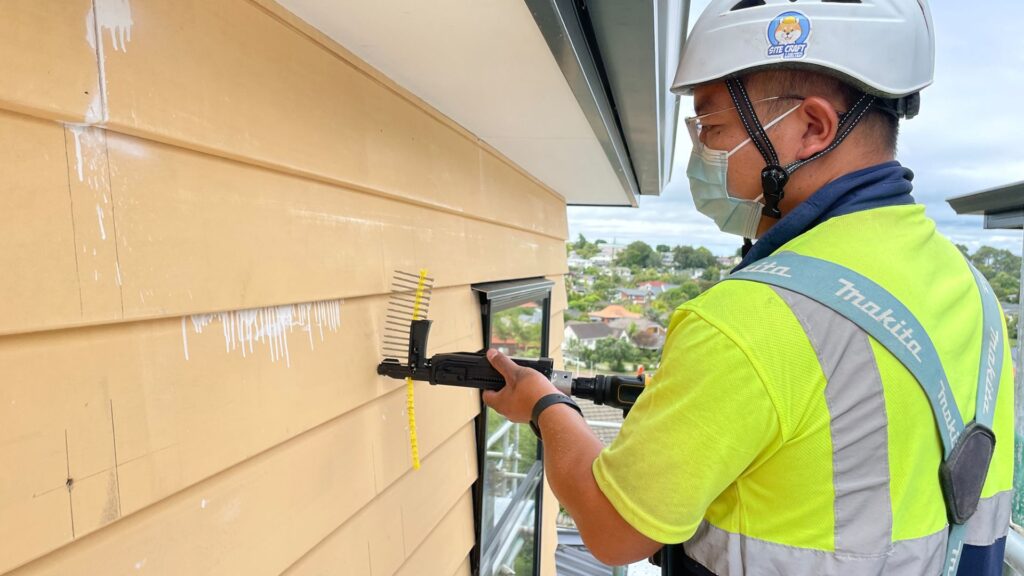
Installing New Boards
After prepping the surface, the new boards are installed section by section. Professionals follow manufacturer guidelines and local building codes to make sure everything is level, sealed, and weather-tight. Proper spacing, nailing, and overlapping matter here, small mistakes can lead to big problems later, especially in NZ’s changing weather.
Painting Or Sealing
Once the boards are in place, it’s time to paint or seal them. Timber needs at least two coats of primer and paint to handle NZ’s sun and rain. Fibre cement and PVC may not need as much, but a coat of paint or sealant can boost protection and make your home look sharper. Choose a high-quality, weather-resistant paint that suits your location, especially if you’re near the coast.
Cleanup And Follow-Up
When the work is done, the team will clean up the site, removing old boards, stray nails, and waste. A good contractor will also walk you through the finished job and provide aftercare advice. They might even do a follow-up check after a few weeks to ensure everything’s settling properly.
Replacing weatherboards is a solid investment. Done right, it extends the life of your home and adds real value. Take your time, choose the right materials, and hire someone you trust. Your house will thank you.
How Long Does It Take?
Replacing weatherboards in NZ usually takes between one to three weeks for a standard single-storey home. But this is just a general estimate. Every house is different, and several factors can affect how long the job actually takes.
If your home is small and easy to access, the process can be much faster, sometimes done in less than a week. But if it’s a large house with multiple stories, tight corners, or hard-to-reach areas, expect the job to take longer. It’s not just about removing the old boards and nailing in new ones. There’s prep work, inspections, possible repairs underneath, and painting to consider too.
Factors That Speed Things Up
- Good weather: Dry, mild weather keeps the crew moving fast. Rain slows everything down, especially during painting or sealing.
- Easy access: If scaffolding isn’t needed and the area around your home is clear, work gets done faster.
- Straightforward layout: Simple designs with fewer corners or features make installation quicker.
Factors That Slow Things Down
- Bad weather: Rain, wind, or extreme cold can delay work, especially in winter months.
- Hidden damage: Once the old boards are removed, issues like rotten framing or insulation problems may pop up.
- Multiple storeys or tight areas: Working at heights or around awkward angles adds more time.
- Custom finishes or trims: Decorative features take extra care and more time to install.
If you’re on a tight deadline, it’s best to talk to your builder or contractor up front. Ask how long they expect the job to take based on your home’s size, condition, and material choices. A good team will give you a realistic timeline and keep you updated if anything changes along the way.
How Much Does It Cost To Replace Weatherboards In NZ?
Replacing weatherboards in New Zealand isn’t a one-size-fits-all job. The final cost depends on several factors, material choice, labour rates, house size, and the condition of your existing cladding. If you’re planning this upgrade, understanding the pricing breakdown can help you budget smart and avoid surprises.
Typical Price Range Per Square Metre
Most homeowners in NZ can expect to pay between $150 to $300 per square metre for a full weatherboard replacement. This price typically includes removal of old boards, supply of new materials, installation, and basic finishing. The range can vary depending on the type of cladding used and your home’s design complexity.
For example, a small weatherboard home might cost $15,000–$25,000, while a larger property could easily reach $40,000 or more. Multi-storey homes or homes on sloped land may also incur higher costs due to access challenges.
Labour Vs Materials
Labour usually makes up a significant portion of the total cost, around 50% to 60% in most cases. Installing weatherboards isn’t just about nailing panels to a frame. It involves removing existing boards, checking for structural damage, installing moisture barriers, cutting new boards to size, sealing joins, and repainting.
Material costs will vary based on what you choose. Higher-end options like hardwood or composite boards will push your total higher, while fibre cement and softwoods usually fall at the lower end of the pricing scale.
Cost Breakdown For Timber Vs Fibre Cement
Timber Weatherboards
- Material cost: $80 to $150 per m²
- Total installed cost: $200 to $300 per m²
- Requires regular painting and upkeep
- Popular for heritage or character homes
Fibre Cement Boards
- Material cost: $40 to $80 per m²
- Total installed cost: $150 to $220 per m²
- More durable and lower maintenance
- Fire- and moisture-resistant
While timber offers a traditional look and feel, fibre cement is gaining popularity in NZ due to its lower maintenance requirements and resistance to pests and weather damage.
Mention Extra Costs: Painting, Disposal, Scaffolding
Beyond the basic installation, there are several additional costs to factor in.
- Painting or staining: $25 to $45 per m², depending on the number of coats and paint quality.
- Old board disposal: Most contractors include this in their quote, but if not, expect to pay an extra $500–$1,000.
- Scaffolding hire: Essential for multi-level homes. This can cost $1,000 to $4,000 depending on the size and duration of the project.
- Moisture barrier replacement: If your existing wrap is damaged, installing a new one adds extra cost but is essential for long-term weatherproofing.
It’s important to ask your builder what’s included in the quote to avoid unexpected expenses.
Tip: Always Get At Least Two Quotes
Don’t settle on the first quote you receive. Prices and services vary between contractors. By comparing at least two or three quotes, you’ll get a clearer picture of what’s fair and what each builder offers. Look for detailed breakdowns, not just a lump sum. A transparent quote should list labour, materials, disposal, and finishing costs.
Also, check reviews and previous work. The cheapest option isn’t always the best. A well-reviewed, experienced contractor may save you money long-term by doing the job right the first time.
Can You Do It Yourself?
Replacing weatherboards might seem like a manageable weekend project, but the reality is a bit more complicated. While it’s possible to tackle small repairs on your own, a full weatherboard replacement requires specific tools, skills, and knowledge of building regulations. If done incorrectly, it could cost you more in the long run, both in repairs and property value.
Tools And Skills Needed
If you’re considering a DIY approach, you’ll need more than just a hammer and nails. A proper job is required.
- Circular saw or drop saw for cutting boards accurately
- Pry bar or claw hammer for removing old weatherboards
- Measuring tape, level, and chalk line for alignment
- Power drill and exterior-grade screws or nails
- Safety gear like gloves, goggles, and dust masks
- Paint or sealant, and the right brushes or spray tools
Aside from tools, you’ll need a good understanding of building techniques. That includes how to correctly overlap boards, ensure proper ventilation, and weatherproof every joint. You should also know how to identify structural damage behind the cladding, something many homeowners miss.
Risks Of DIY Jobs
Taking on weatherboard replacement without experience can open the door to a lot of hidden problems. Here’s what could go wrong.
- Leaks And Water Damage: A small gap or misaligned board can allow moisture in, leading to rot, mold, and insulation issues.
- Insurance Problems: If your DIY work doesn’t meet the Building Code, your insurance provider might not cover future damage.
- Poor Resale Value: Buyers and property inspectors can tell when work isn’t professionally done. It may affect how your home is valued or whether it sells at all.
- Injury Risk: Climbing ladders, using power tools, and handling heavy materials can be dangerous without proper training.
These risks often outweigh the savings you might hope to gain from doing it yourself.
When To Call In The Pros
You should definitely hire a professional if.
- You need to replace a large section or the entire exterior
- The damage involves rot, leaks, or internal framing
- You’re using a material you’re unfamiliar with (like fibre cement)
- You don’t have the right tools or safety equipment
- You’re unsure how to meet council or building code requirements
Qualified builders have the tools, know-how, and insurance to get the job done right the first time. Many also offer warranties for peace of mind. Plus, a professionally replaced weatherboard job adds more resale value and protects your home better in New Zealand’s variable climate.
Choosing The Right Contractor
Replacing weatherboards isn’t a small job. It takes skill, experience, and attention to detail to get it right. That’s why choosing the right contractor is one of the most important steps in the whole process. A good contractor will make your life easier, give you peace of mind, and ensure your home stays protected for years to come. Here’s what you need to know before you hire someone.
What To Ask Before Hiring
Asking the right questions upfront can save you from a lot of stress later. Here are the most important ones.
- Are you licensed and insured? This protects you legally and financially if anything goes wrong.
- Can I see examples of your previous work? A good contractor will have a portfolio or be happy to show you completed jobs.
- What is included in the quote? Clarify whether the quote covers removal, disposal, painting, and scaffolding.
- How long will the job take? Make sure their timeline fits your expectations and availability.
- Do you provide a written contract? This protects both parties and sets clear expectations.
Asking these questions helps you figure out if they’re reliable, transparent, and experienced with weatherboard replacement specifically, not just general building work.
Red Flags To Watch For
Not every contractor is worth your time or money. Be cautious if you notice any of these red flags.
- Vague or incomplete quotes that don’t list all the work involved.
- Unwillingness to show past work or provide references.
- Pushy sales tactics or pressure to sign immediately.
- No proof of licensing or insurance.
- Extremely low quotes that seem too good to be true, they often are.
If something feels off during early conversations, trust your gut and keep looking.
Importance Of Guarantees And Insurance
Weatherboard replacement is a long-term investment, so you want to be protected. Ask about.
- Workmanship guarantees: Most reliable contractors offer a 5–10 year warranty.
- Manufacturer warranties on the materials used.
- Public liability insurance: This covers damage to your property or injuries on-site.
If your contractor doesn’t offer any form of guarantee, that’s a red flag. Guarantees show they stand behind their work.
Where To Find Trusted Tradespeople
Don’t rely on word of mouth alone. Use trusted NZ platforms where real people review real contractors.
- Builderscrack.co.nz: A marketplace for trades where you can post your job and get quotes from rated professionals.
- NoCowboys.co.nz: Reviews-based platform showing feedback from past clients.
- Registered Master Builders: A directory of vetted builders who meet professional standards.
- Facebook community groups: Local recommendations can be surprisingly helpful, just cross-check them elsewhere.
Always check reviews, ask for references, and do your own background research before committing.
Keeping Your New Weatherboards In Top Shape
Once you’ve replaced your weatherboards, the work isn’t over. Regular upkeep helps you protect your investment, avoid future repairs, and keep your home looking sharp. Whether you’ve chosen timber, fibre cement, or PVC, all weatherboards need attention to stay in top condition, especially with New Zealand’s changeable weather.
Simple Maintenance Tips
Regular maintenance doesn’t need to be complicated or time-consuming. Just a few simple steps each year can extend the life of your weatherboards.
- Wash your weatherboards once or twice a year using a soft brush and mild detergent. This removes dirt, mould, salt, and other grime that can cause decay or paint damage.
- Keep gutters clear to prevent overflow and water damage.
- Trim back trees or shrubs that touch your home. Constant contact can trap moisture and damage the surface.
- Check for gaps, cracks, or loose nails, especially after storms or extreme weather.
- Refill sealant or caulking if it starts to peel or shrink.
A clean, well-ventilated exterior helps weatherboards last longer, saving you from costly repairs later on.
Best Paints Or Sealants For NZ Climate
New Zealand’s weather is rough on the outside. Sun, salt air, high winds, and rain can wear down even the best materials. That’s why it’s crucial to choose the right paint or sealant for your region.
- For timber weatherboards: Use high-quality exterior acrylic paint or oil-based primers designed for wet, windy climates. Look for products with UV protection and mould resistance.
- For fibre cement boards: Choose breathable, waterproof paints. Many brands offer systems specifically for fibre cement to prevent cracking or peeling.
- For PVC weatherboards: These usually don’t need painting, but if you do, use specialty primers and paints made for plastic surfaces.
Always follow the manufacturer’s guidelines and recoat on schedule, usually every 5 to 10 years depending on sun exposure and product type.
When To Check For Issues Again
You don’t need to inspect your weatherboards every week, but a regular check-up goes a long way. Here’s a good rule of thumb.
- Inspect your cladding every 6 months. Look for paint peeling, swelling boards, soft spots, or visible gaps.
- After major weather events, do a quick walkaround to catch storm damage early.
- Before repainting, assess all boards for damage, especially timber, which may need sanding or filling first.
- Staying on top of small issues now prevents big, expensive ones later. Set a reminder on your phone, or make it part of your spring and autumn home routines.
By following these steps, you keep your new weatherboards strong, good-looking, and long-lasting, protecting both your home and your wallet.
FAQs: About Replacing Weatherboards In NZ
Conclusion
Replacing weatherboards is more than just a cosmetic update, it’s a smart investment in your home’s protection and long-term value. Worn-out or damaged boards can lead to moisture buildup, energy loss, and structural issues that only get worse with time. If you’ve noticed signs like peeling paint, soft spots, or drafts, it’s probably time to take action. Don’t wait for minor problems to become major repairs. Talk to a professional, explore your material options, and get a detailed quote. If you’re unsure where to start, download our free weatherboard replacement checklist or request a no-obligation quote to make informed decisions for your home.
Find A Professional Cladding Company Near You!
- Cladding Hamilton
- Cladding Napier
- Cladding Hastings
- Cladding Hawkes Bay
- Cladding Specialists Wellington
About the Author:
Mike Veail is a recognized digital marketing expert with over 6 years of experience in helping tradespeople and small businesses thrive online. A former quantity surveyor, Mike combines deep industry knowledge with hands-on expertise in SEO and Google Ads. His marketing strategies are tailored to the specific needs of the trades sector, helping businesses increase visibility and generate more leads through proven, ethical methods.
Mike has successfully partnered with numerous companies, establishing a track record of delivering measurable results. His work has been featured across various platforms that showcase his expertise in lead generation and online marketing for the trades sector.
Learn more about Mike's experience and services at https://theleadguy.online or follow him on social media: