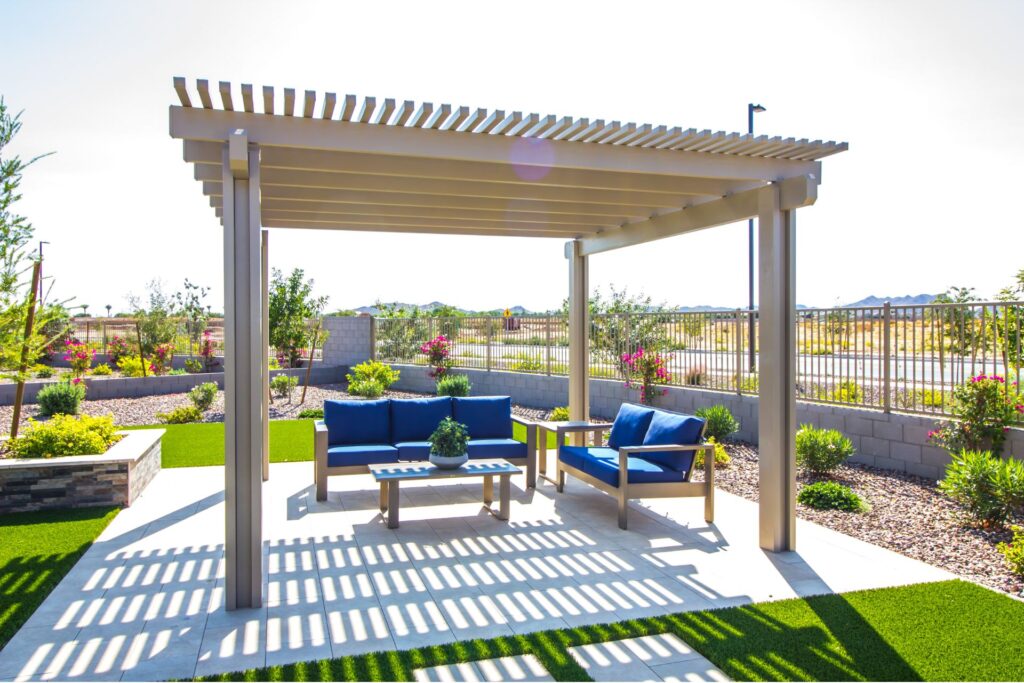
Welcome to your go-to guide for stabilizing a freestanding pergola, a cherished centerpiece in many outdoor living spaces. As enchanting as they are, these standalone structures often face the challenge of standing firm against the whims of wind and weather. Ensuring your pergola is well-anchored not only extends its life but also secures the safety and enjoyment of your outdoor haven. Whether you’re wrestling with gusty winds or just aiming for that extra bit of security, the right stabilization techniques can make all the difference. In this guide, we’ll dive deep into the steps you need to take to keep your pergola steadfast and strong. From the tools you’ll need to the methods that work best, we’re here to walk you through every part of the process, ensuring your pergola remains a sturdy and striking feature of your outdoor space. For professional help, contact experienced building contractors in your area.
Stabilizing a freestanding pergola is crucial for its durability and safety. Begin by assessing the pergola’s stability needs and gathering the necessary tools and materials. Use concrete footings or ground screw anchors to anchor the pergola firmly to the ground. Adding braces can provide extra support and ensure even weight distribution. For areas with high winds, consider implementing windbreaks or adjusting the pergola’s positioning. Regular maintenance checks are vital for long-term stability. Whether you choose a DIY approach or professional installation, proper stabilization ensures your pergola remains a secure and beautiful addition to your outdoor space.
Understanding The Basics
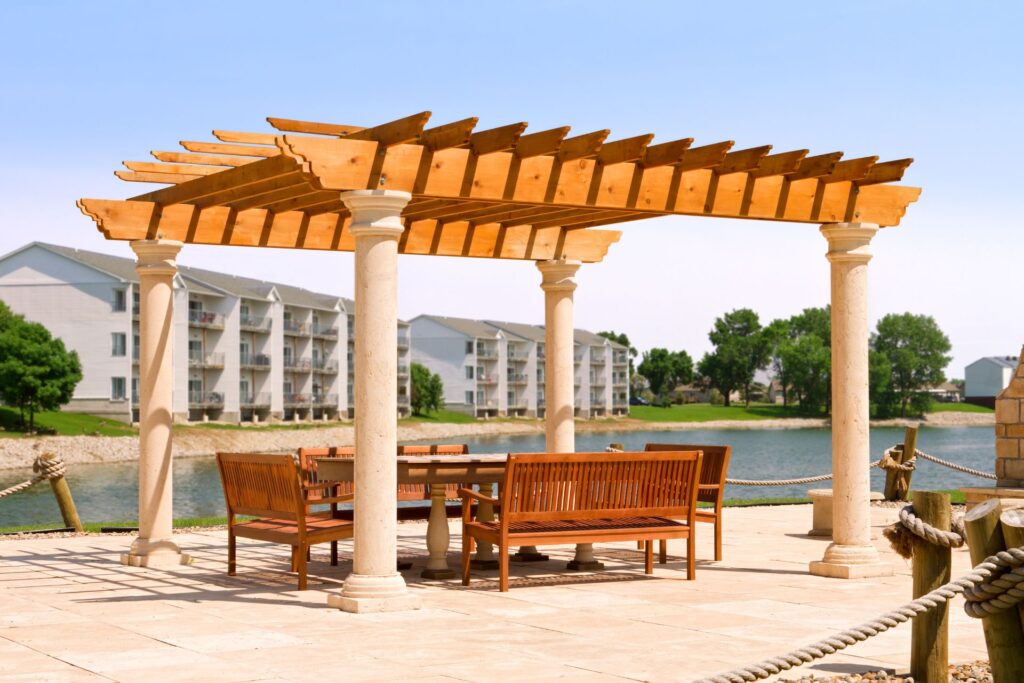
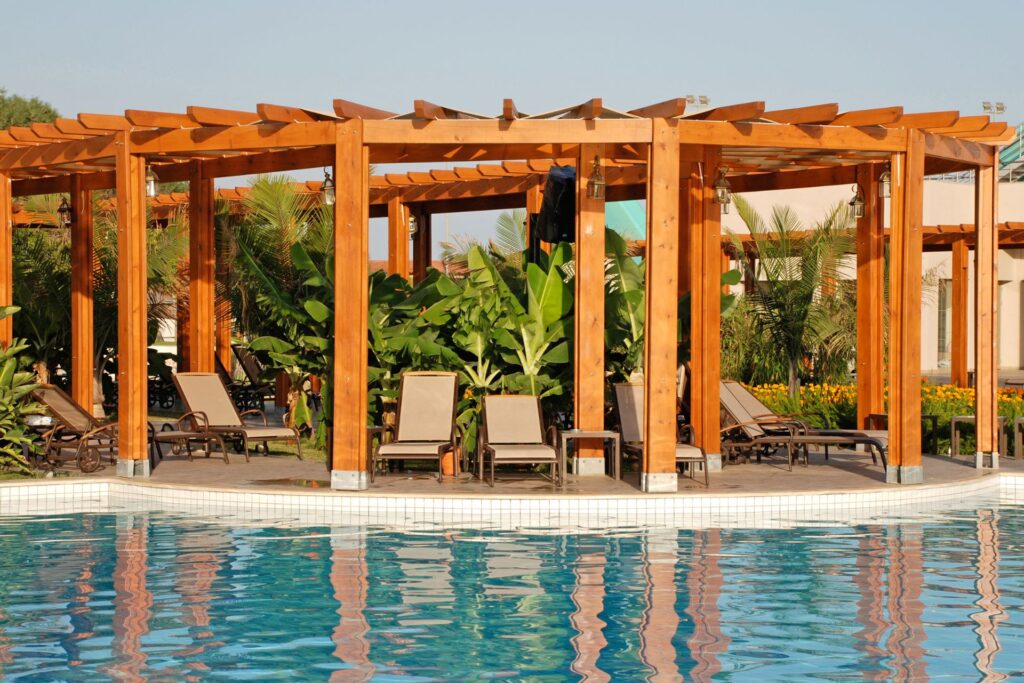
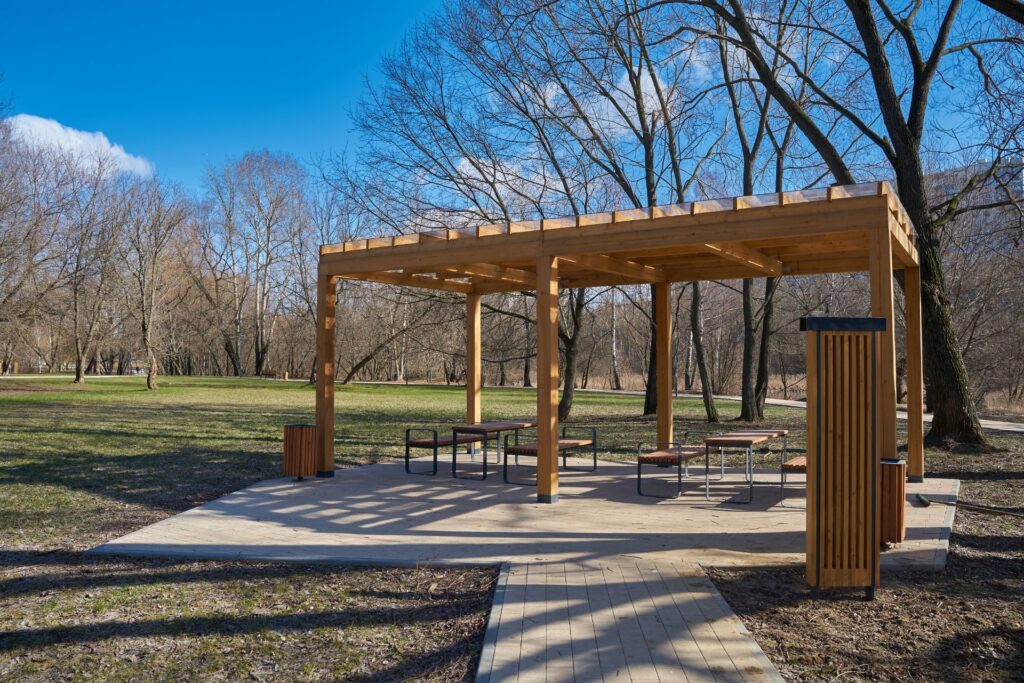
What Makes a Pergola Freestanding?
A freestanding pergola stands out as a garden feature that doesn’t need the support of your house or any other structure to stay upright. This independence allows for versatile placement options in your outdoor space, whether it’s over a deck, nestled in a cozy garden corner, or serving as an elegant pathway cover. The key characteristics that define a freestanding pergola include:
Self-supporting design: Unlike attached pergolas that rely on an existing structure for one side of support, freestanding pergolas use four or more posts to maintain stability.
Versatile placement: They can be installed anywhere in your yard or garden that meets your aesthetic or functional needs.
Customizable shapes and sizes: Freestanding pergolas offer the flexibility to choose dimensions that best fit your space and design preferences.
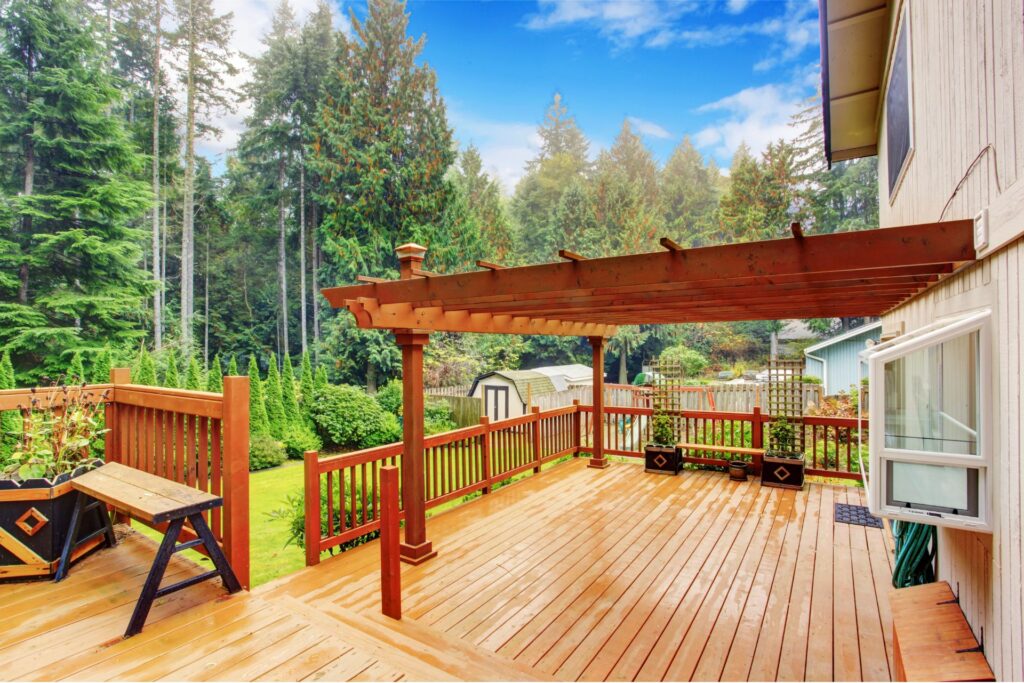
The differences between freestanding and attached pergolas are significant, with the main distinction being how they are supported. Attached pergolas are fastened to an existing building, deriving stability and sometimes even design cues from it. In contrast, freestanding pergolas require careful planning to ensure they are well-balanced and securely anchored, independent of additional structural support.
Why Stability Matters
The stability of your pergola is not just a technical concern; it’s a matter of safety and longevity. Here’s why a stable pergola foundation is crucial:
Safety: A stable pergola ensures the safety of everyone who uses it. An unstable structure can lead to accidents, particularly in adverse weather conditions like strong winds or heavy snowfall.
Durability: Stability directly impacts the lifespan of your pergola. A well-anchored pergola can withstand the elements, requiring less maintenance and offering more years of enjoyment.
The potential risks of an unstable pergola extend beyond immediate physical harm; they also include the possibility of significant repair costs and a negative impact on the aesthetic appeal of your outdoor space. Ensuring stability involves selecting the right materials, employing the correct anchoring techniques, and understanding the weight your pergola will need to support, including roofing materials and any hanging decorations or plants.
Understanding the basics of freestanding pergolas and the critical importance of stability provides a solid foundation for anyone looking to enhance their outdoor living space with this elegant structure. By focusing on the key characteristics that differentiate freestanding pergolas from their attached counterparts and prioritizing stability in the construction process, homeowners can ensure their pergola is not only a beautiful addition to their garden but also a safe and enduring one. Whether you’re a seasoned DIY enthusiast or a novice looking to embark on a new project, appreciating these fundamentals is the first step towards creating a stunning and secure outdoor feature.
Preparatory Steps For Stabilization
Creating a sturdy and lasting pergola requires a thoughtful approach, beginning with the preparatory steps that set the foundation for a successful stabilization project. Whether you’re looking to enhance your garden’s appeal or provide a robust structure for climbing plants, ensuring your pergola is stable and durable is key. Here’s a detailed guide on how to prepare for this process, covering the assessment of your pergola’s needs and the tools and materials you’ll need.
Assessing Your Pergola’s Needs
Before diving into the stabilization process, it’s crucial to understand what your pergola is asking for. This involves evaluating the current condition of your structure and determining the extent of work needed to make it secure and stable. Here’s how to go about it:
How to Determine the Level of Stabilization Required
Inspection: Start with a thorough inspection of your pergola. Look for signs of wear and tear, such as loose connections, rotting wood, rusting metal, or cracks in vinyl. This will give you a clear picture of the overall health of your pergola.
Assessment: Based on your inspection, assess the severity of the issues. Minor problems like loose screws might require simple fixes, whereas significant issues like rotting beams may necessitate more extensive stabilization efforts.
Consultation: If you’re unsure about the condition of your pergola or the extent of stabilization required, consider consulting a professional. They can provide expert advice and recommend the best course of action.
Considerations for Different Materials
Wood: Wooden pergolas may require treatment for rot, pest infestation, or weather damage. Stabilization might include reinforcing the structure with additional supports or replacing compromised sections.
Metal: Metal pergolas, especially those made of iron or steel, are prone to rust. Assess the extent of rusting and consider whether sandblasting, repainting, or part replacement is necessary.
Vinyl: While vinyl pergolas require less maintenance, they can become brittle and crack over time. Inspect for any structural damage that may compromise stability and consider patching or replacing damaged sections.
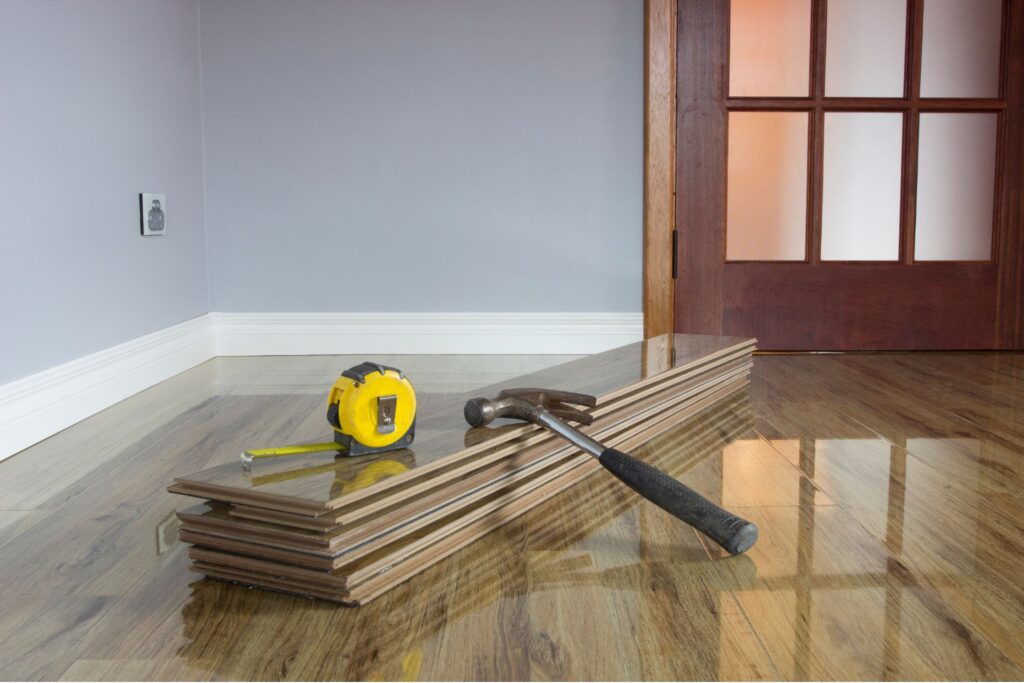
Tools and Materials
Having the right tools and materials at hand is essential for a smooth and efficient stabilization project. Here’s a comprehensive checklist to ensure you’re fully prepared:
Basic Tools: Ensure you have basic tools such as a hammer, screwdriver set, wrenches, pliers, a saw (if cutting is required), and a drill with various bits. A level and tape measure are also critical for ensuring your pergola’s structure is evenly balanced.
Specialty Tools: Depending on the material of your pergola and the extent of work needed, you might need specialty tools. For wood, this could include sanders and routers. For metal, consider rust removers or welders.
Protective Gear: Safety should always come first. Equip yourself with gloves, goggles, and a dust mask to protect against splinters, metal shards, and dust.
Materials for Repair and Stabilization: This could range from replacement screws and bolts to new wooden beams or metal posts. If treating for rust or decay, ensure you have the necessary chemicals or sealants. Additionally, consider whether you need concrete for reinforcing post bases or additional supports like metal braces.
Remember, the success of your pergola stabilization project lies in meticulous preparation. By thoroughly assessing your pergola’s needs and gathering the necessary tools and materials, you’re laying the groundwork for a structure that will stand the test of time, enhancing your outdoor space for years to come.
Stabilization Techniques
Creating a sturdy and enduring pergola requires attention to detail and an understanding of stabilization techniques. In this section, we delve into the critical steps for securing your pergola to ensure its longevity and safety. This comprehensive breakdown covers anchoring your pergola to the ground, adding bracing for extra support, and ensuring proper weight distribution. By following these guidelines, you can enhance your outdoor space with a pergola that not only adds aesthetic appeal but also stands the test of time.
Anchoring Your Pergola to the Ground
The foundation of a stable pergola begins with its anchoring. There are several methods to anchor your pergola, each suitable for different ground conditions and pergola types.
Concrete Footings: The most reliable method for anchoring, concrete footings provide unparalleled stability. To utilize this method, dig holes at the locations of your pergola’s posts, ensuring they are deep enough to surpass the frost line in your area. Fill these holes with concrete and insert post anchors before the concrete sets. Once cured, these footings will offer a solid base for your pergola.
Ground Screw Anchors: For a less invasive and quicker installation, ground screw anchors can be an excellent alternative. These screws are driven into the ground and provide a firm hold without the need for digging or concrete. They are ideal for softer ground conditions and can be adjusted for level.
Bracing for Extra Support
Even with strong anchoring, pergolas can benefit from additional support to handle wind and weight. Bracing your structure enhances its resistance to lateral movements.
Installing Knee Braces: Attach knee braces at every post, connecting to the beams above. These braces should be cut at a 45-degree angle and securely fastened to both the post and the beam. This not only adds structural integrity but also can add a decorative touch to your pergola.
Weight Distribution
Ensuring even weight distribution is crucial to maintaining the structural integrity of your pergola. Uneven weight can lead to leaning, warping, or even collapse.
Balanced Design: From the planning stage, ensure your pergola’s design evenly distributes weight across all posts and beams. Consider the placement of rafters and crossbeams to evenly spread the load.
Regular Inspection: Periodically check your pergola for signs of sagging or stress. Early detection of uneven weight distribution can prevent long-term damage.
By focusing on these stabilization techniques, your pergola will not only be a beautiful addition to your outdoor living space but also a durable structure that can withstand the elements. Whether you’re an experienced DIY enthusiast or a novice looking to improve your backyard, these steps will guide you towards creating a pergola that is both aesthetically pleasing and structurally sound.
Advanced Stabilization Tips For Your Pergola
When it comes to enhancing your outdoor living space, pergolas stand out as a striking and functional addition. However, their open structure can make them vulnerable to the elements, particularly in areas prone to high winds or seasonal extremes. This section delves into advanced stabilization tips that will ensure your pergola remains a sturdy and enjoyable feature of your home throughout the year.
Dealing with Windy Conditions
Windbreaks and Strategic Positioning
Living in a region where winds can suddenly pick up means that securing your pergola is not just a matter of aesthetics but of safety as well. Here are several strategies to consider:
Windbreaks: Incorporating windbreaks is an effective way to shield your pergola from strong gusts. This can be achieved by planting dense shrubbery or installing solid fencing on the windward side. Not only do windbreaks reduce wind speed, but they also add privacy and a touch of greenery to your space.
Strategic Positioning: The orientation of your pergola can significantly impact its wind resistance. If possible, position it close to your home or another structure that can act as a natural barrier against the wind. Additionally, consider the direction of prevailing winds in your area when deciding on the placement.
By implementing these measures, you can minimize wind damage and ensure your pergola remains a safe, serene spot for relaxation and entertainment.
Seasonal Adjustments
Adapting to Seasonal Changes and Extreme Weather
To maintain the integrity of your pergola year-round, it’s crucial to make seasonal adjustments that account for weather changes:
Winter Preparations: In areas with heavy snowfall, reinforce your pergola’s structure to bear the additional weight. This might involve adding support beams or using a weatherproof cover to protect the wood and hardware from moisture and freeze-thaw cycles.
Summer Care: High temperatures and UV exposure can weaken wood and fade finishes. Apply a UV-resistant sealant to your pergola, and consider adding a retractable canopy to provide shade and protection during the hottest months.
Adjustable Components: For regions experiencing a wide range of weather conditions, invest in adjustable features such as removable panels or retractable shades. These allow you to modify your pergola’s exposure level quickly, offering protection during adverse weather and the option to open up during pleasant conditions.
Implementing these tips will extend the life of your pergola, ensuring it remains a versatile and durable extension of your home no matter the season.
A pergola is more than just an architectural statement in your garden or patio—it’s a commitment to outdoor living. By understanding and addressing the challenges posed by windy conditions and seasonal extremes, you can ensure your pergola stands strong and beautiful throughout the year. These advanced stabilization strategies are designed to protect your investment and enhance your enjoyment of your outdoor space.
Maintenance For Longevity
Maintaining your pergola is crucial to ensure its longevity and continued beauty in your outdoor space. A well-maintained pergola not only enhances your backyard’s aesthetic appeal but also provides a sturdy, safe structure for years of enjoyment. In this guide, we delve into the essential maintenance practices that are key to keeping your pergola in top condition. From regular check-ups to understanding when to seek professional help, we cover everything you need to know to ensure your pergola remains a cherished part of your outdoor living area.
Regular Check-ups
Routine inspection and maintenance are paramount for the stability and longevity of your pergola. Over time, weather conditions and natural wear and tear can affect the structural integrity of your pergola. Here are some tips to keep it stable and beautiful over the years:
Inspect Regularly: At least twice a year, conduct a thorough inspection of your pergola. Look for signs of wear, including cracks, rot, or weakening in the wood or corrosion in metal components. Early detection of these issues can prevent more significant problems down the line.
Clean Periodically: Keeping your pergola clean is not just about aesthetics; it’s also about maintenance. Dirt, debris, and especially moisture can lead to wood decay or rust in metal. Use a gentle cleanser and a soft brush to clean your pergola, and consider a mildew-resistant finish if you live in a moist climate.
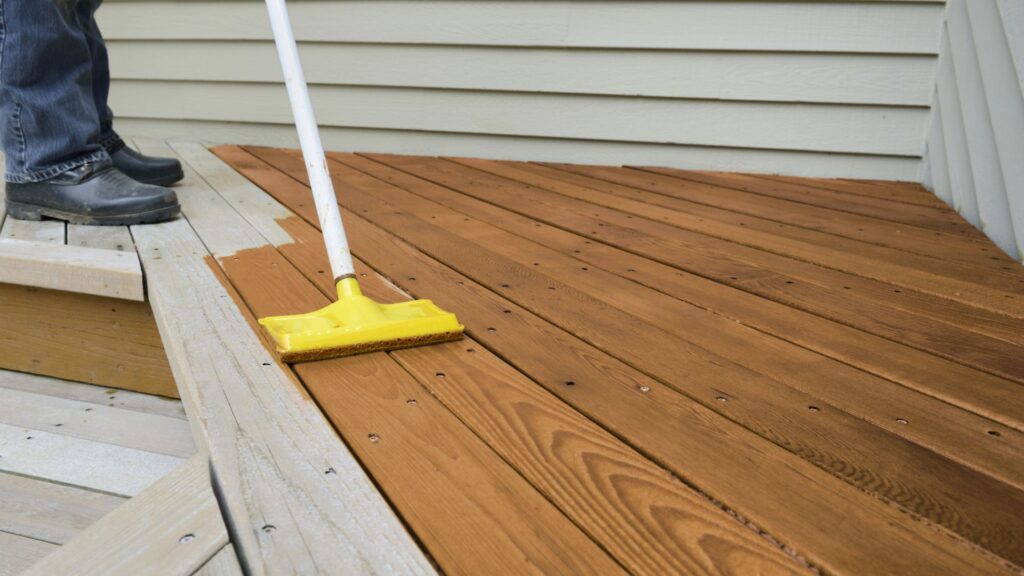
Apply Protective Coatings: Depending on the material of your pergola, apply a protective coating to shield it from the elements. For wood pergolas, a sealant or stain can protect against moisture and UV damage. For metal pergolas, ensure a protective coat is applied to prevent rust.
Check for Loose Components: Over time, bolts and other fasteners may become loose. Regularly check and tighten these components to maintain the structural integrity of your pergola.
When to Seek Professional Help
While regular maintenance can prevent many issues, there are times when professional help is needed. Recognizing the signs that require professional intervention is crucial to maintaining your pergola’s safety and stability. Here are indicators that it’s time to call in the experts:
Significant Structural Damage: If you notice considerable damage, such as large cracks in the wood or major rusting of metal components, professional repair or replacement may be necessary.
Instability: Should your pergola show signs of leaning or instability, it’s critical to cease using it and seek professional assessment immediately. This could indicate foundational issues or severe structural compromise.
Complex Repairs: For repairs that go beyond basic maintenance, such as replacing large sections or addressing foundational concerns, professional skills, and tools will be required to ensure the job is done safely and correctly.
Proper maintenance is the key to extending the life of your pergola and ensuring it remains a safe, enjoyable addition to your outdoor space. By conducting regular check-ups and understanding when to seek professional help, you can enjoy your pergola for many years to come. Remember, a little effort in maintenance can go a long way in preserving the beauty and functionality of your outdoor living area.
Incorporating these practices into your pergola care routine will not only help maintain its structure and appearance but also enhance your outdoor living experience. Stay proactive about pergola maintenance, and don’t hesitate to seek professional advice when needed to ensure your pergola stands the test of time.
DIY VS. Professional Installation
When it comes to home stabilization projects, homeowners are often faced with a critical decision: Should you take on the project as a DIY challenge or hire a professional to ensure everything is done correctly? Both paths have their unique advantages and drawbacks, impacting your time, budget, and the overall outcome of the project. In this comprehensive guide, we’ll delve into the pros and cons of DIY versus professional installation, alongside the cost considerations of each option, to help you make an informed decision that aligns with your needs and preferences.
Pros and Cons of DIY vs. Professional Installation
DIY Installation: Empowering but Demanding
Pros
Cost Savings: One of the most compelling reasons to consider a DIY approach is the potential for cost savings. By eliminating labor expenses, you can significantly reduce the overall cost of the project.
Flexibility: Taking on the project yourself offers the flexibility to work at your own pace and on your own schedule. It’s an ideal option for those with unpredictable timetables.
Personal Satisfaction: There’s a unique sense of accomplishment and satisfaction that comes from completing a home improvement project on your own. It can also be a valuable learning experience, enhancing your skills for future projects.
Cons
Time Investment: DIY projects can be time-consuming, especially for those new to home improvement. What might take a professional a few hours could take a weekend or longer for a DIYer.
Potential for Mistakes: Without the proper expertise, there’s a higher risk of mistakes, which could lead to additional costs or the need to hire a professional to correct the errors.
Limited Access to Tools and Materials: Professionals have access to high-quality tools and materials at lower prices due to their industry connections. DIYers might find these tools and materials less accessible or more expensive.
Professional Installation: Costly but Efficient
Pros
Expertise and Experience: Professionals bring a wealth of knowledge, ensuring the project is completed efficiently and to a high standard. Their experience also allows them to anticipate and prevent potential issues.
Time Savings: Hiring a professional can significantly reduce the time your project takes, as they have the necessary tools and skills to work efficiently.
Warranty and Peace of Mind: Many professionals offer warranties for their work, providing peace of mind that any future issues will be addressed at no additional cost.
Cons
Higher Initial Cost: The most significant drawback of hiring a professional is the cost. Labor expenses can make up a large portion of your project’s budget.
Less Flexibility: Working with a professional means adhering to their schedule, which might not always align with yours.
Less Personal Involvement: Some homeowners enjoy being closely involved in their projects, which is less feasible when a professional is hired.
Cost Considerations
When deciding between DIY and professional installation, the cost is often a decisive factor. DIY projects primarily incur costs from materials, tools, and possibly educational resources if you need to learn new skills. These costs can vary widely depending on the complexity of the project and the quality of materials chosen.
Professional installation, on the other hand, includes both labor costs and materials. While this option is generally more expensive, it also comes with the assurance that the project will be completed efficiently and correctly. Additionally, professionals can often secure materials at a lower cost, potentially offsetting some of the labor costs.
Ultimately, the decision between DIY and professional installation comes down to a balance of time, cost, and quality. By carefully considering the pros and cons of each option and evaluating your own skills and budget, you can choose the path that best suits your project and meets your home stabilization needs. Remember, the right choice varies from one homeowner to another, based on personal preferences, project complexity, and financial considerations.

FAQs: How To Stabilize A Freestanding Pergola
Conclusion
Creating a stable and secure freestanding pergola significantly enhances the safety, aesthetics, and enjoyment of your outdoor spaces. Emphasizing the importance of pergola stabilization not only ensures that your structure withstands environmental stresses for longevity but also transforms it into a safe and captivating focal point in your garden or patio. This guide has been crafted to empower you with the knowledge and confidence to tackle pergola stabilization, highlighting the dual benefits of safety and enjoyment your outdoor space will gain.
By meticulously planning and executing each step, from choosing durable materials to securing the pergola firmly, you are set on a path toward enhancing your home’s value and curb appeal. Approach this project with enthusiasm, knowing that your efforts will yield a beautiful, functional, and safe outdoor haven for relaxation and entertainment. This comprehensive roadmap is designed to guide homeowners through the rewarding journey of transforming their outdoor living spaces with confidence and success.
Find A Pergola Builder Near You
About the Author:
Mike Veail is a recognized digital marketing expert with over 6 years of experience in helping tradespeople and small businesses thrive online. A former quantity surveyor, Mike combines deep industry knowledge with hands-on expertise in SEO and Google Ads. His marketing strategies are tailored to the specific needs of the trades sector, helping businesses increase visibility and generate more leads through proven, ethical methods.
Mike has successfully partnered with numerous companies, establishing a track record of delivering measurable results. His work has been featured across various platforms that showcase his expertise in lead generation and online marketing for the trades sector.
Learn more about Mike's experience and services at https://theleadguy.online or follow him on social media: