Welcome to our comprehensive guide on how to build a deck with a roof in New Zealand, designed to help you transform your outdoor space into a functional, stylish, and weatherproof area for all seasons. Whether you’re looking to create a cozy spot for relaxation or an entertainment hub for friends and family, adding a roof to your deck provides protection from the elements while enhancing the overall appeal of your home. In this guide, we’ll walk you through everything you need to know, from planning and materials to legal requirements and step-by-step building instructions, ensuring your project is successful, compliant, and built to last in New Zealand’s unique climate. For professional help, contact experienced roofing contractors in your area.
To build a deck with a roof in New Zealand, start by planning the size, purpose, and style of the deck, ensuring it complements your home. Gather materials like treated timber for the deck and durable roofing options, such as metal or polycarbonate, suitable for New Zealand’s weather. Follow NZ building codes and obtain the necessary consents. Build the deck foundation, install support posts, and frame the roof. Finally, add roofing panels, drainage systems, and seal the deck to protect it from the elements. Regular maintenance will keep your deck in top condition.
- Planning Your Deck With A Roof
- Materials You’ll Need
- Understanding NZ Building Codes And Permits
- Step-By-Step Guide To Building A Deck With A Roof
- Finishing Touches
- Tips For Maintaining Your Deck With A Roof
- Alternatives To Building A Deck With A Roof
- FAQs: About How To Build A Deck With Roof NZ
- Conclusion
- Find A Professional Decking Company Near You!
Planning Your Deck With A Roof
When you start planning to build a deck with a roof, careful consideration is key to ensuring the final product meets your needs and stands the test of time. The process of planning a deck is more than just picking materials and getting the right tools; it’s about making sure your outdoor space is functional, complements your home, and fits your lifestyle. Let’s explore the most important factors to consider during this crucial stage.
Assess Your Space and Purpose
One of the first things to do when planning your deck is to assess your available space and determine its primary purpose. This involves looking closely at your yard and identifying how much room you can comfortably allocate for your deck. The size of the deck will play a big role in how useful it is, so think about what activities you’ll be using it for. Are you planning to entertain guests, have a family barbecue area, or simply want a quiet spot to relax? The answer will help you determine the size and layout of your deck.
You’ll also want to consider how the location of the deck impacts its usability. The direction of the sun and wind exposure can greatly affect comfort. For example, if your deck faces strong afternoon sunlight, having a roof will provide shade, keeping the area cooler and more enjoyable. On the other hand, decks exposed to strong winds might require additional structural reinforcement or even a wind barrier. Choosing the right location and understanding how natural elements affect the space will ensure your deck is a pleasant environment all year round.
Budgeting
Budgeting is a critical part of planning your deck, as costs can add up quickly, especially when adding a roof. Start by calculating the costs of basic materials such as timber, fasteners, and roofing material. Timber options in New Zealand vary in cost depending on the type of wood you choose. Pine is typically more affordable, while hardwoods like kwila come at a premium but last longer. For the roof, consider options such as polycarbonate or metal roofing, both of which have different price points based on their durability and design.
Aside from materials, factor in the cost of permits, especially as New Zealand requires building consent for most deck and roof structures. The cost of permits will vary depending on your local council, so it’s important to check those requirements early in the planning stage. Don’t forget labor costs, whether you’re hiring professionals or handling some parts of the project yourself. Be aware that adding a roof can significantly increase the overall cost of the project, not only due to the additional materials but also because of the added complexity of the build.
A clear budget helps ensure you don’t face unexpected expenses down the line. It’s always wise to leave a little extra room in your budget for any unplanned issues that might arise, such as challenging site conditions or additional materials.
Style Considerations
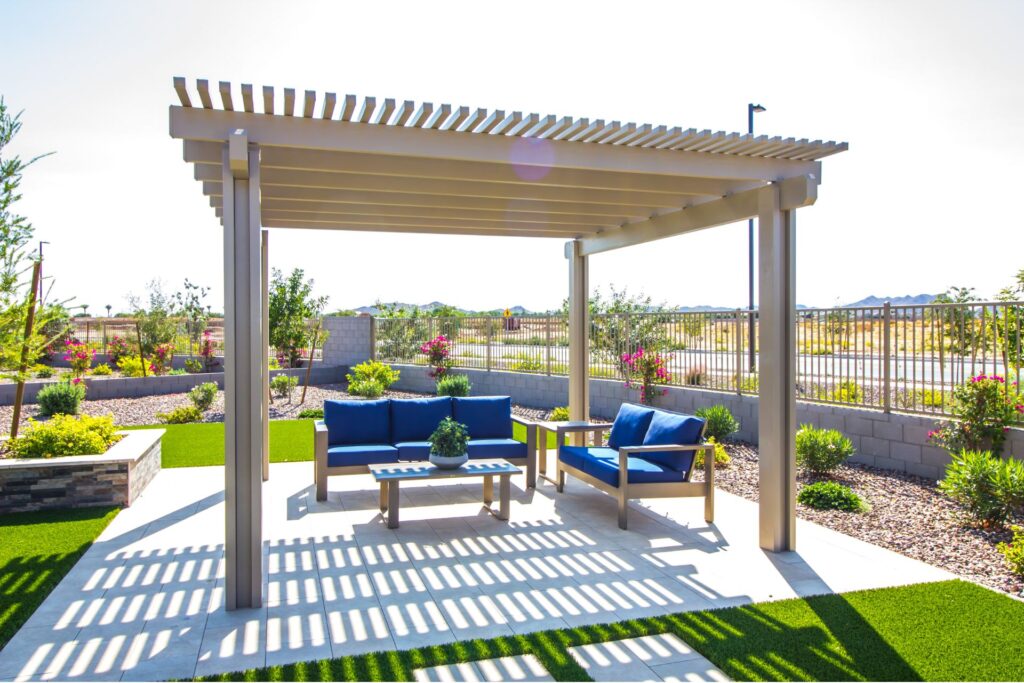
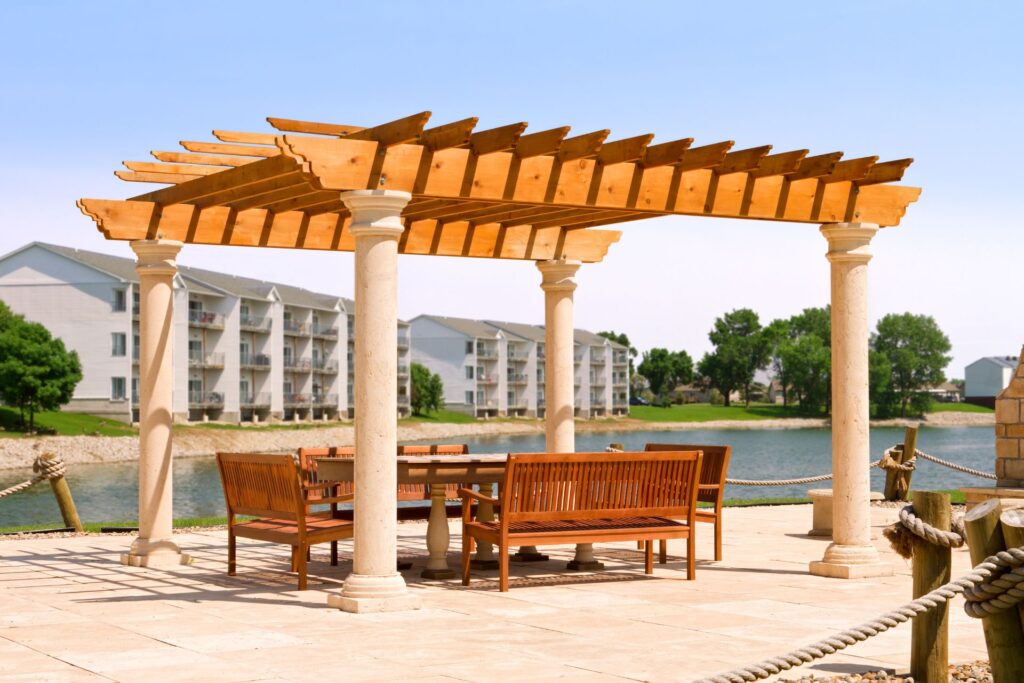
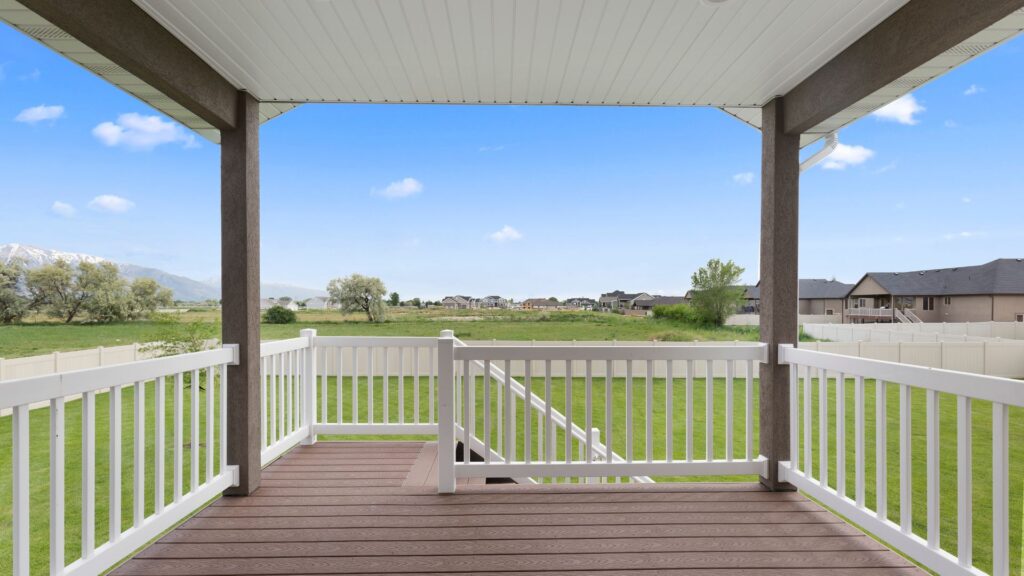
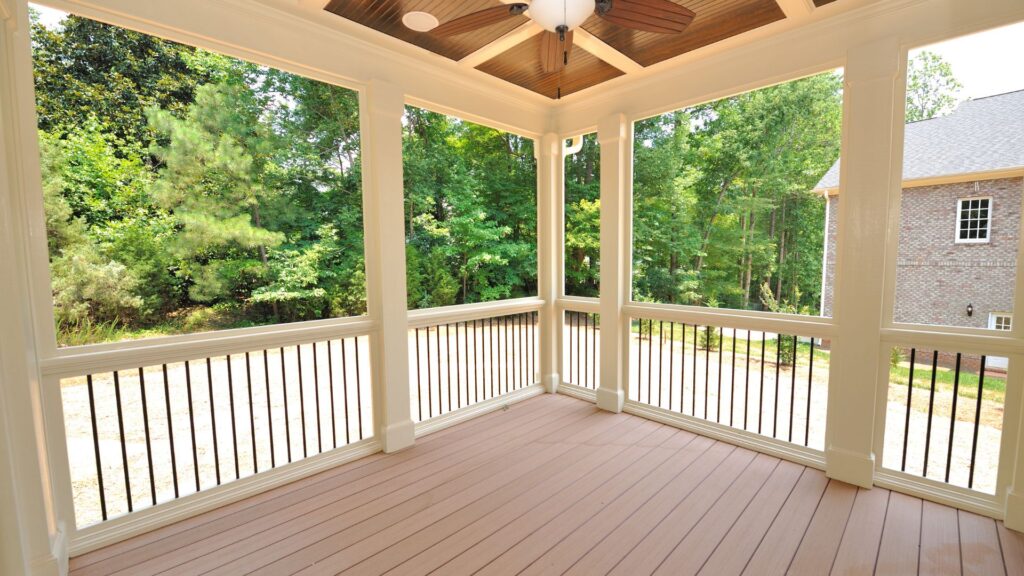
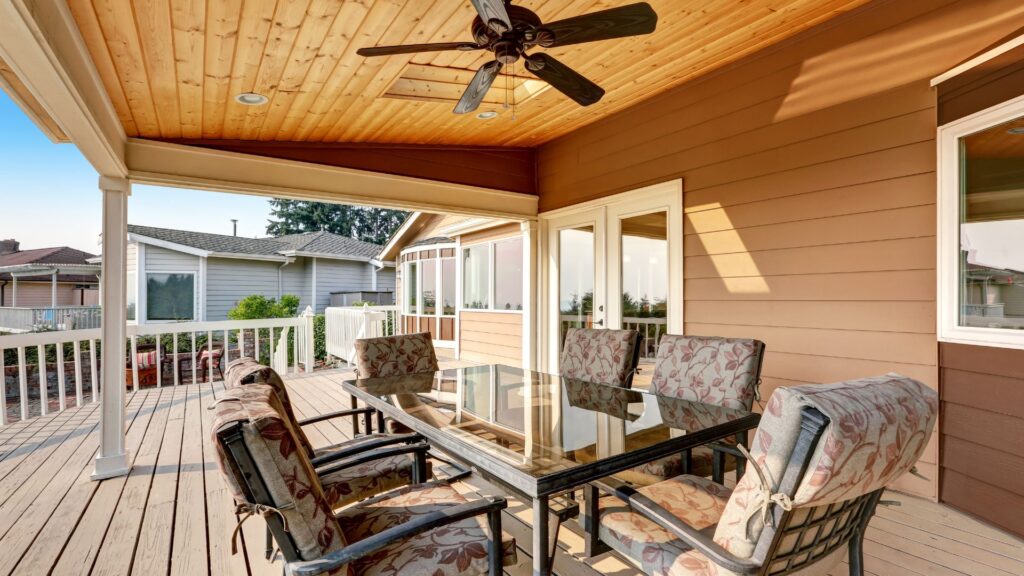
Choosing the right roof design is a big part of how your deck will look and feel. You want to select a style that complements your home’s existing architecture, creating a seamless transition between the indoor and outdoor spaces. In New Zealand, some of the most popular deck roof styles include gable roofs, flat roofs, and pergolas. Each has its own benefits and aesthetic appeal.
A gable roof, with its classic triangular shape, offers excellent protection from the elements and adds height to your deck space. It’s great for areas that experience heavy rainfall, as the pitch allows water to run off easily. This style is well-suited for traditional or more formal homes, giving your deck a solid, permanent feel.
A flat roof, on the other hand, offers a more contemporary look and is ideal if you want a sleek, minimalist aesthetic. Flat roofs can still be angled slightly to ensure water runoff, making them practical for areas with less rain. This design works well with modern architecture and is often more affordable due to its simpler structure.
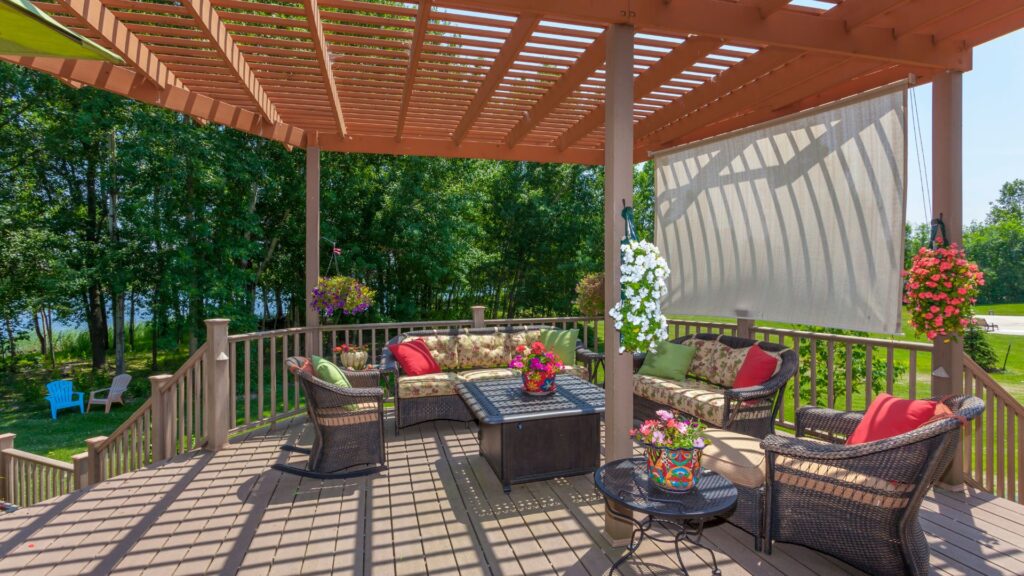
If you’re looking for a more open and flexible structure, a pergola might be the perfect option. Pergolas provide partial shade while allowing for natural light to filter through. You can even install a retractable roof or climbing plants for additional coverage. Pergolas work beautifully for casual, rustic settings or homes that want to maintain an open, airy feel.
Ultimately, the roof style you choose should not only enhance the appearance of your home but also meet your practical needs in terms of protection from the weather. Be sure to weigh the aesthetic, functionality, and cost of each option to make the best decision for your outdoor space.
By taking the time to plan your deck with a roof carefully, you ensure that it meets your lifestyle needs, fits within your budget, and complements your home’s style. With these considerations in mind, you’ll be set to create a beautiful, functional outdoor area that enhances your living space for years to come.
Materials You’ll Need
When building a deck with a roof in New Zealand, choosing the right materials is essential not only for the look and feel of your outdoor space but also for its durability and sustainability. NZ’s diverse climate, which includes intense sun, heavy rains, and salty coastal winds, requires careful consideration of materials that can withstand these elements. In this section, we’ll walk through the key materials you’ll need for both the decking itself and the roof structure, offering insights into how to make informed decisions that will result in a long-lasting, attractive deck.
Decking Materials
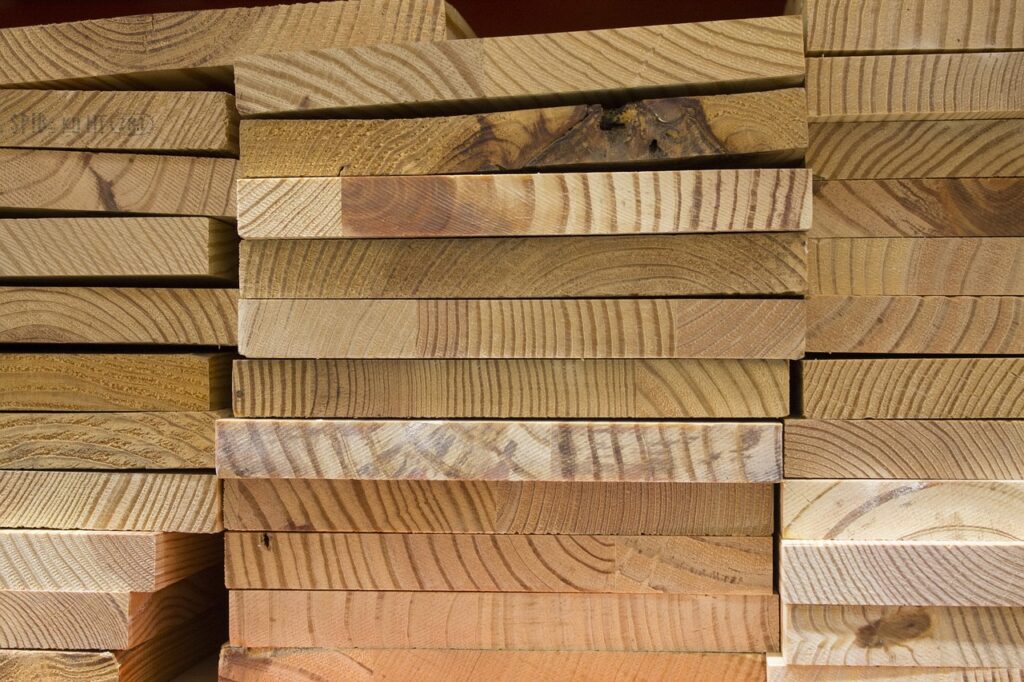
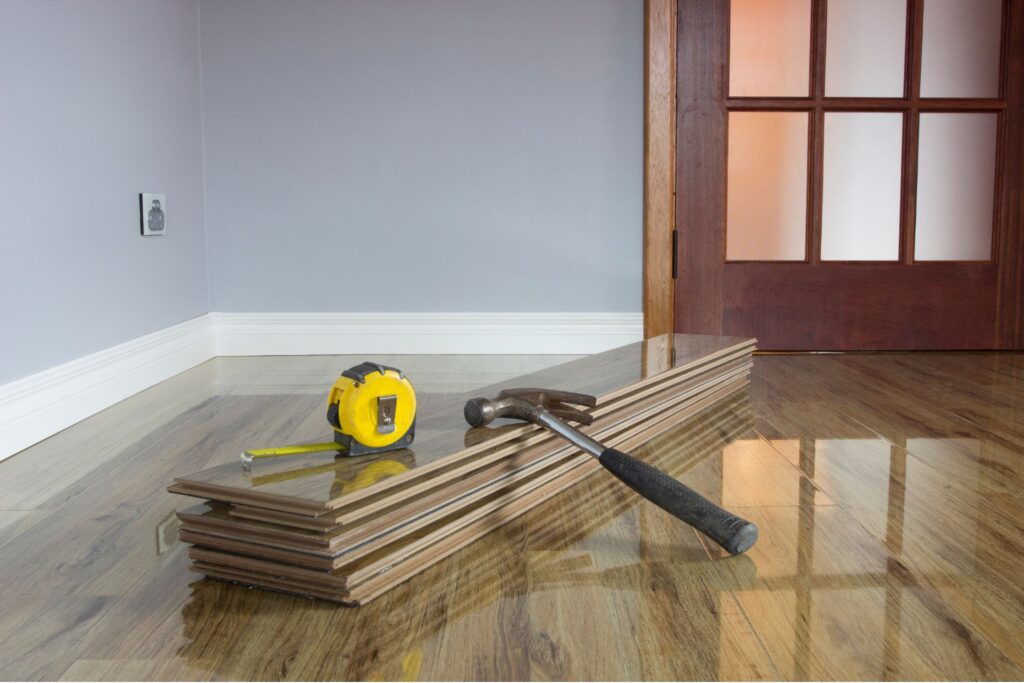
Wood Options (Pine, Kwila, or Composite)
One of the first decisions to make is the type of wood or decking material you’ll use. In New Zealand, the most common options include treated pine, kwila, and composite materials.
- Treated Pine: This is one of the most cost-effective options available in New Zealand. Pine is a softwood, so it’s lightweight and easy to work with, making it popular for DIY projects. Treated pine is pressure-treated with preservatives to protect against rot, decay, and termites, which is particularly important in New Zealand’s wetter regions. However, it requires regular maintenance, including staining or painting to keep it looking good and protecting it from the elements.
- Kwila: Known for its rich color and natural durability, kwila is a hardwood that can stand up to New Zealand’s harsh climate, including the heat and moisture variations typical in coastal areas. It’s more expensive than pine but requires less maintenance in the long term. However, kwila can bleed tannins when new, so you need to take extra care in the first year of installation to avoid staining surrounding surfaces.
- Composite Decking: For those looking for a low-maintenance, eco-friendly option, composite decking has become increasingly popular. Made from a mix of recycled plastics and wood fibers, composite decking resists weathering, rot, and insect damage better than traditional wood options. It also doesn’t require regular staining or sealing. While the upfront cost is higher than pine or kwila, the lack of ongoing maintenance can make it more cost-effective in the long run.
Sustainability Considerations
New Zealanders are increasingly focused on sustainability when it comes to home improvement projects. If sustainability is a priority, look for decking materials sourced from FSC-certified (Forest Stewardship Council) forests, ensuring the wood is harvested in an environmentally responsible way. Composite decking is another eco-friendly choice, as it often contains recycled materials. Additionally, considering local wood options helps reduce the carbon footprint associated with transporting materials.
Roofing Materials
Types of Roofing (Polycarbonate, Metal, etc.)
Choosing the right roofing material is equally important, as it needs to provide shelter from New Zealand’s unpredictable weather while complementing the overall look of your deck.
- Polycarbonate Roofing: Polycarbonate is a lightweight, transparent material that lets natural light through while offering UV protection. This makes it a popular choice for deck roofs, as it creates a bright, airy space without exposing you to harmful sun rays. Polycarbonate sheets are also durable and impact-resistant, which is beneficial in areas prone to high winds or hail. However, they may not provide the same level of insulation or noise reduction as metal roofing.
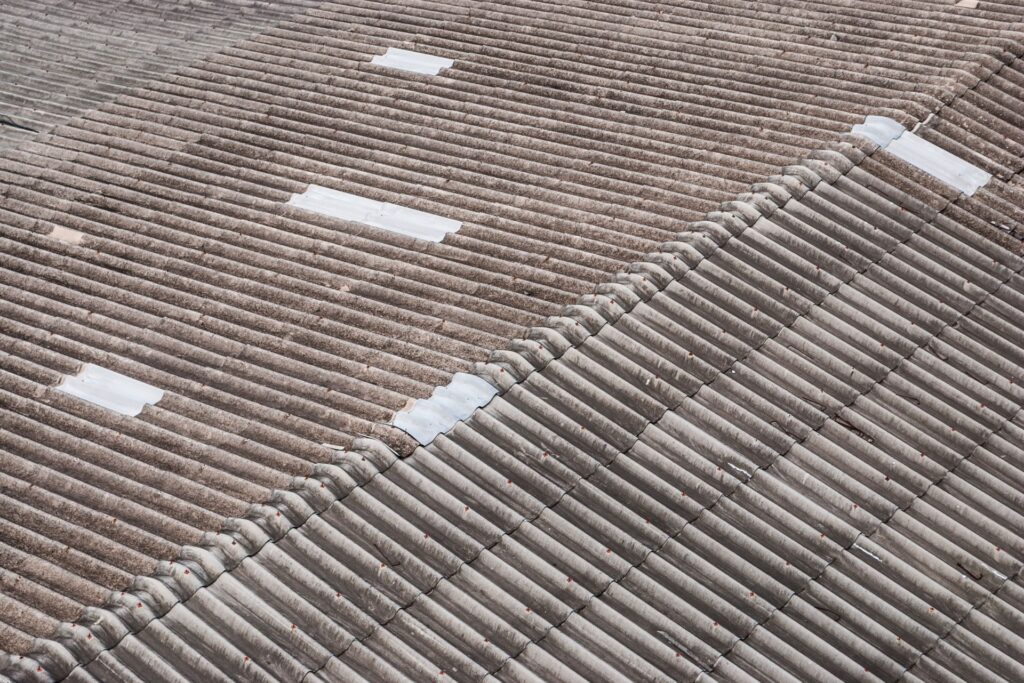
- Metal Roofing: Corrugated metal roofing is another popular option, especially in areas that experience heavy rainfall. Metal roofs are extremely durable, with a long lifespan, and are great at shedding water. They also provide a sleek, modern look that can blend seamlessly with contemporary home designs. While metal roofing can be noisier during heavy rain, installing insulation underneath can help reduce the sound. Additionally, you’ll need to choose materials that resist rust if you live near the coast, as salt air can accelerate corrosion in unprotected metals.
- Balancing Durability, Aesthetics, and Cost: When choosing roofing materials, it’s important to consider the balance between durability, appearance, and budget. Metal is more expensive upfront but offers long-term durability, while polycarbonate is more affordable but may not last as long in extreme conditions. Think about how you want the space to feel—if natural light is important, polycarbonate may be the better choice, but if you want the deck to feel more enclosed and insulated, metal roofing could be the way to go.
Support Structures
Types of Framing Materials (Timber vs. Steel)
The support structure is crucial for the stability of both the deck and the roof. In New Zealand, the most common framing materials are timber and steel, each with its advantages.
- Timber: Timber framing is often the go-to choice for most residential decks because it’s easy to work with and relatively affordable. Treated timber, like H3.2 or H4-rated pine, is resistant to rot and termites, making it ideal for outdoor use in New Zealand. Timber is also aesthetically pleasing, as it blends seamlessly with natural surroundings, offering a warm, organic feel to your deck. However, it may require ongoing maintenance, especially in coastal or damp environments where moisture can affect its longevity.
- Steel: Steel framing, while more expensive, is gaining popularity for its superior strength and durability, especially for larger decks or those exposed to severe weather conditions. Steel is resistant to warping, rot, and insect damage, making it an excellent option for long-term stability. Additionally, steel requires less maintenance than timber and can provide a sleek, modern look, particularly in urban or contemporary homes. However, it can be more difficult to install for DIY builders due to its weight and the need for specialized tools.
Choosing the right materials for your deck and roof in New Zealand requires a balance between budget, aesthetics, durability, and environmental considerations. From selecting the best wood for decking to deciding on roofing and framing materials, each choice plays a significant role in the long-term success of your project. By considering factors like weather resistance, maintenance needs, and sustainability, you can ensure that your deck with a roof not only looks great but also stands up to New Zealand’s varied and sometimes harsh climate for years to come.
Understanding NZ Building Codes And Permits
When building a deck with a roof in New Zealand, it’s essential to comply with local building codes and obtain the necessary permits to ensure your project is safe, legal, and durable. This section provides a detailed overview of the legal requirements and the building consent process, offering insights into specific rules that apply to deck height and roof structures, as well as practical advice on how to navigate the building consent application.
Legal Requirements
New Zealand has strict building regulations designed to protect homeowners and ensure all structures meet safety and durability standards. If you’re planning to build a deck with a roof, it’s crucial to be aware of these regulations and adhere to them to avoid potential fines or legal issues down the road. You can find more details on building consent requirements from the New Zealand Government Building Performance website.
The first thing to understand is that most decks in New Zealand, especially those with attached roofs, will require building consent. The building consent process is overseen by your local council, which ensures that your proposed construction meets the standards set out in the New Zealand Building Code. These standards cover aspects such as structural integrity, weather resistance, fire safety, and durability.
Key regulations for decks and roofs include.
- Deck height: If your deck is more than 1.5 meters above the ground, you are required to obtain building consent. However, even if your deck is lower than this, adding a roof can trigger the need for consent, as the roof alters the structural load and overall design of the deck.
- Roof structures: The type and size of the roof you choose can also affect whether you need consent. For instance, a lightweight roof such as polycarbonate panels may have different requirements compared to a heavier material like metal. The roof’s pitch, drainage requirements, and overall design must comply with the building code to ensure that it can withstand New Zealand’s variable weather conditions.
Failing to get the right permits could lead to significant issues, such as being forced to remove your structure or facing fines. Therefore, it’s crucial to approach the process carefully and follow the rules from the start.
How to Apply for Building Consent
Applying for building consent might seem daunting, but breaking it down into clear steps can simplify the process. Here’s how you can navigate the application procedure smoothly:
1. Prepare Detailed Plans
Before you submit an application, you’ll need to have detailed plans for your deck and roof structure. These plans should be prepared either by you or a licensed professional, such as an architect or builder. Your plans must show the dimensions, materials to be used, structural details, and how the deck and roof will be anchored and supported. If your deck is elevated or if the roof adds significant weight, your plans may also need to include engineering reports to prove the structure’s safety.
2. Submit Your Application
Once your plans are ready, submit them to your local council along with the building consent application form. Some councils in New Zealand allow you to apply online, making the process faster and easier. Be prepared to provide information on the purpose of the deck, the intended materials, and the roof’s specifications.
3. Wait for Approval
After submitting your application, the council will review your plans to ensure they meet all the relevant requirements. The review process can take a few weeks, depending on the complexity of the project and the workload at your local council. If the council identifies any issues, they will typically come back to you with requests for additional information or changes to the design.
4. Begin Construction Once Consent is Granted
Once your building consent is approved, you can begin construction. Be sure to follow the approved plans exactly, as any deviations could require an amendment to your consent. Keep in mind that inspections will be required at various stages of the build, such as after the foundation is laid and once the structure is complete. These inspections ensure that your deck and roof are built to code.
Common Mistakes to Avoid During the Building Consent Process
Navigating the building consent process can be tricky, and several common mistakes can delay your project or lead to costly setbacks. Here are some things to avoid.
- Inaccurate or incomplete plans: Submitting incomplete or vague plans is one of the most common reasons building consent applications are rejected. Ensure that your plans are as detailed as possible, with all measurements, materials, and structural components clearly outlined.
- Ignoring council feedback: If the council requests changes or additional information, it’s important to respond promptly and address their concerns. Ignoring feedback or failing to adjust your plans as requested can result in delays or even a denial of your application.
- Skipping required inspections: Once construction starts, don’t forget to schedule the required inspections at key stages. Skipping inspections or failing to comply with the inspector’s recommendations could lead to your project being halted.
By following these steps and avoiding common pitfalls, you’ll ensure your deck with a roof complies with New Zealand’s building regulations, allowing you to enjoy your new outdoor space with peace of mind.
Step-By-Step Guide To Building A Deck With A Roof
Building a deck with a roof involves careful planning, attention to detail, and the right materials to ensure a safe and sturdy structure that will stand the test of time. Below is a step-by-step guide that will walk you through each phase of the process, from preparing your site to installing the roofing panels. Whether you’re a DIY enthusiast or working with professionals, following these steps will ensure your deck is built with precision and designed to withstand New Zealand’s unique climate.
Step 1: Prepare the Site
Before any construction begins, it’s essential to properly prepare the site where your deck will be built. Start by measuring and marking the area, ensuring that your dimensions align with the overall design of your deck and roof. Use string lines and stakes to outline the perimeter, which helps create an accurate guide for where the deck will sit.
Leveling the site is crucial to creating a stable foundation. For areas with uneven terrain, which is common in many parts of New Zealand, you may need to dig or fill in certain sections to ensure a flat surface. Use a spirit level to verify that the area is level throughout, as this will prevent structural problems later on. If your site is sloping or irregular, consider building a raised deck with concrete piles to accommodate the incline.
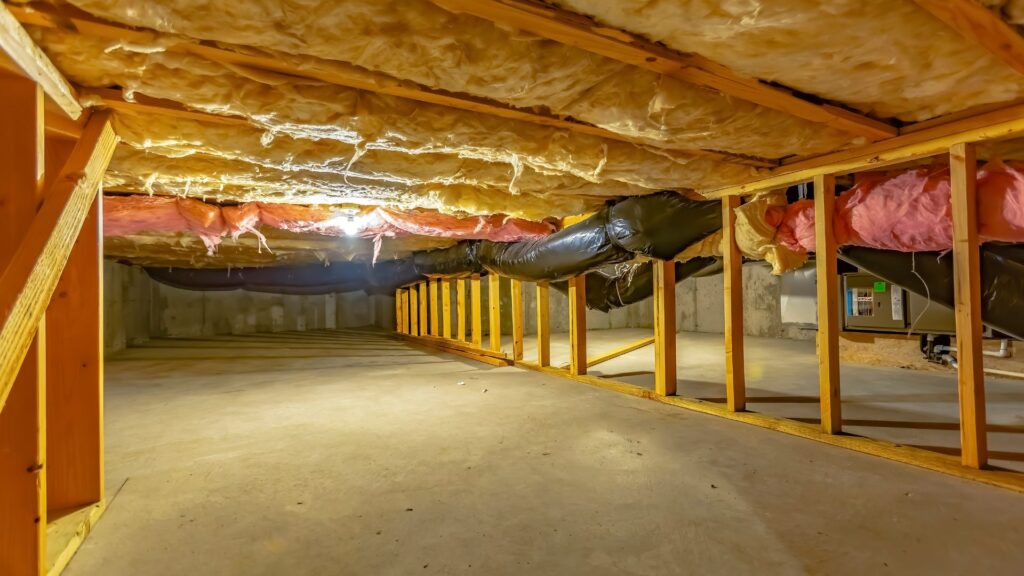
Step 2: Building the Deck Foundation
Once the site is prepped, you can begin constructing the deck’s foundation. There are two primary types of foundations commonly used in New Zealand: concrete foundations and piles.
- Concrete foundations are ideal for flat, stable soil, providing a strong, long-lasting base for the deck. You’ll need to dig post holes, pour in concrete, and allow it to set before attaching the deck frame.
- Piles are the go-to choice for uneven or sloping ground. These involve driving treated wooden posts into the ground, which offer both stability and flexibility in varied terrains. Ensure the piles are properly treated to resist moisture and rot.
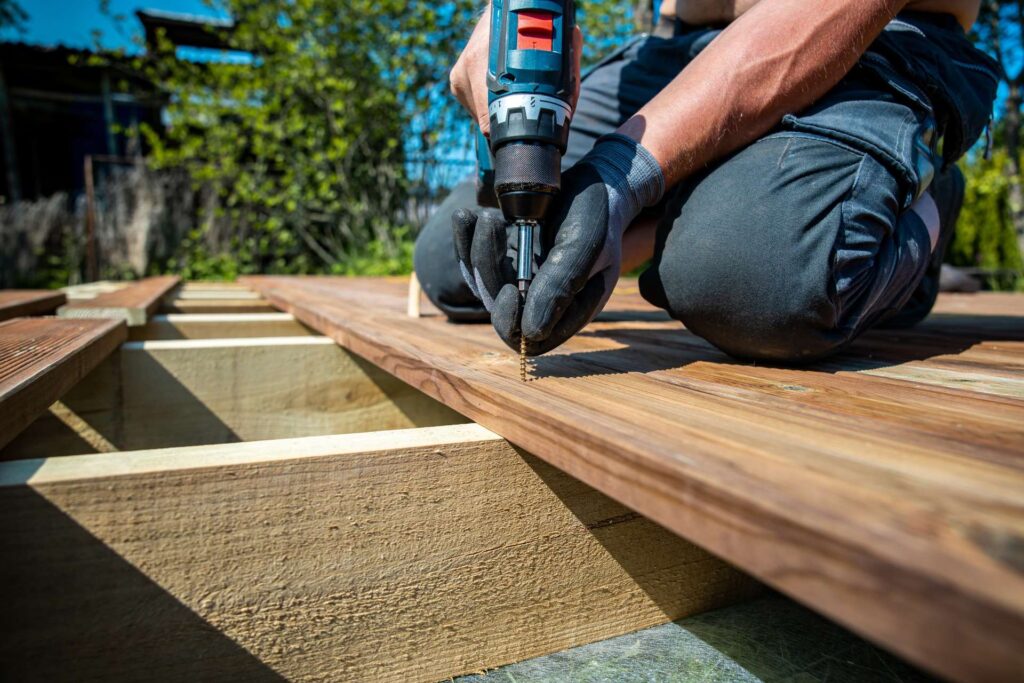
Once the foundation is secure, start building the frame of the deck. Use treated timber for the frame to prevent decay from New Zealand’s wet seasons. Lay the joists evenly across the foundation, making sure they are level and securely attached. Next, begin installing the floorboards, ensuring they are spaced correctly for natural expansion and contraction due to weather changes. Use stainless steel screws or nails to prevent rusting in coastal regions.
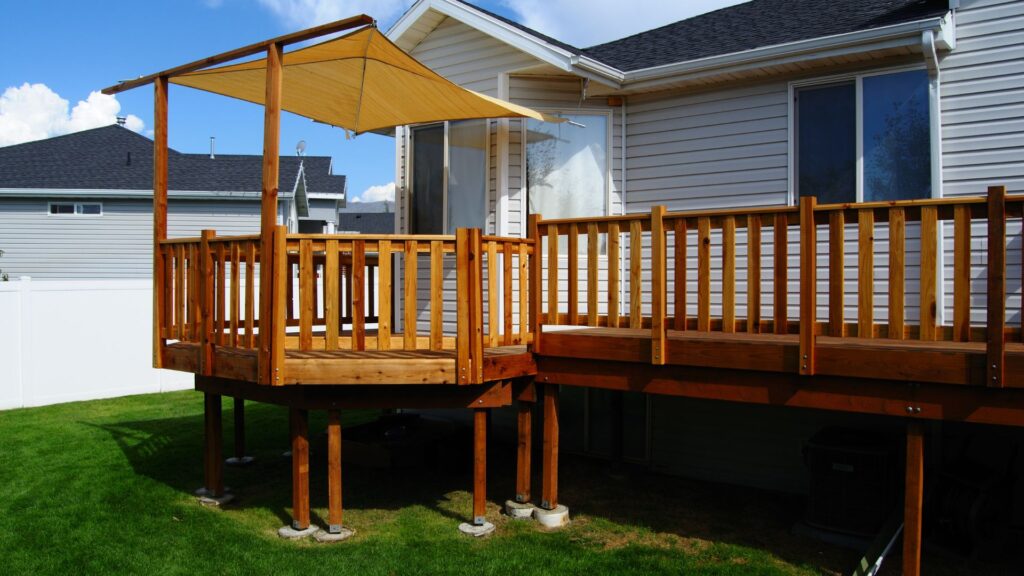
Step 3: Installing Support Posts for the Roof
With the deck in place, it’s time to install the support posts that will hold up your roof. The positioning of these posts is critical for the structural integrity of the roof, so take extra care in marking their locations. Posts should be evenly spaced, usually between 2.5 to 3 meters apart, depending on the size and weight of the roof.
To safely anchor the posts, dig post holes at least 600mm deep and pour concrete around the base of each post for added stability. If your deck is raised, you’ll need to ensure the posts are securely fastened to the deck frame itself, using metal brackets or bolted connections. The height of the posts should be consistent to ensure that your roof will have the proper slope for water runoff.
Step 4: Adding the Roof Structure
Framing the roof structure is one of the most important steps in building a deck with a roof. Begin by attaching the horizontal beams (also known as bearers) across the tops of the support posts. These beams will form the foundation of the roof. Ensure they are level and securely attached, as this will impact the overall stability of the structure.
Next, install the rafters, which will support the roof covering. The spacing between the rafters will depend on the type of roofing material you choose. For instance, metal roofs may require less spacing, while polycarbonate panels need more support due to their lighter weight. The roof pitch is also crucial for managing water runoff, especially in New Zealand, where rainy seasons can bring heavy downpours. A slope of at least 10-15 degrees is recommended for effective drainage and to prevent water pooling on the roof.
Step 5: Installing Roofing Panels
The final step in building a deck with a roof is installing the roofing panels. Whether you choose metal, polycarbonate, or another material, it’s essential to follow best practices to ensure the roof is both secure and weatherproof.
Start by positioning the panels on the rafters, overlapping the edges to prevent water from seeping through the seams. Secure each panel with screws or fasteners designed for your specific roofing material, ensuring that you don’t over tighten and damage the material. It’s also important to add rubber washers to each screw to create a watertight seal.
Ventilation is key when installing roofing, especially in areas with high humidity like New Zealand’s coastal regions. Consider installing ridge vents or other ventilation options to allow airflow and prevent condensation build-up under the roof.
Lastly, install gutters and downspouts to manage rainwater efficiently. Gutters will help channel water away from your deck and foundation, reducing the risk of water damage over time. Regular maintenance of the gutters will ensure they remain functional and protect your deck from excessive water exposure.
Following these steps will ensure that your deck with a roof is built to a high standard, providing you with a durable and functional outdoor living space. Whether you’re looking to host gatherings, enjoy the outdoors year-round, or simply add value to your home, this guide offers a practical approach to getting the job done right.
Finishing Touches
When building a deck with a roof in New Zealand, the final touches are what truly bring your project to life and ensure its longevity. These elements not only improve the functionality of your deck but also enhance its aesthetic appeal and comfort. Here, we’ll explore how to add essential features like gutters, protective deck finishes, and lighting that will make your outdoor space both beautiful and practical.
Adding Gutters and Drainage
Why Gutters are Crucial for Your Deck
New Zealand’s weather can be unpredictable, with heavy rains common in many areas. Installing a gutter system is essential for managing rainwater runoff and protecting your deck from water damage. Gutters help prevent pooling water on your deck, which can lead to wood rot, mold, and slippery surfaces. Additionally, a good drainage system keeps water away from the foundation of your home, reducing the risk of erosion or foundational issues.
How to Install Gutters for Your Deck
When selecting gutters for your deck, it’s important to choose a system that complements the style of your roof and ensures efficient water flow. Start by measuring the length of the roof overhang where you plan to install the gutters. You’ll want to ensure the slope is adequate for water to drain toward the downspouts, which should be strategically placed to direct water away from both the deck and the house. Consider using corrosion-resistant materials like aluminum or vinyl, which can withstand the humid, coastal climate common in parts of New Zealand. Once installed, ensure that your gutters are kept clean of leaves and debris, especially in autumn, to prevent blockages.
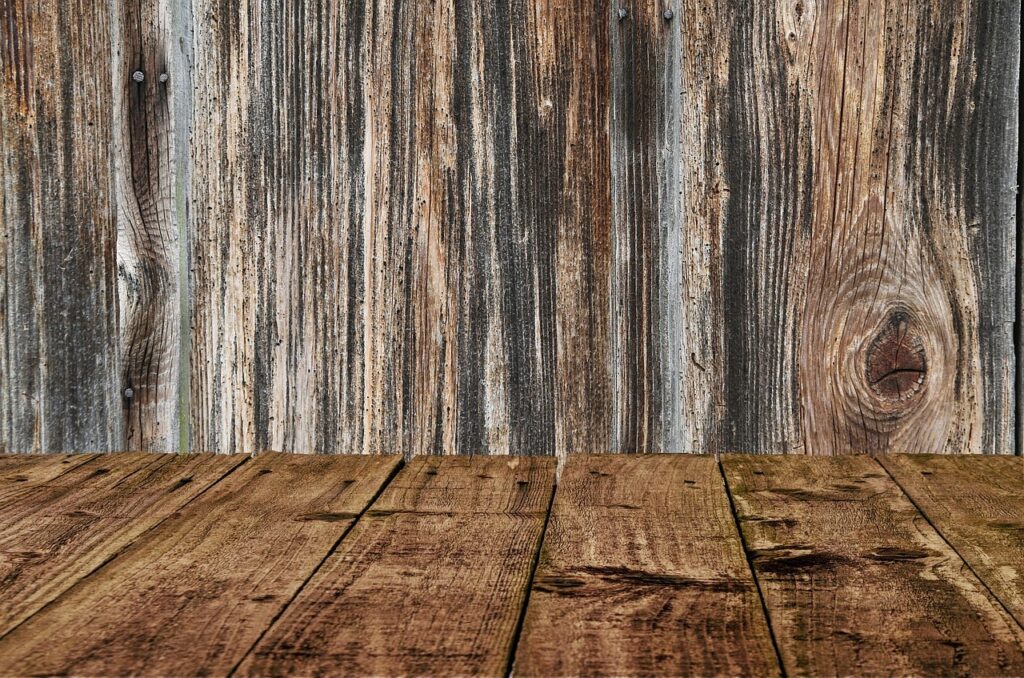
Deck Staining and Sealing
Protecting Your Deck from New Zealand’s Weather
Given New Zealand’s varying climate—from harsh UV rays in summer to heavy rainfall in winter—it’s crucial to protect your deck from the elements. Staining and sealing your deck helps maintain its appearance and extends its lifespan by preventing moisture absorption, UV damage, and cracking. The right stain will not only enhance the natural beauty of the wood but also provide a protective barrier against New Zealand’s sometimes harsh weather.
Best Practices for Staining and Sealing
Begin by thoroughly cleaning your deck to remove dirt, mildew, or previous finishes. You can use a deck cleaner or a pressure washer, but be gentle to avoid damaging the wood. Once the deck is dry, choose a high-quality stain that suits the type of wood you’ve used—whether it’s pine, kwila, or another material commonly used in New Zealand decks. Semi-transparent stains are a great choice if you want to showcase the natural grain, while solid stains offer more color options and better UV protection.
When applying the stain, use long, even strokes with a brush or roller, following the direction of the wood grain. After staining, a clear sealant should be applied to lock in the protection. A sealant will guard against moisture and reduce the risk of warping or splitting, which is particularly important given New Zealand’s frequent rainfall. For best results, reapply the sealant every two to three years, or as needed depending on your local climate conditions.
Lighting and Comfort Features
Enhancing Usability with Lighting
Adding lighting to your deck can transform it into a space that’s usable and inviting at any time of day. Well-placed lighting creates a cozy atmosphere and also improves safety, especially in the evening when visibility is reduced. Start with ambient lighting, such as string lights or recessed deck lights, which can provide a soft glow for casual gatherings. Solar-powered options are an eco-friendly choice that works well in New Zealand, where sunlight is abundant during the day.
For task lighting, consider installing focused lights near seating areas or outdoor kitchens if you have one. Motion-sensor lights are also a great addition for security and convenience, particularly if your deck extends into your garden. Ensuring your lighting is weatherproof and suitable for outdoor use is essential to avoid issues during New Zealand’s wetter months.
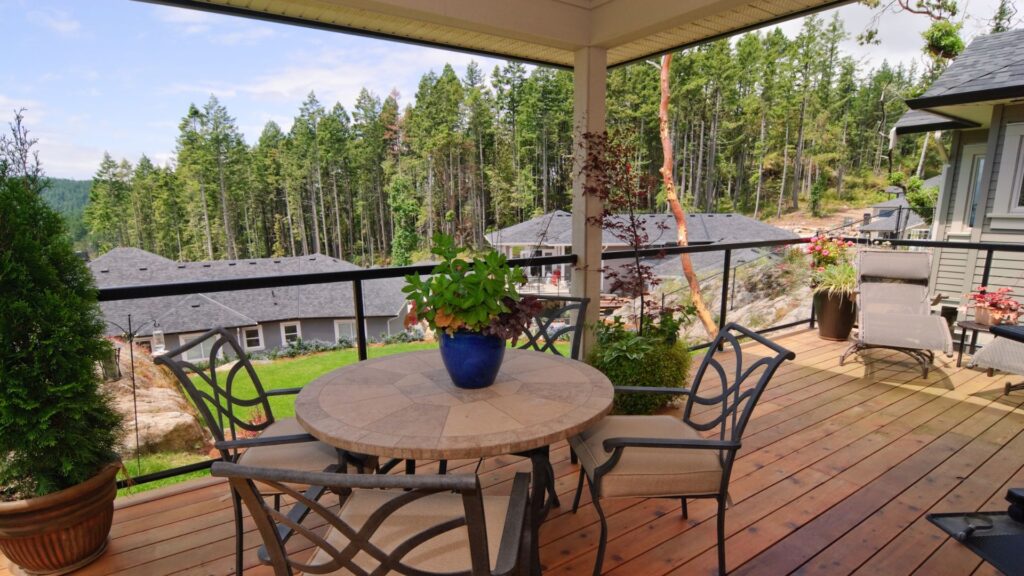
Comfort Features to Complete the Look
To maximize the enjoyment of your deck, consider adding comfortable outdoor furniture that can withstand the elements. Look for materials like teak, metal, or weather-resistant wicker, which are durable and well-suited for New Zealand’s coastal and variable climate. Incorporate cushions made from water-resistant fabric for added comfort.
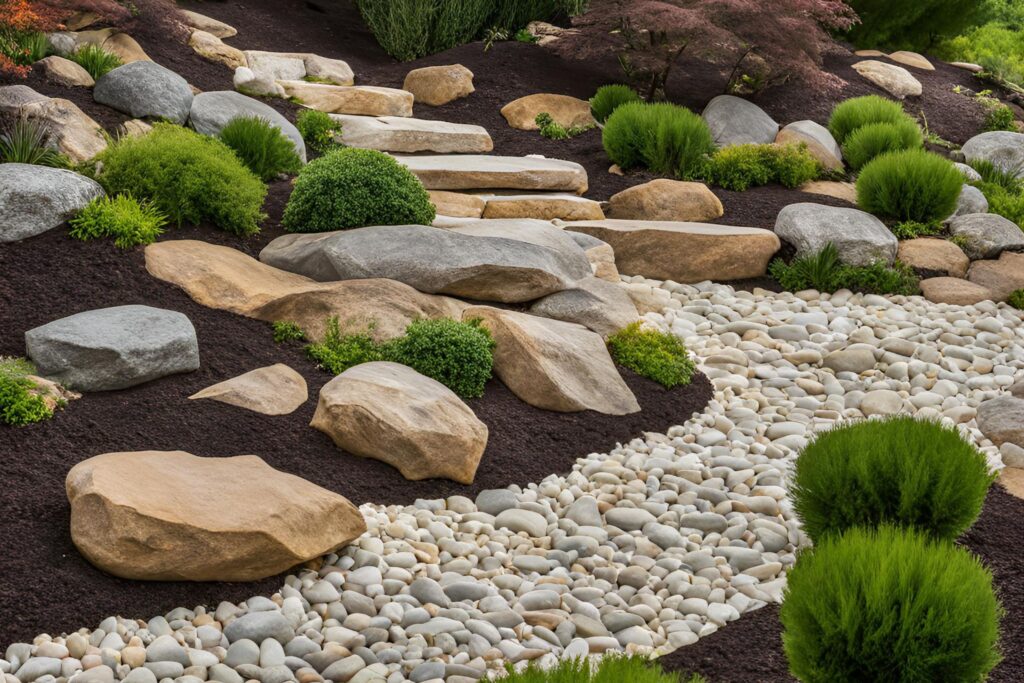
In addition to furniture, adding features like an outdoor heater or fire pit can extend the use of your deck into the cooler months, making it a year-round retreat. Planters with native New Zealand plants, such as ferns or flaxes, can also add a touch of greenery and help integrate the deck with your garden.
By carefully choosing and installing the right finishing touches—gutters, stains, lighting, and furniture—you can ensure that your deck is not only visually appealing but also functional, durable, and comfortable. These elements will transform your deck into a welcoming space that you, your family, and guests can enjoy all year long, no matter what the New Zealand weather brings.
Tips For Maintaining Your Deck With A Roof
Building a deck with a roof is a significant investment, and regular maintenance is key to ensuring it stays in great condition over the years, especially with New Zealand’s varying climate. Maintaining your deck not only extends its lifespan but also preserves its aesthetic appeal and functionality. Here’s how to keep your deck and roof in top shape.
Regular Maintenance
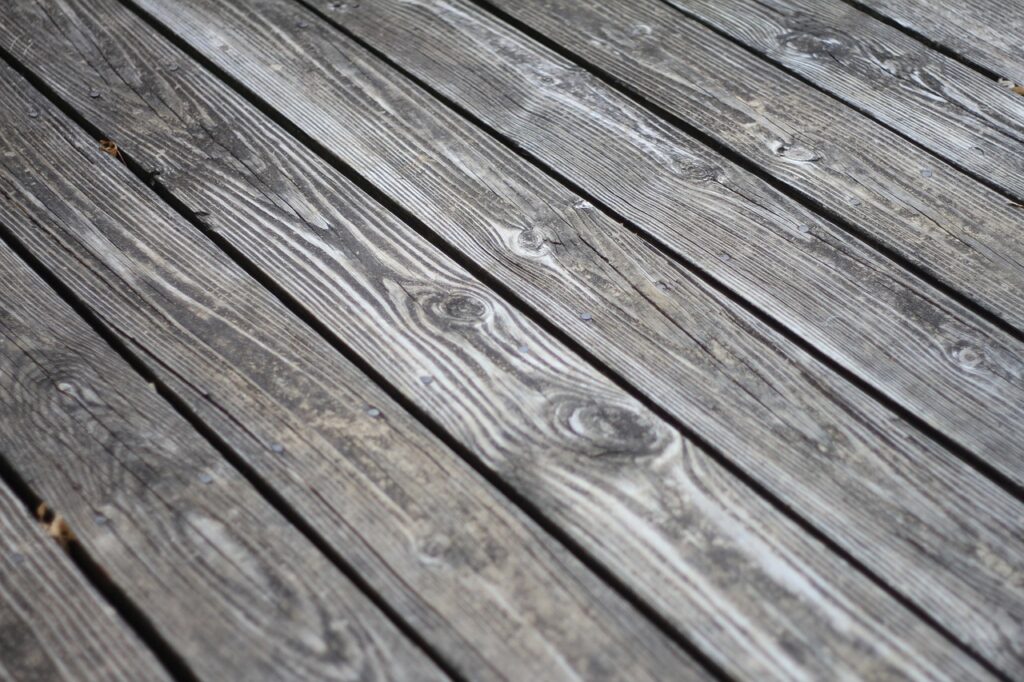
One of the most important aspects of caring for your deck is cleaning it regularly. In New Zealand, where weather conditions can lead to moisture buildup, you may experience issues like moss or algae growing on your deck. This is particularly common in shaded areas or places where water tends to pool. To prevent this, it’s essential to regularly sweep away debris such as leaves, dirt, and other organic material that can trap moisture and promote growth.
For routine cleaning, a mixture of mild detergent and water is effective for scrubbing down the surface of your deck. If you notice moss or mildew buildup, consider using a deck cleaner designed to remove organic growth without damaging the wood or composite materials. A stiff-bristled brush can help remove these stains without scraping or damaging the surface. For tougher stains or areas with extensive moss, a pressure washer can be used, but always on a low setting to avoid stripping the wood or harming the finish.
Your roof also requires periodic cleaning to ensure its durability. In New Zealand, roofing materials like metal or polycarbonate can accumulate dust, water stains, or moss over time, especially in wet regions. Regularly inspect the roof and clean it with water and a mild cleaning solution to prevent buildup. Be cautious when cleaning the roof, as some materials can be slippery when wet.
How Often to Reseal or Restain Your Deck in New Zealand’s Climate
New Zealand’s climate can be harsh on outdoor wooden structures due to the mix of strong sun, rain, and fluctuating temperatures. Depending on the type of wood used, you’ll need to reseal or restain your deck periodically to protect it from the elements. As a general rule, it’s advisable to reseal your deck every one to two years. However, if you notice that water is no longer beading on the surface, this is a sign that the protective sealant has worn off, and it’s time to reapply.
When resealing or restaining, choose a high-quality product designed for the type of wood you’ve used. For example, treated pine may need a different sealant than hardwoods like kwila. Make sure the product you use is designed for UV protection, as New Zealand’s high UV index can cause untreated wood to fade and crack more quickly.
Before applying new sealant or stain, clean the deck thoroughly and sand any rough areas. This helps the product adhere properly and provides a smoother finish. Always follow the manufacturer’s recommendations for drying times and conditions, as applying sealant in high humidity or wet conditions can lead to poor results.
Inspecting for Damage
Regular inspections are a crucial part of deck maintenance. At least twice a year, take some time to look for any signs of damage, especially after particularly wet winters or hot summers. Wood rot is one of the most common issues with decks in New Zealand, especially in areas where moisture is trapped. Focus on checking the posts, beams, and joists for signs of decay. If you spot softwood or areas where the surface is flaking or discolored, this could indicate rot. Small areas of rot can be treated by removing the damaged section and treating it with a wood preservative. However, if the damage is extensive, you may need to replace sections of the deck.
Roof inspections are just as important, especially if you live in an area prone to heavy rain or strong winds. Look for any signs of leaks or water pooling on the roof, which can lead to structural damage or mold growth. Pay attention to the areas where the roof connects to the house or the deck’s support beams, as these are common points for leaks. If you notice any leaks or water stains on your roof, address them quickly to prevent further damage.
In addition to looking for wood rot, inspect the deck’s hardware, such as nails, screws, and brackets. Over time, these can loosen or rust, compromising the structural integrity of the deck. Tighten any loose fittings and replace rusted or corroded hardware to ensure your deck remains sturdy and safe.
Maintaining your deck with a roof in New Zealand requires a proactive approach, but the effort is well worth it. Regular cleaning, timely resealing, and routine inspections will help preserve the beauty and functionality of your outdoor space, ensuring it remains a valuable addition to your home for years to come. By staying on top of maintenance, you can enjoy your deck and roof all year round, rain or shine, knowing that it’s built to last.
Alternatives To Building A Deck With A Roof
When considering how to enhance your outdoor living space, building a deck with a roof isn’t your only option. For some homeowners, alternatives like pergolas or retractable awnings can provide a flexible, stylish, and often more cost-effective solution. In this section, we’ll explore these alternatives, highlighting their pros and cons compared to a permanent roof, as well as when they might be the better choice for your deck or patio.
Considering a Pergola or Retractable Awning
A pergola or retractable awning can offer unique advantages when you’re thinking about adding shade or cover to your deck. These alternatives differ from a permanent roof in terms of both structure and functionality, but depending on your needs, they may offer the right balance of protection, cost, and aesthetic appeal.
Pergolas
A pergola is an open, framework structure that can provide partial shade or, with the addition of a covering, more complete protection from the elements. Made from materials like wood, aluminum, or steel, pergolas are often used to create defined outdoor spaces without fully enclosing the area.
Pros of a Pergola
- Aesthetic Appeal: Pergolas add a touch of elegance and style to your outdoor area, often creating a more open, airy feel compared to a solid roof. They can serve as an architectural feature, enhancing the overall look of your garden or deck.
- Customizability: You can customize pergolas with climbing plants, retractable canopies, or slatted roofs, allowing you to control the amount of light and shade. They’re highly adaptable to different design styles, from modern to rustic.
- Cost-Effective: Compared to a permanent roof structure, pergolas are often less expensive to build and maintain. You can also start with a basic structure and add features over time, making it easier to manage your budget.
- Regulatory Simplicity: In many cases, pergolas don’t require as much permitting or approval from local councils compared to a roofed deck, as long as they are not enclosed or attached to the home. This can make the planning process quicker and easier.
Cons of a Pergola
- Limited Weather Protection: Unlike a solid roof, a pergola offers minimal protection from rain or harsh weather unless you add additional features like a retractable cover. This can limit its usability during wetter seasons.
- Maintenance Requirements: If you opt for a wooden pergola, regular maintenance is required to prevent weathering, rot, or insect damage, especially in New Zealand’s variable climate. Metal options can require less upkeep but may be prone to rust in coastal areas.
Retractable Awnings
Retractable awnings are another popular alternative, offering flexible coverage that you can extend or retract as needed. These are typically made from durable, weather-resistant fabrics supported by metal frames and can be manually or motorized for ease of use.
Pros of Retractable Awnings
- Flexibility: The main benefit of a retractable awning is its versatility. You can extend it when you need shade or protection from light rain and retract it when you want full sun exposure, giving you control over how your outdoor space is used.
- Space Saving: A retractable awning doesn’t take up as much space as a permanent roof or even a pergola, making it ideal for smaller decks or patios where space is limited.
- Low Maintenance: Retractable awnings typically require less maintenance than other structures. Modern materials used in awnings are often weather-resistant and easy to clean, reducing the upkeep required over time.
- Energy Efficiency: Awnings can help reduce the amount of sunlight that enters your home through windows, lowering indoor temperatures and potentially reducing your energy costs during the warmer months.
Cons of Retractable Awnings
- Durability Concerns: While high-quality awnings are designed to withstand some exposure to weather, they are not as durable as permanent structures. Strong winds or heavy rain can damage an awning, requiring it to be retracted during extreme conditions, which might leave your deck unprotected when you need it most.
- Upfront Cost: Although generally less expensive than building a roof, motorized retractable awnings, in particular, can be costly upfront. The price can increase with added features like sensors or remote controls, which may put them out of budget for some homeowners.
- Limited Size: Retractable awnings can only cover a certain area, typically smaller than what a permanent roof or pergola would provide. If you have a large deck, you may need multiple awnings to cover the entire space, which can increase costs.
When a Pergola or Awning Might Be the Better Choice
Choosing between a pergola, retractable awning, or a permanent roof depends on how you plan to use your outdoor space, as well as your budget and the climate in your area. Here are a few scenarios where a pergola or awning might be the better option.
- Budget Constraints: If you’re working with a tighter budget, a pergola or awning could be a more affordable way to create a covered outdoor area. Both options typically have lower upfront and maintenance costs compared to building a full roof structure.
- Aesthetic Goals: If creating a visually striking outdoor space is a top priority, a pergola may be the ideal choice. The open structure can enhance the appearance of your home and landscape, particularly if you incorporate greenery or design elements that complement your surroundings.
- Flexibility Needs: If you want to maintain the option for both open-air and covered outdoor experiences, a retractable awning gives you that flexibility. You can enjoy full sun when desired and quickly provide shade or shelter as needed.
- Council Regulations: If obtaining permits for a permanent roof seems too complicated or costly, pergolas and awnings may provide a workaround, allowing you to create a functional outdoor space without dealing with strict building codes.
While building a deck with a roof can offer year-round usability and protection from New Zealand’s unpredictable weather, alternatives like pergolas and retractable awnings provide more flexible, stylish, and budget-friendly options. By understanding the pros and cons of each, you can make an informed decision about which solution best suits your outdoor living needs.
FAQs: About How To Build A Deck With Roof NZ
Conclusion
In conclusion, building a deck with a roof in New Zealand involves careful planning, selecting the right materials, understanding local building codes, and following a step-by-step approach to construction. From determining the purpose and design of your deck to choosing durable materials like treated timber and weather-resistant roofing, each decision plays a vital role in the success of your project. Additionally, ensuring compliance with NZ’s building regulations and obtaining necessary consents are crucial steps to avoid any legal issues down the line. Now that you have a clear understanding of the process, it’s time to take the plunge and start planning your ideal outdoor space. Whether you’re looking to create a cozy retreat or an entertainment hub, adding a roof to your deck will enhance its functionality and value. If you have any questions or want to share your own deck-building experience, we’d love to hear from you in the comments below!
Find A Professional Decking Company Near You!
- Balcony Construction Christchurch
- Deck Builders Alexandra
- Deck Builders Alexandra, Clyde & Cromwell
- Deck Builders Auckland
- Deck Builders Central Otago
- Deck Builders Christchurch
- Deck Builders Clyde
- Deck Builders Cromwell
- Deck Builders Hamilton
- Deck Builders Hawkes Bay
- Deck Builders Invercargill
- Deck Builders Kapiti Coast
- Deck Builders Kerikeri
- Deck Builders Lower Hutt
- Deck Builders Nelson
- Deck Builders New Plymouth
- Deck Builders Paihia
- Deck Builders Palmerston North
- Deck Builders Porirua
- Deck Builders Queenstown
- Deck Builders Taupo
- Deck Builders Tauranga
- Deck Builders Upper Hutt
- Deck Builders Wanaka
- Deck Builders Warkworth
- Deck Builders Wellington
- Deck Builders West Auckland
- Deck Staining Palmerston North
About the Author:
Mike Veail is a recognized digital marketing expert with over 6 years of experience in helping tradespeople and small businesses thrive online. A former quantity surveyor, Mike combines deep industry knowledge with hands-on expertise in SEO and Google Ads. His marketing strategies are tailored to the specific needs of the trades sector, helping businesses increase visibility and generate more leads through proven, ethical methods.
Mike has successfully partnered with numerous companies, establishing a track record of delivering measurable results. His work has been featured across various platforms that showcase his expertise in lead generation and online marketing for the trades sector.
Learn more about Mike's experience and services at https://theleadguy.online or follow him on social media: