Welcome to your ultimate guide on navigating the costs of tiling your shower, a key consideration for any homeowner looking to enhance their bathroom’s beauty and functionality. Understanding the intricate balance between aesthetics, durability, and budget can be daunting, but fear not. We’re here to walk you through every aspect of the tiling process, from selecting the perfect tiles to fit your style and needs to breaking down the costs involved in materials and labor, and even sharing insider tips on how to save money without compromising on quality. Whether you’re contemplating a DIY project or planning to hire professionals, this comprehensive guide promises to arm you with the knowledge you need to make informed decisions and transform your shower space into a refreshing oasis, all while keeping an eye on the bottom line. For professional help, contact experienced building contractors in your area.
On average, tiling your shower can cost anywhere from $1,000 to $3,000, with the total price influenced by factors such as the size of your shower, the type of tiles you select, the complexity of the design, and labor costs. Ceramic and porcelain tiles are typically more affordable, with prices ranging from $0.50 to $15 per square foot, while luxury options like natural stone may cost as much as $20 per square foot. Labor charges can vary, often falling between $10 to $20 per square foot, depending on your location and the intricacies of the job. Keep in mind, that additional expenses may arise from necessary prep work, including waterproofing and surface leveling. Opting for more budget-friendly materials and considering a DIY approach for simpler projects can help lower the overall cost of tiling your shower.
- Understanding The Basics Of Shower Tiling
- Factors Influencing The Cost Of Tiling Your Shower
- Step-By-Step Breakdown Of The Tiling Process
- Cost Breakdown: Materials, Labor, And Unexpected Expenses
- How To Save Money On Your Shower Tiling Project
- FAQs: About How Much Does It Cost To Tile Your Shower
- Conclusion
- Find A Professional Plumbing Company Near You
Understanding The Basics Of Shower Tiling
Creating a serene and inviting shower space goes beyond choosing the right showerhead or paint color; it’s about ensuring every element works in harmony to provide both functionality and style. One pivotal aspect of shower design that often takes the limelight for both practical and aesthetic reasons is the tiling. Understanding the basics of shower tiling can guide you to make informed decisions, transforming your shower from a mere functional space into a personal sanctuary.
What is Shower Tiling?
Shower tiling refers to the process of installing tiles on the walls, floors, and sometimes ceilings of showers. This method not only enhances the shower’s visual appeal but also serves as a practical solution for water resistance and ease of cleaning. Tiled showers offer a significant advantage over painted or wallpapered bathrooms due to their durability and resistance to the humid and wet conditions typical of bathrooms. Additionally, tiling a shower opens up a plethora of design possibilities, allowing homeowners to customize their space to reflect their personal style and taste.
Types of Tiles Commonly Used in Showers
When it comes to selecting the perfect tile for your shower, the options can seem endless. However, most choices boil down to a few key materials, each with its benefits and considerations, especially regarding cost.
Ceramic Tiles: Known for their versatility and affordability, ceramic tiles are a popular choice for showers. They come in a wide range of colors and patterns, making them suitable for almost any design theme. Ceramic tiles are easier to cut and install, which can help keep installation costs down.
Porcelain Tiles: A type of ceramic tile that is denser, more water-resistant, and tougher. Porcelain tiles are an excellent choice for showers because they withstand heavy foot traffic and are less prone to water damage. Though they tend to be more expensive than ceramic tiles, their durability often justifies the higher cost.
Stone Tiles: Including options like marble, granite, and slate, stone tiles bring a touch of luxury and natural beauty to any shower. Each piece is unique, adding character and depth to your shower space. Stone tiles require more maintenance and are generally more expensive than ceramic or porcelain tiles, both in terms of material and installation costs, due to their need for sealing to prevent water absorption.
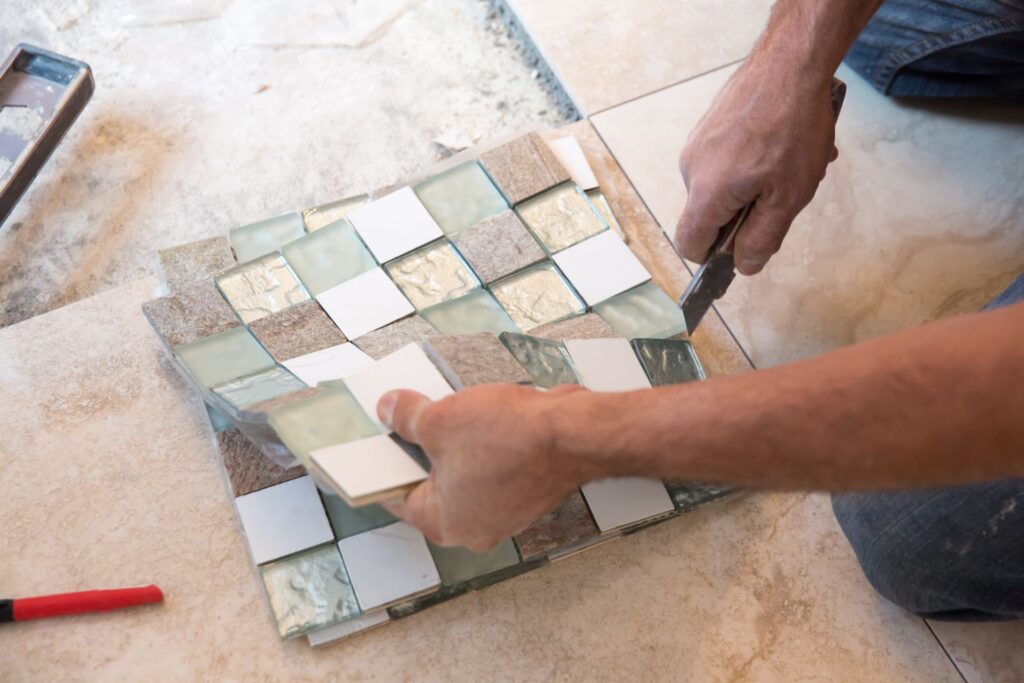
Glass Tiles: Offering a modern and sleek look, glass tiles can make a shower appear brighter and larger by reflecting light. They are available in a vast array of colors and finishes. Glass tiles are on the higher end of the cost spectrum, not only because of the material cost but also due to the complexity of installation.
Why Tile Your Shower?
Opting to tile your shower comes with a multitude of benefits:
Durability: Tiles, especially porcelain and stone, are incredibly durable. They can withstand the rigors of daily use without showing signs of wear and tear for many years, making them a cost-effective choice in the long run.
Aesthetic Appeal: The variety of colors, patterns, and materials available in tiles means you can create a unique look that complements your bathroom’s decor. Whether you’re going for a sleek, modern look or a warm, rustic feel, there’s a tile that can help you achieve your vision.
Water Resistance: Tiles offer an excellent barrier against water, preventing damage to the walls and floor of your shower. When properly installed and sealed, tiles can help avoid mold and mildew growth, ensuring a clean and healthy environment.
Understanding the basics of shower tiling is crucial for anyone looking to remodel their bathroom or build a new one. By considering the types of tiles available and their benefits, you can create a shower space that is not only beautiful but also functional and durable.
Factors Influencing The Cost Of Tiling Your Shower
When considering a bathroom renovation, one of the pivotal aspects is tiling the shower area. This can dramatically change the appearance of your bathroom but also comes with its own set of factors that influence the overall cost. Understanding these factors is crucial for homeowners to budget effectively and make informed decisions. Here’s a breakdown of what you need to know:
Size of the Shower Area
The size of your shower area is a fundamental factor in determining the cost of tiling. Essentially, the larger the area, the more tiles you’ll need, and consequently, the higher the material costs. Furthermore, a larger area means more time and labor will be required to install the tiles, increasing the labor costs. It’s important to measure your shower area accurately to get a realistic estimate of the cost involved.
Type of Tile Chosen
Tiles come in a vast range of materials, each with its own price point. For example, ceramic tiles are generally more affordable and offer a wide variety of designs and colors. On the other hand, natural stone tiles, such as marble or granite, are on the pricier side but add a luxurious feel to your bathroom. Porcelain tiles are another popular option, known for their durability and water resistance, but they can be more expensive than ceramic tiles. The choice of tile material will significantly impact the overall cost of your project.
Complexity of the Design
The design complexity is another crucial factor. If you opt for a simple, straight-lay pattern, the labor costs will be relatively lower. However, intricate designs involving patterns, accents, or custom details will require more time and skill to install, leading to higher labor costs. Moreover, specialized designs might also lead to more waste as tiles may need to be cut to fit specific patterns, further increasing the cost.
Labor Costs
Labor costs can vary widely depending on several factors. The geographic location of your property is a significant factor; areas with a higher cost of living typically have higher labor rates. The expertise of the contractor you choose also plays a role. Experienced contractors who specialize in tile installation may charge more, but the quality of work can justify the extra cost. Additionally, the duration of the project will affect labor costs; more complex or larger projects will take longer to complete and be more expensive in terms of labor.
Preparation Work Required
Before the actual tiling begins, the shower area needs to be properly prepared. This might involve waterproofing, leveling the surface, or other prep work. The condition of the existing surface can greatly affect the extent of this preparation. Neglecting these steps can lead to water damage and costly repairs down the line, so it’s essential to factor these into your budget. The cost of preparation work will vary based on the current state of your bathroom and the requirements of your chosen tile material.
In conclusion, several factors influence the cost of tiling your shower area. By understanding these aspects, you can set a realistic budget and make choices that align with your design preferences and financial constraints. It’s always advisable to get multiple quotes from contractors and carefully consider the materials and design to ensure that your renovated shower not only looks great but also offers value for money.
Step-By-Step Breakdown Of The Tiling Process
Embarking on a DIY project, such as tiling a shower area, can be both an exciting and daunting task. However, with the right guidance and a step-by-step approach, it becomes manageable and even enjoyable. Whether you’re a seasoned DIY enthusiast or a novice, understanding each phase of the tiling process is crucial for achieving a professional-looking finish. In this comprehensive guide, we’ll walk you through the entire tiling process, from the initial assessment to post-installation care, ensuring your project is a success.
Initial Assessment and Measurements
The first step in any tiling project is to conduct a thorough assessment of the area to be tiled and take precise measurements. This stage is foundational, setting the tone for the entire project. It involves inspecting the walls and floors for any damage, uneven surfaces, or moisture issues that may affect the adherence and longevity of the tiles. Accurate measurements are crucial; they determine the quantity of tiles and materials needed, thereby preventing waste and ensuring you stay within budget. It’s advisable to measure the area more than once to guarantee accuracy. Remember, a meticulous start is key to a flawless finish.
Preparation of the Shower Area
Once the initial assessment is complete, the next step is to prepare the shower area for tiling. This preparation is multi-faceted, involving cleaning, leveling, and waterproofing. Start by removing any existing tiles, fixtures, or debris. Next, ensure the surface is level and smooth; this might require filling in holes or sanding down uneven areas. Waterproofing is a critical step in this phase. Applying a waterproof membrane prevents water damage and mold growth, ensuring the durability of your work. This stage requires patience and attention to detail, as proper preparation is critical to the success of the tiling project.
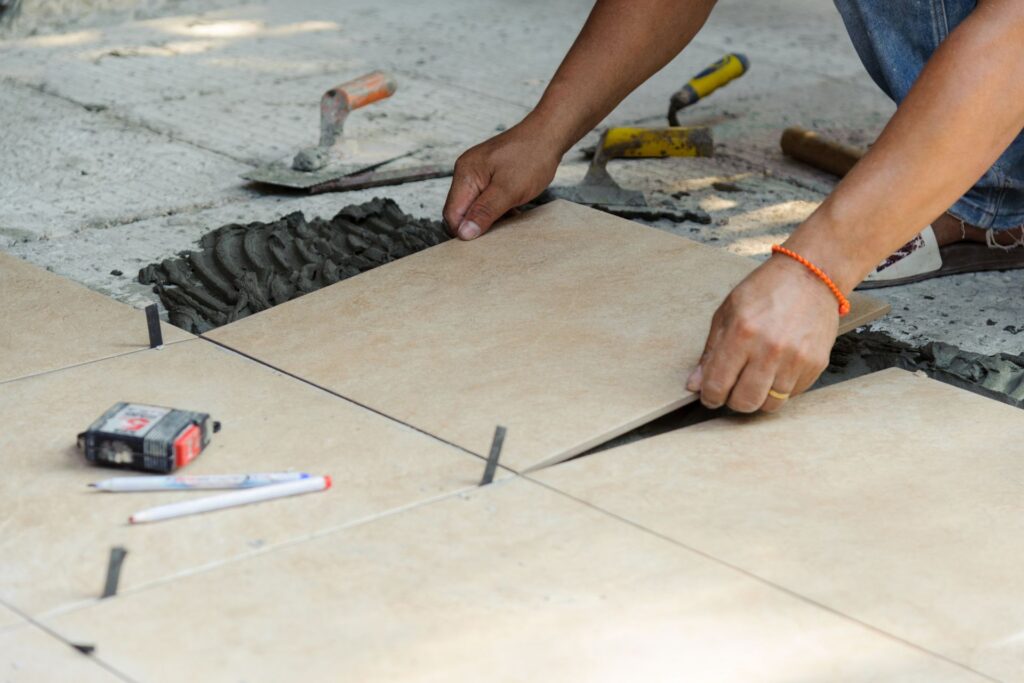
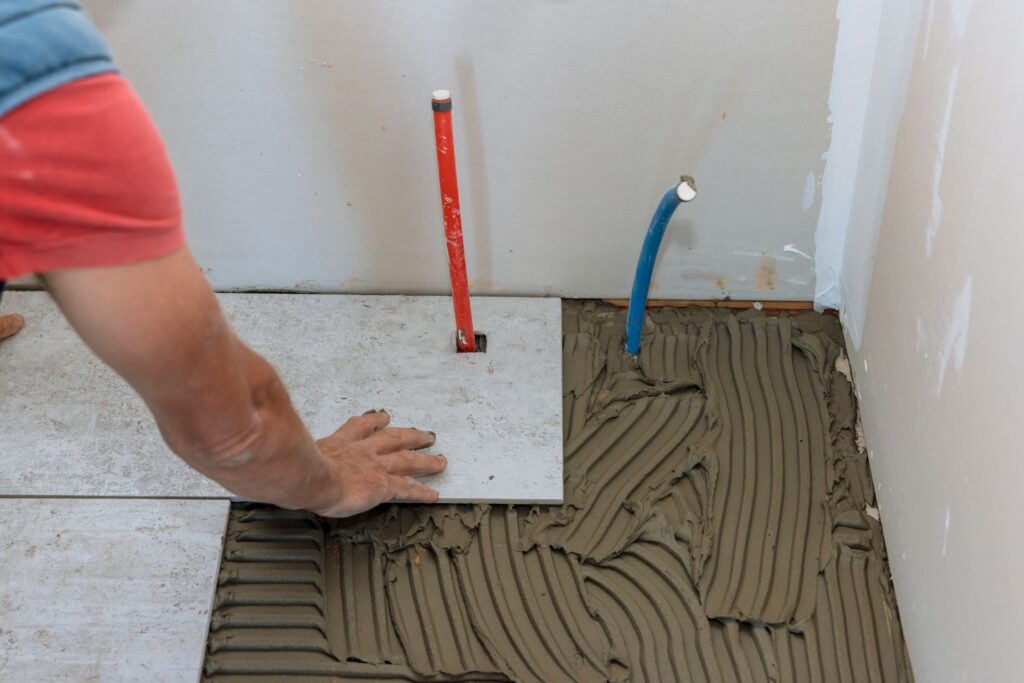
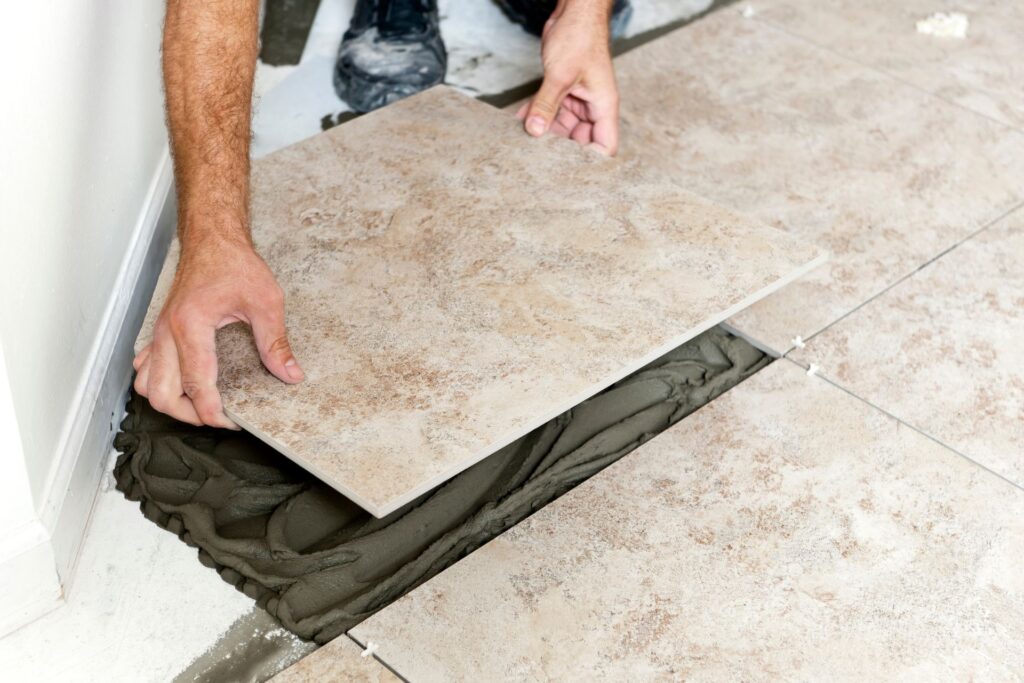
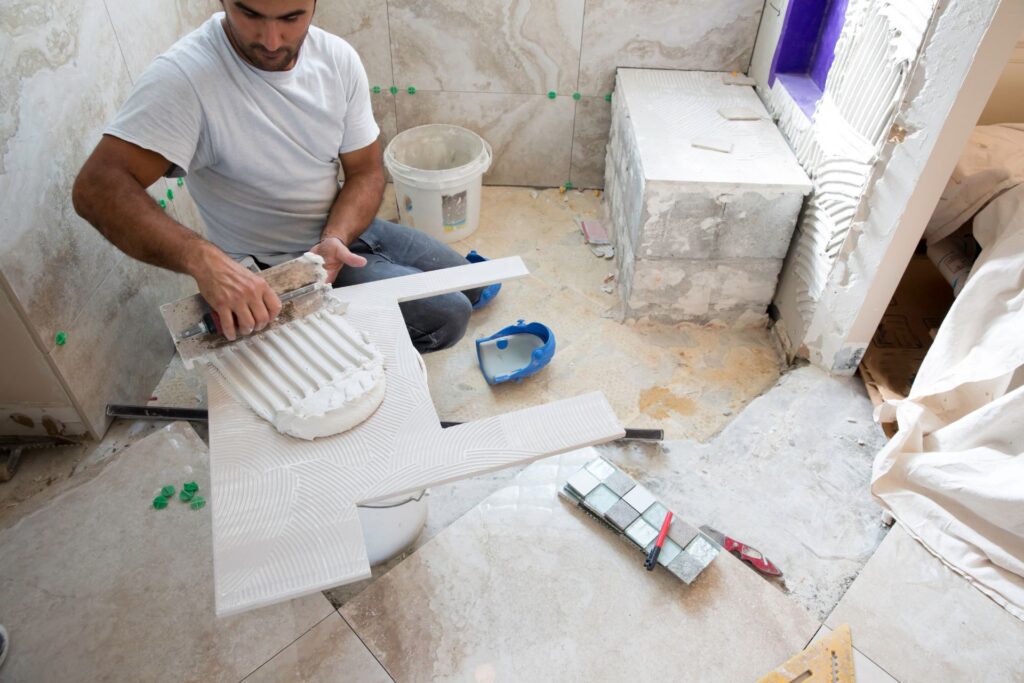
Installation of Tiles
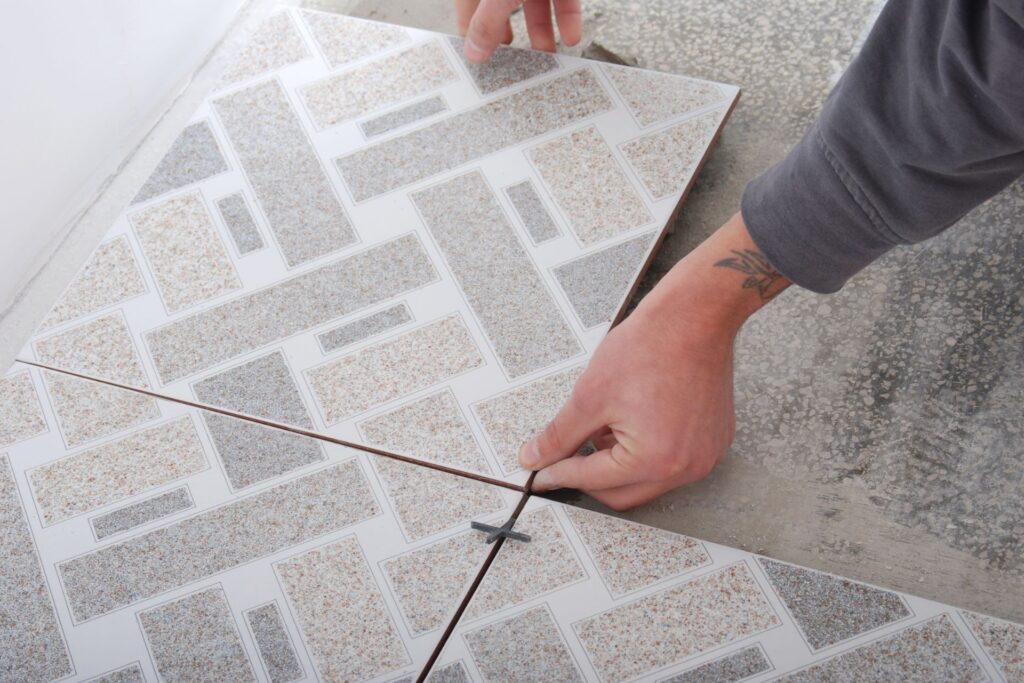
With the area prepared, you’re now ready to begin the actual tiling. This phase is where your project starts to take shape visually. Begin by laying out your tiles to decide on the pattern and orientation. Then, using a notched trowel, apply tile adhesive to the surface, working in small sections to prevent it from drying out. Place the tiles carefully, using spacers to ensure even gaps for grouting later. It’s essential to use the right techniques to ensure the tiles are level and aligned. Cutting tiles to fit around corners and fixtures requires patience and the right tools, such as a wet saw or tile cutter. This phase is not just about adhering tiles to a surface; it’s an art that demands precision and care.
Grouting and Sealing
After the tiles are installed and the adhesive has set, it’s time to apply grout. Grouting fills the spaces between tiles, locking them in place and preventing water penetration. Choose a grout color that complements your tiles, enhancing the overall look of your shower area. Once the grout has been applied and has dried, sealing is the next critical step. Sealing the grout lines creates a waterproof barrier and makes your shower easier to clean, maintaining its appearance over time. This stage is about protecting your investment and ensuring the longevity of your tiling work.
Post-Installation Care
Finally, understanding how to care for your newly tiled shower will keep it looking beautiful and functioning well for years to come. Regular cleaning with the right products is essential; avoid harsh chemicals that can damage the tiles or grout. Sealing the tiles and grout periodically can also extend their lifespan and maintain their appearance. Paying attention to this final step ensures that your hard work pays off in the long run, keeping your shower area both beautiful and durable.
Embarking on a shower tiling project requires thorough preparation, precision, and care at every step. By following this detailed guide, you’re well on your way to achieving a beautifully tiled shower that you can be proud of. Remember, each phase, from the initial assessment to post-installation care, plays a vital role in the project’s success.
Cost Breakdown: Materials, Labor, And Unexpected Expenses
When embarking on any project, understanding the cost breakdown is crucial for effective budget management and planning. This section will explore the intricacies of materials, labor, and additional unexpected expenses that can arise, providing you with a comprehensive overview to navigate the financial landscape of your project.
Materials: The Foundation of Your Project
The cornerstone of any project, materials encompass all the tangible items required to complete the work. From construction beams to paint and screws, the list can be extensive and varied, depending on the nature of the project. Here, we provide a detailed list of common materials along with their average prices, offering a foundational understanding that aids in budget planning. It’s important to note that material costs can fluctuate based on quality, quantity, and market dynamics, making it essential to conduct thorough research or consult with suppliers for the most accurate estimates.
Labor: The Human Element
Labor costs represent the financial compensation for the workforce needed to execute the project. This includes wages for skilled and unskilled labor, which can vary significantly based on the project’s complexity, duration, and geographical location. Factors influencing labor costs include the level of expertise required, union affiliations, and the labor market conditions at the time of the project. Understanding these factors can help you estimate labor costs more accurately and plan your budget accordingly.
Additional Expenses: Preparing for the Unexpected
No project is immune to surprises, and additional expenses can emerge in various forms, such as repairs, upgrades, and waste removal. These unexpected costs often stem from unforeseen complications or changes in project scope, requiring additional materials, labor, or specialized services. Planning for these potential expenses is crucial, as they can significantly impact the overall budget if not anticipated. Allocating a contingency fund within your budget can provide a financial cushion, ensuring you’re prepared for any surprises along the way.
A thorough cost breakdown is instrumental in successfully managing and completing any project. By gaining an in-depth understanding of the materials, labor, and potential unexpected expenses involved, you can create a more accurate and realistic budget. This not only helps in minimizing financial stress but also ensures that you are better prepared for any challenges that may arise during the project’s lifecycle. Remember, the key to effective project management lies in meticulous planning, research, and flexibility to adapt to changing circumstances.
How To Save Money On Your Shower Tiling Project
Embarking on a shower tiling project can transform your bathroom from mundane to marvelous. However, without proper planning and insight, the cost can quickly escalate. In this guide, we’ll explore how to strike the perfect balance between affordability and quality for your shower tiling project, ensuring you achieve that dream bathroom without breaking the bank.
DIY vs. Professional Installation: Finding Your Best Fit
Assess Your Skill Level: Before diving into the project, it’s crucial to realistically assess your DIY skills. Tiling requires precision; a slight error can lead to water leakage or uneven tiles, which are costly to rectify. If you have experience with similar projects and feel confident in your abilities, going the DIY route can significantly reduce labor costs.
Consider the Complexity of the Project: A straightforward tile installation might be within the grasp of a skilled DIY enthusiast. However, if your project involves intricate patterns or special materials, hiring professionals might be the better option. Professionals bring expertise that ensures the job is done correctly and efficiently, which can save you money in the long run by avoiding expensive mistakes.
Weigh the Pros and Cons: DIY projects can be rewarding and cost-effective, but they also carry risks. Mistakes can be costly and time-consuming to fix. Professional installations, while more expensive upfront, come with the assurance of quality and often a warranty.
Choosing Cost-Effective Tiles Without Sacrificing Quality
Research Your Options: The market is flooded with a wide range of tiles in various materials, sizes, and finishes. Porcelain and ceramic tiles are popular for their durability and affordability. While luxury materials like natural stone can be tempting, they often come with a higher price tag and additional maintenance requirements.
Look for Deals and Overstock: Manufacturers and retailers often have sales or discounted prices on overstock items. These tiles are the same high quality but may be from discontinued lines or overproduced stock. This is a great way to snag high-end tiles at a fraction of the cost.
Consider the Long-Term: Investing in quality tiles can save money over time. High-quality tiles will last longer and look better, reducing the need for repairs or replacements.
Where to Shop for Tiles and Materials: Unlocking the Best Deals
Local vs. Online Retailers: Don’t limit your shopping to local hardware stores. Online retailers often offer competitive prices and a wider selection. However, shipping costs can add up, so it’s important to calculate the total cost before making a decision.
Wholesale and Direct from Manufacturer: Purchasing directly from the manufacturer or through wholesale outlets can offer substantial savings, especially for large projects. These options might require more research and legwork but can result in significant cost reductions.
Leverage Sales and Discounts: Keep an eye out for seasonal sales, clearance events, and promotional discounts. Signing up for newsletters and following your favorite stores on social media can alert you to upcoming deals.
Saving money on your shower tiling project doesn’t mean you have to compromise on quality. By carefully considering the DIY vs. professional installation decision, selecting cost-effective materials without sacrificing durability and aesthetics, and smart shopping for tiles and materials, you can achieve a stunning bathroom transformation within your budget. Remember, thorough research and planning are your best tools for navigating this project successfully and cost-effectively.
FAQs: About How Much Does It Cost To Tile Your Shower
Conclusion
In wrapping up our comprehensive guide on shower tiling, it’s essential to revisit the crucial insights shared throughout this discussion. Highlighting the delicate balance between affordability and premium quality, we’ve underscored the significance of making informed choices to ensure your shower space not only looks stunning but also stands the test of time. Whether you’re embarking on a daring DIY venture or leaning towards the expertise of seasoned professionals, the journey to transforming your shower area is one that demands careful consideration and a keen eye for detail. So, we warmly encourage you to take the next step—armed with the knowledge and confidence gleaned from our exploration—to create a shower space that beautifully mirrors your taste, budget, and lifestyle aspirations.
Find A Professional Plumbing Company Near You
- Hot Water Cylinder Installation Auckland
- Hot Water Cylinder Installation Hamilton
- Hot Water Cylinder Installation Wellington
- Hot Water Cylinder Repairs Auckland
- Hot Water Cylinder Repairs Hamilton
- Local Plumbers Auckland
- Local Plumbers Hamilton
- Local Plumbers Whangarei
- Plumbers Wanganui
- Shower Installation Services Auckland
- Shower Installation Services Hamilton
- Water Pump Installers Auckland
- Water Tank Installers Auckland
About the Author:
Mike Veail is a recognized digital marketing expert with over 6 years of experience in helping tradespeople and small businesses thrive online. A former quantity surveyor, Mike combines deep industry knowledge with hands-on expertise in SEO and Google Ads. His marketing strategies are tailored to the specific needs of the trades sector, helping businesses increase visibility and generate more leads through proven, ethical methods.
Mike has successfully partnered with numerous companies, establishing a track record of delivering measurable results. His work has been featured across various platforms that showcase his expertise in lead generation and online marketing for the trades sector.
Learn more about Mike's experience and services at https://theleadguy.online or follow him on social media: