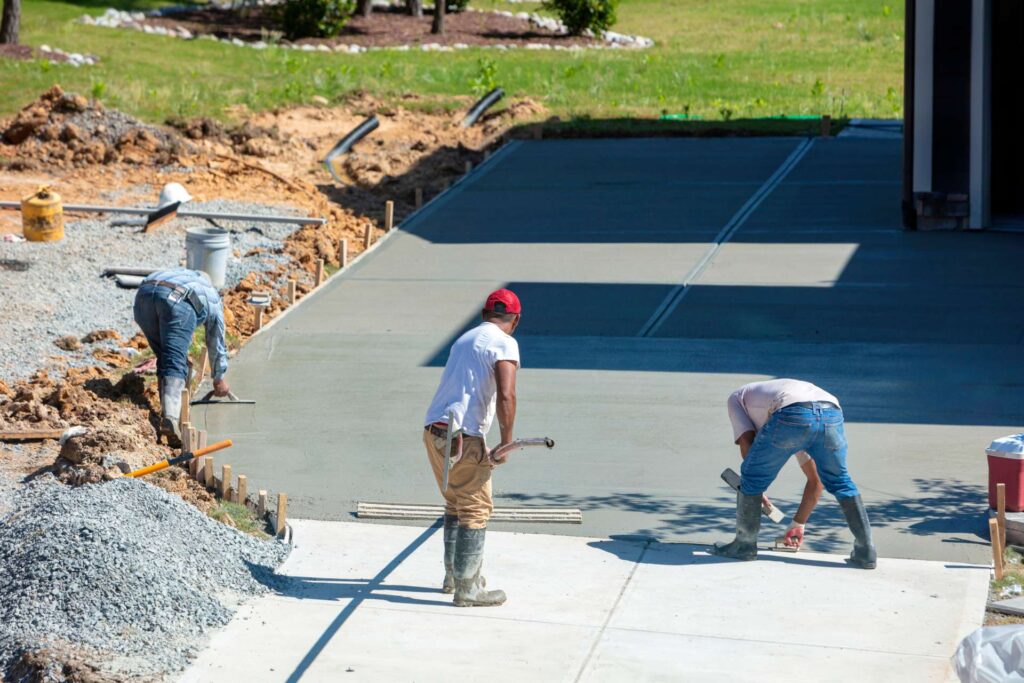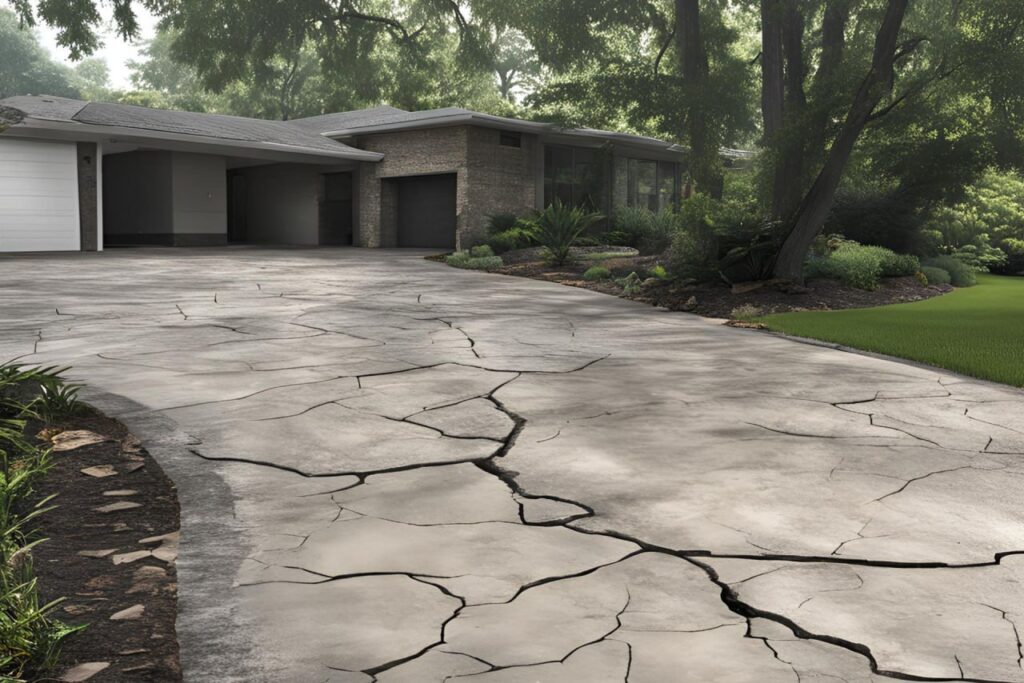
Welcome to our comprehensive guide on repairing an old cracked concrete driveway! Whether you’re dealing with minor hairline fractures or larger structural issues, cracked driveways can be an eyesore and a potential hazard. In this blog post, we’ll walk you through the step-by-step process of fixing those cracks, ensuring your driveway looks great and remains functional. From understanding the types and causes of cracks to gathering the necessary materials and tools, we’ve got you covered. You’ll learn how to assess the damage, perform DIY repairs, and know when it’s time to call in a professional. Let’s get started on revitalizing your driveway and protecting your home’s curb appeal. For professional help, contact experienced concrete specialists in your area.
To repair an old cracked concrete driveway, start by cleaning the crack thoroughly to remove debris. For minor cracks, apply a concrete patching compound and smooth it out with a trowel. For larger cracks, widen the crack with a chisel, fill it with a concrete mix, and compact it to eliminate air pockets. After the repair, allow it to dry completely, and then apply a sealant to protect against future damage. Regular maintenance, such as sealing and cleaning, can prevent new cracks from forming. For extensive damage, consider hiring a professional to ensure long-lasting results.
Understanding The Problem
Types of Cracks
Concrete driveways can develop various types of cracks, each indicating different issues and requiring specific approaches for repair.
1. Hairline Cracks: These are very fine cracks, often less than 1/8 inch wide, and typically appear on the surface of the concrete. Hairline cracks are usually caused by rapid drying of the concrete or minor shrinkage as the concrete cures. While they may not pose a significant structural threat, they can allow moisture to seep in, potentially leading to further damage over time.
2. Shrinkage Cracks: Similar to hairline cracks, shrinkage cracks occur as the concrete dries and loses moisture. They can vary in width and depth but are generally superficial. These cracks form due to the natural contraction of concrete as it cures, especially if the mix has too much water or if it dries too quickly.
3. Settlement Cracks: These cracks are caused by the movement of the ground beneath the concrete. As the soil settles or shifts, it can create voids under the driveway, leading to cracks that are often wider and more irregular than shrinkage cracks. Settlement cracks can indicate underlying soil problems that may need to be addressed to prevent further damage.
4. Structural Cracks: These are the most serious types of cracks and can compromise the integrity of your driveway. Structural cracks are usually wider and deeper, often caused by heavy loads, significant soil movement, or poor construction practices. They can run through the entire thickness of the concrete and may continue to grow if not properly repaired.
Causes of Cracks
Understanding the causes of cracks can help in both preventing and effectively repairing them.
1. Weather Conditions: Extreme weather conditions, such as freeze-thaw cycles, can cause concrete to expand and contract, leading to cracks. In cold climates, water can seep into cracks and freeze, causing the concrete to expand and further crack.
2. Heavy Loads: Concrete driveways are designed to withstand a certain amount of weight, but excessive loads, such as heavy trucks or equipment, can exceed this capacity and cause the concrete to crack.
3. Tree Roots: Tree roots growing under or near the driveway can exert pressure on the concrete, leading to cracks and uneven surfaces. As roots grow and expand, they can lift and break the concrete above them.
4. Soil Movement: The soil beneath the driveway can shift due to various factors, including moisture changes, erosion, and settling. This movement can create voids and uneven support for the concrete, leading to cracks and structural issues.
Assessing the Damage
Evaluating the extent of the damage is crucial in determining the appropriate repair method and whether professional assistance is needed.
1. Visual Inspection: Start by closely inspecting the cracks. Note their width, depth, and length, as well as any patterns or locations that might indicate underlying issues. Hairline and minor shrinkage cracks can often be repaired with DIY methods, while wider and deeper cracks may require professional intervention.
2. Measuring Cracks: Use a measuring tape or crack gauge to determine the width and depth of the cracks. Cracks wider than 1/4 inch or those that are deep enough to reach the base of the driveway typically indicate more serious structural issues.
3. Checking for Movement: Press down on either side of the crack to see if there is any movement. Movement suggests that the soil underneath might be unstable, indicating a potential need for more extensive repair work.
4. Assessing Surrounding Areas: Look for other signs of damage, such as uneven surfaces, pooling water, or nearby tree roots. These can provide clues about the underlying causes of the cracks and whether additional measures, such as soil stabilization or tree root management, are needed.
By thoroughly understanding the types and causes of driveway cracks, and accurately assessing the damage, you can make informed decisions about the best repair methods. Whether opting for a DIY approach or seeking professional help, addressing cracks promptly can prevent further deterioration and extend the lifespan of your driveway.

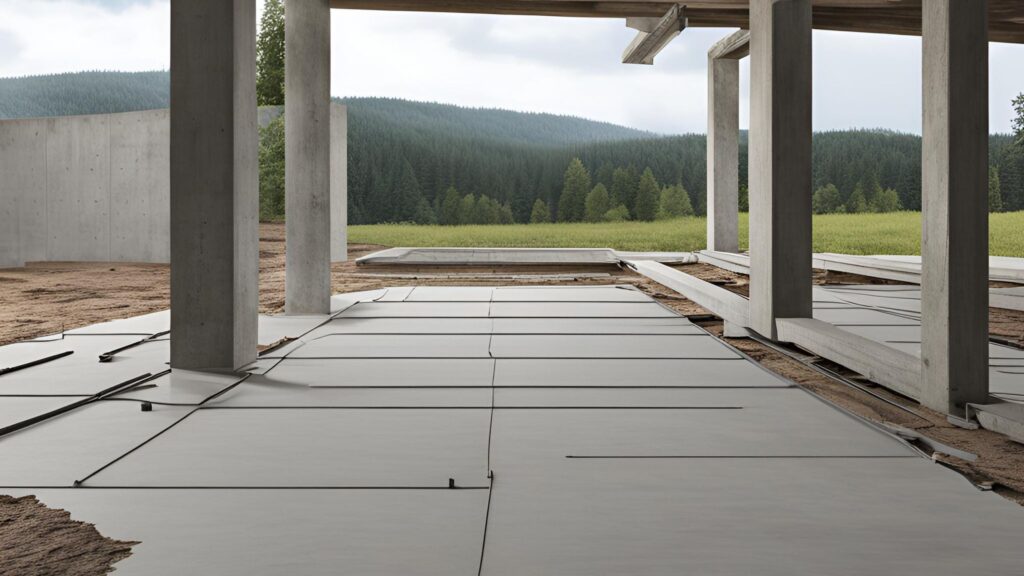
Preparing For The Repair
Gathering Materials and Tools
Before you begin repairing your cracked concrete driveway, it’s essential to gather all the necessary materials and tools. Here’s a list of what you’ll need
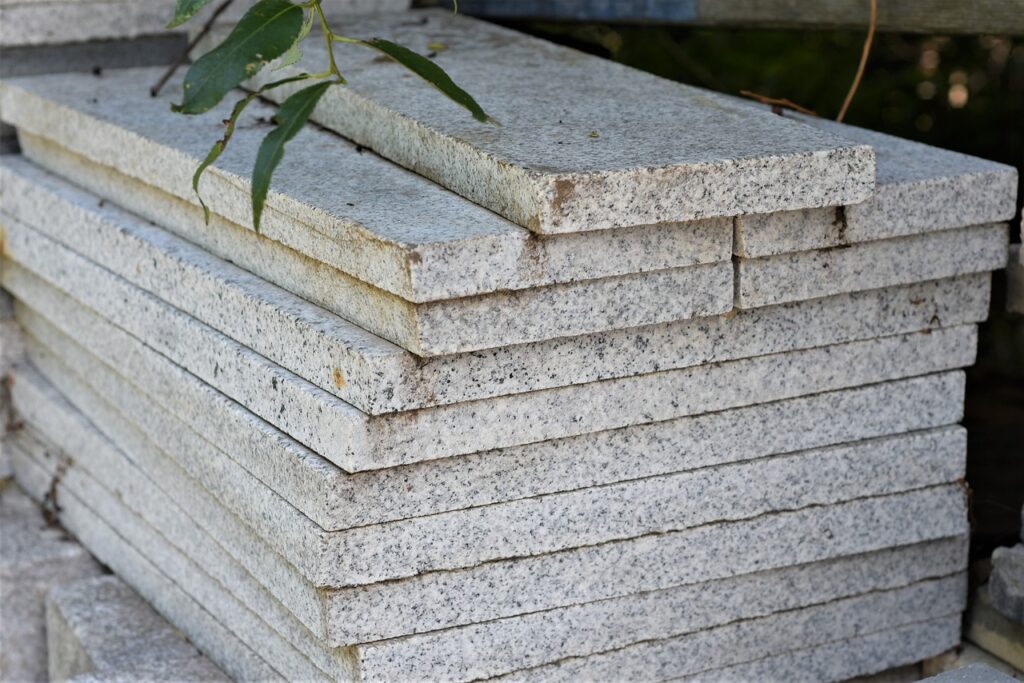
Concrete Patching Compound: This is a specialized material designed to fill and repair cracks in concrete surfaces. Make sure you choose a high-quality compound suitable for the size and depth of your cracks.
Sealant: After patching the cracks, you’ll need a concrete sealant to protect the repaired area from moisture and further damage. Opt for a durable, weather-resistant sealant.
Chisel and Hammer: These tools are crucial for removing any loose or damaged concrete from the crack, ensuring a clean surface for the patching compound.
Trowel: A trowel will help you apply the patching compound smoothly and evenly into the crack.
Wire Brush: This tool is useful for cleaning out smaller debris from the crack.
Bucket and Water: You’ll need these for mixing the patching compound and cleaning the area.
Pressure Washer: If you have access to one, a pressure washer can be extremely effective in cleaning the area around the crack.
Having all these materials and tools ready before you start will make the repair process more efficient and help ensure a long-lasting fix.
Safety Precautions
Safety should always be your top priority when working on any home improvement project, especially when dealing with concrete repairs. Here are some important safety precautions to keep in mind
Wear Protective Gear: Always wear gloves, safety glasses, and a mask to protect yourself from dust, debris, and chemicals. Concrete dust can be harmful if inhaled, and the chemicals in the patching compound and sealant can be irritating to the skin and eyes.
Work in a Well-Ventilated Area: If you’re working indoors or in an enclosed space, make sure there’s adequate ventilation. This helps to disperse any fumes from the sealant and ensures you have fresh air.
Handle Tools with Care: Use tools like the chisel and hammer carefully to avoid injury. Make sure your work area is stable and well-lit to prevent accidents.
By following these safety precautions, you can protect yourself and ensure a smooth, hazard-free repair process.
Cleaning the Area
Properly cleaning the cracked area is a crucial step to ensure that the repair materials adhere effectively. Here’s how to do it
Remove Loose Debris: Start by using a chisel and hammer to chip away any loose or crumbling concrete from the crack. This will create a clean edge for the patching compound to bond to.
Brush Out Small Debris: Use a wire brush to scrub out any smaller pieces of debris and dust from the crack. This step helps to clear out particles that could interfere with the adhesion of the patching compound.
Pressure Wash the Area: If possible, use a pressure washer to thoroughly clean the area around the crack. The high-pressure water will remove dirt, grime, and any remaining loose particles. If you don’t have a pressure washer, you can use a garden hose with a high-pressure nozzle.
Dry the Area Completely: Before applying the patching compound, ensure the area is completely dry. Moisture can prevent the compound from adhering properly and can lead to future cracks.
Cleaning the area meticulously prepares the surface for the best possible adhesion, ensuring that your repair will be durable and long-lasting.
By gathering the right materials and tools, adhering to safety precautions, and thoroughly cleaning the area, you’ll be well-prepared to tackle the task of repairing your cracked concrete driveway. Taking these steps seriously will lead to a more effective and lasting repair, restoring the appearance and functionality of your driveway.

Repairing Minor Cracks
When it comes to maintaining your concrete driveway, addressing minor cracks early can prevent more significant issues down the road. Here’s a comprehensive, easy-to-follow guide to help you repair small cracks and keep your driveway looking pristine.
Step-by-Step Guide
Cleaning the Crack
The first step in repairing any crack is to clean it thoroughly. Use a wire brush or a concrete cleaner to remove any loose debris, dirt, or vegetation from the crack. This ensures that the patching compound adheres properly. For a deeper clean, you can use a pressure washer, but make sure the crack is completely dry before moving on to the next step.
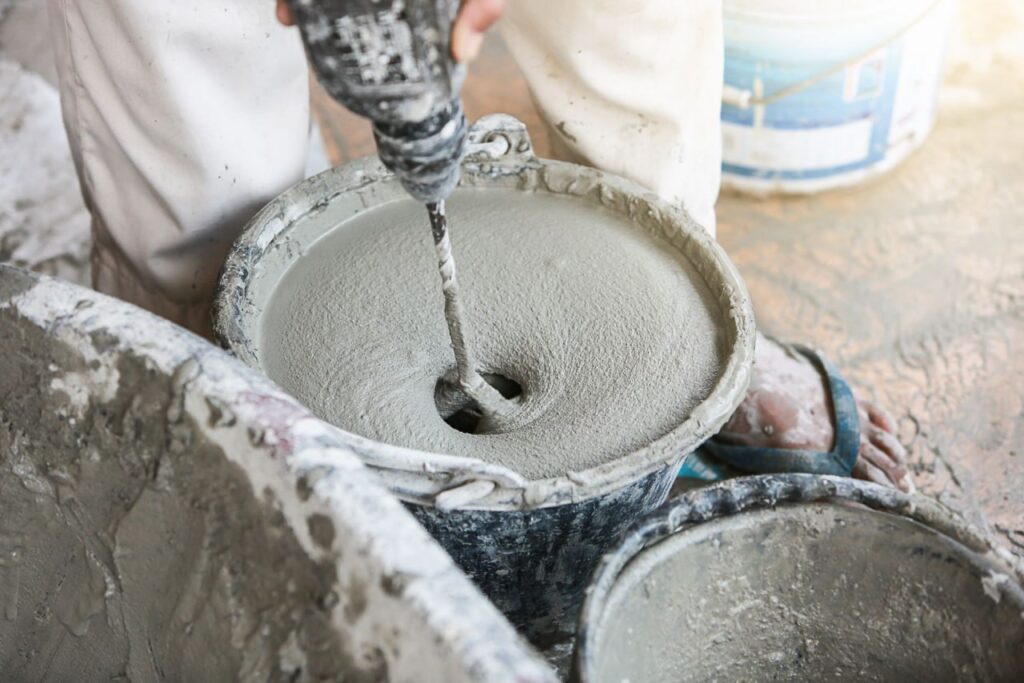
Applying the Concrete Patching Compound
Once the crack is clean and dry, it’s time to apply the patching compound. Choose a high-quality concrete patching compound designed for small cracks. Use a trowel or a putty knife to fill the crack with the compound. Make sure to push the compound deep into the crack to ensure a solid repair.
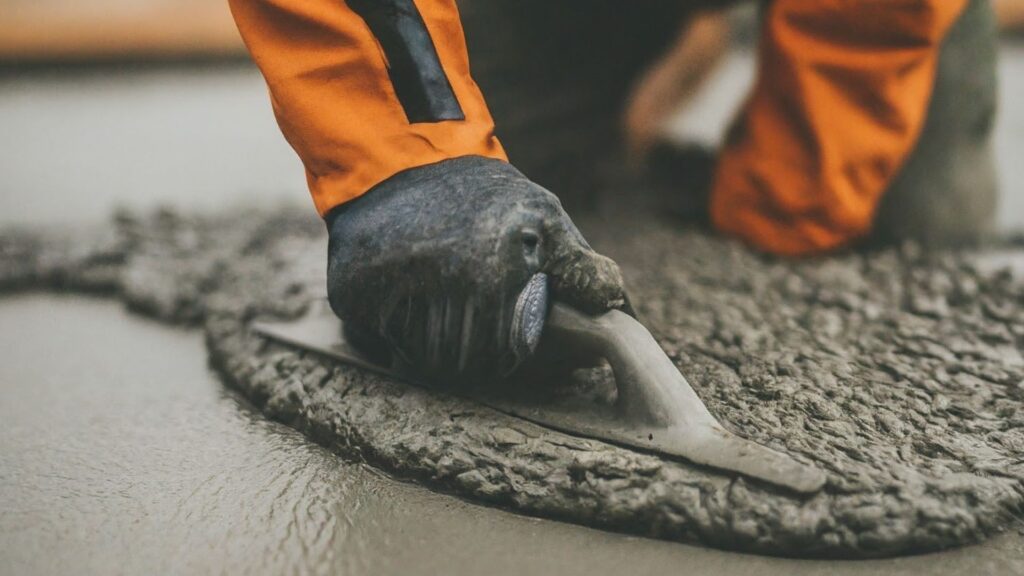
Smoothing and Leveling the Patch
After filling the crack, smooth and level the patch with a trowel. It’s essential to blend the patch with the surrounding concrete to maintain a uniform appearance. Smooth out any excess compound, and ensure the patch is level with the driveway surface. This step not only enhances the aesthetic appeal but also prevents the patch from becoming a tripping hazard.
Allowing Adequate Drying Time
The final step is to allow the patch to dry completely. Drying times can vary depending on the product used and weather conditions, but it’s typically best to wait at least 24 hours before using the driveway. During this time, keep the area protected from foot traffic, vehicles, and water to ensure a strong, durable repair.
Pro Tips
To achieve the best results and ensure your repair lasts, consider these additional tips
Use a Bonding Agent: Applying a concrete bonding agent to the crack before the patching compound can enhance adhesion, ensuring a more durable repair.
Work in Cool, Dry Conditions: Extreme temperatures and high humidity can affect the curing process. Aim to work on a day with mild weather to achieve the best results.
Feather the Edges: When smoothing the patch, feather the edges to blend seamlessly with the surrounding concrete. This helps maintain the aesthetic integrity of your driveway.
Seal the Repair: After the patch has fully dried, apply a concrete sealant to protect the repair from future damage. This is particularly important in areas with harsh weather conditions or heavy traffic.
Regular Maintenance: Inspect your driveway regularly and address any new cracks promptly. Regular maintenance can prevent minor issues from becoming major problems.
By following this step-by-step guide and incorporating these pro tips, you can effectively repair minor cracks in your concrete driveway. Not only will this improve the appearance of your driveway, but it will also extend its lifespan, saving you time and money in the long run. Keep your driveway in top condition with these simple yet effective repair techniques.

Repairing Large Or Deep Cracks
When it comes to repairing large or deep cracks in your concrete, it’s crucial to approach the task with care to ensure a durable and seamless finish. This section provides a comprehensive, step-by-step guide to help you tackle these repairs effectively, ensuring your concrete surface looks as good as new.
Step-by-Step Guide
Widening the Crack for Better Adhesion
Start by using a hammer and chisel or a concrete saw to slightly widen the crack. This step is essential as it creates a better surface for the patching material to adhere to. Aim for a V-shaped notch, which allows for a stronger bond between the old concrete and the new filler.
Filling with a Suitable Concrete Mix or Patching Material
- Once the crack is adequately widened, clean out any debris or loose material using a wire brush and a vacuum. This ensures that the filler material can adhere properly.
- Prepare a suitable concrete mix or patching material. For larger cracks, a mix with gravel may be necessary to add strength.
- Carefully fill the crack with the prepared mix. Use a trowel to push the material deep into the crack, ensuring there are no gaps or air pockets.
Compacting the Filler to Remove Air Pockets
- As you fill the crack, periodically compact the filler with the end of the trowel or a similar tool. This step is vital to eliminate air pockets that can weaken the repair and cause future problems.
- Continue adding material and compacting until the crack is filled slightly above the level of the surrounding concrete.
Smoothing the Surface and Blending with Existing Concrete
- After filling the crack, use a trowel to smooth the surface. Aim to blend the new material with the existing concrete to create a seamless look.
- If necessary, use a damp sponge to feather the edges and further blend the repair with the surrounding area.
Curing and Sealing
Proper curing and sealing are critical to the longevity of your concrete repair.
Importance of Proper Curing Time
- Curing allows the concrete to reach its full strength. Keep the repaired area moist for at least a week to prevent the new material from drying too quickly and cracking.
- Cover the repair with a plastic sheet or a wet burlap sack to retain moisture. If the weather is hot or windy, you may need to moisten the area several times a day.
Applying a Sealant to Protect the Repair
- Once the curing process is complete, apply a concrete sealant to the repaired area. This sealant helps protect the new patch from moisture, chemicals, and other elements that could cause damage.
- Choose a high-quality sealant suitable for your specific type of concrete and environmental conditions. Apply the sealant according to the manufacturer’s instructions, ensuring even coverage.
By following these detailed steps, you can effectively repair large or deep cracks in your concrete, ensuring a strong and long-lasting finish. Properly addressing these repairs not only enhances the appearance of your concrete but also extends its lifespan, saving you time and money on future maintenance.

Preventative Measures
Regular Maintenance
Keeping your concrete driveway in top condition requires a proactive approach. Regular maintenance is key to preventing future cracks and extending the lifespan of your driveway. Here are some essential practices
1. Sealing: Applying a quality sealer to your driveway is one of the best ways to protect it from the elements. Sealers act as a barrier against water, oil, and other substances that can seep into the concrete and cause damage. It’s recommended to reseal your driveway every 2-3 years.
2. Cleaning: Regular cleaning helps remove debris, dirt, and chemicals that can deteriorate the concrete over time. Use a pressure washer or a garden hose with a high-pressure nozzle to clean the surface thoroughly. For stubborn stains, a concrete cleaner or a mixture of water and mild detergent can be effective.
3. Avoiding Heavy Loads: Concrete driveways are strong, but they have their limits. Avoid parking heavy vehicles or placing extremely heavy objects on your driveway. Overloading can cause stress cracks and other damage. If heavy equipment or vehicles are unavoidable, consider reinforcing the driveway during its initial construction.
Weather Protection
Weather conditions can significantly impact the integrity of your concrete driveway. Taking steps to protect it from extreme weather can prevent damage and reduce maintenance costs.
1. De-icing Products: While de-icing products are useful for keeping your driveway clear of ice and snow, they can be harsh on the concrete. Use them sparingly, and opt for products that are less corrosive. Sand can be a good alternative as it provides traction without causing damage.
2. Covering During Heavy Snow: If you live in an area that experiences heavy snowfall, covering your driveway with a tarp can protect it from the freeze-thaw cycles that cause cracks. This simple step can prevent water from seeping into the concrete and expanding when it freezes, which is a common cause of surface damage.
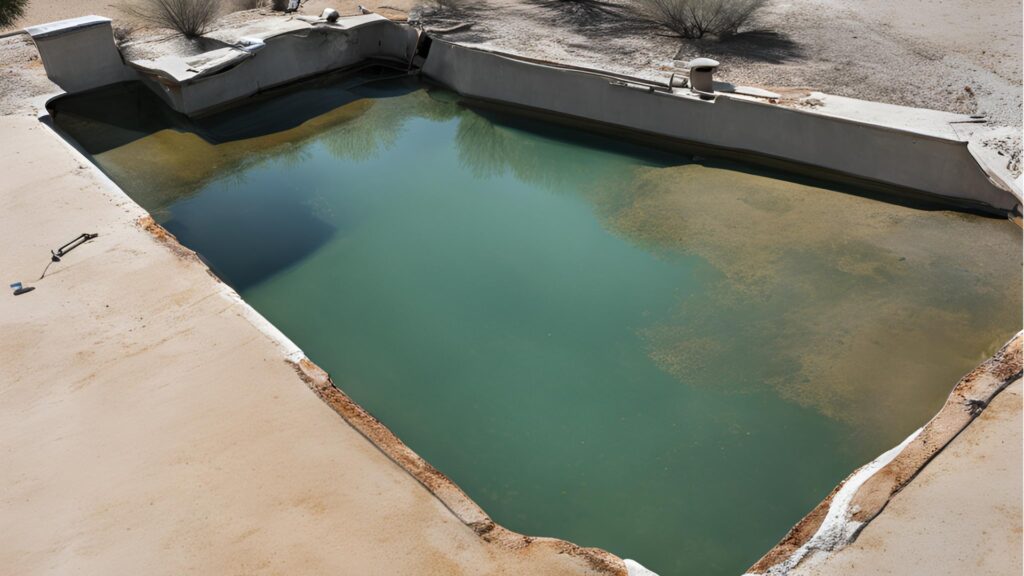
3. Drainage: Ensure that your driveway has proper drainage to prevent water from pooling. Standing water can penetrate the concrete and lead to cracks. Installing a drainage system or grading the driveway to direct water away can be effective solutions.
Soil and Landscaping Considerations
The area surrounding your driveway plays a crucial role in its longevity. Managing the soil and landscaping can prevent damage caused by roots and soil movement.
1. Root Management: Trees and large shrubs near your driveway can pose a risk as their roots grow and expand. These roots can push against the concrete, causing cracks and upheaval. To prevent this, consider installing root barriers or choosing smaller plants with less aggressive root systems near your driveway.
2. Soil Movement: Changes in soil moisture levels can cause the ground beneath your driveway to shift, leading to cracks. To minimize this risk, maintain a consistent moisture level in the soil by watering your lawn and garden regularly. Avoid letting the soil dry out completely or become overly saturated.
3. Landscaping: Design your landscaping to promote stability around your driveway. Ensure that flower beds, gardens, and other landscaped areas are properly graded and well-drained. Mulch and ground covers can help retain soil moisture and prevent erosion, further protecting your driveway from soil-related damage.
By incorporating these preventative measures, you can maintain a durable and attractive concrete driveway that stands the test of time. Regular maintenance, weather protection, and careful landscaping are all essential steps in ensuring your driveway remains crack-free and in excellent condition for years to come.

When To Call A Professional
Identifying Complex Issues
When it comes to dealing with concrete-related problems, it’s crucial to know when it’s time to call in the professionals. Minor cracks and superficial damage might be manageable with a DIY approach, but certain signs indicate the need for expert intervention. Extensive cracking, for instance, often points to underlying structural issues that require a thorough inspection and advanced repair techniques. If you notice that cracks are widening over time, this could be a sign of significant foundational shifts. Likewise, any visible structural damage, such as sagging or uneven surfaces, suggests that the problem is more than just skin deep. In these cases, professional assessment and repair are not just advisable but essential to ensure safety and longevity.
Choosing a Contractor
Selecting the right contractor is a critical step in addressing complex concrete issues. To ensure you hire a reputable professional, start by asking for recommendations from friends, family, or neighbors who have had similar work done. Online reviews and ratings on platforms like Google and Yelp can also provide valuable insights. Once you have a shortlist, verify each contractor’s credentials. Ensure they are licensed, insured, and have a good track record with previous clients. When discussing your project, ask for detailed quotes and a clear timeline. Be wary of estimates that are significantly lower than others, as this could indicate subpar materials or workmanship. A reliable contractor should also be willing to provide references and examples of past work. Clear communication about your expectations and their process will help prevent misunderstandings and ensure a smooth project.
Benefits of Professional Repair
Hiring a professional for concrete repair comes with several distinct advantages. First and foremost is their expertise. Professionals bring years of experience and specialized knowledge to the table, which allows them to accurately diagnose problems and apply the most effective solutions. They also have access to specialized equipment that may be necessary for certain types of repairs. This ensures that the job is done efficiently and to a high standard. Additionally, professional repairs often come with warranties, providing peace of mind that the work will stand the test of time. While the upfront cost of hiring a professional may be higher than attempting a DIY fix, the long-term benefits far outweigh the expense. Quality repairs enhance the durability and appearance of your concrete surfaces, potentially saving you money on future maintenance and avoiding the headaches of recurring issues.
By understanding when to seek professional help, knowing how to choose the right contractor, and recognizing the benefits of expert repair, you can ensure that your concrete issues are resolved effectively and efficiently, preserving the integrity and value of your property.

FAQs: About How Do You Repair an Old Cracked Concrete Driveway
Conclusion
Repairing a cracked concrete driveway involves several key steps to ensure a long-lasting and effective fix. Firstly, assess the damage and clean the area thoroughly to remove any debris. Then, choose the appropriate repair material, whether it’s a concrete patching compound for smaller cracks or a resurfacer for larger areas. Apply the repair product carefully, ensuring it fills the crack completely and smoothly. Lastly, allow the repair to cure properly before using the driveway. By taking these steps, homeowners can not only restore the appearance and functionality of their driveways but also prevent further damage. It’s essential to maintain your driveway regularly to avoid future cracks and issues. We encourage you to take action and keep your driveway in top condition. Feel free to share your repair experiences or ask any questions in the comments section below. Additionally, explore our other resources and related blog posts for more tips and advice on maintaining your home.
Find A Professional Concrete Company Near You!
- Asphalt Carpark Construction Wairarapa
- Asphalt Contractors Auckland
- Asphalt Contractors Hawkes Bay
- Asphalt Dannevirke
- Asphalt Driveways Tauranga
- Christchurch Concrete Services
- Concrete Contractors Nelson
- Concrete Contractors Tauranga
- Concrete Dannevirke
- Concrete Driveways Lower Hutt
- Concrete Driveways Upper Hutt
- Concrete Floor Slabs Kapiti Coast
- Concrete Foundations Kapiti
- Concrete Layers Auckland
- Concrete Layers Cambridge
- Concrete Layers Hamilton
- Concrete Layers Invercargill
- Concrete Layers Kapiti
- Concrete Layers Levin
- Concrete Layers Lower Hutt
- Concrete Layers North Shore
- Concrete Layers Northland
- Concrete Layers Pukekohe
- Concrete Layers Te Awamutu
- Concrete Layers Upper Hutt
- Concrete Layers Waikato
- Concrete Layers Wellington
- Concrete Manuwatu
- Concrete Services Rotorua
- Concrete Whangarei
- Hastings Concrete Company
- Hawkes Bay Concrete Company
- Napier Concrete Company
About the Author:
Mike Veail is a recognized digital marketing expert with over 6 years of experience in helping tradespeople and small businesses thrive online. A former quantity surveyor, Mike combines deep industry knowledge with hands-on expertise in SEO and Google Ads. His marketing strategies are tailored to the specific needs of the trades sector, helping businesses increase visibility and generate more leads through proven, ethical methods.
Mike has successfully partnered with numerous companies, establishing a track record of delivering measurable results. His work has been featured across various platforms that showcase his expertise in lead generation and online marketing for the trades sector.
Learn more about Mike's experience and services at https://theleadguy.online or follow him on social media: