Welcome to the ultimate guide to subsoil drainage systems in New Zealand! Whether you’re dealing with a soggy garden, a damp basement, or simply looking to protect your property’s foundation, understanding subsoil drainage is crucial. In this comprehensive guide, we’ll explore the various types of drainage systems available, how to identify the need for one and provide a step-by-step installation process. We’ll also cover essential maintenance tips, and cost considerations, and share real-life examples to illustrate the benefits of proper drainage. By the end of this guide, you’ll have all the information you need to ensure your property remains dry and structurally sound. For professional help, contact experienced plumbing experts in your area.
A subsoil drainage system in New Zealand is essential for preventing waterlogging and protecting property foundations. These systems, including French drains, drainage tiles, sump pumps, and gravel trenches, help manage excess water in the soil. Proper installation involves site assessment, choosing the right system, and regular maintenance to ensure effective drainage. This guide provides comprehensive steps, cost considerations, and practical tips for maintaining a dry and stable property environment.
- Understanding Sub Soil Drainage Systems
- Types Of Soil Drainage Systems
- Identifying The Need For Sub Soil Drainage
- Planning Your Sub Soil Drainage System
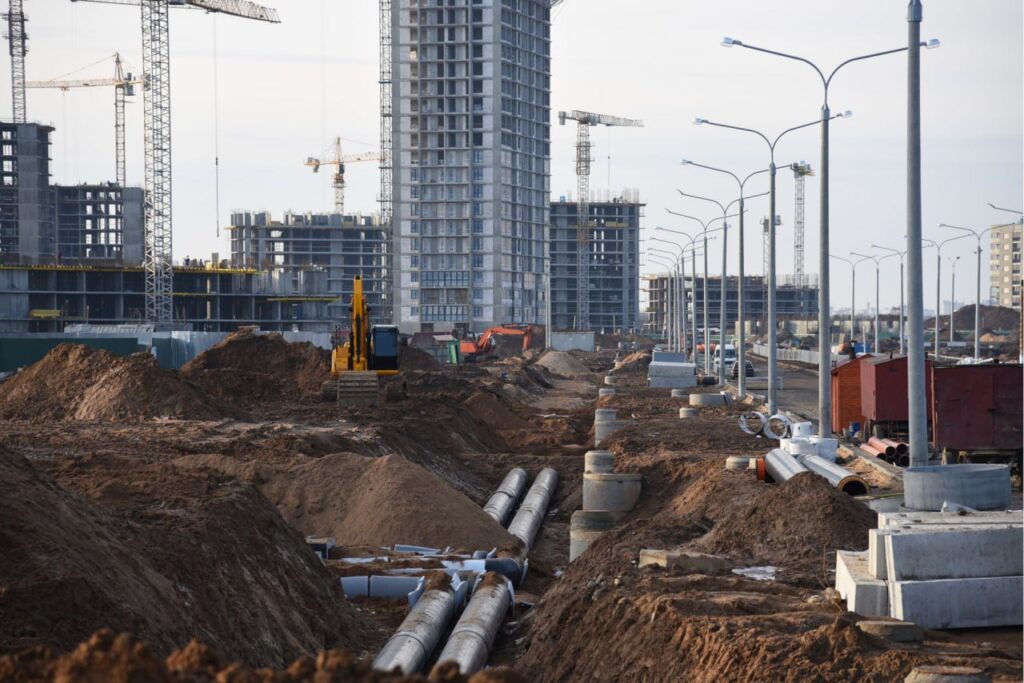
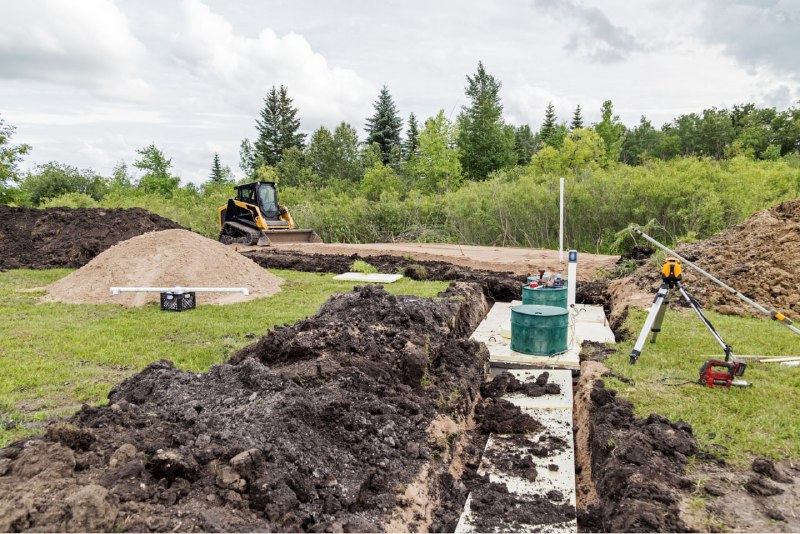
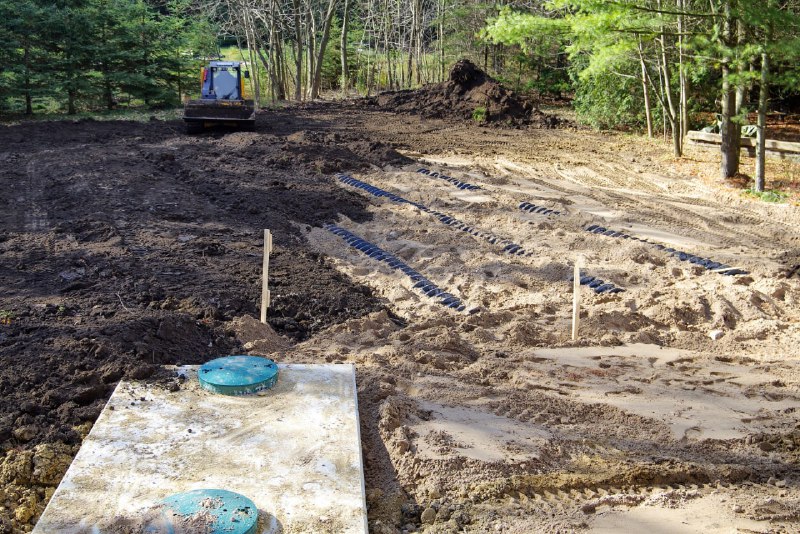
- Step-By-Step Installation Guide
- Maintenance Tips For Sub Soil Drainage Systems
- Cost Considerations
- Case Studies And Real-Life Examples
- Environmental Impact
- FAQs: About The Sub Soil Drainage Systems NZ
- Conclusion
- Find A Professional Drainlaying Company Near You!
Understanding Sub Soil Drainage Systems
Definition: What Are Subsoil Drainage Systems?
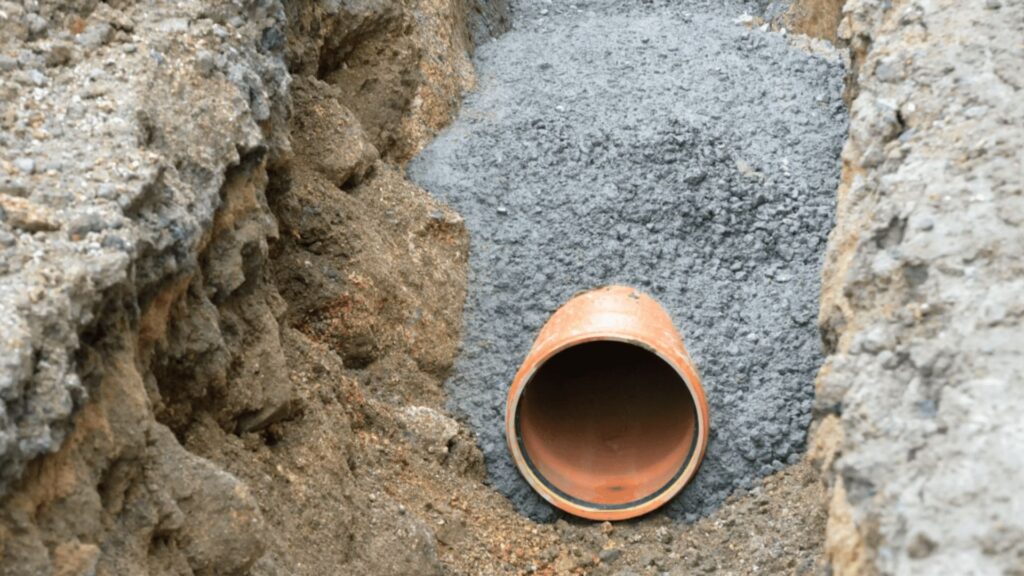
Subsoil drainage systems, or subsurface drainage systems, are essential components in modern construction and landscaping designed to manage excess water below the ground surface. These systems typically consist of a network of perforated pipes laid in trenches filled with gravel or other permeable materials. The primary purpose of these systems is to collect and transport groundwater away from critical areas, preventing the accumulation of excess moisture in the soil.
Importance: Why Are Subsoil Drainage Systems Crucial for Properties in New Zealand?
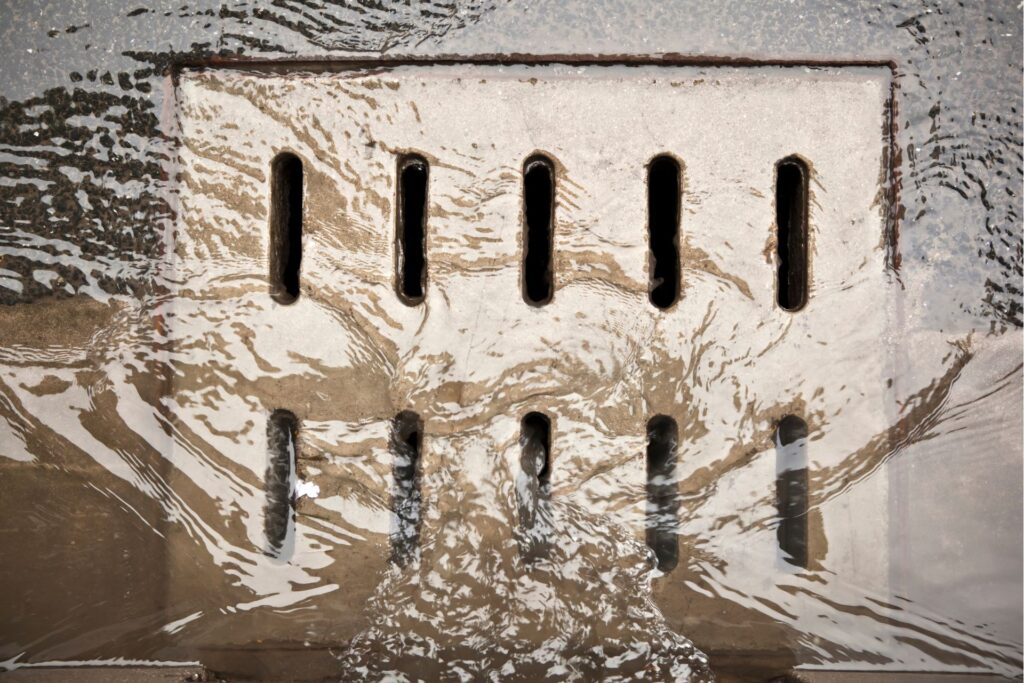
Preventing Waterlogging
In New Zealand, where heavy rainfall and high groundwater levels are common, subsoil drainage systems play a vital role in preventing waterlogging. Waterlogged soil can lead to a myriad of problems, including poor plant growth, reduced agricultural productivity, and compromised landscape aesthetics. By efficiently redirecting groundwater away from the surface, subsoil drainage systems help maintain optimal soil moisture levels, ensuring that gardens, lawns, and agricultural fields remain healthy and productive.
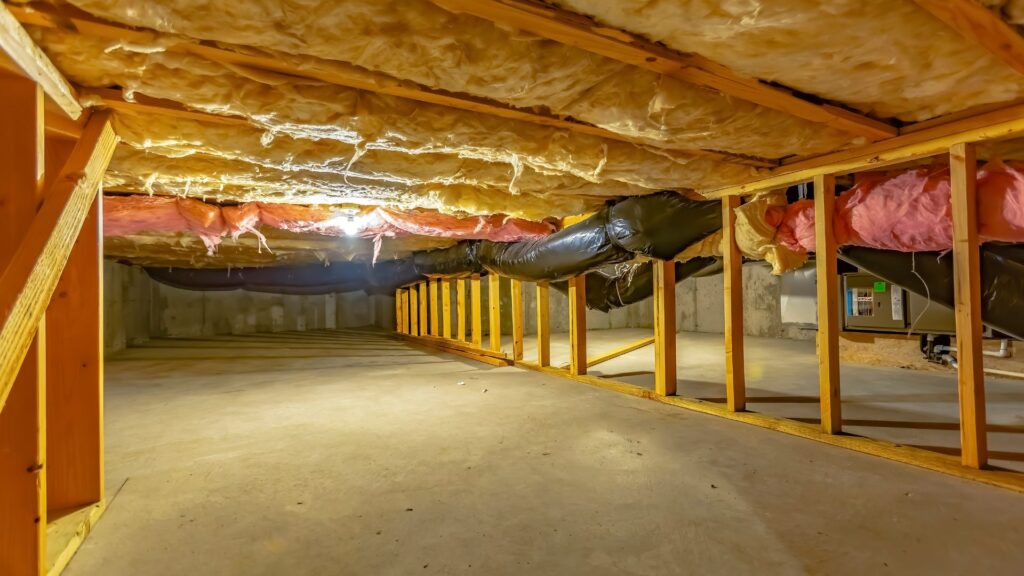
Protecting Foundations
Water management is crucial for the structural integrity of buildings. Excessive moisture in the soil can lead to a host of foundation problems, such as settling, cracking, and even complete structural failure. In New Zealand, where properties often face significant rainfall and potential flooding, subsoil drainage systems act as a safeguard for foundations. By keeping groundwater levels in check and preventing the accumulation of moisture around building foundations, these systems help ensure structures’ long-term stability and safety.
Enhancing Soil Quality
Another significant benefit of subsoil drainage systems is their positive impact on soil quality. Excess water in the soil can lead to poor aeration, which negatively affects root development and soil microorganism activity. Subsoil drainage helps maintain the right balance of moisture and air in the soil, promoting healthier root systems and enhancing overall soil fertility. This is particularly important for agricultural areas in New Zealand, where soil quality directly influences crop yields and farming profitability.
By understanding and implementing effective subsoil drainage systems, property owners in New Zealand can prevent water-related issues, protect their investments, and promote healthier, more productive landscapes.
Types Of Soil Drainage Systems
Subsoil drainage systems play a crucial role in managing water around foundations and landscapes. Different types of systems are used based on specific needs and site conditions. Here are four common types of sub-soil drainage systems, each with its unique benefits and installation methods:
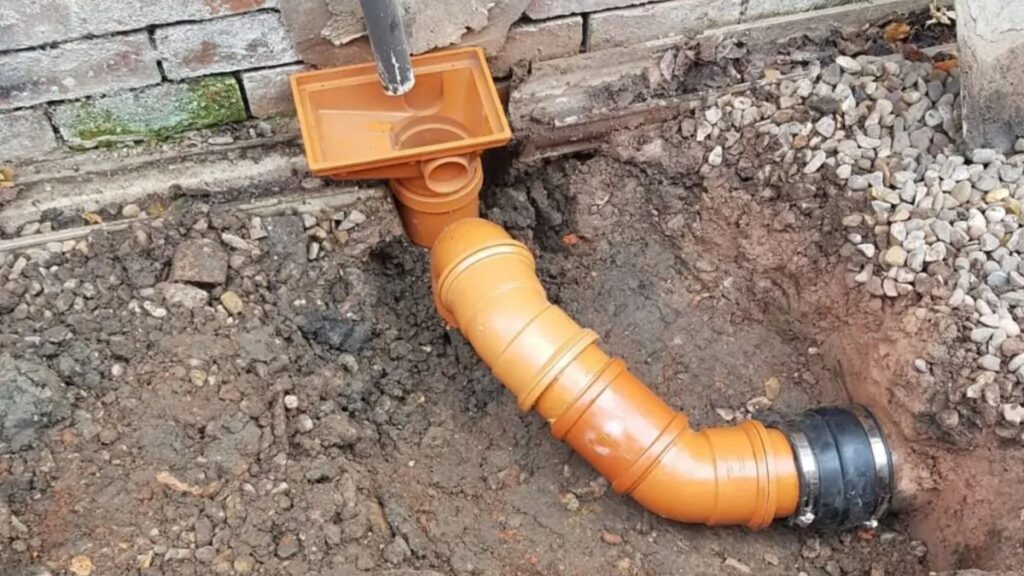
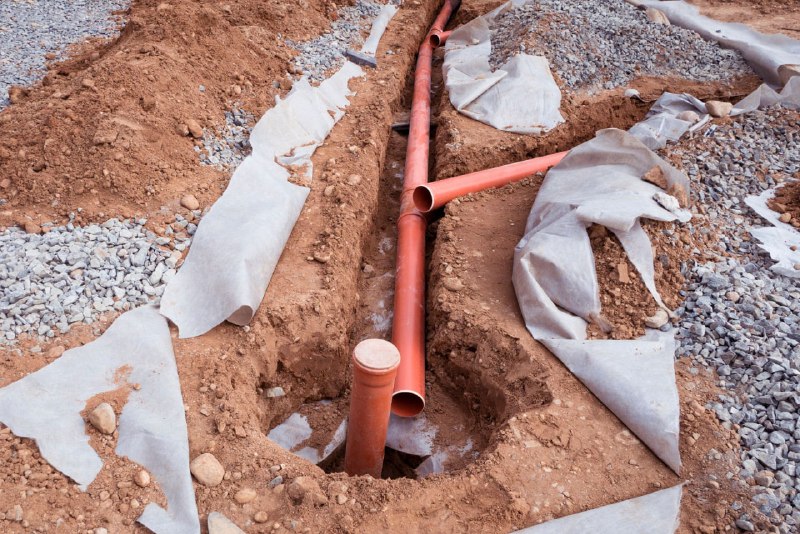
French Drains
French drains are a popular solution for managing water in your yard or around the foundation of your home. They consist of a trench filled with gravel and a perforated pipe that redirects surface water and groundwater away from your property.
Benefits
- Effective Water Management: French drains efficiently divert water away from areas where it can cause damage, such as basements or foundations.
- Prevents Soil Erosion: By controlling the flow of water, French drains help prevent soil erosion around your property.
- Reduces Hydrostatic Pressure: They alleviate the pressure exerted by water against foundation walls, reducing the risk of cracks and structural damage.
Installation Process
1. Planning: Determine the best location for the drain, considering the slope of your yard and areas where water tends to accumulate.
2. Excavation: Dig a trench that is about 18 inches deep and 9-12 inches wide.
3. Lining the Trench: Line the trench with landscape fabric to prevent soil from clogging the gravel and pipe.
4. Gravel and Pipe Placement: Add a layer of gravel at the bottom, place the perforated pipe on top, and cover it with more gravel.
5. Finishing: Fold the landscape fabric over the gravel, backfill with soil, and cover with sod or decorative stone as desired.
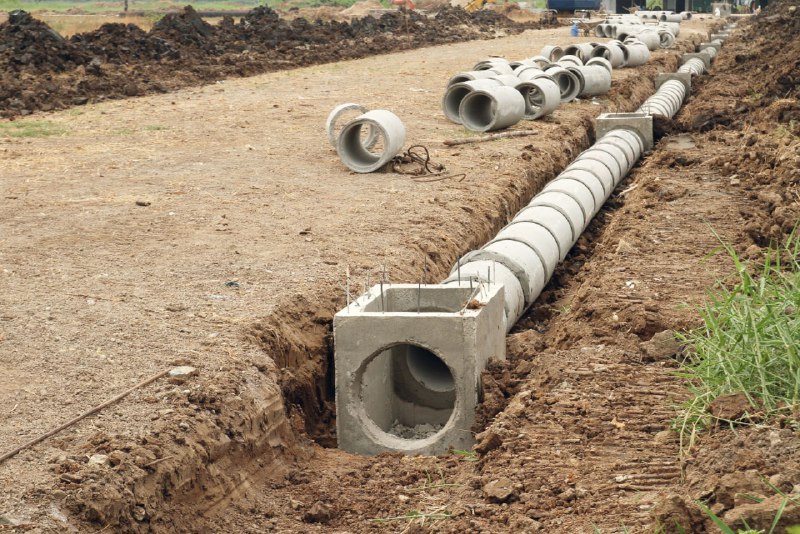
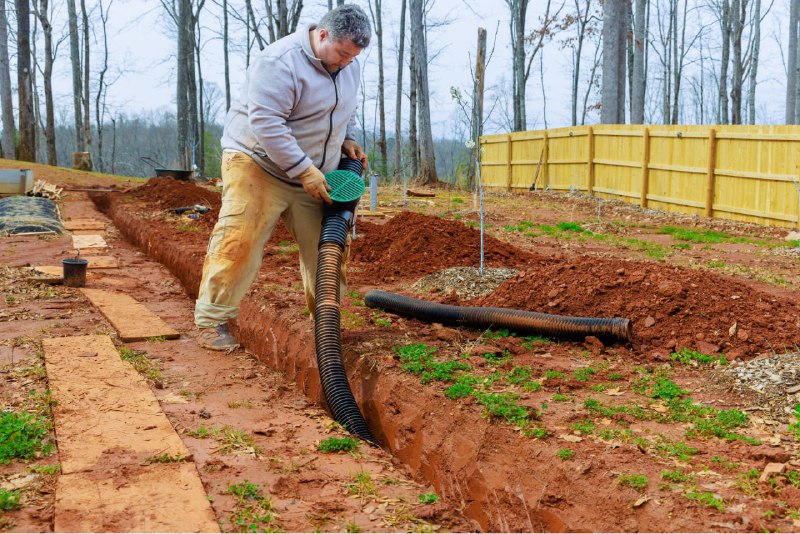
Drainage Tiles
Drainage tiles are a network of perforated pipes installed underground to collect and redirect excess water. These pipes are typically made from plastic or clay and are buried in gravel trenches.
Common Uses
- Agricultural Fields: To prevent waterlogging and improve soil conditions for crops.
- Residential Areas: Around foundations and yards to manage excess water and prevent flooding.
- Sports Fields: To ensure proper drainage and maintain playable surfaces.
Drainage tiles are particularly effective in areas with heavy clay soils that do not drain well naturally.
Sump Pumps
Sump pumps are devices installed in the lowest part of a basement or crawlspace to pump out water that accumulates in a sump basin. They are essential in areas prone to flooding or with high water tables.
When to Use Them
- Basements: To prevent water from accumulating and causing mold, mildew, or structural damage.
- Crawlspaces: To keep the area dry and avoid moisture-related problems.
- After Heavy Rain: To quickly remove water that may seep into lower areas of your home.
Sump pumps come in two main types: submersible and pedestal. Submersible pumps are installed inside the sump basin, while pedestal pumps have a motor mounted above the basin.
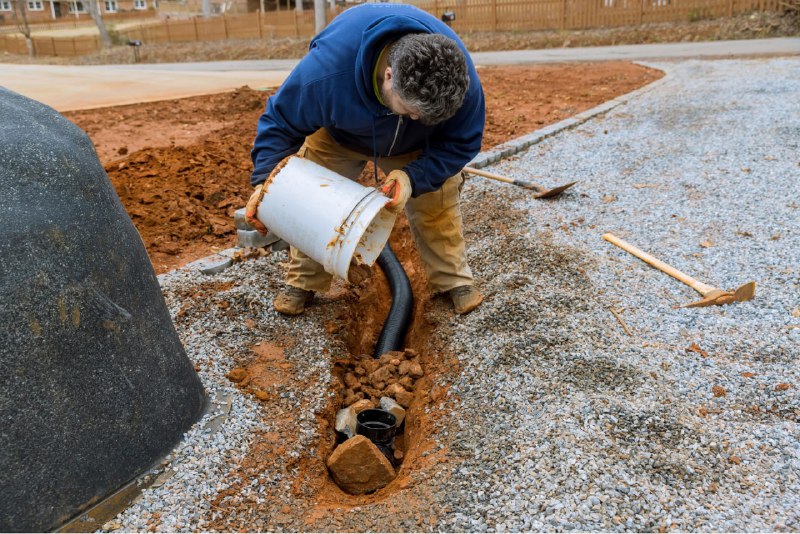
Gravel Trenches
Advantages
- Cost-Effective: Gravel trenches are relatively inexpensive compared to other drainage systems.
- Simple Installation: They are easy to install, making them a popular DIY project.
- Efficient Water Management: Gravel allows water to flow freely and be absorbed into the ground or redirected away.
Installation Tips
1. Location: Choose an area where water tends to collect or where you need to direct excess water.
2. Excavation: Dig a trench that is about 12 inches wide and 18-24 inches deep.
3. Gravel: Fill the trench with clean gravel, ensuring good drainage.
4. Finishing: Cover the trench with landscape fabric to prevent soil from mixing with the gravel, and backfill with soil or decorative stone.
Gravel trenches can be used in conjunction with other drainage systems like French drains or drainage tiles for enhanced effectiveness.
In conclusion, understanding the different types of subsoil drainage systems helps in selecting the right solution for your specific needs. Whether it’s the efficient water management of French drains, the versatility of drainage tiles, the practicality of sump pumps, or the simplicity of gravel trenches, each system offers unique benefits to keep your property dry and protected.
Identifying The Need For Sub Soil Drainage
Proper subsoil drainage is crucial for maintaining the health and stability of your property. Without it, you can encounter a range of problems that can be costly and time-consuming to fix. Here’s a detailed look at how to identify the need for subsoil drainage and the steps you can take to ensure your property remains in good condition.
Signs of Poor Drainage
Recognizing the signs of poor drainage early can save you from significant issues down the line. Here are some common indicators that you might need to improve your subsoil drainage:
- Water Pooling in the Garden: One of the most visible signs of poor drainage is standing water in your garden or yard after rainfall. This water can take hours or even days to dissipate, indicating that the soil is not draining properly. Over time, this can lead to waterlogged plants, which suffer from root rot and other diseases.
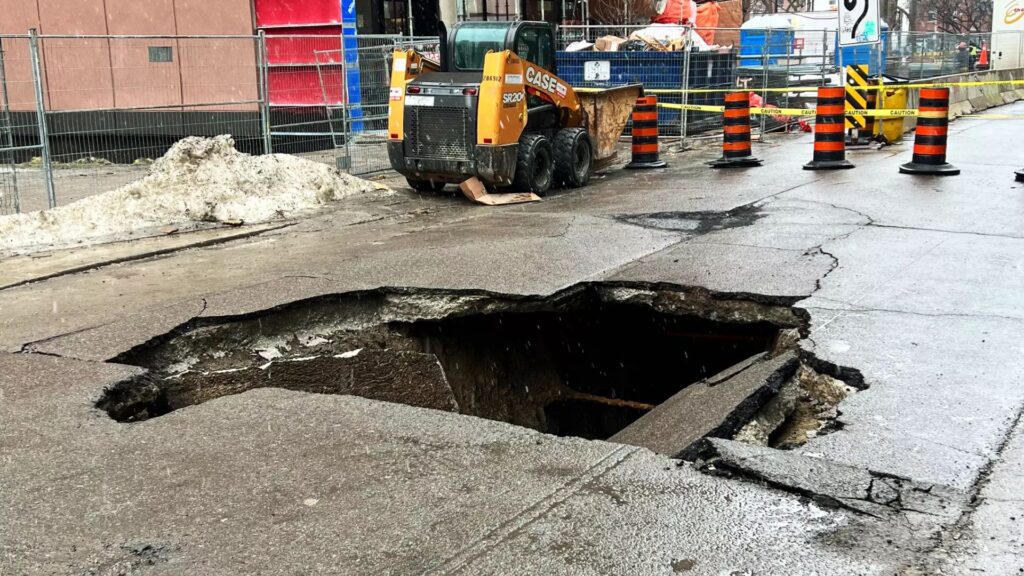
- Damp or Musty Basement: If you notice persistent dampness or a musty smell in your basement, it’s a clear sign that water is seeping into your home. This can happen due to poor external drainage around the foundation, allowing water to penetrate your home’s lower levels. Addressing this issue promptly is crucial to prevent mold growth and structural damage.
- Soil Erosion Around the Foundation: Another significant sign of inadequate drainage is soil erosion around your home’s foundation. When water is not properly diverted away from the house, it can cause the soil to wash away, leading to foundation instability and even structural damage over time. Look for gaps or sinking areas around the foundation as key indicators.
Soil Testing
Understanding the drainage capabilities of your soil is an essential step in determining whether you need sub-soil drainage improvements. Here’s how you can test your soil and why it’s important:
- Methods to Test Soil Drainage: There are several methods to test soil drainage, ranging from simple DIY tests to more advanced professional assessments. One common method is the percolation test, where you dig a hole, fill it with water, and observe how quickly the water drains. Slow drainage indicates poor soil permeability and a potential need for improved drainage solutions.
- Importance of Soil Type in Drainage Decisions: The type of soil on your property plays a significant role in its drainage capabilities. Sandy soils tend to drain quickly, while clay soils retain water for longer periods. Knowing your soil type can help you make informed decisions about the type of drainage system you need. For instance, clay-heavy soil might require more extensive drainage solutions compared to sandy soil.
By paying attention to these signs and conducting thorough soil testing, you can effectively identify the need for subsoil drainage on your property. Addressing these issues proactively can help you maintain a healthy, stable environment around your home, preventing costly damage and ensuring the longevity of your landscaping and foundation.
Planning Your Sub Soil Drainage System
Planning a subsoil drainage system is crucial to maintaining the health and stability of your property. This process involves several steps, each critical to ensuring that water is effectively managed to prevent damage to structures and landscapes.
Site Assessment: How to Evaluate Your Property’s Drainage Needs
The first step in planning your sub-soil drainage system is to conduct a thorough site assessment. This involves evaluating various aspects of your property to identify potential drainage issues.
- Topography: Examine the natural slopes and contours of your land. Water will naturally flow downhill, so areas at the bottom of slopes may require more attention.
- Soil Type: Different soils have varying drainage capabilities. Clay soils, for example, retain water and can cause drainage problems, while sandy soils drain more quickly.
- Existing Water Patterns: Observe where water tends to accumulate after rain. These areas are prime candidates for subsoil drainage solutions.
- Vegetation: The type of plants and their root structures can impact drainage. Deep-rooted plants can help improve soil structure and drainage, while shallow-rooted plants may contribute to waterlogging.
Conducting a site assessment helps in understanding the specific needs of your property, allowing for a tailored drainage solution.
Choosing the Right System: Factors to Consider When Selecting a Drainage System
Once you have assessed your site, the next step is choosing the appropriate sub-soil drainage system. Several factors should be considered:
- Drainage Requirements: Based on your site assessment, determine the volume of water that needs to be managed. Larger properties or areas with significant water accumulation will require more robust systems.
- System Types: Common subsoil drainage systems include French drains, trench drains, and perforated pipe systems. Each has its advantages depending on the specific needs of your property.
- Material Quality: The durability and effectiveness of the drainage system will depend on the materials used. High-quality, perforated pipes and appropriate aggregates are essential for a long-lasting solution.
- Cost: Budget considerations are also important. While a more complex system might be more expensive, it could save money in the long run by preventing water damage.
- Environmental Impact: Consider environmentally friendly options, such as systems that allow for water reuse or those that minimize disruption to the natural landscape.
Choosing the right system ensures that your property’s drainage issues are effectively addressed, reducing the risk of future problems.
DIY vs. Professional Installation: Pros and Cons of Each Approach
After selecting the appropriate system, you must decide whether to install it yourself or hire professionals.
DIY Installation
Pros
- Cost Savings: Doing the work yourself can save significant labor costs.
- Control: You have full control over the project and can work at your own pace.
- Satisfaction: Completing a project yourself can be highly rewarding.
Cons
- Expertise Required: Proper installation requires a good understanding of drainage principles and techniques.
- Time-Consuming: Installing a subsoil drainage system can be a labor-intensive process.
- Risk of Errors: installation mistakes can lead to ineffective drainage and potentially costly repairs.
Professional Installation
Pros
- Expertise: Professionals have the knowledge and experience to ensure proper installation.
- Efficiency: The job is likely to be completed more quickly than a DIY project.
- Warranty: Many professional installations come with a warranty, providing peace of mind.
Cons
- Cost: Professional services can be expensive, adding to the overall project cost.
- Less Control: You may have less direct control over the project details.
Choosing between DIY and professional installation depends on your budget, time, and comfort level with the required tasks. For complex or large-scale projects, professional installation might be the best option to ensure long-term success.
In conclusion, planning a subsoil drainage system involves careful site assessment, choosing the right system based on your property’s needs, and deciding between DIY and professional installation. Each step is crucial to ensuring effective water management and protecting your property from water-related damage.
Step-By-Step Installation Guide
Materials and Tools Needed
Before starting your drainage installation, it’s essential to gather all necessary materials and tools. Here’s a comprehensive list to ensure you’re fully prepared:
Materials
- Drainage pipes
- Gravel
- Geotextile fabric
- PVC glue or pipe connectors
- Sand
- Soil
Tools
- Shovel
- Tape measure
- Marking paint
- Level
- Hacksaw or pipe cutter
- Wheelbarrow
Preparation
1. Marking the Drainage Area
Begin by identifying and marking the area where you will install the drainage system. Use marking paint to outline the path of the trench, ensuring it’s positioned to effectively redirect water away from problem areas. Accurate marking will guide your excavation and help prevent any mishaps.
2. Excavating the Trench
Once the area is marked, start excavating the trench along the outlined path. The depth and width of the trench depend on the size of your drainage pipes and the amount of water you need to manage. Typically, a trench about 12 inches wide and 18 inches deep is sufficient. Ensure the trench slopes slightly (around 1-2%) to facilitate proper water flow.
Installation
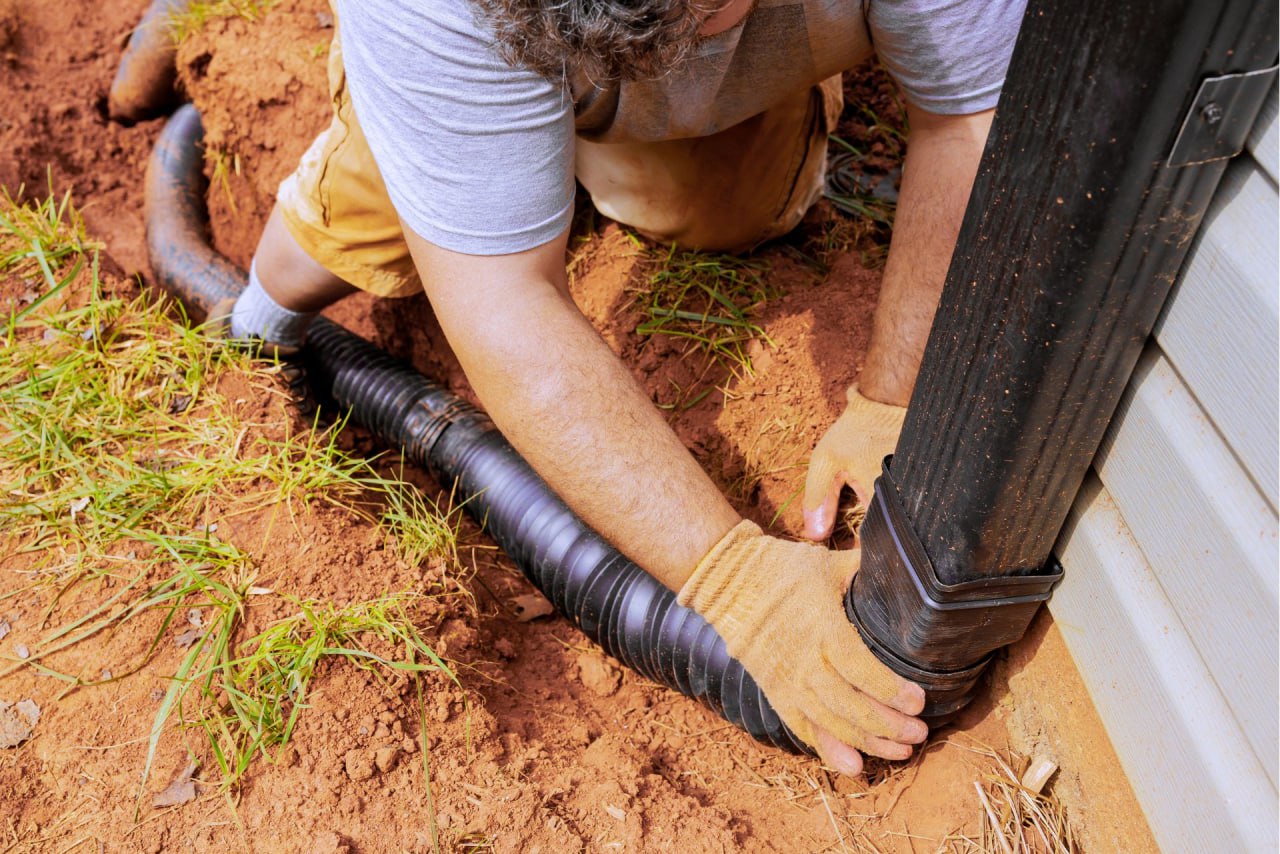
3. Laying the Drainage Pipes
After excavating the trench, lay a layer of gravel at the bottom to create a stable base. Next, place the drainage pipes on top of the gravel. If using perforated pipes, ensure the holes face downward to allow water to enter from the bottom. Connect the pipes using PVC glue or connectors, ensuring a secure and leak-proof fit.
4. Backfilling with Gravel and Soil
Once the pipes are in place, cover them with more gravel. The gravel acts as a filter, preventing soil and debris from clogging the pipes. Lay geotextile fabric over the gravel to further prevent soil infiltration. Finally, backfill the trench with soil, compacting it firmly to maintain the trench’s integrity and support proper drainage.
Finishing Touches
5. Ensuring Proper Coverage and Aesthetics
With the trench backfilled, it’s time to focus on the finishing touches. Ensure the soil is evenly spread and compacted, matching the surrounding ground level. If desired, add a layer of sand on top for better drainage and improved aesthetics. Check the area for any visible signs of the trench and make adjustments as needed to blend it seamlessly with the landscape.
By following this step-by-step guide, you can install an effective and efficient drainage system that keeps your property dry and well-maintained. Remember, proper preparation and attention to detail are key to a successful installation.
Maintenance Tips For Sub Soil Drainage Systems
Regular Inspections
Regular inspections are crucial for ensuring the longevity and efficiency of your sub-soil drainage system. During routine checks, it’s important to look for signs of blockage, damage, or inefficiencies. Pay particular attention to the following:
- Water Pooling: Check for areas where water tends to pool. This can indicate a blockage or a failure in the drainage system.
- Vegetation Growth: Excessive vegetation, especially roots, can intrude into drainage pipes, causing blockages and damage.
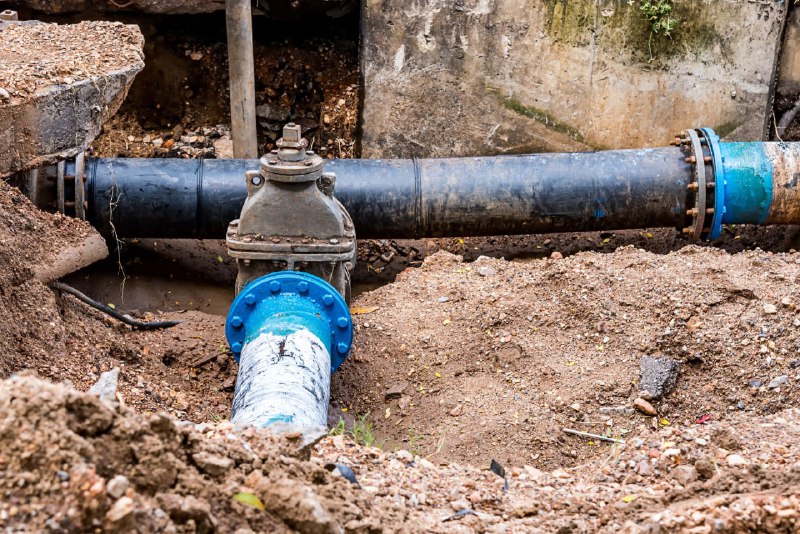
- Pipe Condition: Inspect the pipes for any visible cracks, breaks, or dislodged sections. Damaged pipes can lead to significant water management issues.
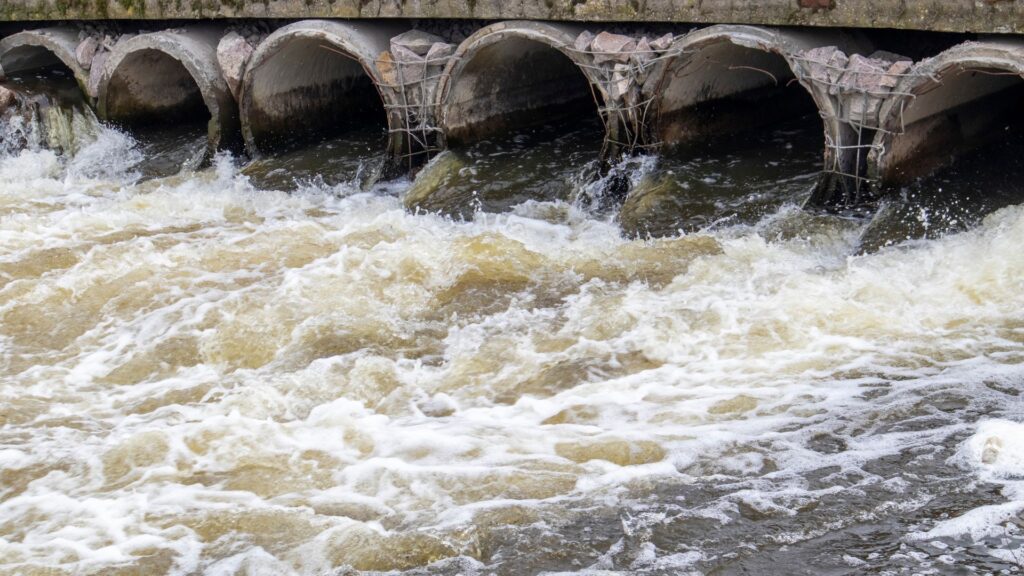
- Outlet Flow: Ensure the outlets are discharging water efficiently. Any reduction in flow can signal a problem upstream.
By conducting thorough and regular inspections, you can identify and address potential issues before they escalate, saving you time and money in the long run.
Cleaning and Repairs
Keeping your drainage pipes clean and in good repair is essential for maintaining their functionality. Here are some key tips:
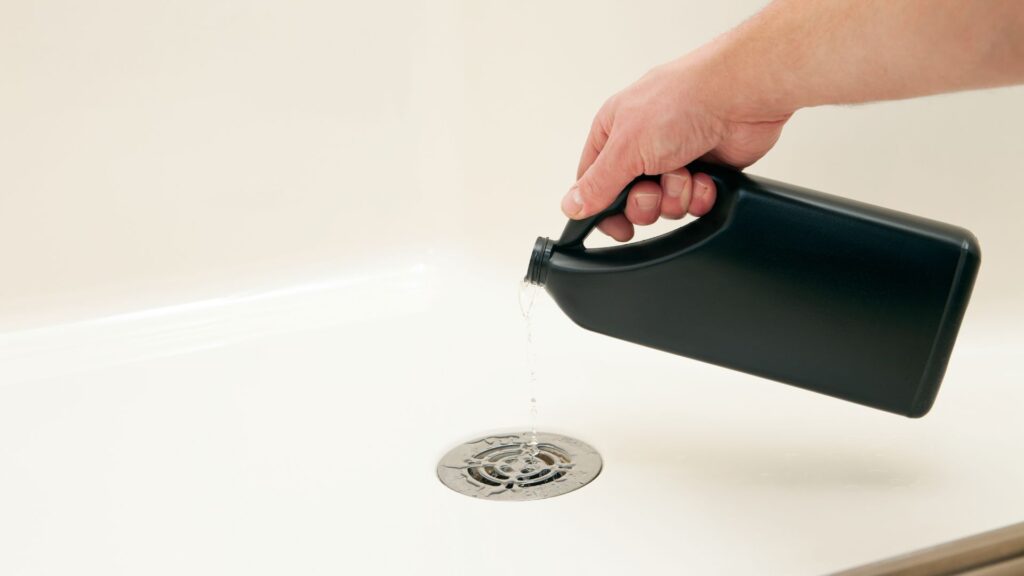
- Debris Removal: Regularly remove leaves, soil, and other debris that can accumulate and cause blockages. Use a garden hose or a high-pressure water jet to clear out the pipes.
- Root Removal: If roots are an issue, consider using a root cutter or applying a root-inhibiting chemical. This helps prevent roots from causing significant damage to the pipes.
- Repairing Damage: For any cracks or breaks, use appropriate repair kits or replace the damaged section of the pipe. It’s crucial to address these issues promptly to avoid more extensive damage.
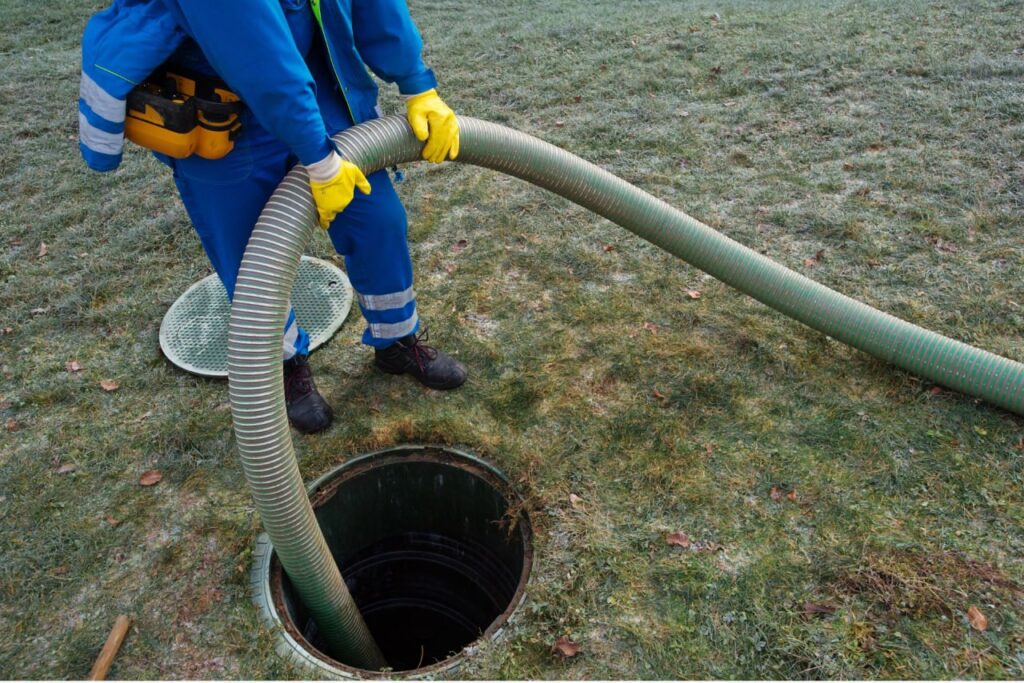
- Professional Help: For extensive cleaning and repair tasks, it might be beneficial to hire a professional drainage service. They have the tools and expertise to handle more complex issues effectively.
Regular cleaning and prompt repairs can greatly enhance the efficiency and lifespan of your drainage system, preventing costly problems down the line.
Seasonal Maintenance
Seasonal changes, particularly the rainy season in New Zealand, can put additional stress on your sub-soil drainage system. Here are some seasonal maintenance tips:
- Spring and Summer: These are ideal times for thorough inspections and cleaning. Ensure all pipes and outlets are clear of debris and functioning correctly before the wetter months arrive.
- Autumn: With falling leaves, it’s essential to keep an eye on your drainage system. Regularly clear leaves and organic matter that can block the system.
- Winter: Check for any ice build-up or damage caused by freezing temperatures. Ensure that water is flowing freely through the system, as blockages can exacerbate during colder months.
- Rainy Season: In New Zealand, the rainy season can bring heavy downpours. Before this season starts, double-check all aspects of your drainage system. Ensure there are no blockages, and the system is capable of handling increased water flow. Consider adding additional drainage solutions if your current system struggles with heavy rainfall.
By tailoring your maintenance routine to the seasons, you can ensure your drainage system remains functional and effective year-round, particularly during New Zealand’s challenging rainy season.
Implementing these maintenance tips will help keep your sub-soil drainage system in optimal condition, preventing water damage and maintaining the structural integrity of your property. Regular inspections, diligent cleaning and repairs, and adapting to seasonal changes are key strategies for effective drainage system management.
Cost Considerations
When planning any construction or renovation project, understanding the cost considerations is crucial for effective budgeting. In this section, we’ll break down the key components of the cost: material costs, labor costs, and the potential savings and risks associated with DIY installations.
Material Costs
The first significant factor in your budget is the cost of materials. Material costs can vary widely depending on the type of project and the quality of materials chosen. For example, in New Zealand, the cost of building materials like timber, concrete, and composite materials can differ substantially. High-quality timber might cost more upfront but can offer better durability and aesthetics. On average, you might expect to pay anywhere from $50 to $150 per square meter for materials, depending on your choices. It’s essential to get quotes from multiple suppliers and consider long-term maintenance costs when selecting materials.
Labor Costs
Labor costs are another crucial component of the overall budget. Professional installation in New Zealand can vary based on the complexity of the project and the region. Skilled labor, such as licensed builders or specialized tradespeople, often commands higher rates. For instance, hiring a professional builder might cost between $50 to $100 per hour. For a comprehensive project, this could translate to thousands of dollars in labor costs. However, professional installation often comes with a guarantee of quality and adherence to local building codes, which can save money in the long run by avoiding costly mistakes.
DIY Savings
Opting for a DIY approach can significantly reduce labor costs, but it’s essential to weigh the potential savings against the risks. DIY projects can save you the hourly rates of professional builders, which might result in substantial savings. However, DIY installations come with their own set of challenges. Without professional expertise, there’s a higher risk of mistakes that could lead to increased costs for corrections or even safety hazards. Moreover, some tasks might require specific skills or tools that you might need to purchase or rent, adding to the overall cost. Before deciding to go the DIY route, evaluate your skills and the project’s complexity to ensure it’s a viable option.
In conclusion, understanding the cost considerations for your project involves a detailed analysis of material and labor costs, along with a careful assessment of the potential savings and risks associated with DIY installations. By taking the time to thoroughly evaluate these factors, you can make informed decisions that align with your budget and project goals.
Case Studies And Real-Life Examples
Understanding the practical applications of subsoil drainage through real-life examples can help illustrate its effectiveness and benefits across different settings. Below are detailed case studies from residential, agricultural, and commercial scenarios in New Zealand.
Residential Example: Successful Installation in a Suburban Home
In a quiet suburb of Auckland, the Thompson family faced persistent waterlogging issues in their backyard. The excess water made the garden unusable and posed a risk to the home’s foundation. Seeking a solution, they consulted with a local drainage specialist who recommended installing a subsoil drainage system.
The project began with a thorough assessment of the soil and water flow patterns. Trenches were dug at strategic locations, and perforated pipes were laid to channel the excess water away from the property. The pipes were covered with a layer of gravel and topsoil, seamlessly integrating with the garden’s landscape.
Within weeks, the Thompson family noticed a significant improvement. The garden dried up, allowing them to plant new flowers and vegetables without fear of waterlogging. Additionally, the reduced moisture levels helped preserve the foundation, preventing potential structural damage. This successful installation not only solved their immediate problem but also enhanced the overall value and usability of their property.
Agricultural Example: Benefits of Sub-Soil Drainage on a New Zealand Farm
On a dairy farm in the Waikato region, excessive soil moisture was hindering crop growth and affecting pasture quality. The farm’s productivity was at risk, and traditional drainage methods were proving ineffective. The farm owner decided to implement a subsoil drainage system to address the issue comprehensively.
The first step involved mapping out the farm’s drainage requirements. Expert agronomists and engineers worked together to design a network of subsoil drains tailored to the farm’s topography and soil composition. Trenches were excavated, and durable drainage pipes were installed beneath the surface.
The impact was remarkable. The subsoil drainage system significantly improved soil aeration and reduced waterlogging, promoting healthier root development and better pasture growth. The farm saw an increase in crop yields and pasture quality, leading to higher milk production and overall farm profitability. This case study highlights how modern drainage solutions can revolutionize agricultural practices, ensuring sustainability and productivity.
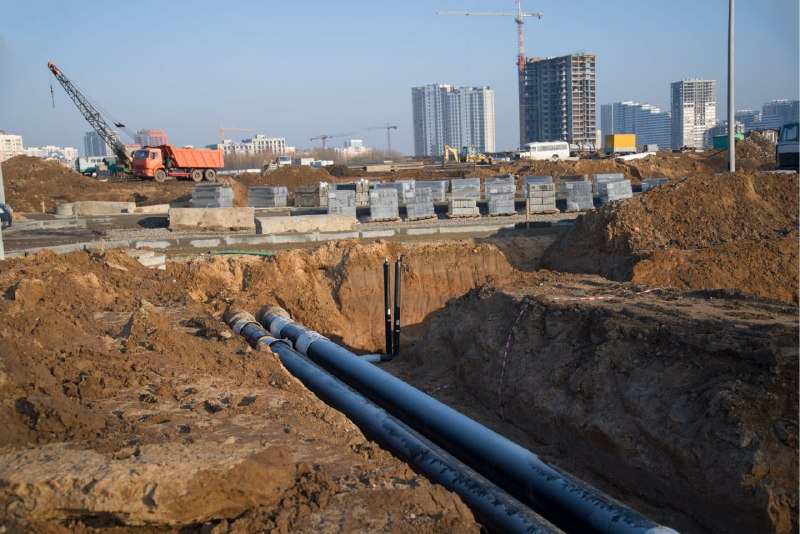
Commercial Example: Implementation in a Commercial Building’s Landscape
In the bustling city of Wellington, a newly constructed commercial complex faced challenges with landscape water management. The building’s architects wanted to ensure that the green spaces around the complex remained lush and inviting without the risk of flooding or soil erosion. They opted for a sub-soil drainage system to maintain the landscape’s aesthetic and functional integrity.
The installation process began with a detailed site analysis, identifying areas prone to water accumulation. A network of subsoil drains was strategically placed to intercept and redirect excess water. The system included inspection points and clean-out mechanisms to ensure long-term functionality and ease of maintenance.
Post-installation, the commercial complex experienced a transformation. The landscaped areas remained vibrant and healthy, with no signs of waterlogging even after heavy rains. This not only enhanced the visual appeal of the property but also provided a pleasant environment for employees and visitors. Effective water management also contributed to the longevity of the plants and reduced maintenance costs, making it a win-win situation for the property managers.
These case studies demonstrate the versatility and effectiveness of sub-soil drainage systems in various contexts. Whether for residential properties, agricultural lands, or commercial buildings, proper drainage solutions can resolve water management issues, protect structures, and enhance land usability. By learning from these real-life examples, homeowners, farmers, and property developers can make informed decisions to address their specific drainage needs, ensuring long-term benefits and sustainability.
Environmental Impact
Sustainable Practices: How to Install Drainage Systems with Minimal Environmental Disruption
Installing drainage systems can significantly impact the environment if not done thoughtfully. However, sustainable practices can help minimize this disruption. Here’s how:
1. Use of Eco-Friendly Materials: Opt for materials that are environmentally friendly and biodegradable. For example, using natural stone or recycled plastic for drainage pipes can reduce the environmental footprint.
2. Site Assessment: Before installation, conduct a thorough site assessment to understand the existing ecosystem. Identify areas that are sensitive, such as wetlands or habitats of endangered species, and plan the drainage system around these zones to avoid disturbance.
3. Minimal Excavation: Limit the amount of soil and vegetation disturbed during installation. This can be achieved by using trenchless technology, which reduces the need for extensive digging.
4. Erosion Control Measures: Implement erosion control measures like silt fences, straw wattles, and geotextiles. These help prevent soil erosion and sediment runoff, protecting nearby water bodies from contamination.
5. Natural Water Flow: Design the drainage system to mimic natural water flow patterns. This helps in maintaining the natural hydrology of the area and reduces the impact on local water sources.
6. Revegetation: After installation, restore the area by planting native vegetation. This helps in stabilizing the soil, providing habitat for wildlife, and enhancing the aesthetic value of the landscape.
7. Regular Maintenance: Ensure that the drainage system is regularly maintained to prevent blockages and overflows. A well-maintained system is less likely to cause environmental harm.
Benefits to the Ecosystem: Positive Effects on Local Flora and Fauna
Properly designed and installed drainage systems can offer several benefits to the local ecosystem, enhancing both flora and fauna.
1. Improved Water Quality: By effectively managing water runoff, drainage systems prevent pollutants from entering natural water bodies. This helps in maintaining the water quality, which is crucial for the health of aquatic life.
2. Reduced Flooding: Proper drainage reduces the risk of flooding, which can devastate plant and animal habitats. By controlling water flow, these systems help in preserving the natural habitats of various species.
3. Enhanced Soil Health: Well-designed drainage systems prevent waterlogging, which can lead to soil degradation. Healthy soil supports robust plant growth, providing food and shelter for local wildlife.
4. Habitat Creation: In some cases, drainage systems can be designed to create new habitats. For example, constructed wetlands or retention ponds can become homes for birds, insects, and amphibians.
5. Biodiversity Promotion: By maintaining a balance in water levels and soil health, drainage systems help promote biodiversity. Diverse plant life supports a variety of animals, creating a balanced ecosystem.
6. Climate Resilience: Healthy ecosystems are more resilient to climate change. Proper drainage helps in maintaining these ecosystems, ensuring they can withstand extreme weather events.
7. Aesthetic and Recreational Value: Well-maintained drainage systems with green infrastructure, such as bioswales and rain gardens, enhance the beauty of the area. This not only supports wildlife but also provides recreational spaces for people.
In summary, implementing sustainable practices in drainage system installation minimizes environmental disruption and brings several benefits to the ecosystem. These efforts improve water quality, reduce flooding, enhance soil health, and increase biodiversity, creating a balanced and thriving environment.
FAQs: About The Sub Soil Drainage Systems NZ
Conclusion
This guide delved into the essentials of subsoil drainage systems, highlighting their importance in preventing water damage and ensuring the longevity of your property. By understanding the key points covered, such as the benefits of proper drainage, the types of systems available, and the steps for installation, you’re now equipped with the knowledge to make informed decisions about your own drainage needs. We encourage you to assess your current situation and consider the installation of a subsoil drainage system to protect your investment. For further reading, detailed guides, and connections to local suppliers and professional services in New Zealand, explore the additional resources provided. This proactive approach will help you maintain a safe, dry, and structurally sound environment.
Find A Professional Drainlaying Company Near You!
- Drain Layers Auckland
- Drain Layers Hastings
- Drain Layers Hawkes Bay
- Drain Layers Kapiti Coast
- Drain Layers Lower Hutt
- Drain Layers Napier
- Drain Layers Porirua
- Drain Layers Rotorua
- Drain Layers Tauranga
- Drain Layers Upper Hutt
- Drain Layers Wellington
- Drain Repairs Auckland
- Drain Repairs Wellington
- Drain Unblockers Auckland
- Drain Unblockers East Auckland
- Drain Unblockers Lower Hutt
- Drain Unblockers North Shore
- Drain Unblockers South Auckland
- Drain Unblockers Upper Hutt
- Drain Unblockers Wellington
- Drain Unblockers West Auckland
- Water Leak Detection Auckland
- Water Leak Detection Lower Hutt
- Water Leak Detection Upper Hutt
- Water Leak Detection Wellington
About the Author:
Mike Veail is a recognized digital marketing expert with over 6 years of experience in helping tradespeople and small businesses thrive online. A former quantity surveyor, Mike combines deep industry knowledge with hands-on expertise in SEO and Google Ads. His marketing strategies are tailored to the specific needs of the trades sector, helping businesses increase visibility and generate more leads through proven, ethical methods.
Mike has successfully partnered with numerous companies, establishing a track record of delivering measurable results. His work has been featured across various platforms that showcase his expertise in lead generation and online marketing for the trades sector.
Learn more about Mike's experience and services at https://theleadguy.online or follow him on social media: