Welcome to your go-to guide for building a retaining wall on a slope, a project that can seem overwhelming at first but is completely doable with the right planning and knowledge. Whether you’re trying to level out a hilly backyard, prevent soil erosion, or simply improve your landscaping, a well-built retaining wall can make all the difference. Unlike flat surfaces, slopes come with unique challenges like shifting soil, water runoff, and uneven support, which means you need a solid understanding before picking up a shovel. This guide breaks everything down into simple steps, so you’ll know what to expect, what materials to use, and when to call in a pro. Let’s make your outdoor space both beautiful and secure.
A retaining wall on a slope helps hold back soil, prevent erosion, and manage water runoff on uneven terrain. To build one, start by planning the layout, digging a proper trench, laying a solid gravel base, and installing wall blocks with drainage behind them. Choose materials like concrete-contractors-nz/concrete-floor-slabs-kapiti-coast/”>concrete-contractors-nz/concrete-layers-lower-hutt/”>concrete blocks, stone, or timber based on your slope and budget. Proper drainage and sturdy construction are key to long-term stability.
- What Is A Retaining Wall And Why Is It Important?
- Common Challenges Of Building On A Slope
- Key Planning Considerations Before You Start
- Choosing The Right Type Of Retaining Wall For A Slope
- Step-By-Step Guide To Building A Retaining Wall On A Slope
- Tips for Long-Term Wall Stability
- When To Call A Professional
- Cost Breakdown And Budget Tips
- FAQs: About Retaining Wall On A Slope
- Conclusion
- Find A Professional Retaining Walls Company Near You!
What Is A Retaining Wall And Why Is It Important?
A retaining wall is a structure built to hold back or “retain” soil, especially in areas where the ground has a noticeable slope. Think of it as a barrier that stops soil from sliding downhill due to gravity. It creates a level area in your yard or landscape where there wasn’t one before. This is especially helpful when you’re dealing with sloped land that’s hard to use or maintain.
Simple Definition In Layman’s Terms
In everyday language, a retaining wall is a solid wall that stops dirt from moving. If you have a hill or incline in your yard, the soil naturally wants to shift over time, especially after rain. A retaining wall holds that soil in place so it doesn’t slide, collapse, or cause damage. You’re essentially building a strong edge that keeps everything where it should be.
How It Helps Prevent Soil Erosion And Manage Water
Soil erosion happens when wind or water washes away the top layer of soil. On a slope, erosion can happen fast and cause problems like exposed roots, muddy puddles, and unstable ground. A well-built retaining wall slows down or stops this process by providing a physical block that resists pressure from soil and water.
But it doesn’t just stop soil from moving. It also plays a key role in managing water. Many retaining walls include drainage systems, like gravel backfill or perforated pipes, that help guide water away from the wall and the slope. Without proper drainage, water pressure can build up and push against the wall, causing it to fail. So in a way, a retaining wall works as both a barrier and a drainage solution.
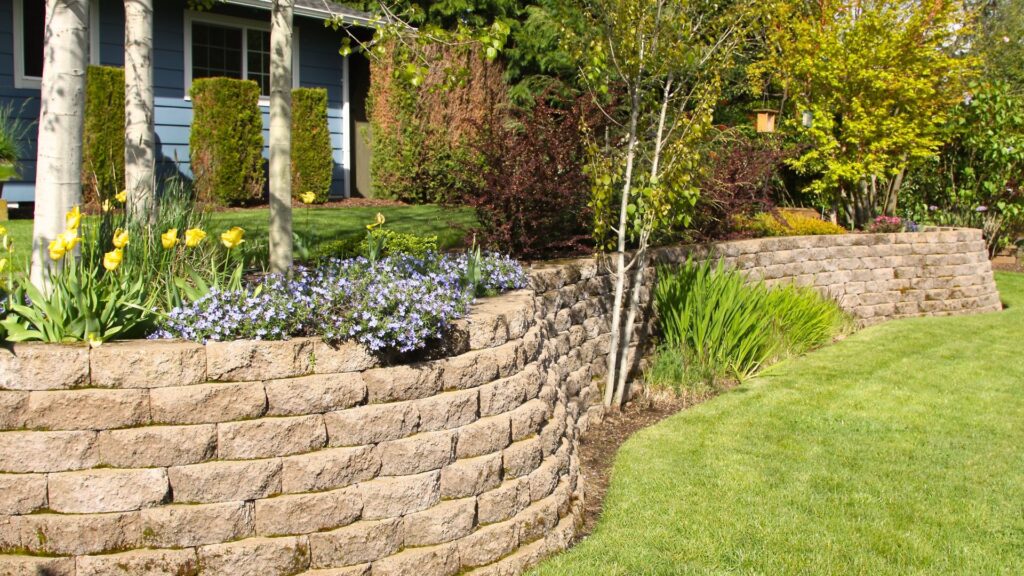
Where It’s Commonly Used (Yards, Driveways, Gardens)
You’ll often see retaining walls in residential yards, especially where there are changes in elevation. Homeowners use them to flatten space for patios, garden beds, or walkways. They’re also common next to driveways that cut into hillsides, where the wall supports the soil on one side.
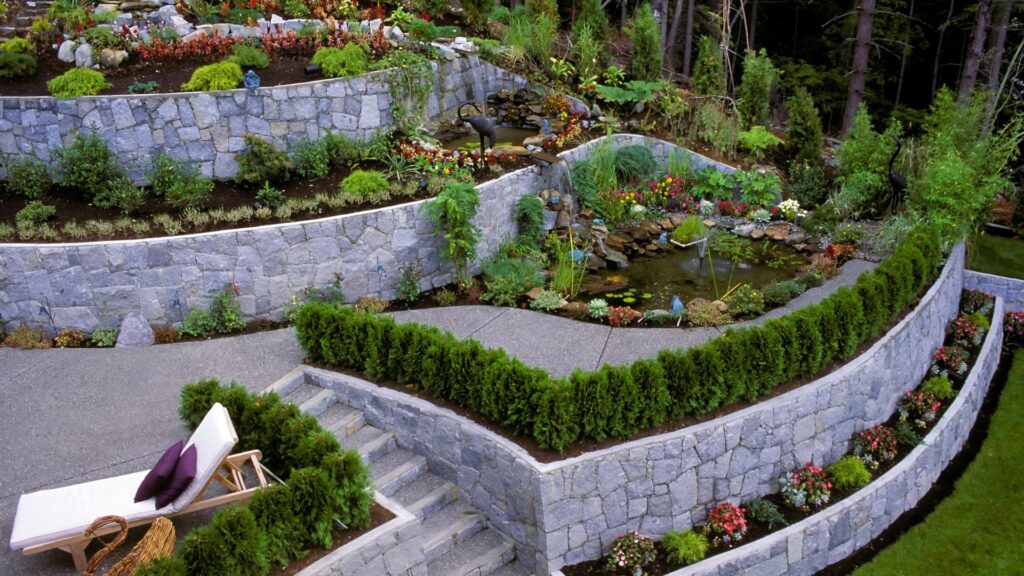
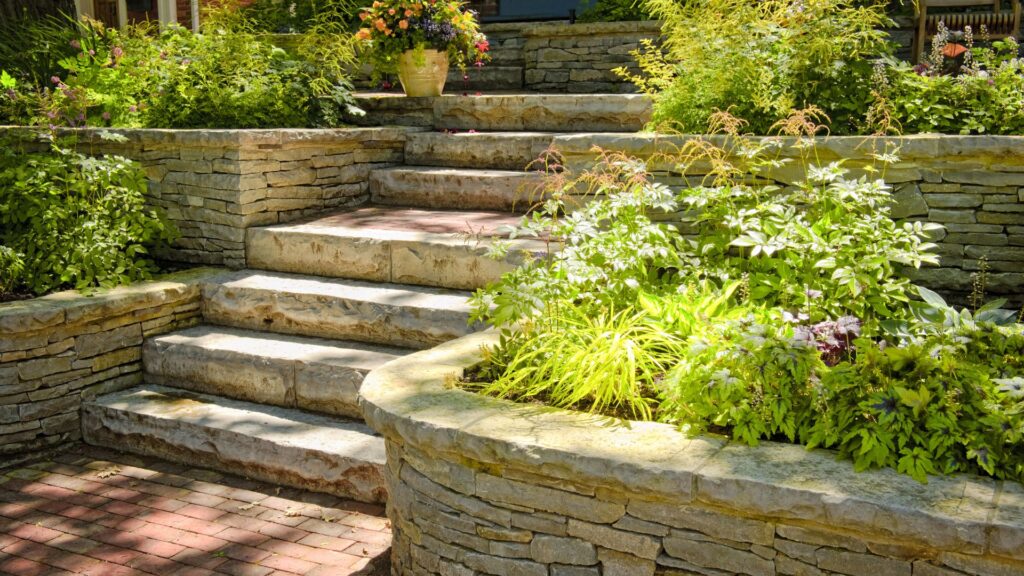
In gardens, retaining walls can create tiered planting spaces that look clean and organized. In more rural areas, they might line long sloped yards or serve as barriers around small hills to prevent runoff during heavy rain.
No matter where it’s used, the goal is the same: make sloped land more useful, safe, and easy to maintain. A retaining wall doesn’t just add structure, it adds function and beauty to outdoor spaces.
Common Challenges Of Building On A Slope
Building a retaining wall on a slope might look simple, but it comes with several hidden challenges that can quickly turn into costly problems if ignored. Whether you’re doing it yourself or hiring a contractor, understanding these potential issues will help you plan better, avoid mistakes, and create a wall that lasts. Let’s break down the most common problems you’ll face when working with sloped ground.
Soil Movement And Pressure
When building on a slope, one of the biggest issues is soil movement. Gravity constantly pulls the soil downhill, especially during heavy rains. This creates lateral pressure behind your retaining wall, which pushes against the structure from the back. If your wall isn’t strong enough or properly built, that pressure can cause it to crack, bulge, or collapse over time.
Soil type matters, too. Clay holds more water and creates more pressure, while sandy soils drain better but can shift easily. You need to account for both soil weight and water pressure in your wall design. Using proper backfill, drainage, and reinforcement will help the wall resist that pressure and stay in place.
Drainage Complications
Water is the silent enemy of retaining walls. On a slope, rainwater doesn’t just soak into the ground, it runs downhill and collects behind the wall. Without a drainage system in place, that water builds up pressure and weakens the wall over time.
Poor drainage often leads to wall failure, erosion, or soggy soil that shifts easily. A good retaining wall includes features like gravel backfill, perforated drain pipes, and weep holes to move water away from the structure. Skipping this step might not cause problems right away, but it will catch up to you sooner than you think.
Uneven Foundation Support
Sloped ground rarely gives you a flat, stable base to work with. That means you need to dig carefully and create a level foundation, even though the slope itself isn’t level. Uneven foundations are one of the top causes of tilting or leaning walls.
If the base isn’t compacted and level, the wall will settle unevenly, especially under the weight of soil and water. Over time, that can cause cracks or complete structural failure. Taking the time to properly dig, level, and compact your trench, especially on a hill, is critical for long-term stability.
Safety Risks If Done Poorly
A poorly built retaining wall isn’t just an eyesore, it’s a real safety hazard. If the wall collapses, it can damage property, harm people, or send tons of soil spilling where it shouldn’t be. The higher the wall, the more dangerous a collapse becomes.
Retaining walls on slopes require careful engineering, proper drainage, and high-quality materials. If any of those are ignored or done incorrectly, you risk more than just wasted time, you could be liable for injuries or property damage. That’s why it’s smart to consult a professional if you’re unsure about any part of the project.
Key Planning Considerations Before You Start
Before you begin building a retaining wall on a slope, it’s important to slow down and plan carefully. Skipping this step can lead to costly mistakes, structural issues, or even safety risks later. Whether you’re going the DIY route or hiring someone, these planning points will help you get it right the first time.
Check Local Building Codes And Permit Needs
Every city or town has its own rules for building structures like retaining walls. Many places require a permit if your wall is taller than 3 or 4 feet. Others may ask for an engineer’s approval for any slope-related construction. Before you buy materials or start digging, call your local building department or check their website. This helps you avoid fines, delays, or even having to tear down the wall if it doesn’t meet regulations.
If you’re working with a contractor, ask them to handle this part. But if you’re going DIY, make it your first to-do item. Permits may take time to process, so plan ahead.
Decide Between DIY And Hiring A Pro
- Ask yourself: how complex is your slope? Are you comfortable using tools like a level, tamper, or saw? Can you lift heavy blocks and dig a trench safely? For mild slopes and short walls, a DIY build can save money and offer a sense of accomplishment. But steeper slopes, taller walls, or poor drainage areas often require a professional.
Hiring a pro may cost more upfront, but you gain peace of mind knowing the wall is structurally sound. A contractor will also handle drainage, grading, and other details that affect long-term performance.
Know Your Soil Type (Clay, Sand, Loam)
Not all soil is equal. Some types handle pressure and water better than others. If your slope has sandy soil, it drains well but may shift more. Clay holds water and adds weight, putting more pressure on the wall. Loam is often ideal, offering a balance between drainage and support.
You don’t need a lab test, just dig a small hole and feel the soil. Sticky and dense? Likely clay. Loose and gritty? Sand. A mix that holds shape but crumbles easily? That’s loam. Knowing your soil helps you choose the right materials and drainage setup.
Consider The Wall’s Purpose: Decorative, Structural, Or Both
Is your wall just for looks, like holding back a flower bed? Or does it need to hold heavy soil on a steep grade? Decorative walls don’t need to be as deep or reinforced. Structural walls must support weight, resist pressure, and include solid drainage.
Some walls do both, look great and serve a major purpose. Either way, be clear about the goal. This affects everything from material choice to how you build the base.
Budget, Tools, And Time Needed
Be honest about what you can spend, the tools you already have, and how much time you’re willing to commit. A basic block wall for a short slope might take a weekend and cost a few hundred dollars. A tall wall with proper drainage, compacted base, and professional help could run into the thousands.
You’ll likely need tools like a shovel, wheelbarrow, level, hand tamper, and a saw for cutting blocks. If you don’t own them, check local tool rental shops. Also factor in gravel, backfill, and drainage pipe. Budgeting up front prevents surprises halfway through the build.
Planning your retaining wall properly saves you time, money, and stress. Take these steps seriously, and you’ll be set up for a safer, stronger wall that lasts for years. Let me know if you want a downloadable checklist to keep track of everything.
Choosing The Right Type Of Retaining Wall For A Slope
Not every slope is the same, and not every retaining wall works for every situation. Choosing the right type of wall depends on the slope’s angle, soil condition, how much weight the wall needs to hold back, and your budget. Below are the most common types of retaining walls used on sloped land, each with its own benefits and ideal use cases.
Gravity Wall
A gravity wall relies on its own weight to hold back soil. These are usually made from heavy materials like concrete blocks, stone, or poured concrete. They don’t need reinforcement or tiebacks and work well for shorter walls, usually under 4 feet. Gravity walls are great for DIYers because they’re simple to build and don’t require deep excavation or complex engineering.
Best for:
- Mild to moderate slopes
- Small to medium-height walls
- Homeowners who want a simple, durable solution
Cantilever Wall
A cantilever wall uses a reinforced concrete base that extends into the soil, creating leverage to hold back pressure. The base includes a stem and footing and often requires steel reinforcement. While more complex to build, cantilever walls are ideal for taller walls and areas where heavy loads or steep slopes are a concern.
Best for:
- Slopes with significant soil pressure
- Walls higher than 4 feet
- Projects that require a structural engineer
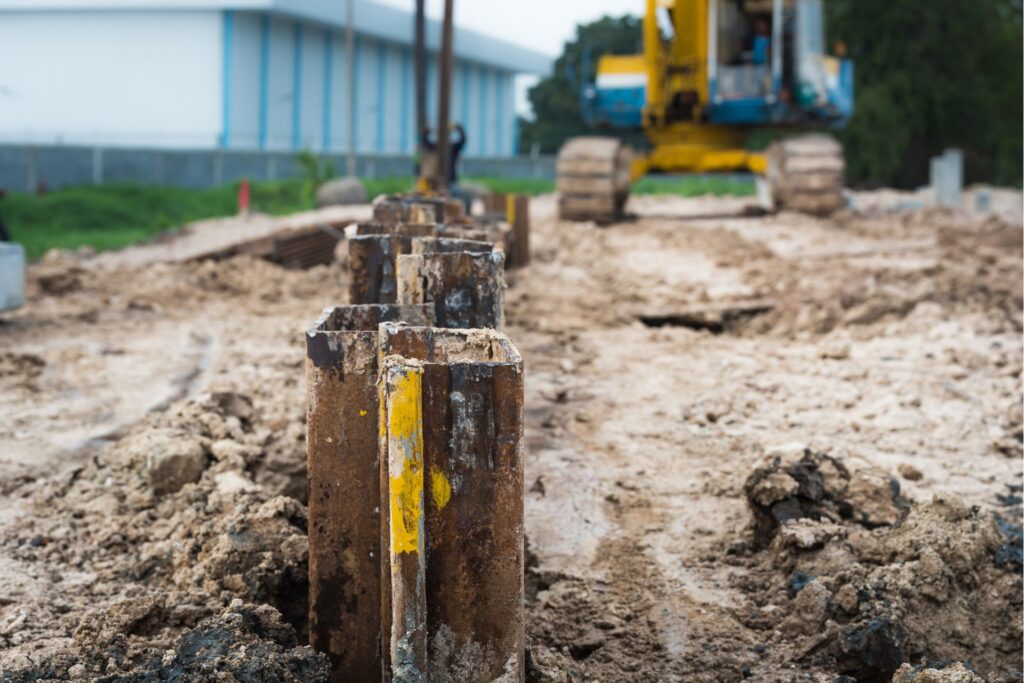
Anchored Wall
An anchored retaining wall uses cables or rods (anchors) that extend from the wall into the soil or rock behind it. These anchors are typically fixed into place with concrete or mechanical plates. This system adds extra strength, making it a good option for very tall or heavily loaded walls.
Best for:
- Steep slopes or loose soil
- High walls that need additional reinforcement
- Areas with limited space for a wide base
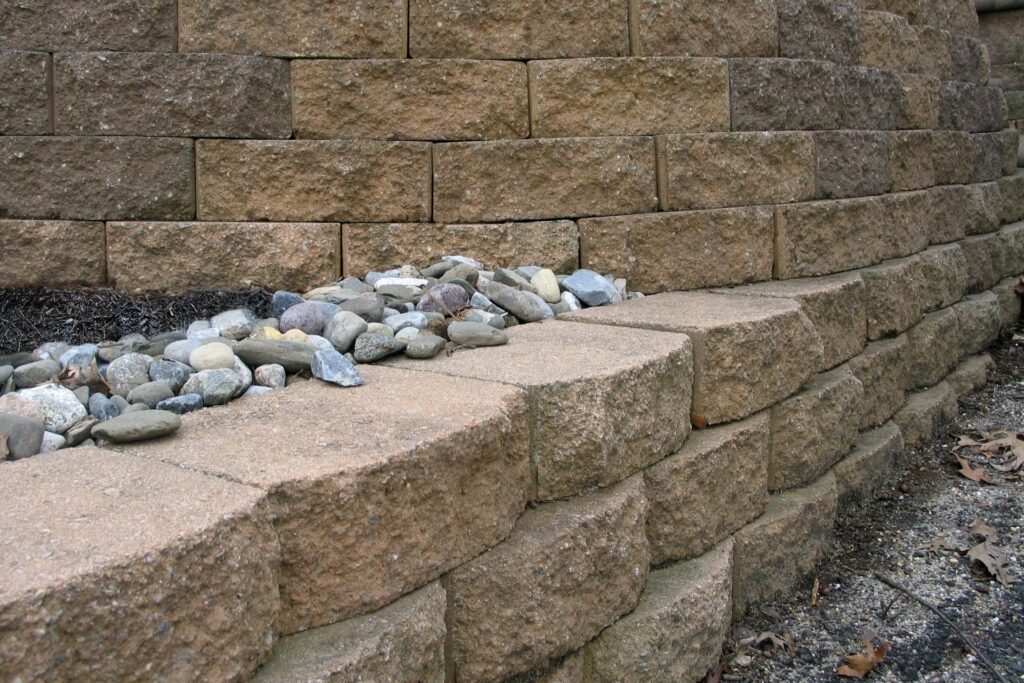
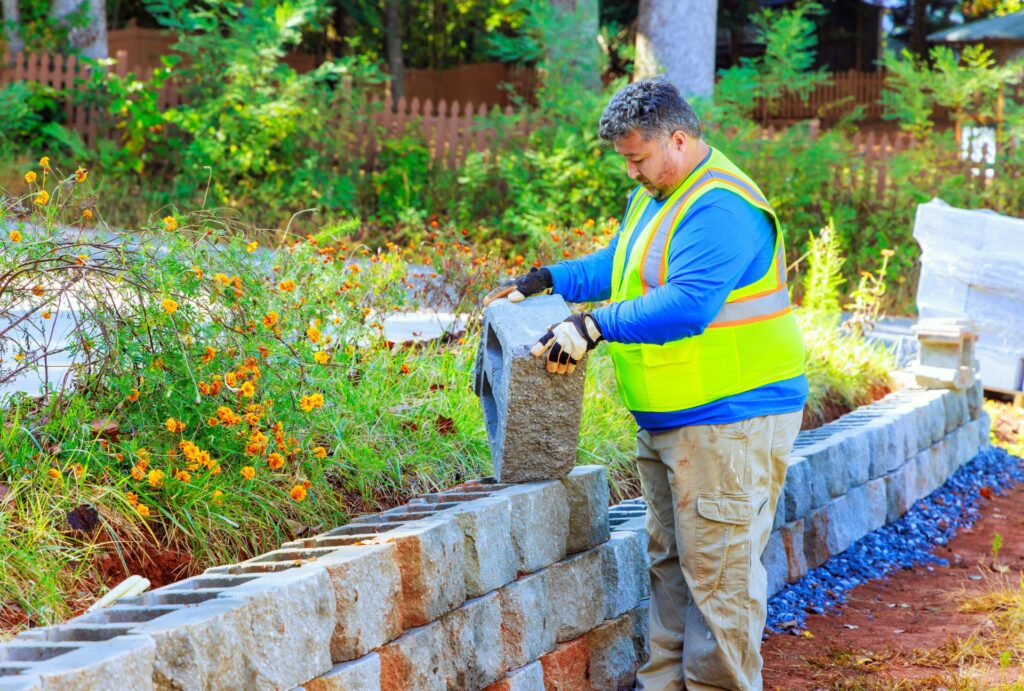
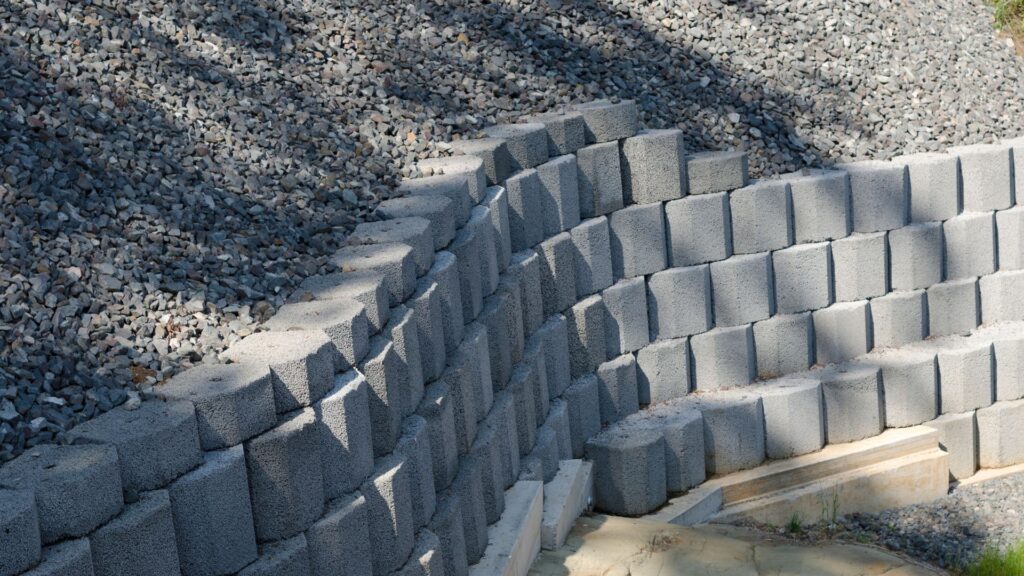
Segmental Block Wall (Modular)
Segmental block walls are made from interlocking concrete blocks. These are easy to stack, require no mortar, and often include a pin system for stability. They’re one of the most popular options for residential landscapes because they’re DIY-friendly and visually clean. When reinforced with geogrid mesh, these walls can hold back serious loads, even on steep slopes.
Best for:
- DIY landscaping projects
- Gradual to moderate slopes
- Homeowners who want a modern, uniform look
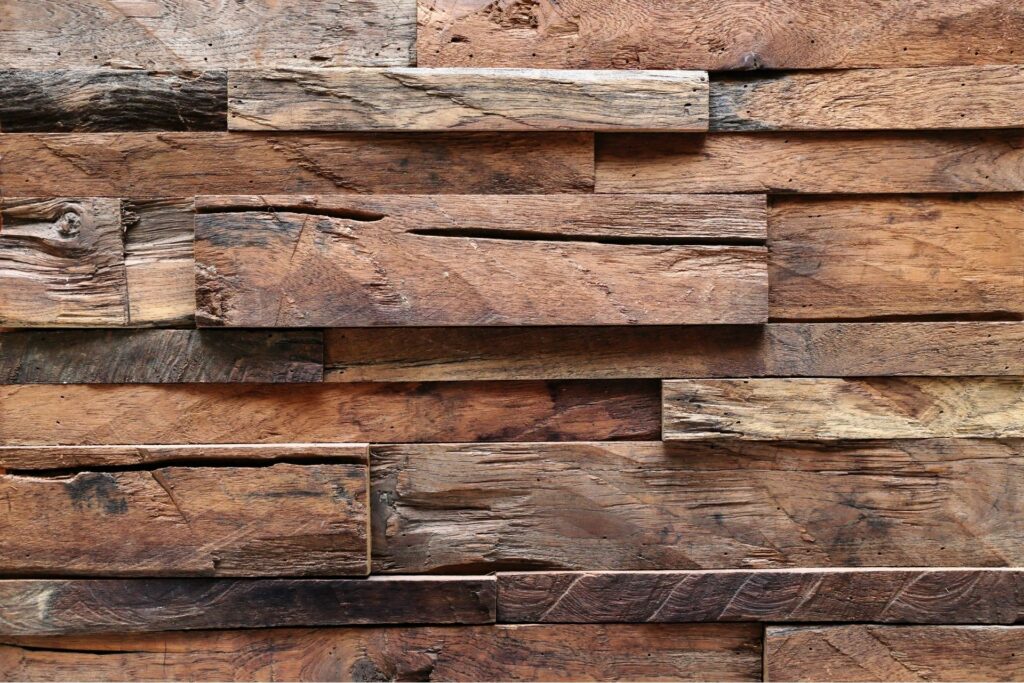
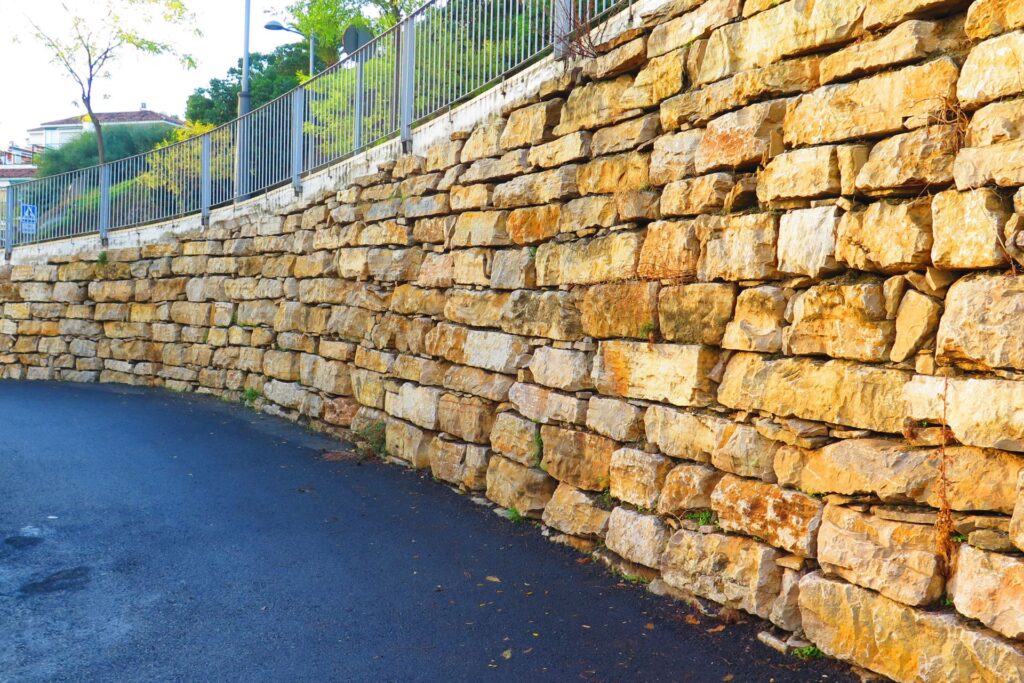
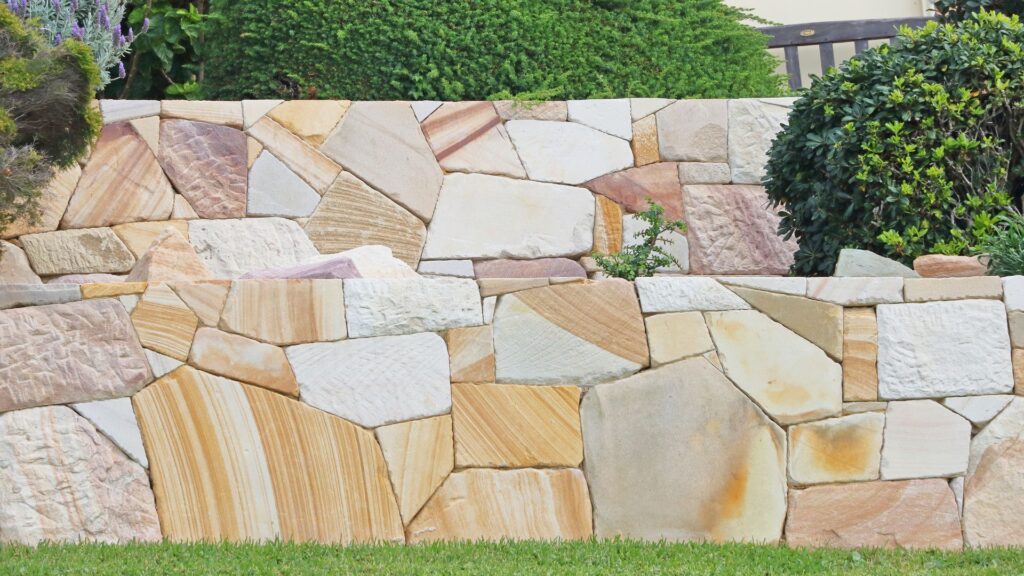
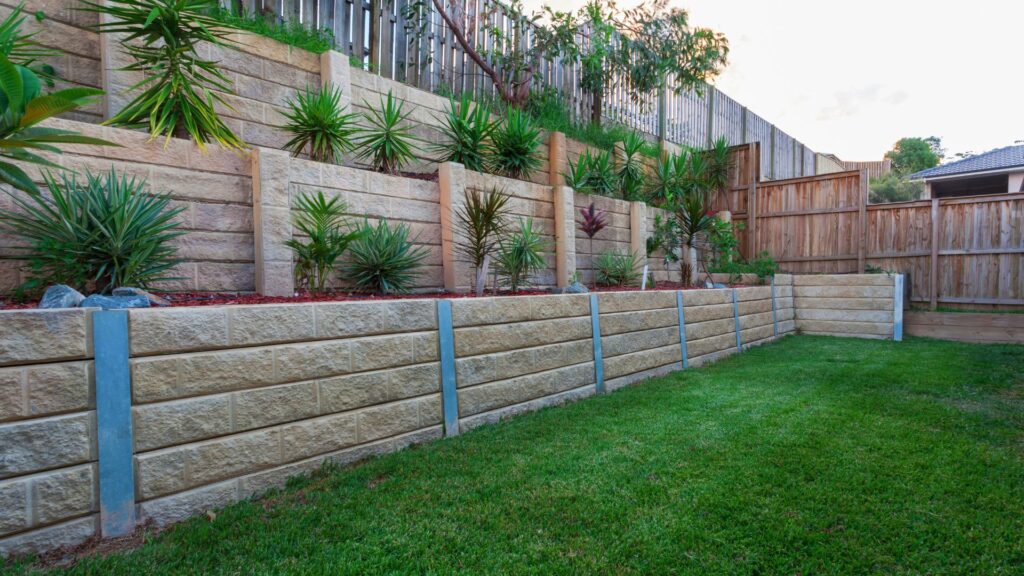
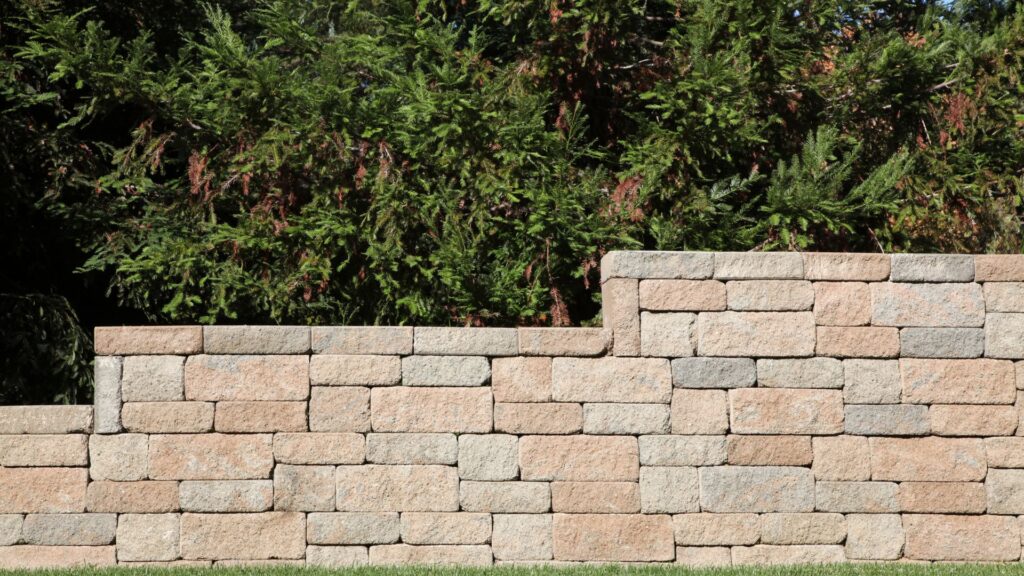
Natural Stone Or Timber Walls
If you prefer a rustic or natural look, stone or timber might be the way to go. Natural stone walls blend into garden landscapes and are extremely durable, though they require some skill to install properly. Timber walls, on the other hand, are more affordable and faster to build but may degrade over time if not treated.
Best for:
- Decorative or low-impact projects
- Slopes in gardens or backyard spaces
- Homeowners prioritizing aesthetics over strength
When Each Type Works Best On Slopes
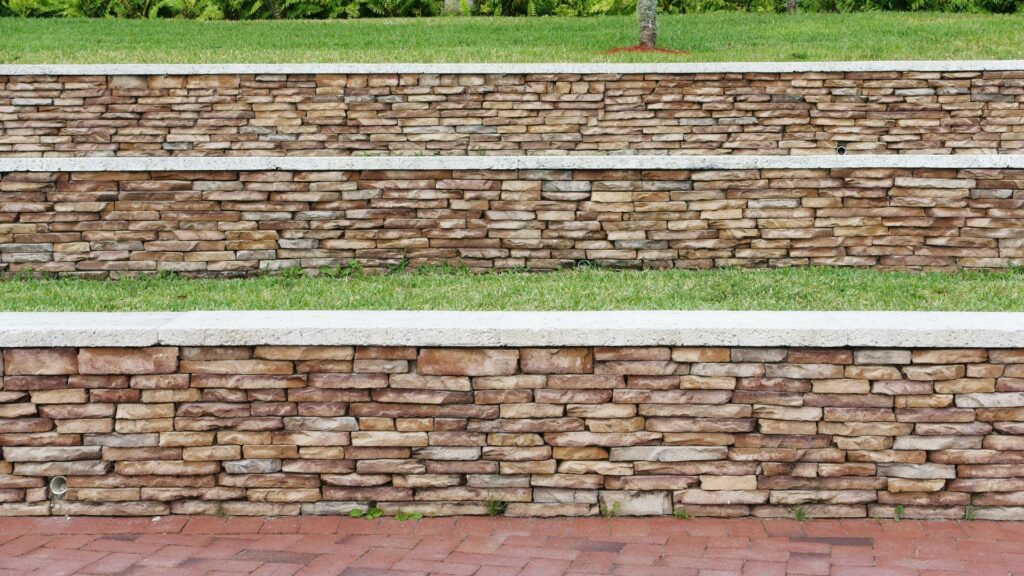
- For low garden walls on a gentle slope, gravity and segmental block walls are ideal. They’re easy to install and hold up well when properly backfilled.
- For structural support on steep terrain, go with anchored or cantilever walls. These require more planning and possibly a professional, but they handle heavy loads better.
- If appearance is the priority, stone and timber walls offer a warm, natural look. Just make sure they’re not holding back more soil than they can handle.
- For long-term durability, segmental block and poured concrete gravity walls tend to last the longest with minimal maintenance.
Before starting your project, take time to assess your slope, budget, and design goals. The right retaining wall will not only add function but also improve the beauty and safety of your outdoor space.
Step-By-Step Guide To Building A Retaining Wall On A Slope
Building a retaining wall on a slope takes more than stacking blocks. You need careful planning, solid groundwork, and attention to drainage. This guide walks you through each step clearly so you can build a strong, lasting wall that holds up against erosion and time. Whether you’re doing it yourself or working with a contractor, these steps will help you understand the process and avoid common mistakes.
Step 1: Plan And Measure
Start by choosing the exact area where the wall will go. Use stakes to mark the wall’s beginning and end points. Then, tie string between the stakes to map out the elevation changes. This gives you a visual guide and helps you measure the slope’s height difference. It also shows where you might need to step the wall to keep each layer level as the ground rises or falls. Proper planning at this stage avoids uneven rows and shifting later.
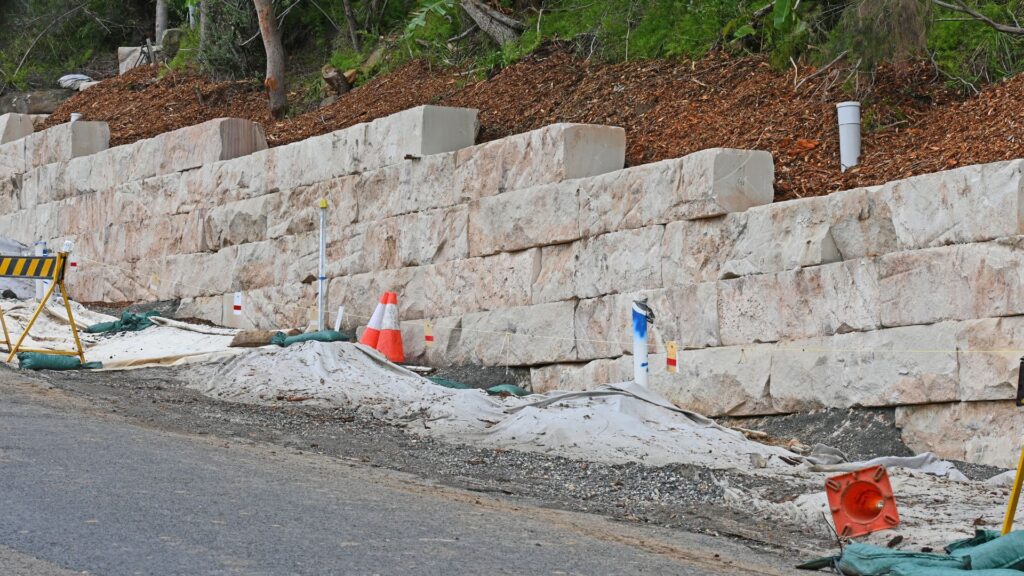
Step 2: Excavate And Prepare The Trench
Dig a trench along your marked line. The trench should be deep enough to bury about one-eighth of the wall height, at least 6 inches for shorter walls. It should also be twice the width of your wall blocks to allow for gravel and leveling adjustments.
After excavation, lay a few inches of crushed gravel or road base at the bottom. Use a hand tamper or plate compactor to pack it tightly. This base supports the wall and helps with drainage, reducing the risk of sagging or tilting.
Step 3: Lay The Foundation
The first course is the most important. If it’s level, the rest of the wall will be stable. Place your first row of blocks directly on the compacted gravel base. Use a level from front to back and side to side. Tap each block into place with a rubber mallet.
As you work, continue to check the level every few blocks. Even small errors at this stage can grow bigger as you build up. A strong, well-leveled foundation is key to preventing wall failure.
Step 4: Build Wall Layers
Once the base course is set, start stacking the next rows. Always stagger the joints, like a brick wall, so they don’t line up vertically. This adds strength and helps the wall resist movement.
After placing each new row, backfill with gravel or crushed stone behind the wall. Fill in about 12 inches of backfill, then compact it with a tamper. Repeat this process for each layer to support the wall and allow water to drain away from the blocks.
Step 5: Add Drainage
Without proper drainage, water will build up behind the wall and add pressure that can cause it to lean or collapse. To prevent this, lay a perforated drain pipe at the base behind the wall. Wrap it in landscape fabric to stop dirt from clogging it.
Cover the pipe with gravel or crushed stone, then continue backfilling as you build. This allows water to flow away easily and keeps your wall dry and secure. Drainage is especially critical on a slope where runoff is stronger.
Step 6: Finish And Secure The Top
At the top of the wall, add cap blocks or flat stones to give it a finished look and extra stability. These can be glued with construction adhesive for added hold.
Shape the soil behind the wall to slope slightly away. This helps direct rainwater away from the structure instead of pooling behind it. You can also landscape the top area with mulch, ground cover plants, or decorative rock to match your yard’s style and improve water flow.
This process takes time, but each step plays a role in making the wall safe and long-lasting. By following this guide, you’re not just building a structure, you’re solving slope problems and improving your outdoor space for years to come.
Tips for Long-Term Wall Stability
A retaining wall on a slope does more than hold back dirt, it protects your property from erosion, water damage, and uneven ground shifts. But even a well-built wall can fail over time without proper care. Below are simple, practical tips to keep your wall stable and working as intended for years to come.
Regular Inspection For Bulging Or Cracking
Walk along the length of your retaining wall every few months and take a good look. Are there bulges, cracks, or leaning sections? These are early signs of pressure problems behind the wall, often caused by poor drainage or soil movement. Small cracks can usually be patched, but significant bulging might need professional help. Catching these issues early can save you from a total rebuild later.
Keep Drainage Clear
Water is one of the biggest threats to any retaining wall, especially on a slope. If water builds up behind the wall, it creates pressure that can push the wall forward or cause it to crack. Make sure your drainage pipe isn’t clogged. Clear out leaves, dirt, or debris that may have collected near the base. Gravel backfill should also stay loose, if it’s packed with mud, it won’t drain properly.
Don’t Overload The Top With Heavy Objects
It’s tempting to decorate the top of your retaining wall with heavy pots, garden furniture, or even vehicles if it borders a driveway. But too much weight puts extra pressure on the wall, especially over time. Stick to lightweight planters or low-impact features. If you’re unsure how much weight your wall can support, it’s best to ask a contractor.
Watch Nearby Plant Roots
Plants near your retaining wall can cause more harm than you think. While small flowers or ground covers are usually safe, trees and large shrubs can be a problem. Their roots grow deep and wide, sometimes pushing through the wall or destabilizing the soil around it. If you already have trees nearby, keep an eye on their growth and prune roots if needed. For new landscaping, choose root-friendly plants that won’t interfere with the wall.
Keeping a retaining wall strong over time isn’t hard, but it does require attention. A few minutes every season can help prevent costly repairs and keep your slope safe and attractive. Regular maintenance, smart planting, and proper drainage go a long way in protecting your investment.
When To Call A Professional
Building a retaining wall on a slope can be a manageable DIY project, if the conditions are simple. But in certain situations, it’s smarter (and safer) to bring in a professional. Here’s when you should seriously consider hiring one.
Steep Slopes Or Very Tall Walls
If your slope is steep, gravity works harder against your wall. That adds more pressure to the structure. Taller walls, typically over 4 feet, also carry more weight and risk of collapse if not built correctly. These kinds of walls often require precise engineering and may even need reinforcement or anchoring systems.
A professional will know how to calculate load pressure, select the right materials, and design a wall that won’t buckle over time. They’ll also understand how to safely manage excavation on sharp inclines, which can be dangerous if done without experience.
Complex Drainage Issues
Drainage is one of the most important elements of a retaining wall, especially on a slope. If water builds up behind the wall, it can cause it to lean, crack, or even fail completely.
Some slopes come with more complex water flow patterns. If your yard tends to collect standing water, or if water is running off from a higher area into the wall zone, you’ll need a detailed drainage plan. That could involve French drains, weep holes, geotextiles, or even redirecting runoff to other areas of your property.
A contractor with experience in sloped landscapes can diagnose drainage problems and install systems that keep your wall dry and solid.
If Retaining Wall Is Near A Structure Or Driveway
When your retaining wall is close to your house, garage, or a driveway, it’s no longer just a landscaping project, it’s a structural safety issue. A poorly built wall in these areas could damage foundations, crack concrete, or create hazards for vehicles.
Professionals understand how to account for load-bearing structures and pressure zones near buildings. They’ll follow strict guidelines and may coordinate with an engineer to make sure everything stays stable and safe.
Signs Your Current Wall Might Be Failing
If you already have a wall that’s showing signs of failure, don’t try to patch it yourself. Cracks, bulging, leaning, or water seeping through are all red flags. These issues often point to deeper structural problems, like poor footing or bad drainage.
A professional will assess the damage, figure out the cause, and recommend whether it can be repaired or needs to be rebuilt. Waiting too long or using a quick fix could make the problem worse, and more expensive to solve.
Calling a pro isn’t admitting defeat. It’s making sure your investment in a retaining wall actually lasts. If any of these red flags apply to your slope or wall, bringing in an expert can save time, money, and serious stress down the line.
Cost Breakdown And Budget Tips
Building a retaining wall on a slope can be a smart investment, but costs can add up quickly if you’re not prepared. Whether you’re going DIY or hiring a contractor, it helps to know where your money is going. This section breaks down the main costs involved and offers practical tips to save money without sacrificing quality.
Material Costs (Block, Stone, Timber)
Materials are one of the biggest factors in your total cost. The type you choose affects both price and performance.
- Concrete blocks are affordable and easy to work with. They typically range from $2 to $5 per block. For a mid-sized wall, you might spend around $500 to $1,500 just on blocks.
- Natural stone looks great and lasts a long time, but it can be expensive. Costs range from $20 to $30 per square foot.
- Pressure-treated timber is a budget-friendly option, especially for short walls. Expect to pay $15 to $25 per linear foot.
The total cost will also depend on how tall and long your wall is, so always measure carefully before buying.
Equipment Rental Or Purchase
If you’re building the wall yourself, you’ll need tools. Some are inexpensive, while others might require renting.
- Shovels, wheelbarrows, levels, and gloves are basic tools you may already have.
- Plate compactors (for leveling the base) can be rented for about $60 to $100 per day.
- Saws or splitters for cutting blocks may cost $50 to $75 per day to rent.
Renting saves money if you don’t plan to use the tools again. If this is one of many outdoor projects, buying might be worth it.
Labor If Hiring Pros
Professional help can drive up the cost, but it’s often worth it, especially on steep slopes or tall walls.
- Labor charges can range from $40 to $75 per hour.
- For a basic retaining wall, you might pay $30 to $50 per square foot, including labor and materials.
- More complex jobs with drainage systems or tall structures will cost more.
Hiring pros adds peace of mind. Just make sure to get multiple quotes and check references.
Permits And Soil Testing If Needed
You may need a permit depending on your local rules. This is especially true for walls over 3 to 4 feet tall or those near a structure.
- Permits typically cost between $50 and $200.
- Soil testing, if required by your city or for a tall wall, could add another $100 to $300.
These steps protect you from legal issues and future problems like poor drainage or structural failure.
Ways To Save Without Cutting Corners
There are smart ways to lower costs without risking the wall’s strength or appearance.
- Build in phases if the wall is large. Split the project across weeks or months to manage cash flow.
- Use gravel or crushed stone for backfill instead of more expensive materials.
- Do the prep work yourself, like digging and clearing the site, then hire a pro for the final build.
- Buy in bulk or look for local surplus materials, especially for stone or blocks.
- Compare prices from multiple suppliers before committing.
Avoid the temptation to skip drainage or use cheap materials. A poorly built wall can collapse and cost more to fix than doing it right the first time.
FAQs: About Retaining Wall On A Slope
Conclusion
Building a retaining wall on a slope isn’t just about stacking blocks, it’s about planning smartly, understanding your landscape, and making safe choices every step of the way. Whether you’re looking to prevent soil erosion, improve drainage, or simply create a level space in your yard, a well-constructed retaining wall can offer both function and style. The key takeaways to remember are to start with a solid plan, choose the right materials, and never skip drainage. Even a small mistake can lead to costly repairs later, so it’s worth taking your time and doing it right. If at any point the project feels too complex or the slope seems too steep, don’t hesitate to bring in a professional. Getting expert advice can save you money and stress in the long run, and help ensure your wall stands strong for years to come.
Find A Professional Retaining Walls Company Near You!
- Retaining Wall Builders Hastings
- Retaining Wall Builders Hawkes Bay
- Retaining Wall Builders Kapiti
- Retaining Wall Builders Levin
- Retaining Wall Builders Lower Hutt
- Retaining Wall Builders Manawatu
- Retaining Wall Builders Napier
- Retaining Wall Builders Palmerston North
- Retaining Wall Builders Porirua
- Retaining Wall Builders Upper Hutt
- Retaining Wall Builders Wellington
- Retaining Wall Installation Manawatu
- Retaining Walls Nelson
- Retaining Walls Tauranga
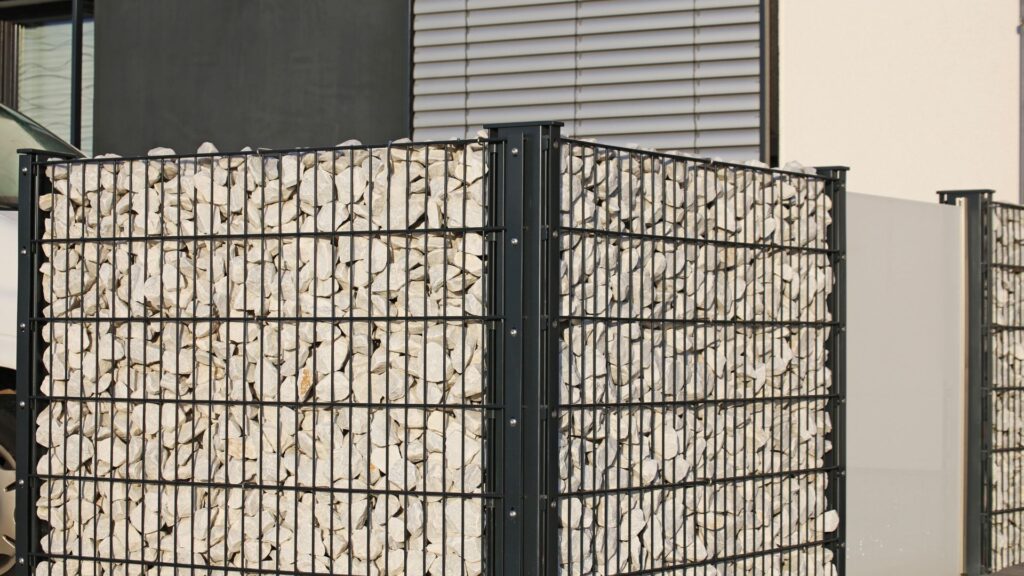
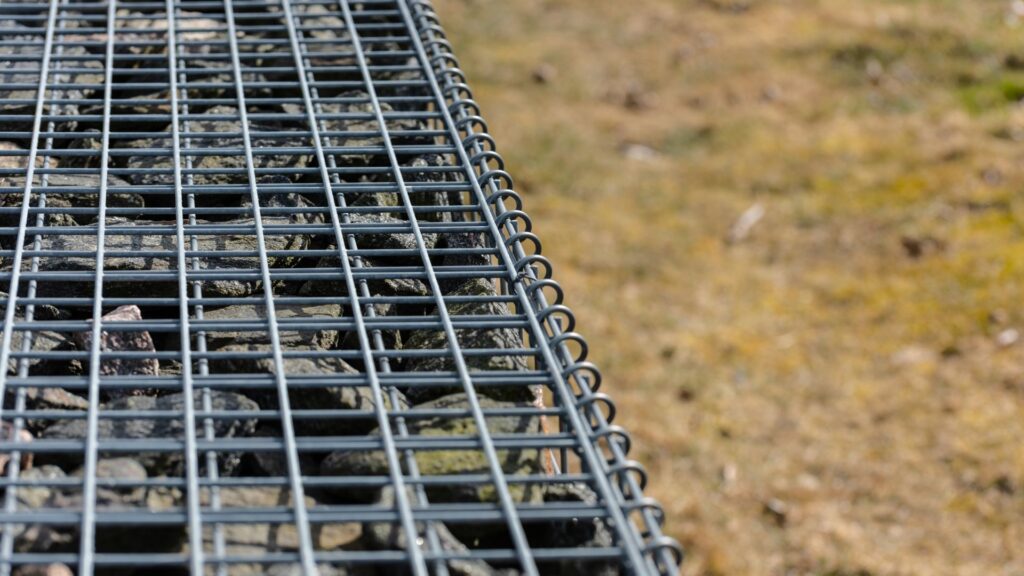
- Gabion and Timber Retaining Walls Kapiti
- Retaining Wall Builders Auckland
- Retaining Wall Builders Hamilton
- Retaining Wall Builders Tauranga
- Retaining Walls Christchurch
- Retaining Walls Kerikeri
- Retaining Walls Mangawhai
- Retaining Walls Paihia
- Retaining Walls Rotorua
- Retaining Walls Warkworth
About the Author:
Mike Veail is a recognized digital marketing expert with over 6 years of experience in helping tradespeople and small businesses thrive online. A former quantity surveyor, Mike combines deep industry knowledge with hands-on expertise in SEO and Google Ads. His marketing strategies are tailored to the specific needs of the trades sector, helping businesses increase visibility and generate more leads through proven, ethical methods.
Mike has successfully partnered with numerous companies, establishing a track record of delivering measurable results. His work has been featured across various platforms that showcase his expertise in lead generation and online marketing for the trades sector.
Learn more about Mike's experience and services at https://theleadguy.online or follow him on social media: