Welcome to your go to guide on keystone installation in NZ, where we break down everything you need to know before starting your next landscaping or outdoor project. Whether you’re dealing with a sloped backyard, planning a garden makeover, or simply want a stronger retaining wall, keystone blocks offer a smart, long lasting solution. In this post, you’ll learn what keystone walls are, why they’re ideal for New Zealand properties, how installation works step by step, and whether it’s better to DIY or hire a pro. We’ll also cover common mistakes to avoid, how much you can expect to spend, and where to buy materials locally. If you’re looking for clear, honest advice without jargon, you’re in the right place.
Keystone installation in NZ involves building durable retaining walls using interlocking concrete-contractors-nz/concrete-floor-slabs-kapiti-coast/”>concrete-contractors-nz/concrete-layers-lower-hutt/”>concrete blocks designed to support sloped landscapes, prevent erosion, and improve outdoor spaces. It’s a popular choice for Kiwi homeowners due to its strength, low maintenance, and ability to handle New Zealand’s varied terrain and weather. Whether you choose DIY or hire a professional, proper planning, drainage, and base preparation are key to a long lasting keystone wall.
What Is Keystone Installation?
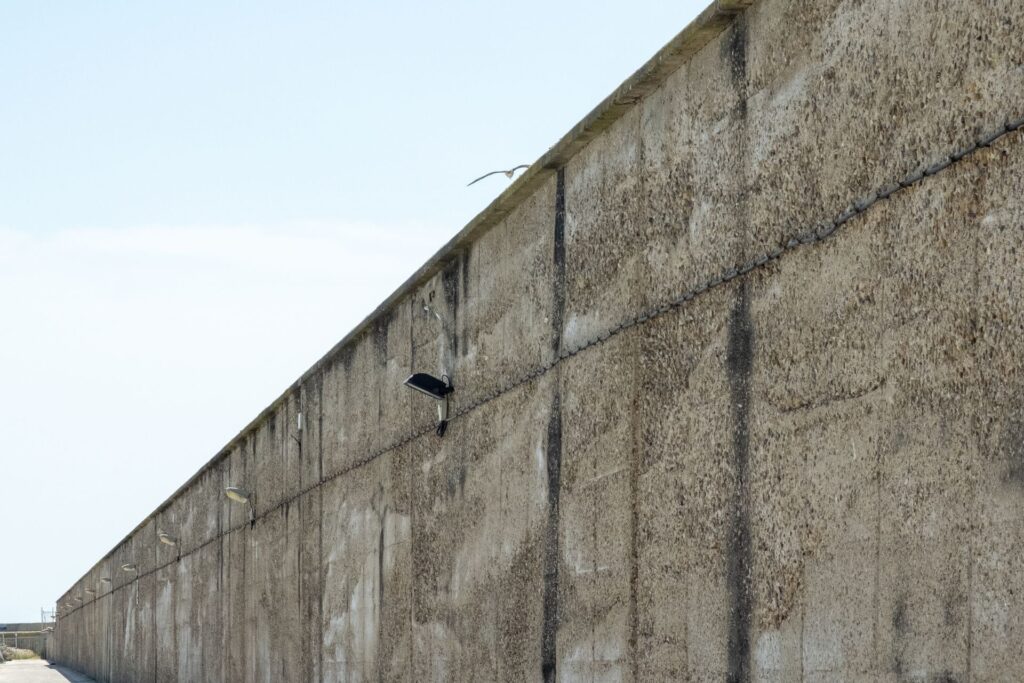
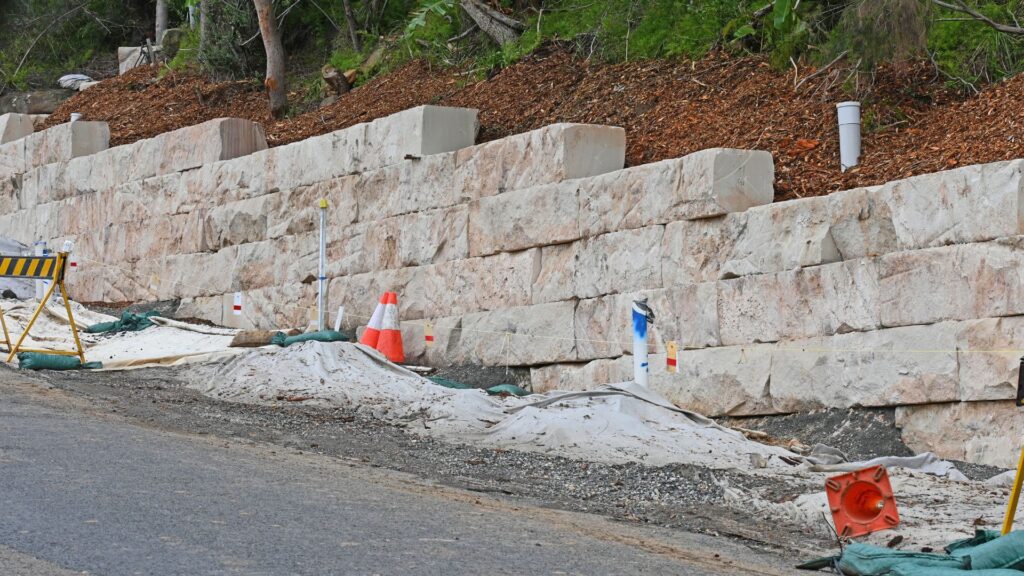
Keystone installation is the process of building a retaining wall using specially designed interlocking concrete blocks, commonly known as keystone blocks. In New Zealand, this system has become a top choice for homeowners, landscapers, and contractors looking for a sturdy, low maintenance way to support sloped land, define outdoor spaces, or prevent erosion. It’s widely used because it’s practical, long lasting, and visually clean.
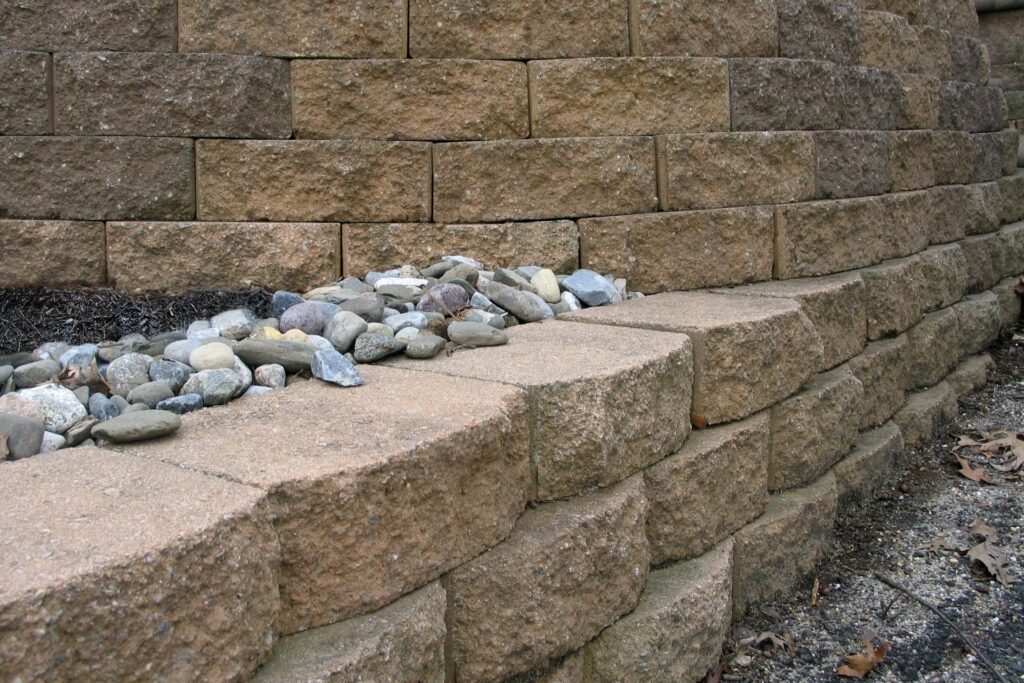
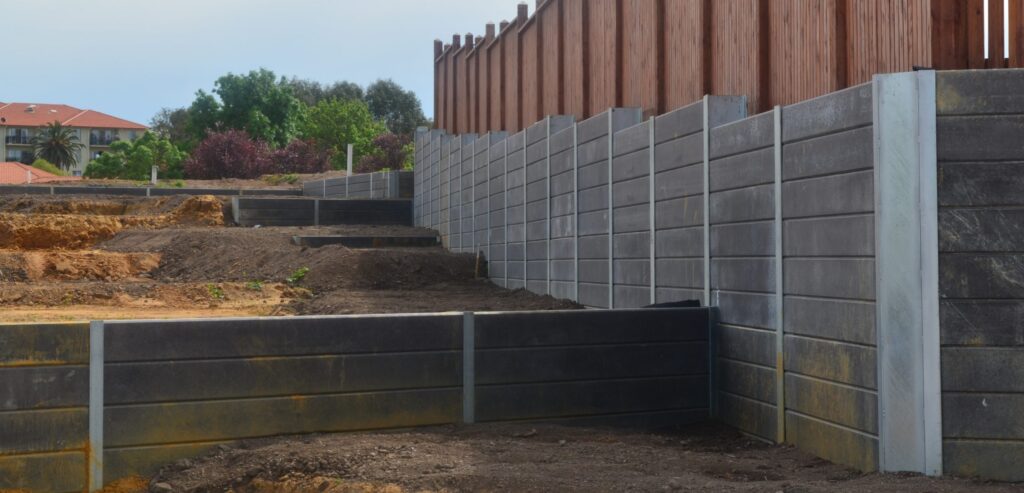
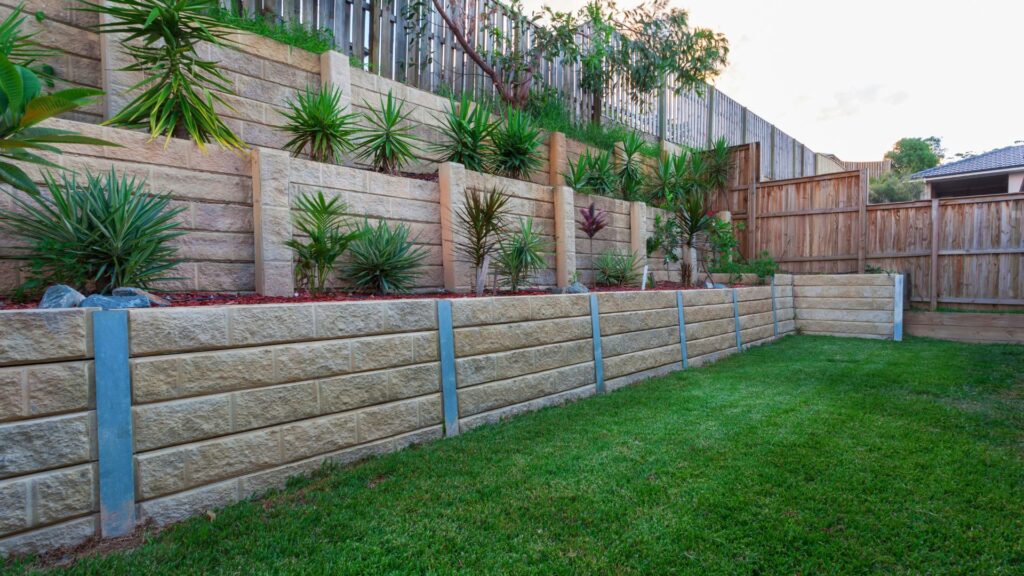
A keystone retaining wall works using a modular system. Each block is manufactured to interlock with the one below it, either through a rear lip or pin connection. This creates a secure, stable structure without the need for mortar or cement between blocks. Because of this simple interlocking design, keystone walls are easier to install than traditional masonry walls and offer greater flexibility on uneven or difficult terrain.
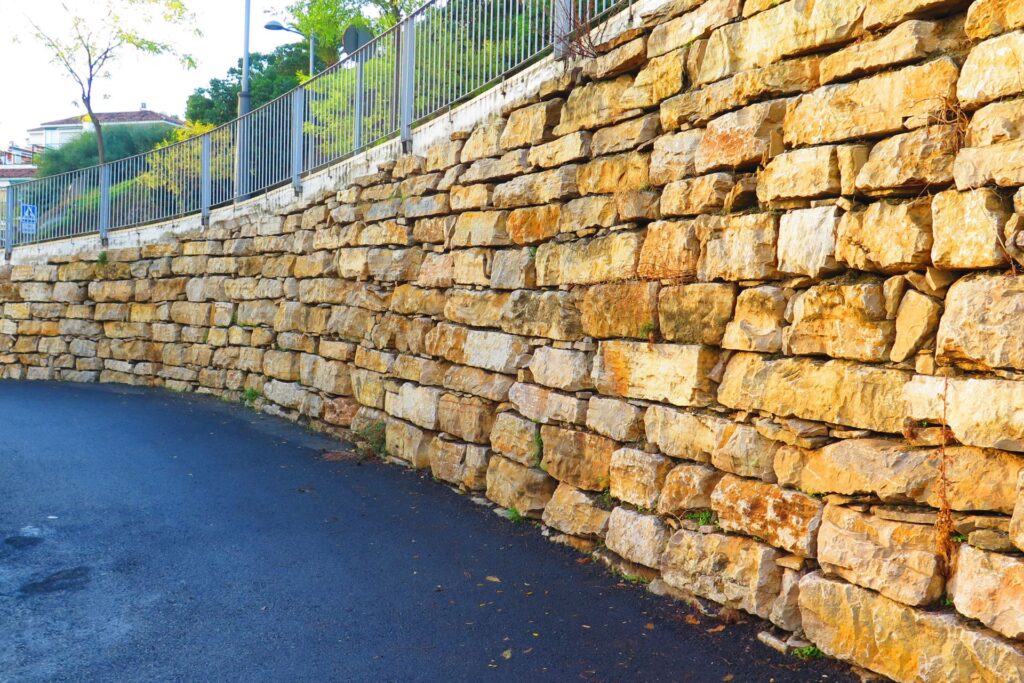
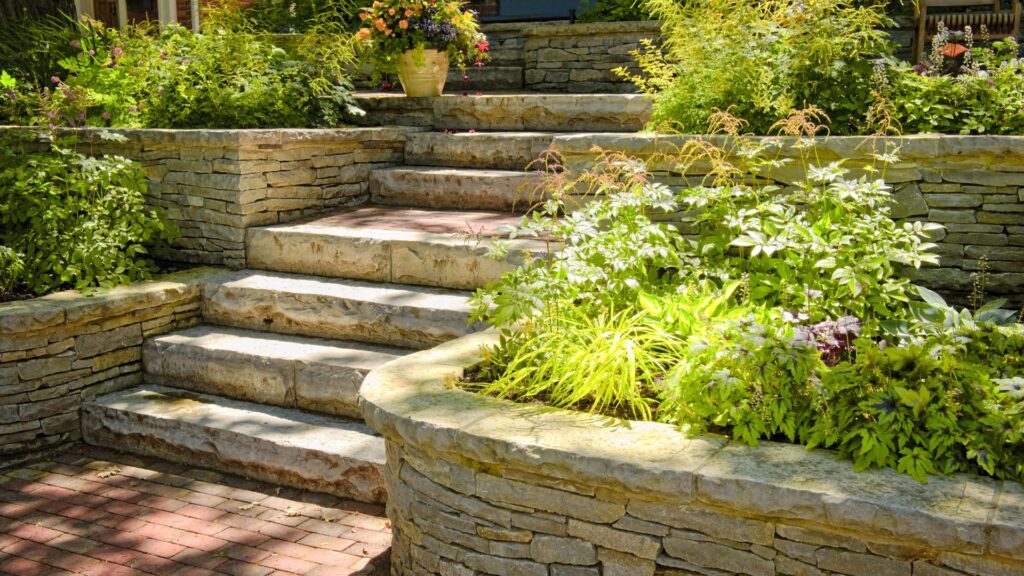
You’ll commonly find keystone walls in driveways, garden beds, patios, and sloped sections of both residential and commercial properties. They’re particularly useful on NZ sites where the land isn’t flat like coastal areas, hillside suburbs, or rural sections with drainage challenges. Homeowners often choose keystone systems because they not only hold back soil but also improve the look and function of their outdoor areas.
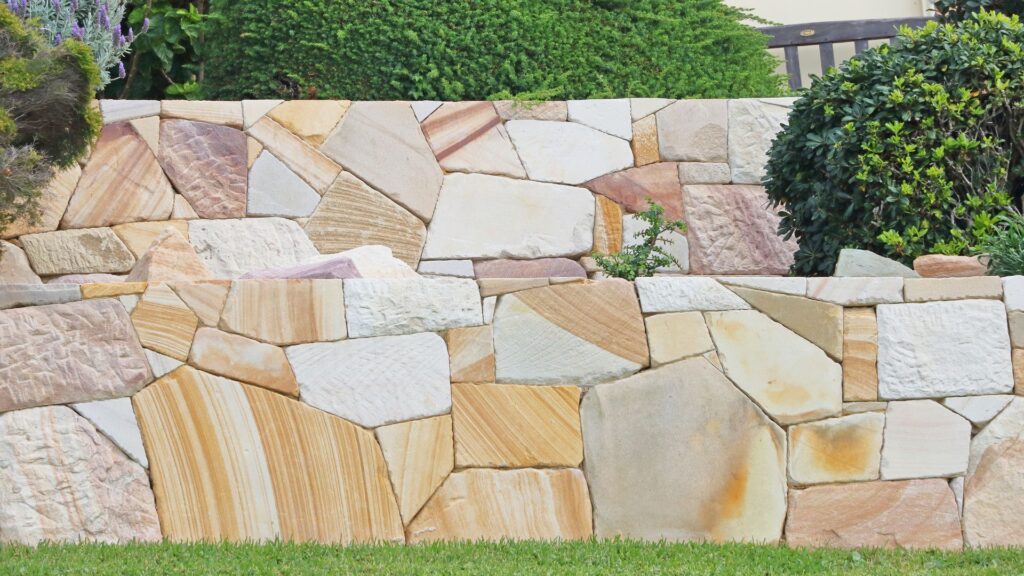
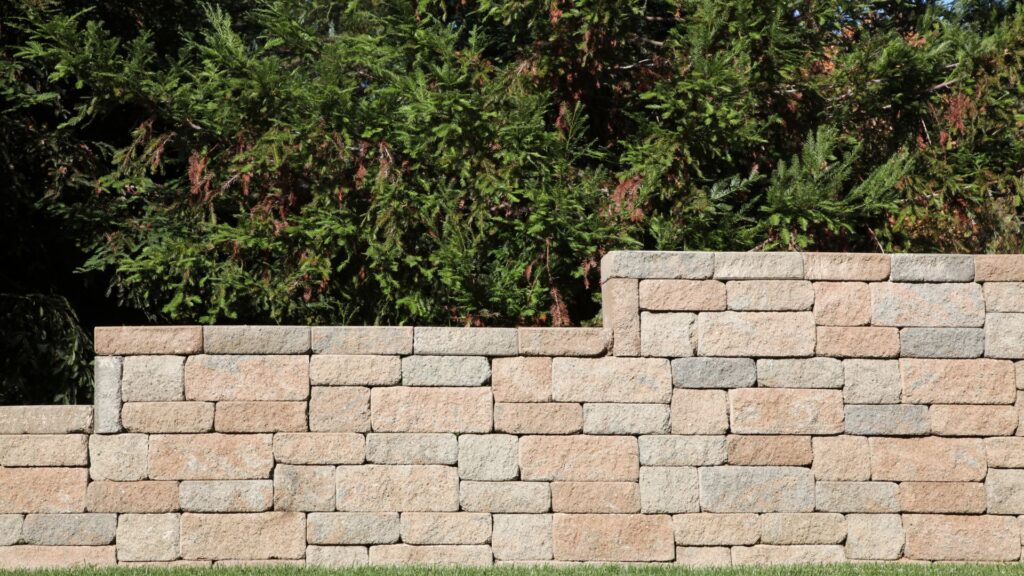
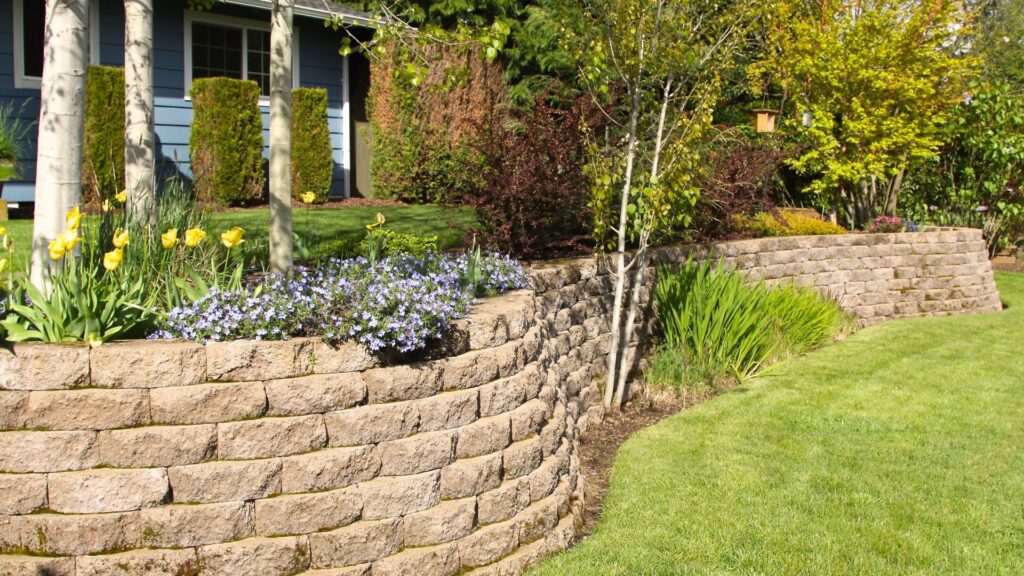
To picture it, imagine a stack of thick concrete blocks arranged in a smooth, slightly stepped formation. Behind the wall is a layer of gravel and drainage pipe, allowing water to flow freely and reducing pressure on the structure. In front, you get a clean finish that can be dressed up with plants, lighting, or capstones to match your landscape.
Keystone blocks are designed to hold up in tough NZ conditions. They’re resistant to cracking, moisture, and wear, making them ideal for long term use outdoors. Whether you’re managing a steep slope or just leveling out a small yard space, a keystone retaining wall in NZ is a smart and reliable solution that blends strength with simplicity.
Why Choose Keystone Walls In NZ?
Keystone walls have become a trusted choice for homeowners and landscapers across New Zealand and for good reason. These modular retaining wall systems offer both practical benefits and visual appeal, making them ideal for a wide range of outdoor projects. Whether you’re reshaping a sloped section of your backyard or reinforcing a garden bed, keystone installation in NZ provides a sturdy, long term solution.
Built To Last
One of the biggest reasons people choose keystone walls is their durability. When installed correctly, these walls can last over 50 years. The interlocking blocks are made from high strength concrete, designed to withstand both pressure and time. This makes them one of the most reliable retaining wall solutions available in the country.
Designed For NZ’s Landscape
New Zealand’s terrain is anything but flat. From rolling hills to coastal cliffs, the land presents unique challenges. Keystone systems are perfectly suited for these conditions. The blocks can be stacked to follow the natural contour of your property, making them a smart fit for sloped or uneven ground. They also perform well in areas with heavy rainfall or shifting soil, thanks to builtin drainage features that help manage water flow behind the wall.
Low Maintenance And Worry Free
Once installed, keystone retaining walls require very little upkeep. Unlike timber walls that may rot, or stone walls that can shift over time, keystone blocks stay in place. Occasional cleaning and checking for debris in drainage outlets is usually all that’s needed to keep your wall in top shape.
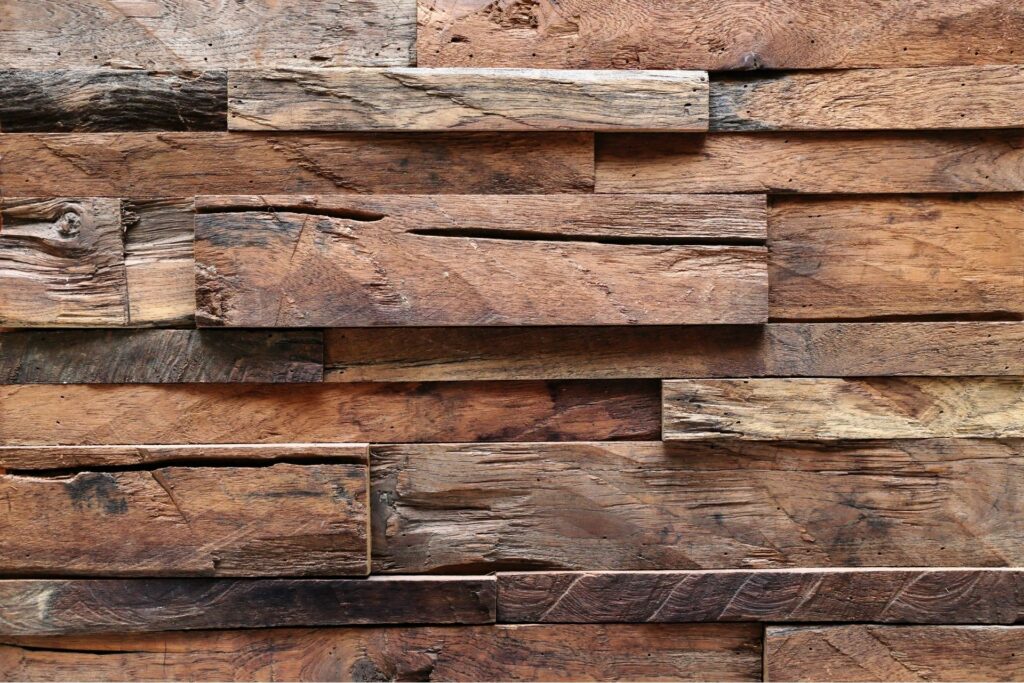
Fits Any Style
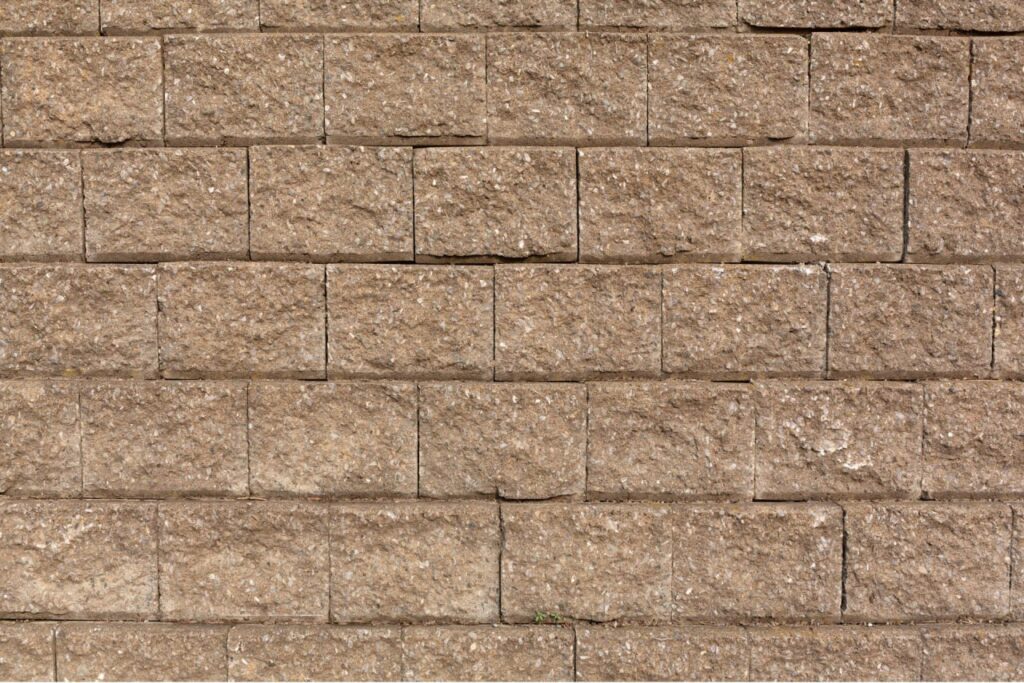
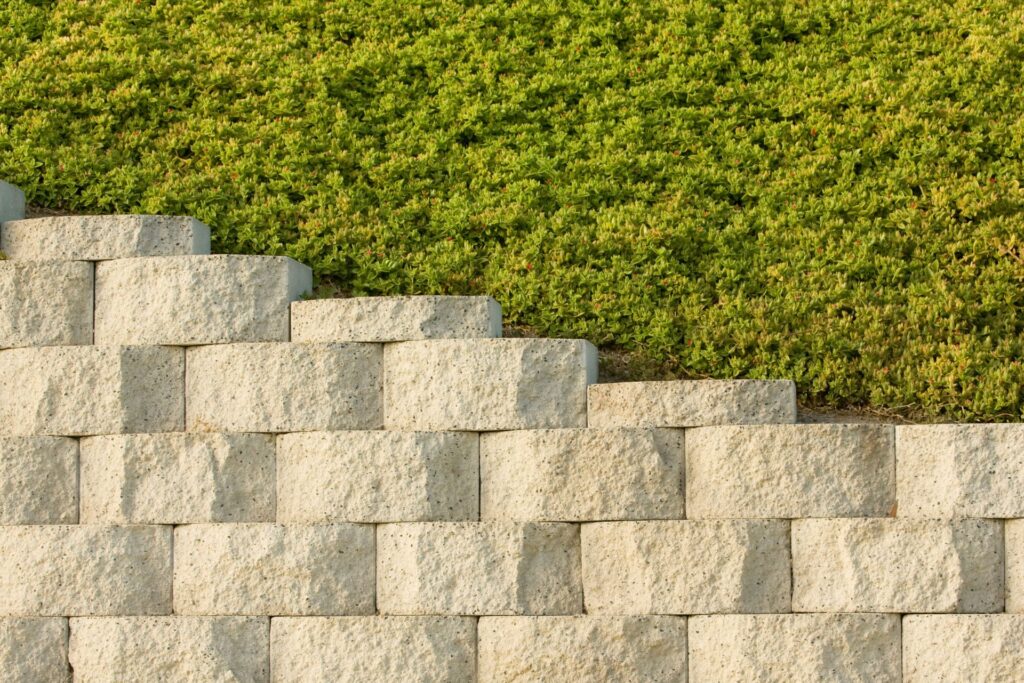
Keystone walls aren’t just practical, they also look great. They come in various textures, shapes, and colors, so you can match them to your home’s style. Whether your property is modern, traditional, rural, or coastal, you’ll find a keystone design that works for your space. Some homeowners even use them to create raised garden beds or tiered landscaping for a more dramatic effect.
Built For Local Conditions
Keystone retaining wall solutions are specifically designed for New Zealand soil and drainage patterns. Many of the block systems sold in NZ are engineered to handle local environmental stresses like heavy rain and frequent ground movement. That means you won’t need to worry about your wall failing during a storm or over time.
Easy To Source
You don’t have to look far to find what you need. Keystone blocks and accessories are available through most major hardware and landscape suppliers in NZ, including well known names like Mitre 10, Bunnings, and Firth. Whether you’re doing a DIY weekend project or hiring a contractor, access to materials won’t be a problem.
Keystone installation in NZ continues to grow in popularity for good reason. It’s a dependable, attractive, and low maintenance choice that suits the demands of New Zealand’s environment and the expectations of Kiwi homeowners who want something that lasts.

DIY Or Hire A Pro?
Thinking about installing a keystone retaining wall? You’re not alone. Many homeowners across New Zealand weigh the same question: should I tackle it myself or call in the experts? Both options have their upsides, but the right choice depends on your budget, time, experience, and the scale of your project. Let’s break it down in plain terms.
What’s Involved In A DIY Keystone Installation?
Going the DIY route can save money, but it’s a hands on job that takes planning and muscle. Here’s what you’ll need to do.
- Digging: You’ll start by digging a trench for the base. This has to be deep and wide enough to support the weight of the wall. A poor base is one of the biggest reasons DIY walls fail.
- Leveling: You need to get the base layer perfectly level from end to end. Use a spirit level and string line to guide you. If the first row isn’t level, the rest of the wall will be uneven.
- Drainage: Proper drainage is a must. That means installing a layer of crushed rock and laying a drainage pipe behind the wall. Without this step, trapped water can cause pressure that leads to wall collapse.
You’ll also be hauling blocks, measuring each row, cutting edge pieces, and backfilling with gravel as you go. It’s physical work, so be ready to get your hands dirty.
When Does Hiring A Contractor Make More Sense?
If your wall is over 1.2 meters high, or you’re working on a tricky slope or soft soil, it’s safer and smarter to hire a professional. Contractors bring.
- Experience with local soil conditions and drainage
- Access to compacting machines and excavation tools
- The ability to source bulk materials at better prices
- Knowledge of council rules and consents
A qualified installer will make sure your wall is built to last and many offer warranties, which you won’t get with DIY.
Pros And Cons Of DIY Vs Professional Installation
DIY Pros
- Cheaper upfront costs
- Full control over the project
- Can be satisfying and rewarding
DIY Cons
- Labor Intensive and time consuming
- Risk of costly mistakes
- May not meet council or engineering standards
Hiring A Pro Pros
- Done faster and to a higher standard
- Peace of mind that it’s structurally sound
- No need to buy or rent specialized tools
Hiring A Pro Cons
- Higher cost
- Less control over timeline or minor design changes
Cost Ranges For Keystone Installation In NZ
Here’s a rough idea of what you’ll spend.
DIY
Expect to spend $100–$250 per square meter, including blocks, gravel, fabric, and tools. If you already have some gear, your costs might be lower.
Professional Installation
For a small residential job, you’ll likely pay $250–$500 per square meter, depending on the wall height, accessibility, and materials used. Complex builds may cost more, especially if engineering approval is required.
Choosing between DIY and a pro comes down to your confidence, time, and the scale of your project. If you’re going small and steady, give DIY a go. If you want it done fast and right the first time, bring in a trusted local contractor. Either way, make sure your keystone installation is solid, safe, and built to handle NZ’s unique conditions.
Step-By-Step: How Keystone Installation Works
Thinking about building a keystone retaining wall in your yard? Here’s a simple, realworld breakdown of how keystone installation works whether you’re doing it yourself or just want to understand the process before hiring a pro. This section walks you through every key stage of the job, from planning to finishing touches. It’s written with everyday Kiwi homeowners in mind, and follows best practices for anyone searching how to install keystone walls or planning a keystone retaining wall NZ.
Planning
Before you break ground, start with a solid plan. First, check with your local council to see if you need building consent. In most parts of New Zealand, walls under 1.5 metres without extra load (like a driveway or shed above) are exempt but don’t assume. It’s better to double check.
Next, measure the space where you want the wall to go. Take note of the slope, soil type, and overall layout. This helps you calculate how many keystone blocks you’ll need. It’s also when you decide on the block style, colour, and finish that suits your property. Some blocks lock with pins, others with lips knowing this early helps you plan installation tools and materials.
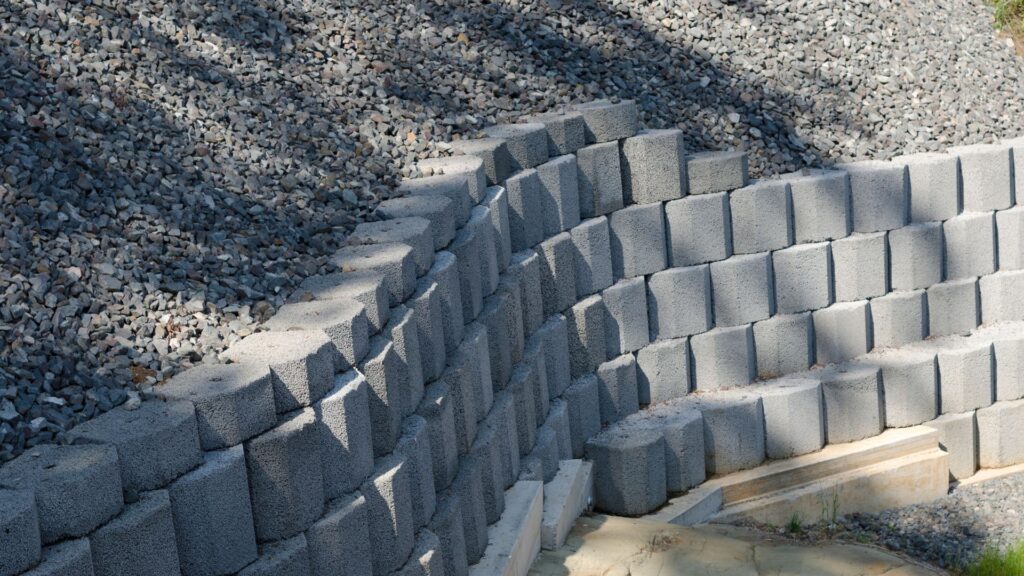
Base Preparation
A strong wall starts with a solid base. This step takes time but skipping it will cause major issues later.
Begin by digging a trench where your first row of blocks will sit. The trench should be deep enough to bury the bottom row by about 10% of the wall height. For example, a 1 metre wall should have 100mm buried.
Level the trench carefully, then add a layer of crushed rock or compacted base course. Use a tamper to pack it tightly. This base layer creates stability and helps with drainage, two things that keep your wall from shifting or collapsing over time.
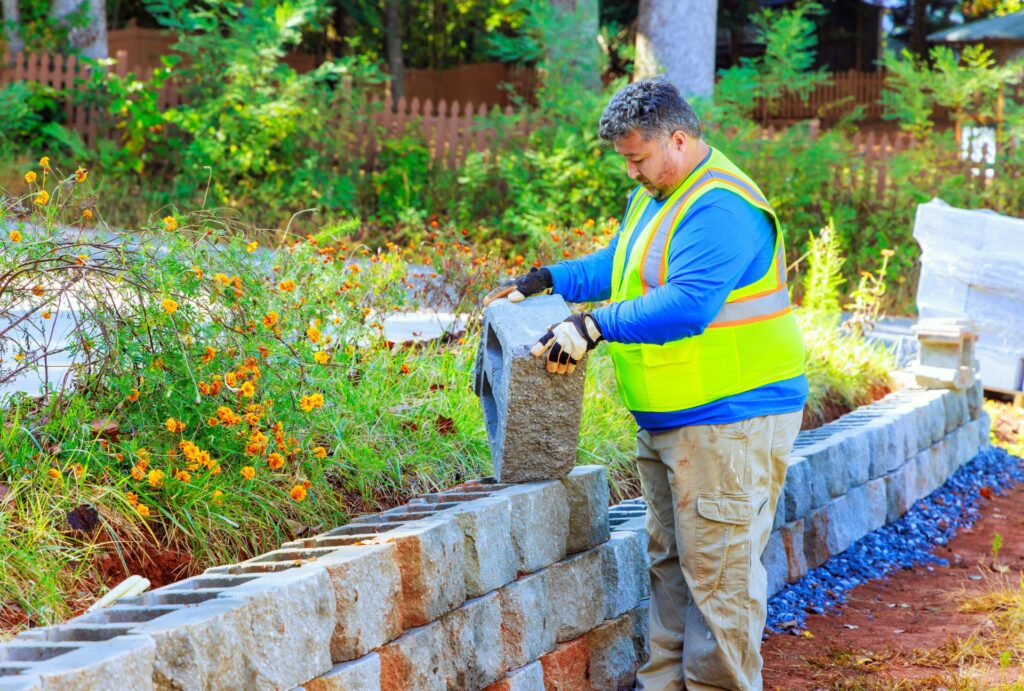
Laying Blocks
Start your first row of blocks from the lowest point of your slope. This row is the foundation of the whole wall, so make sure it’s perfectly level. Use a string line and spirit level to keep everything straight.
As you build up, stagger the blocks like bricks for added strength. Most keystone blocks connect with pins, lips, or adhesive. Follow the specific instructions for the product you’re using. If the blocks need pins, place them in the holes and lock them in place with a rubber mallet.
Take your time here. Crooked rows or sloppy alignment will show later and are hard to fix.
Drainage And Backfill
Proper drainage is one of the most important parts of keystone wall installation. Without it, water builds up behind the wall, causing pressure that can make it crack or lean over time.
As you stack each new row, add drainage gravel behind the blocks about 300mm thick. Then place a strip of geotextile fabric between the gravel and soil. This keeps dirt out of the drainage layer.
If the wall is tall or in a wet area, lay a perforated drainage pipe at the base to direct water away from the wall. Backfill with soil behind the fabric once the wall is finished.
Finishing Touches
After the wall is up, it’s time to finish things off. Attach top caps using landscape adhesive or secure them with pins if required. These caps give the wall a clean, polished look and protect it from rain damage.
You can also tidy up the area around the wall and add plants, grass, or decorative stones. Use your level one last time to check that everything is even and secure. Once done, you’ll have a keystone retaining wall NZ homeowners can count on for years.
This step by step guide gives you a clear view of how to install keystone wall systems the right way. Whether you’re going DIY or just learning how it’s done, following these steps will help you avoid common mistakes and end up with a wall that’s both functional and good looking.
Common Mistakes To Avoid
Even the strongest keystone wall can fail if the basics are overlooked. If you’re planning to build one yourself or working with a contractor, knowing what to avoid is just as important as knowing what to do. Below are the most common mistakes people make during keystone installation in NZ and how you can avoid them.
Skipping Proper Drainage
This is the biggest mistake and often the most expensive one to fix later.
Keystone walls are built to hold back soil, but if water builds up behind the wall with nowhere to go, pressure will increase. Over time, this can cause the wall to bulge, crack, or collapse. Drainage behind the wall is a must, even for short retaining walls.
Use gravel backfill, install a perforated drainage pipe (also called an ag pipe), and wrap everything in geotextile fabric to prevent soil from clogging the system. If you’re not sure how to do this, it’s worth asking a local expert or checking with your supplier.
Uneven Base
The first course of blocks sits on the foundation or base of your wall. If that base isn’t level, the whole wall will be unstable.
An uneven base leads to leaning walls, gaps between blocks, and poor alignment as you stack higher. The key here is taking time to dig, level, and compact your base properly using crushed rock or base course.
Use a level and string line to check both side to side and front to back. Rushing this part often leads to rework later.
Not Using String Line Or Level
Eyeballing it doesn’t work, not even for short walls.
Even a slight tilt or misalignment in one row can grow as you build upward. Using a string line helps keep your rows straight, and a level ensures each block is perfectly flat before moving on to the next.
Many DIYers skip this step thinking it’s “close enough,” but that small gap or lean becomes very visible later. Checking every couple of blocks makes a big difference in the final look.
Over-Stacking Beyond Height Limits Without Support
Keystone walls are strong, but they have limits. Every product has a recommended maximum height for walls without extra engineering support.
Going beyond that especially without reinforcement or proper base width can lead to a structural failure. If you’re planning a wall taller than 1.2–1.5 meters, check the product manual or ask a qualified builder about reinforcement options like geogrid or tie backs.
You don’t want to find out your wall isn’t safe after heavy rain or during an earthquake.
Avoiding these four mistakes will save you time, money, and stress. Whether you’re laying blocks yourself or hiring someone to do it, a little attention to detail in these areas goes a long way. A solid keystone wall not only looks great but also lasts for decades so it’s worth doing it right from the start.
Cost Of Keystone Installation In NZ
If you’re planning a landscaping upgrade or tackling a sloped section on your property, knowing the cost of keystone installation in NZ is an important first step. Keystone walls offer strength, structure, and aesthetic appeal but what do they actually cost? Let’s break it down in a way that’s clear, practical, and based on what you’ll likely encounter in New Zealand.
Per Square Metre Or Per Block Estimates
The price of a keystone wall often comes down to how much area you’re covering. In New Zealand, you can expect the keystone wall cost per square metre to range from $100 to $250 for DIY projects. This estimate includes the blocks, base material (like crushed rock), drainage gravel, and adhesive or pins.
If you prefer to price it out by block, standard keystone blocks usually cost between $6 to $12 per block, depending on the brand, supplier, and whether you’re buying in bulk. You’ll also need to factor in top caps, which can cost around $10 to $15 each. It’s worth doing a rough calculation. A small garden wall around 1 metre high and 5 metres long might use 80-100 blocks.
That would cost between $600 and $1,200 in materials alone, not including tools or time.
Price Differences Between DIY And Contractor Jobs
DIY keystone installation is the cheaper option but only if you have the time, tools, and some landscaping knowhow. You’ll avoid labour charges but take on the full workload yourself. A weekend project could stretch across several weekends if you’re not prepared.
If you choose to hire a professional contractor, the cost typically ranges from $250 to $500 per square metre. This includes.
- Labour
- Machinery (excavation, compaction tools)
- Proper drainage setup
- Removal of soil or debris
Professional jobs cost more, but they often come with a warranty, faster completion, and peace of mind especially for taller or load bearing walls.
What Factors Affect Keystone Installation Price?
No two keystone walls are priced exactly the same. Here’s what can push the price up or down.
- Wall height: Taller walls need more blocks, more base prep, and stronger drainage. Engineering may be required over 1.5m.
- Wall length: Longer walls need more material and labour.
- Site access: If it’s hard to get machinery or materials into the area, labour time increases.
- Soil type: Loose or clay heavy soil may require extra base reinforcement or drainage work.
- Slope of the land: Building on a steep slope often adds complexity to leveling and stability.
- Block style and brand: Premium finishes or custom colours can cost more.
It’s always a good idea to get at least 2–3 quotes from local installers. Many offer free site assessments and can point out things you might not have considered, like council rules or drainage requirements.
The keystone installation price in NZ isn’t just about the blocks. It’s about preparation, drainage, labour, and the design of the wall. DIYers can keep costs lower, but larger or more complex jobs are usually worth handing to a professional. Either way, planning ahead and understanding what affects the price will help you avoid surprises and build a retaining wall that lasts for decades.
Where To Buy Keystone Blocks In NZ
If you’re planning a keystone wall project, one of the first steps is knowing where to get the right materials. Fortunately, there are several trusted suppliers across New Zealand that stock keystone blocks for both DIYers and professionals. Here’s what you need to know when choosing where to buy, how to compare your options, and what delivery or pickup methods are available.
Trusted Suppliers In New Zealand
You won’t have to search far to find keystone blocks in NZ. These well known retailers carry them across the country.
- Mitre 10: One of NZ’s largest home improvement stores. They offer a good range of landscaping supplies, including keystone blocks in different colors and finishes. Check online or visit a local branch to see availability.
- Bunnings: Known for competitive prices and nationwide locations, Bunnings stocks a selection of interlocking retaining wall systems. They also provide DIY guides and project calculators on their website, which can be helpful if you’re just starting out.
- Firth: A leading supplier of concrete products in New Zealand. Firth manufactures keystone blocks and can connect you directly to retailers or contractors. Their products are designed specifically for local conditions and engineering requirements.
These outlets often stock compatible accessories too like pins, capping units, and geogrid fabric which saves you from running to multiple stores.
How To Compare Quality And Pricing
Not all keystone blocks are the same. Here’s what to look at before making your decision.
- Block type and size: Some blocks are more suited for taller walls, while others are for garden edging or light duty work. Always check weight and dimensions.
- Surface finish: Smooth, splitface, and textured options all have different looks. Choose one that fits your property style.
- Strength rating: Especially important for structural walls. If you’re building over 1.2 meters, ask about strength certification or engineering specs.
- Cost per block or per square metre: Prices can vary depending on supplier, brand, and quantity. Buying in bulk may give you a discount, especially if you’re building a large wall.
- Warranty or product support: Some suppliers offer warranties on the blocks. That’s a bonus if you’re worried about long term durability.
- Tip: Don’t just compare the sticker price factor in quality, delivery, and any extra accessories you’ll need to complete the job.
Delivery And Click & Collect Options
Most NZ suppliers now offer flexible ways to get your materials.
- Delivery: If you’re ordering in bulk or don’t have a trailer, home delivery is often the easiest choice. Mitre 10 and Bunnings both provide delivery services, with pricing depending on distance and order size.
- Click & collect: Ideal for smaller orders or when you need to pick up blocks on the go. Order online and collect from your nearest store.
- Trade accounts: If you’re a contractor or builder, opening a trade account can give you better pricing, dedicated support, and faster fulfillment.
Before you buy, call ahead to check stock levels. Some colors or block types may need to be ordered in advance, especially during peak landscaping season.

FAQs: About Keystone Installation NZ
Conclusion
Keystone walls are a smart, long term solution for New Zealand properties because they’re built to handle the country’s unique terrain, changing weather, and design preferences. Whether you’re working with a steep backyard, looking to prevent erosion, or simply want to enhance your outdoor space, keystone installation offers both function and style. But like any good project, success starts with planning, measuring correctly, choosing the right materials, and understanding when to DIY or call in a pro. Getting it right from the beginning saves time, money, and stress down the track. If you have questions, need help choosing blocks, or want to share your own experience, feel free to leave a comment or reach out. Your input could help others planning the same project.
About the Author:
Mike Veail is a recognized digital marketing expert with over 6 years of experience in helping tradespeople and small businesses thrive online. A former quantity surveyor, Mike combines deep industry knowledge with hands-on expertise in SEO and Google Ads. His marketing strategies are tailored to the specific needs of the trades sector, helping businesses increase visibility and generate more leads through proven, ethical methods.
Mike has successfully partnered with numerous companies, establishing a track record of delivering measurable results. His work has been featured across various platforms that showcase his expertise in lead generation and online marketing for the trades sector.
Learn more about Mike's experience and services at https://theleadguy.online or follow him on social media: