Welcome to your go-to guide on the cost of recladding a weatherboard home in NZ. Whether you’re dealing with aging cladding, moisture issues, or just want to modernise your home’s exterior, recladding is a major project that can improve both appearance and performance. This post breaks down everything you need to know, from average prices and material options to what affects the total cost and how to avoid unexpected surprises, so you can make smart, informed decisions for your property. For professional help, contact experienced roofing contractors in your area.
The cost of recladding a weatherboard home in NZ typically ranges from $40,000 to $100,000 or more, depending on the home’s size, material choice, and extent of repairs needed. On average, expect to pay around $300 to $600 per square meter. Factors like consent fees, scaffolding, and hidden damage can also impact the final price.
- What Is Recladding?
- Why Homeowners Reclad In NZ
- Average Cost To Reclad A Weatherboard Home In NZ
- Key Factors That Affect Recladding Costs
- Common Types Of Cladding Materials And Their Costs
- Recladding Process: What To Expect
- Cost Breakdown Example
- Ways To Save On Recladding Without Cutting Corners
- How To Choose The Right Recladding Contractor
- FAQs: About Cost To Reclad A Weatherboard Home In NZ
- Conclusion
- Find A Professional Cladding Company Near You!
What Is Recladding?
A Simple Definition In Plain Terms
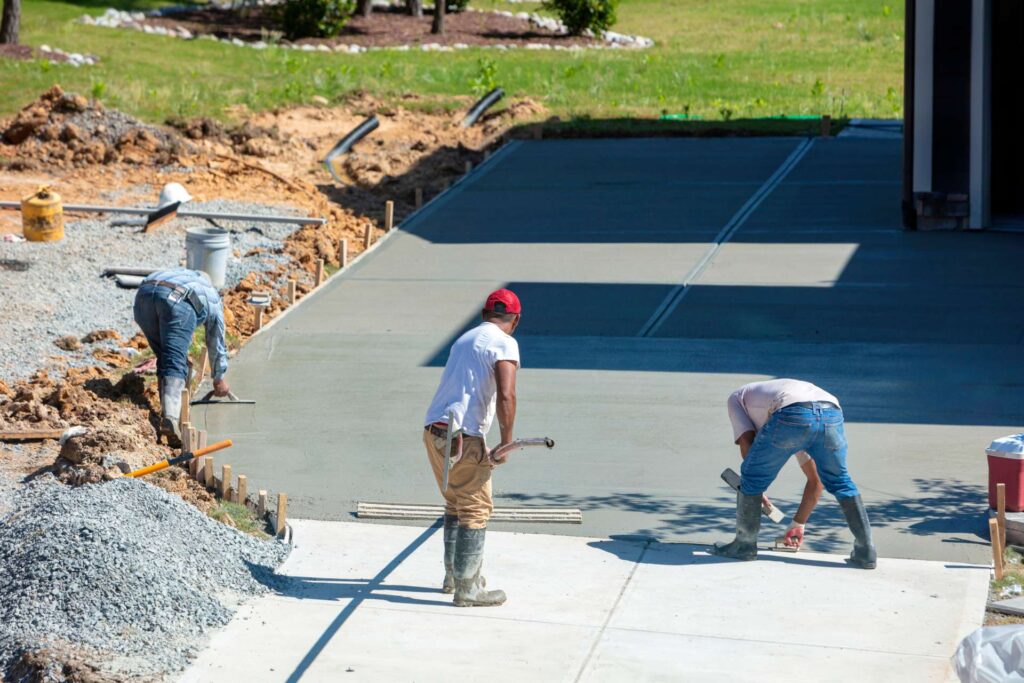
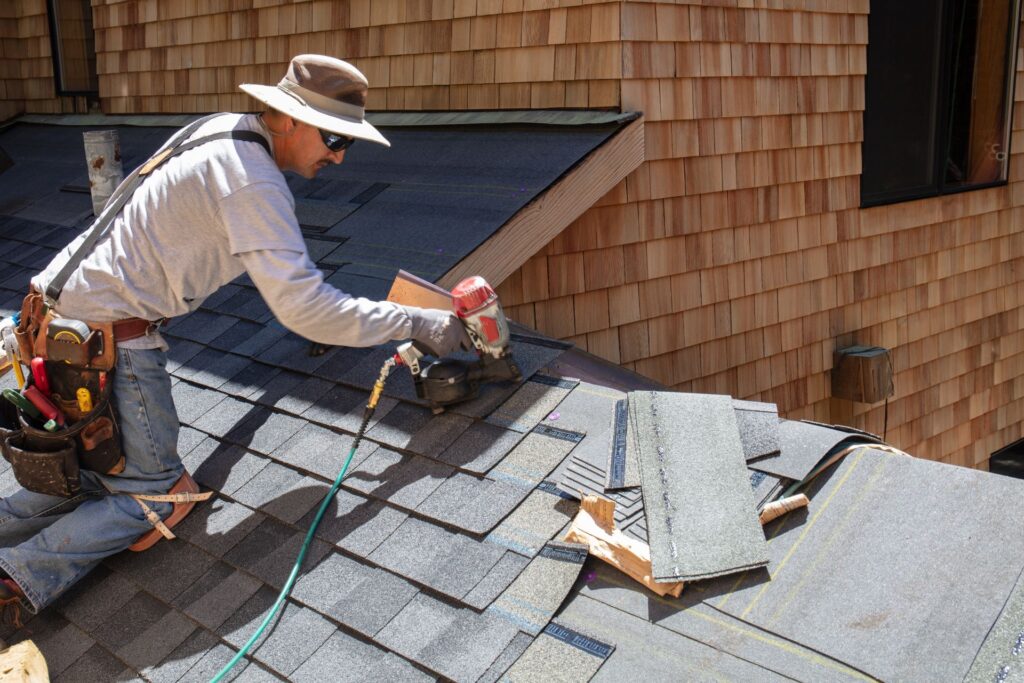
Recladding is the process of removing the outer layer of your home’s exterior walls and replacing it with new cladding. For most New Zealand homes, especially older ones with timber weatherboards, recladding helps restore both the structure and appearance of the property. Think of it as giving your home a fresh, protective skin. It’s not just cosmetic, it’s about protecting your home from weather damage, improving insulation, and meeting modern building standards.
Why Weatherboard Homes Often Need Recladding In NZ
New Zealand’s climate can be tough on weatherboard homes. From heavy rain and strong winds to coastal humidity and UV exposure, these natural elements wear down the cladding over time. Timber weatherboards, while classic and charming, are especially vulnerable to moisture if not maintained properly. Many weatherboard homes built before the 2000s may also have outdated building techniques or materials that don’t meet today’s code. If the structure underneath the boards has been compromised, by leaks, rot, or poor ventilation, recladding becomes more than just an upgrade; it becomes necessary.
Another major reason for recladding in NZ is the leaky home crisis. Thousands of homes built between the late 1980s and mid-2000s used poor design and materials that trapped moisture inside the walls. This led to structural damage, mold growth, and health concerns. Recladding is often the only way to fix these issues properly.
Common Signs Your Home Might Need Recladding
You don’t need to be a builder to notice the red flags. Here are some common signs that your home might need recladding:
- Visible cracks or warping in the weatherboards
- Paint peeling off more frequently than normal
- A musty smell inside your home, especially near walls
- Water stains on interior walls or ceilings
- Timber boards that feel soft, spongy, or brittle to the touch
- Persistent leaks around windows or doors
- Increased heating or cooling costs due to poor insulation
If you notice any of these, it’s worth getting a professional to inspect your home. The earlier you catch the issue, the better your chances of reducing the overall cost of repairs.
Recladding isn’t just a fix, it’s an investment in your home’s long-term health, appearance, and value. Whether you’re looking to sell or simply want peace of mind, understanding the basics of recladding is the first step.
Why Homeowners Reclad In NZ
Recladding has become a major consideration for many homeowners across New Zealand. Whether you’re dealing with long-term maintenance issues or planning to improve your home’s performance, recladding offers both practical and financial benefits. Here’s why more and more homeowners are choosing to invest in this project.
Leaky Home Syndrome And Compliance With Modern Building Codes
One of the most common reasons people reclad is to fix issues caused by leaky home syndrome. Many homes built between the 1990s and early 2000s used materials and construction methods that didn’t stand up well to New Zealand’s wet climate. These homes often suffer from moisture damage, rotting timber, and mold behind the cladding.
Recladding allows you to strip away the damaged exterior and identify hidden issues that could be compromising your home’s structure. At the same time, the process brings your home up to current building code standards. This ensures better weathertightness, structural safety, and long-term durability.
Improving Insulation And Energy Efficiency
Older weatherboard homes weren’t built with modern insulation requirements in mind. Many homeowners discover that recladding is a great opportunity to add or upgrade wall insulation. Once the cladding is removed, it’s easy to access wall cavities and install new insulation that improves thermal performance.
The result? A warmer, drier home that uses less energy to heat in winter and cool in summer. Better insulation means lower power bills and a more comfortable living environment year-round.
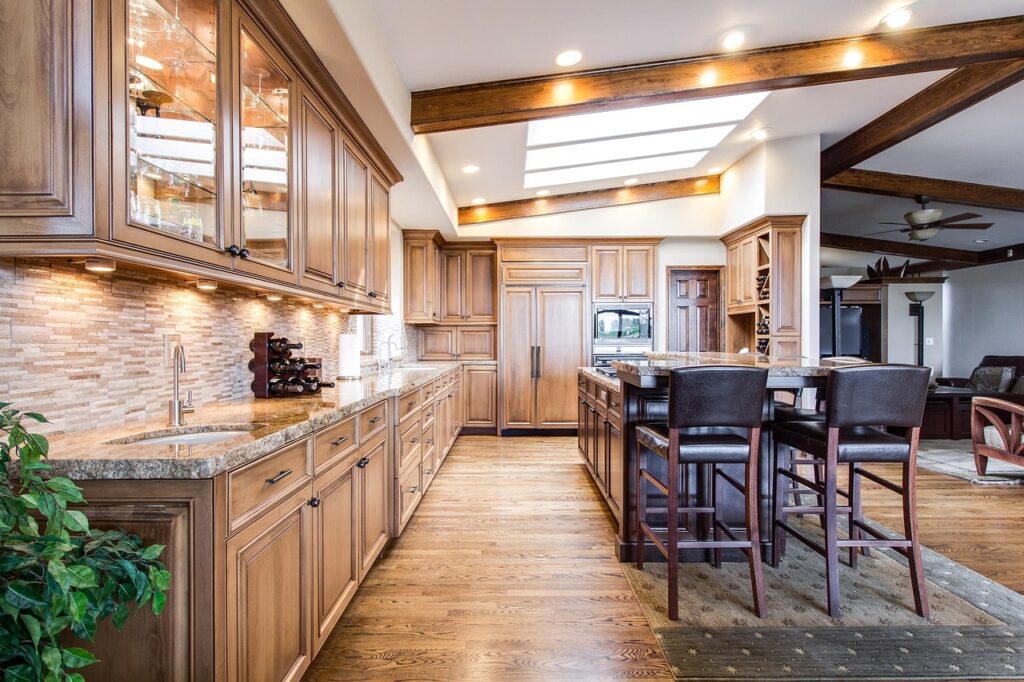
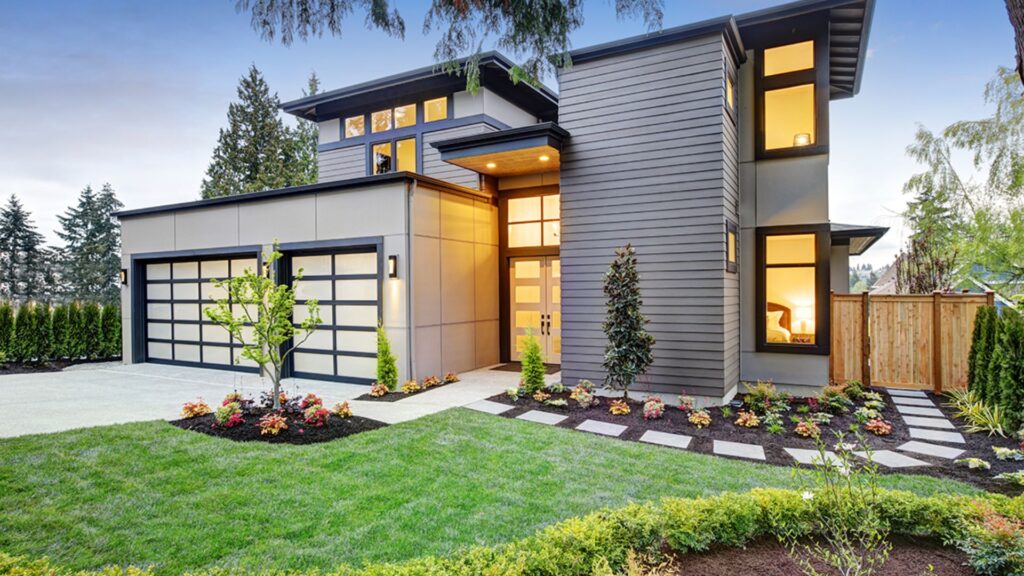
Modernising The Look Of The Home
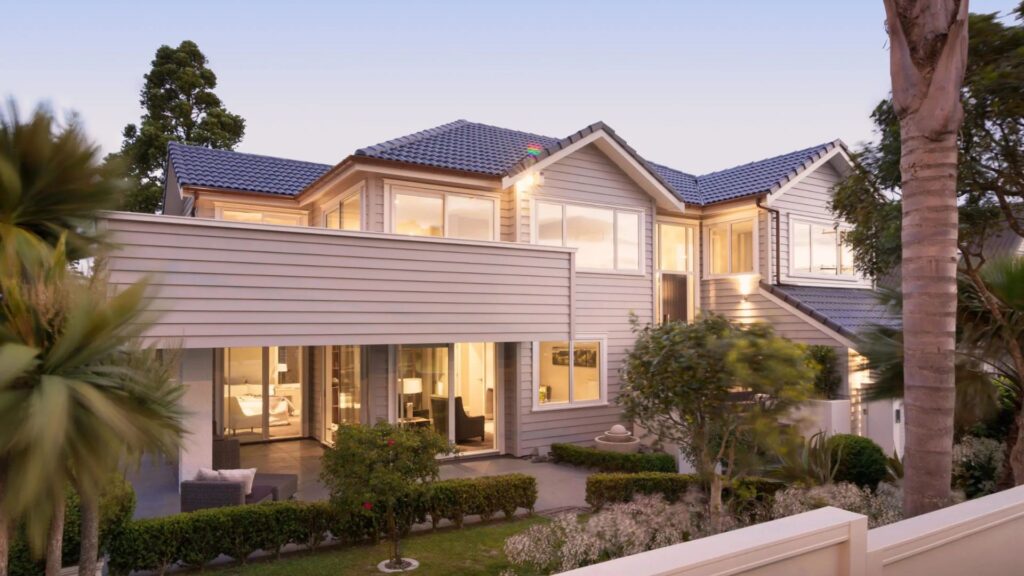
Curb appeal matters, especially if your weatherboard is outdated, faded, or damaged. Recladding gives you a chance to completely refresh the look of your home. You can choose from a range of materials, like new timber, fibre cement, or metal finishes, that give your house a sharp, modern appearance.
Some homeowners even use recladding to change their home’s architectural style. Whether you want a clean minimalist finish or a classic villa look, new cladding helps achieve that without rebuilding from scratch.
Increasing Resale Value
A home that’s freshly reclad not only looks better but is also more appealing to potential buyers. Prospective homeowners are more confident in a property that has been updated and complies with current regulations.
Recladding can also help resolve any lingering concerns around moisture, leaks, or compliance issues, things that could otherwise kill a sale. When done well, it’s an investment that pays off through a higher market value and a faster, smoother sale process.
Average Cost To Reclad A Weatherboard Home In NZ
Recladding a weatherboard home in New Zealand is a significant project, and the cost can vary widely depending on several factors. If you’re planning to reclad your home, understanding the average pricing can help you set a realistic budget and avoid surprise expenses. Let’s break it down so you know what to expect.
National Averages (Range Of Pricing)
Across New Zealand, the average cost to reclad a weatherboard home typically falls between $40,000 and $100,000. That’s a wide range, but it reflects the differences in home size, material choice, local labour rates, and the condition of the underlying structure.
In areas like Auckland or Wellington, labour costs tend to be higher, which can push up the total. If your home has weather damage, rot, or requires additional repairs, the cost may exceed the higher end of the range.
Ballpark Cost Per Square Metre
A common way to estimate recladding costs is by the square metre. In general, you can expect to pay:
- $300 to $600 per m² for standard timber weatherboard recladding
- $250 to $450 per m² for fibre cement or vinyl alternatives
- $500+ per m² if complex repairs, tight access, or premium materials are involved
This rate includes materials, labour, site setup, and basic repairs, but doesn’t always account for building consent fees, scaffolding, or major structural issues.
Total Cost Estimates For Small, Medium, And Large Homes
Let’s look at how those square metre rates translate into real project costs:
Small Home (80–100 m²)
- Approximate reclad cost: $25,000 to $55,000
- Best for compact homes or those only partially reclad.
Medium Home (120–160 m²)
- Approximate reclad cost: $45,000 to $90,000
- Most common for standalone family homes.
Large Home (180–250+ m²)
- Approximate reclad cost: $70,000 to $120,000+
- Includes more materials, more labour, and longer project timelines.
Keep in mind, these are rough estimates. The actual cost will depend on your builder’s quote, condition of the structure, and material selection.
Cost Comparison: Partial Reclad Vs Full Reclad
Not every home needs a full reclad. If the damage is limited or budget is tight, a partial reclad might be the right choice. Here’s how the costs compare:
Partial Reclad
- Covers one or two exterior walls
- Estimated cost: $10,000 to $30,000
- Good for addressing isolated issues like leaks or rot
Full Reclad
- Replaces all exterior cladding
- Estimated cost: $40,000 to $120,000+
- Ideal for leaky homes, major upgrades, or full exterior renovations
While a partial reclad is more affordable upfront, a full reclad often brings better long-term benefits, like energy efficiency, moisture protection, and higher resale value.
Key Factors That Affect Recladding Costs
Recladding a weatherboard home in New Zealand is a big project. While the average cost can give you a general idea, the final price often depends on several specific factors. Understanding what drives the cost can help you plan better, avoid surprises, and stay within your budget.
Size Of The Home
The bigger the house, the more materials and labour are needed. A small single-storey home will cost significantly less to reclad than a two-storey or larger property. More walls mean more cladding, more prep work, and more time on site. The total surface area directly impacts both material costs and the number of work hours required.
If you own a large family home or one with complex architecture, expect higher quotes due to the added time and detail involved.
Extent Of Damage (e.g., Hidden Rot Or Mold)
Recladding often reveals hidden problems, especially in older homes or those affected by leaky building issues. If your home has water damage, timber rot, or mold behind the cladding, the cost can increase quickly.
Fixing structural damage adds extra labour, materials, and time to the job. Builders may need to replace framing, install new insulation, or even upgrade parts of the structure to meet current code. It’s smart to budget a contingency amount (10–20%) for these unexpected repairs.
Type Of Cladding Material Chosen
The type of material you choose plays a big role in the final cost. Timber weatherboards, while popular for their traditional look, are more expensive than alternatives like fibre cement or vinyl. Each material comes with its own pricing for both supply and installation.
Here’s a quick breakdown:
- Timber weatherboards: High cost, high aesthetic appeal, higher maintenance
- Fibre cement: More affordable, low maintenance, weather-resistant
- Vinyl cladding: Budget-friendly, less common in NZ, but easy to install
- Metal/composite: Modern look, mid-to-high cost depending on the brand
Your choice should match your budget, long-term maintenance goals, and the look you want for your home.
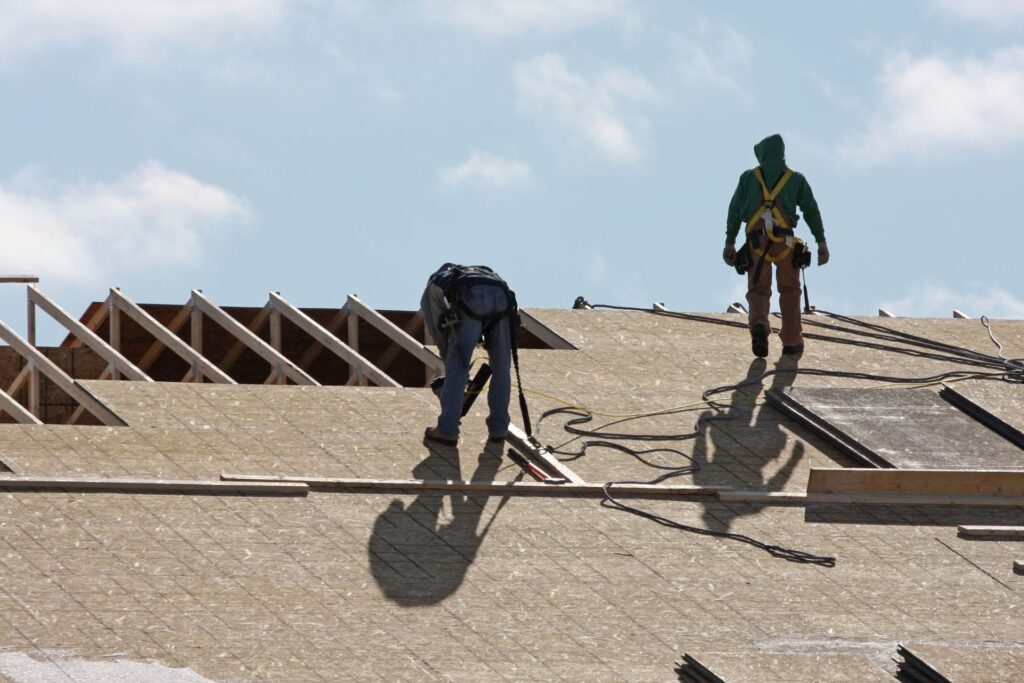
Scaffolding And Site Access
Scaffolding is a must for safety and efficiency, especially for double-storey homes. This cost varies based on how easy or difficult it is to access your site. If your home is built on a slope or is tightly packed between neighbouring houses, setting up scaffolding can take more time and money.
Good site access can reduce the cost significantly, while limited space, steep terrain, or other access restrictions can increase labour and equipment costs.
Labour Costs And Location (Auckland Vs Christchurch Vs Regional NZ)
Where you live affects how much you’ll pay for skilled labour. For example, labour rates in Auckland are often higher than in Christchurch or smaller regional towns. This is due to demand, availability of tradespeople, and local cost of living.
In high-demand markets like Auckland, recladding professionals may charge more simply because of tighter schedules and increased housing activity. In rural areas, prices may be lower, but finding experienced, licensed builders might take longer.
Building Consent And Council Requirements
Most recladding jobs in NZ require building consent. The process includes submitting detailed plans, getting approvals, and passing final inspections. Consent fees can range from a few thousand dollars to well over $5,000 depending on your local council and project scope.
Delays in getting consent or needing to meet stricter requirements can add both time and cost to your project. You may also need to engage a building consultant or architect to prepare the necessary documents.
Understanding these key cost drivers will help you plan smarter, ask the right questions when getting quotes, and make informed decisions. Recladding is a significant investment, but with the right approach, you can improve your home’s safety, value, and appearance for years to come.
Common Types Of Cladding Materials And Their Costs
Choosing the right cladding material is one of the most important decisions when recladding your weatherboard home. Each material comes with its own cost, appearance, durability, and maintenance needs. In New Zealand, homeowners often weigh budget, style, and long-term performance when comparing options.
Here’s a breakdown of the most common cladding materials used in NZ and what you should know about each:
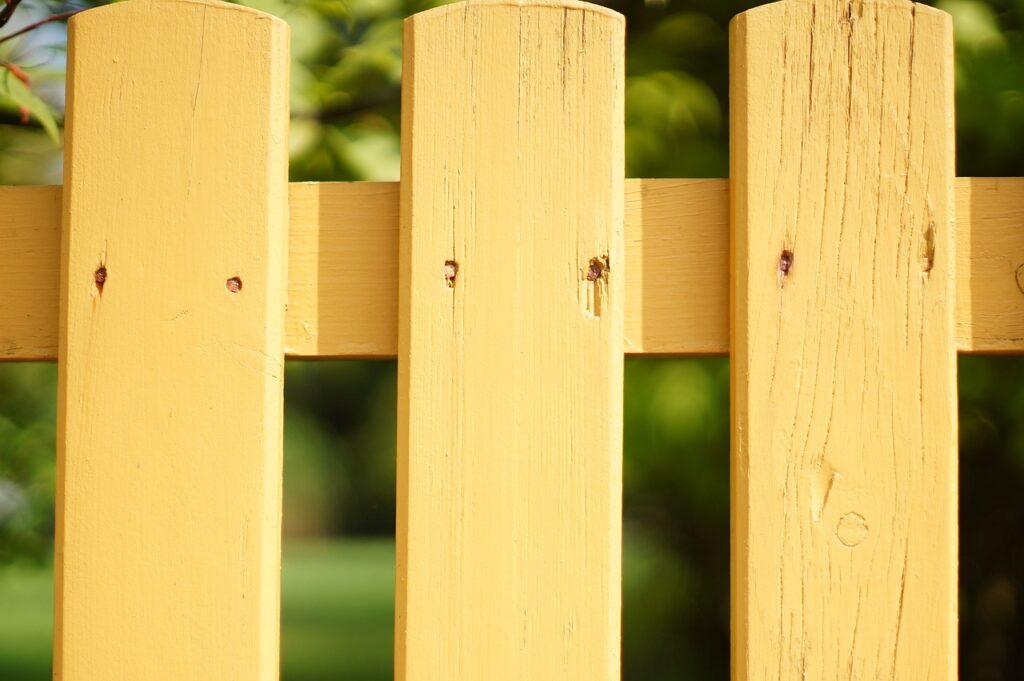
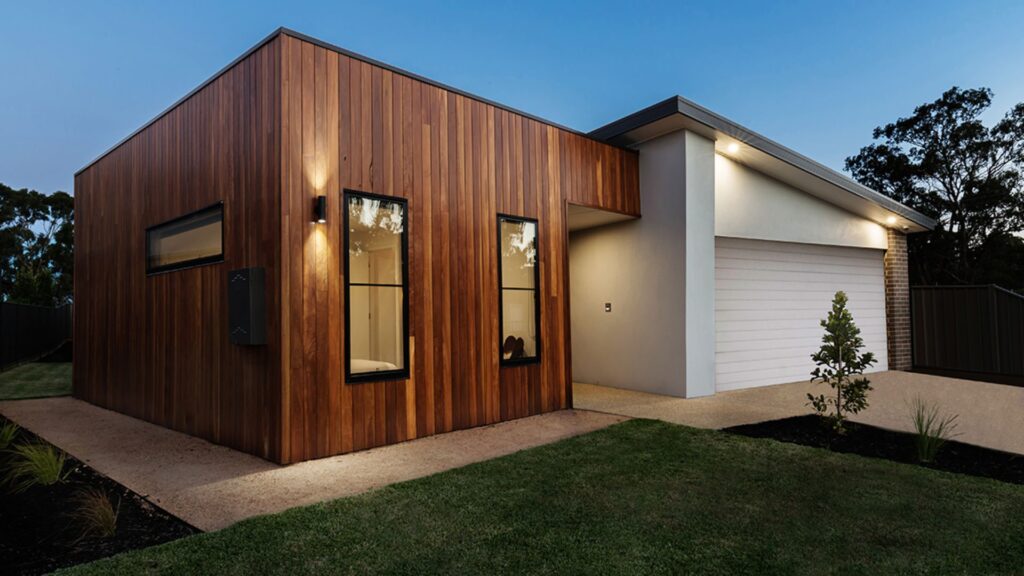
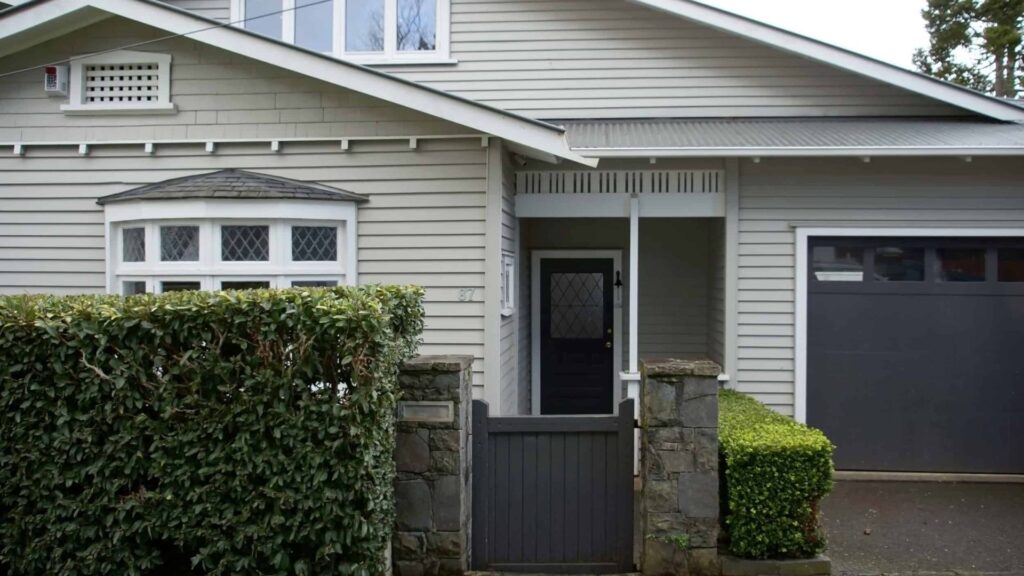
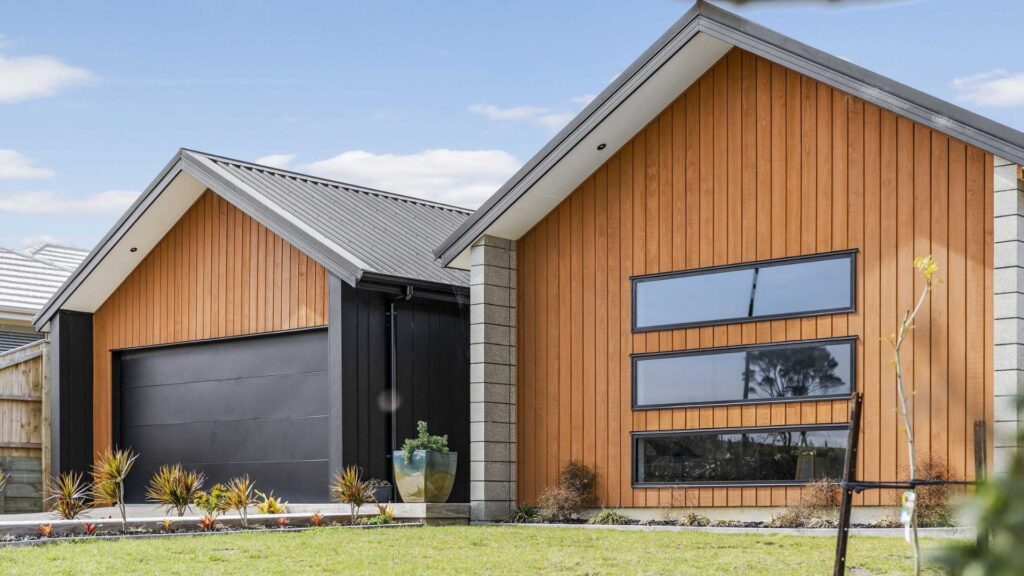
Timber Weatherboards
Timber weatherboards are a classic choice for Kiwi homes. They give your house a warm, natural look that blends well with both modern and traditional designs.
Cost
Timber weatherboards typically cost between $180 to $250 per square metre for materials alone. Including labour, the full install can cost around $300 to $400 per square metre.
Pros
- Natural and attractive finish
- Can be painted or stained to suit your style
- Works well for heritage homes
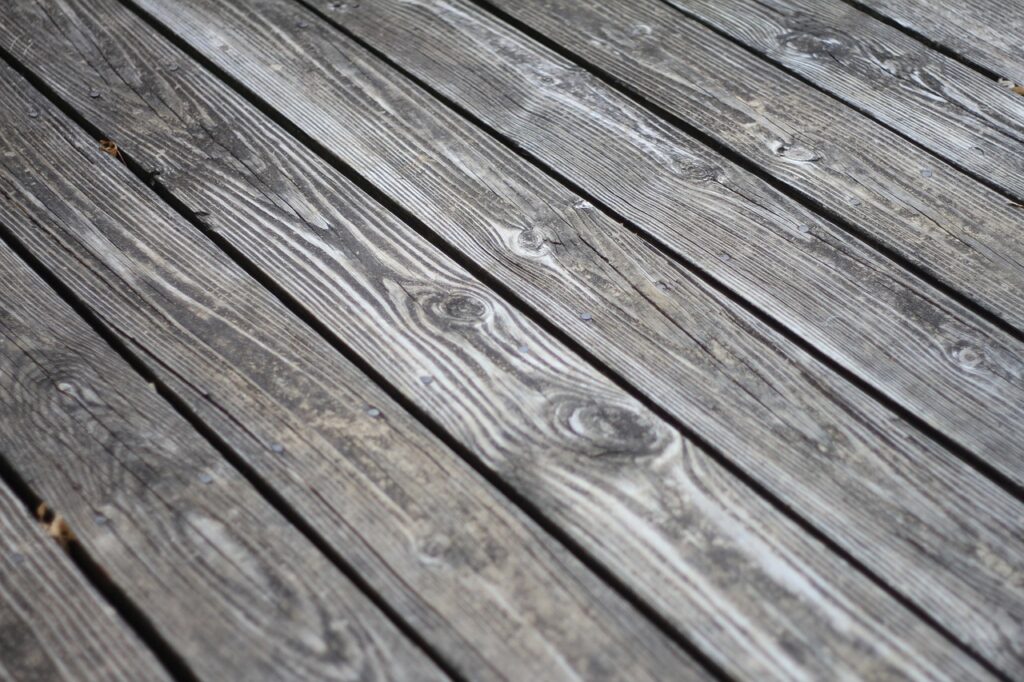
Cons
- More expensive than other options
- Prone to rot, pests, and weather damage if not maintained
Maintenance
Requires repainting every 7 to 10 years and regular inspections for moisture or insect damage. Proper sealing and upkeep are essential to prevent issues.
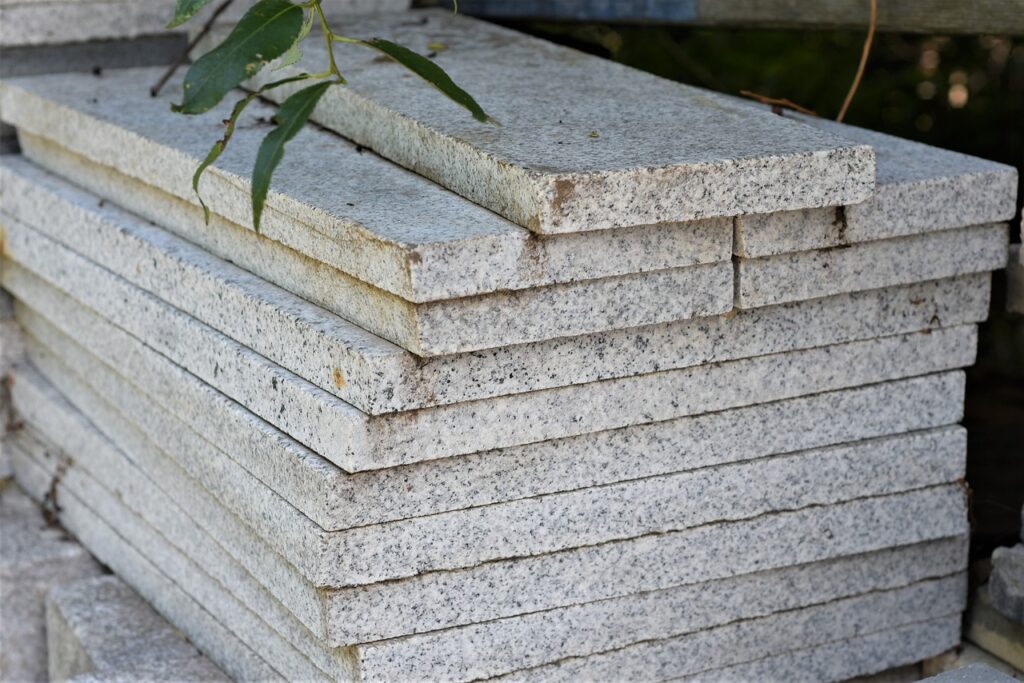
Fibre Cement
Fibre cement is a popular alternative to timber. It’s made from cement, sand, and cellulose, offering a sturdy, weather-resistant finish.
Cost
On average, fibre cement cladding costs $90 to $160 per square metre for materials. With labour included, expect a total cost of $180 to $280 per square metre.
Pros
- Fire resistant
- Lower maintenance than timber
- Can mimic timber or other finishes
Cons
- Heavier than vinyl or timber, which can increase labour costs
- Requires sealing and painting after installation
Maintenance
Needs less maintenance than timber but should be repainted every 10 to 15 years. Inspect for cracks or sealant wear over time.
Vinyl Cladding
Vinyl cladding is one of the most budget-friendly options. It’s lightweight, easy to install, and comes in a wide range of colours and textures.
Cost
Material costs range from $70 to $110 per square metre. Installed, the total cost is usually $130 to $200 per square metre.
Pros
- Affordable upfront
- Low maintenance
- Won’t rot or need painting
Cons
- Less durable in extreme heat
- Can fade or become brittle over time
- Doesn’t offer the same premium look as timber
Maintenance
Very low maintenance, usually just needs a wash every year. Colour is baked in, so no repainting required.
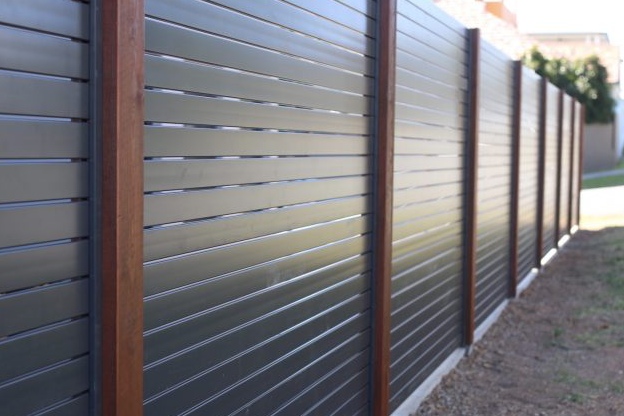
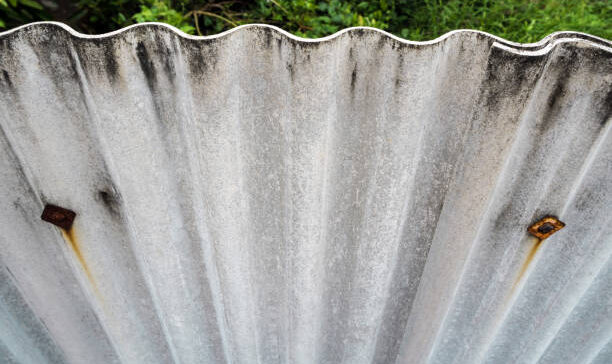
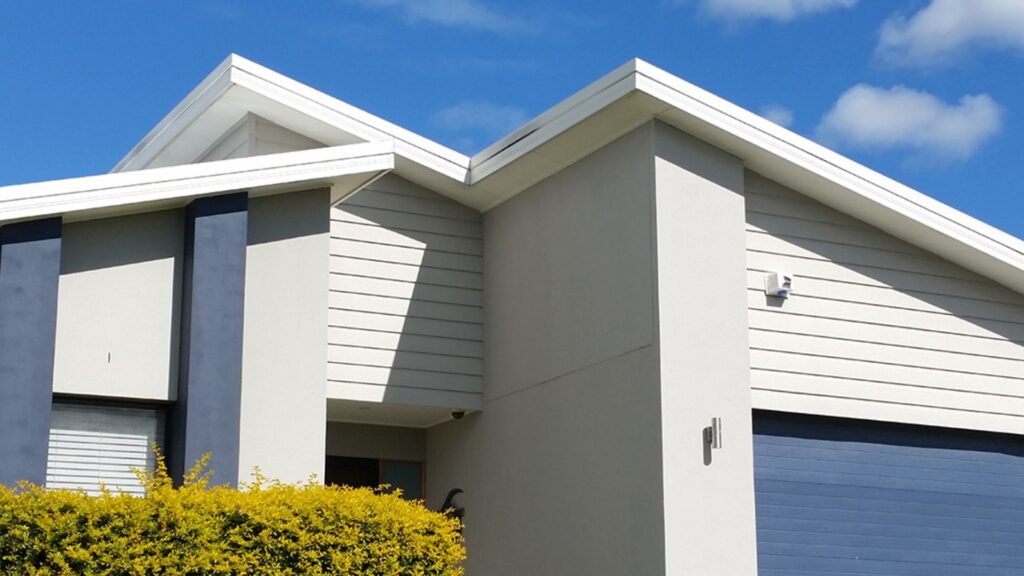
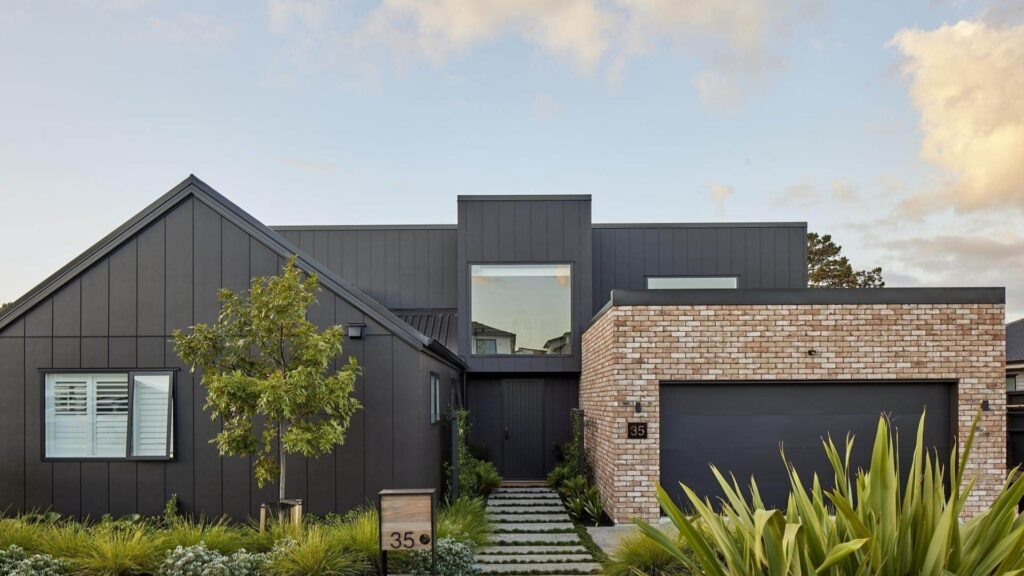
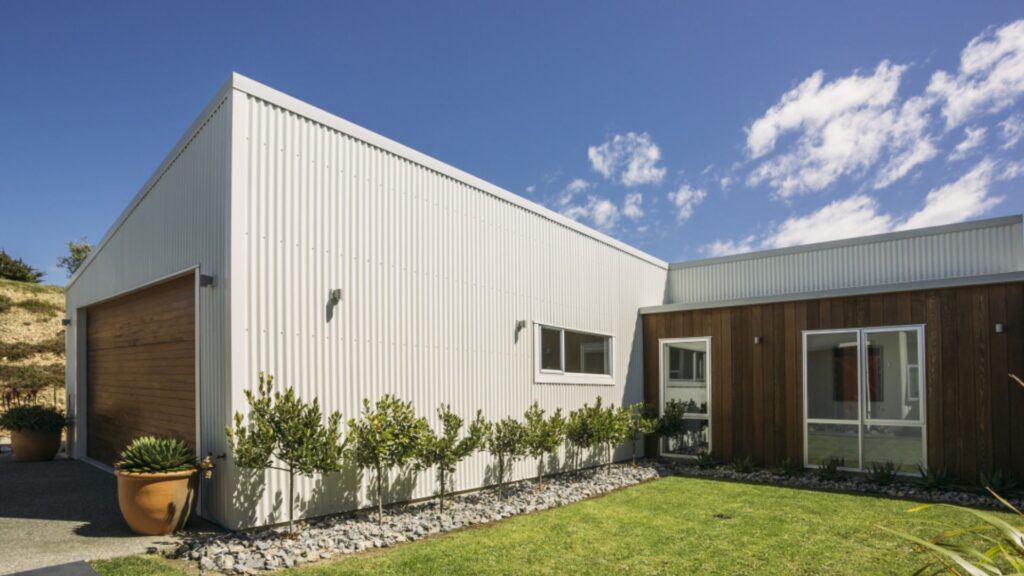
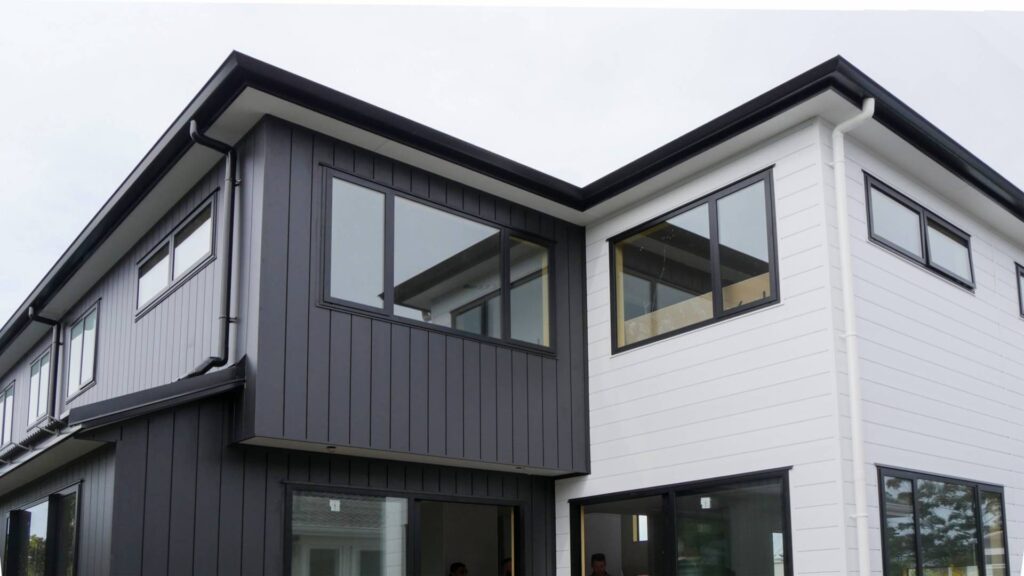
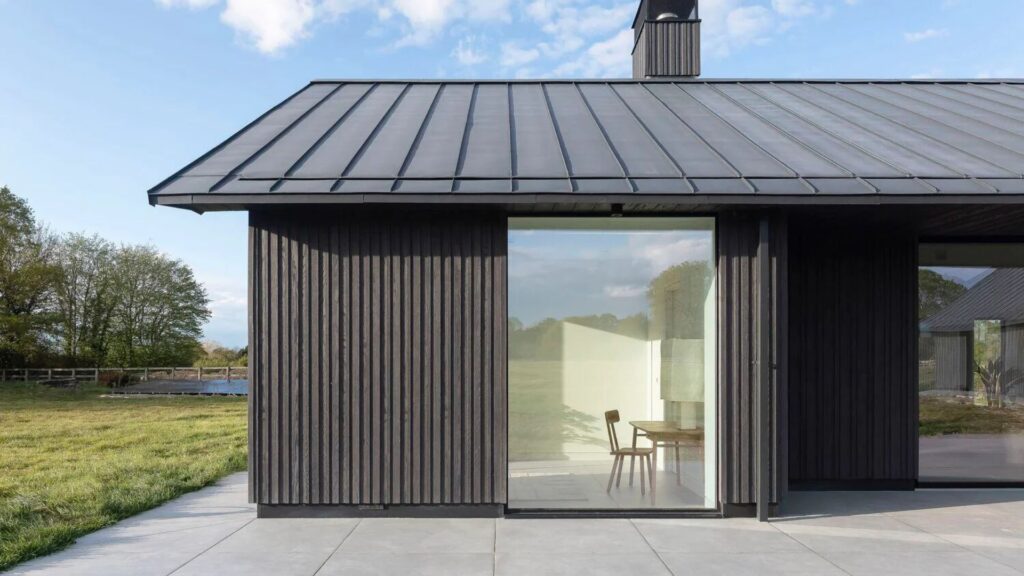
Metal And Composite Options
Metal and composite panels are becoming more common in contemporary homes. These include aluminium, steel, and composite boards made from a mix of materials like wood fibre and plastic.
Cost
These vary widely. Metal cladding can cost $120 to $200 per square metre (materials only), with total install costs ranging from $220 to $350 per square metre. Composite cladding may cost a bit more.
Pros
- Very durable and weather resistant
- Modern appearance
- Often pre-finished and easy to install
Cons
- Higher upfront cost
- Less suitable for traditional or heritage homes
Maintenance
Usually just needs occasional cleaning. Some panels may need recoating after 15–20 years depending on exposure and finish.
Choosing The Right Cladding For Your Home
When deciding which cladding material to use, think beyond the price tag. Consider:
- Your home’s style
- Long-term maintenance costs
- Regional climate and exposure
- Your renovation budget
Timber offers timeless beauty but comes with upkeep. Fibre cement provides balance. Vinyl saves money, while metal and composites give a sleek, modern look with lasting performance.
Recladding Process: What To Expect
If you’re planning to reclad your weatherboard home in New Zealand, knowing what the process involves can help reduce stress, avoid surprises, and keep your project on track. Below is a full walkthrough of each stage so you’ll know exactly what to expect, from the first site visit to the final inspection.
Timeline From Start To Finish
Most recladding projects take between 8 to 12 weeks. Smaller homes may be completed faster, while larger or more complex jobs can take several months. Timelines depend on the scope of work, weather conditions, and whether any hidden damage is discovered once the old cladding is removed.
To stay on schedule, it helps to work with experienced builders, make timely decisions about materials, and secure permits early. Delays often come from waiting on council approvals or dealing with unexpected structural repairs.
Site Assessment
The process usually begins with a thorough site inspection. A licensed building practitioner or builder will examine the condition of the cladding, framing, and overall structure. They’ll check for signs of water damage, mold, or rot, issues that often go unnoticed until the cladding comes off. This stage helps determine whether you’re dealing with a straightforward reclad or a deeper problem that may involve structural fixes.
Consent And Council Approval
In most cases, recladding requires building consent from your local council. You’ll need to submit plans, a scope of work, and materials to be used. Your builder or project manager usually handles this paperwork, but it’s important to follow up and make sure everything is submitted correctly.
Consent fees can range from a few hundred to several thousand dollars depending on the region and project scale. Processing times vary, so apply early to avoid delays.
Removing Old Cladding
Once consent is granted, contractors begin by removing the existing weatherboards or other cladding materials. This part is noisy and messy, but it reveals the condition of the structure underneath.
In many older NZ homes, it’s common to find hidden damage once the old boards come off. This could include timber rot, insect damage, or areas with no insulation. Identifying these early ensures you can fix them properly.
Fixing Underlying Damage
If any problems are discovered, like framing issues or moisture damage, they’ll need to be repaired before new cladding is installed. This step protects the integrity of your home and prevents future issues.
Repairs may include replacing rotted framing, treating mold, or adding insulation where it’s missing. Depending on the findings, this part of the project can add days or even weeks to your timeline and increase the total cost.
Installing New Cladding
Once the structure is sound, the new cladding is installed. Your material choice, timber, fibre cement, vinyl, or composite, will influence the cost and look of your home. The builder installs a new building wrap (a weather-resistant barrier), then layers on the cladding following NZ Building Code standards.
This stage is where the transformation happens. Your home will start to look fresh, modern, and more weatherproof.
Final Inspection And Sign-Off
After installation, a final inspection is done by a building inspector to ensure the work meets council and code requirements. If everything is up to standard, you’ll receive a Code Compliance Certificate (CCC). This document is crucial for resale value, insurance, and future renovations.
Getting the CCC also marks the official completion of your recladding project. From there, you can paint the new cladding if needed and enjoy the added comfort, value, and street appeal of your newly reclad home.
Cost Breakdown Example
Recladding a weatherboard home isn’t just about replacing timber, there are many moving parts that impact the final cost. To help you better understand what to expect, let’s walk through a realistic cost breakdown of a standard 3-bedroom weatherboard home in New Zealand. This example includes everything from materials to council fees, so you can plan with confidence and avoid financial surprises.
Case Study Of A Typical 3-Bedroom Home
Let’s say you own a single-storey, 3-bedroom weatherboard home in good structural condition. The total cladding area is around 150 square metres. There’s no major rot or hidden damage discovered during inspection, but the home is over 30 years old and due for an exterior upgrade.
You’ve chosen timber weatherboards, aiming to retain the classic New Zealand aesthetic. You want the recladding to meet all modern building code requirements, including better insulation and weatherproofing-palmerston-north/”>roofing.
Itemised List (Materials, Labour, Scaffolding, Permits, Etc.)
Here’s a sample breakdown of the common costs involved.
Materials (Weatherboards, Flashings, Wrap, Insulation)
Expect to spend around $150 to $250 per square metre. For 150 sqm, this totals $22,500 to $37,500.
Labour (Builders, Project Management)
Labour can range from $150 to $250 per square metre depending on the region and experience level of the builders. That’s $22,500 to $37,500.
Scaffolding And Site Setup
Scaffolding is often priced separately. A standard 3-bedroom house may cost $6,000 to $10,000 depending on access and height.
Building Consent And Council Fees
These usually range from $2,000 to $5,000. You’ll also need to factor in costs for inspections.
Waste Removal And Site Cleanup
Removing the old cladding and site cleanup may cost between $1,500 and $3,000.
Contingency Budget For Repairs (Rot, Mould, Flashings)
It’s wise to allow a 10–15% buffer for surprises. In this case, that could be $5,000 to $8,000.
Painting Or Finishing Coats
Once the new cladding is up, painting or staining will likely cost between $5,000 and $8,000 depending on your finish.
Total Spend With A Buffer For Unexpected Costs
When you add everything together, here’s what you’re looking at:
- Low Estimate: $64,500
- High Estimate: $109,000
This includes all the essentials, materials, labour, permits, and some breathing room for things you didn’t plan for. Homes with poor access, complex layouts, or unexpected damage could go even higher.
If you want to keep costs manageable, get multiple quotes and ask each contractor for a full, transparent estimate. Make sure it covers not just the surface work but everything behind the walls too.
This kind of detailed breakdown helps you avoid budget blowouts and keeps your recladding project running smoothly from start to finish.
Ways To Save On Recladding Without Cutting Corners
Recladding your weatherboard home is a big investment, but that doesn’t mean you have to overspend. With the right approach, you can reduce costs while still getting high-quality results. The key is knowing where to cut costs without compromising on safety, durability, or compliance. Here are smart ways to save money on your recladding project in New Zealand.
Getting Multiple Quotes
Always get at least three quotes from different licensed builders. Prices can vary significantly depending on the contractor’s workload, location, and how they structure their pricing. Comparing quotes helps you understand the market rate and avoid overpriced services. Don’t just look at the final figure, check what’s included in the quote, such as materials, scaffolding, permits, and any allowances for unforeseen repairs.
- Tip: Ask for a fixed-price quote where possible. This gives you more cost certainty and reduces the risk of budget blowouts.
Choosing Cost-Effective But Durable Materials
Some cladding materials cost more than others, but price isn’t the only factor to consider. Focus on materials that offer good value over time. For example, fibre cement is more affordable than timber and requires less maintenance. While timber looks great and suits many NZ homes, it can add to your long-term upkeep costs.
The goal is to choose materials that balance upfront affordability with long-term durability and lower maintenance. Make sure the cladding you select meets local building codes and climate conditions.
Bundling Work (E.g., Recladding + Insulation Upgrade)
Recladding offers the perfect opportunity to tackle other upgrades, especially wall insulation. Since the exterior is already being removed, you can improve insulation or replace old wiring with minimal extra disruption. Doing this work together saves money compared to doing it separately in the future.
Bundling jobs like painting, replacing windows, or updating exterior lighting can reduce labour costs and help you make the most of the construction phase.
Doing Parts Of The Job Yourself (Only Where Appropriate)
If you’re confident in your DIY skills, there may be parts of the job you can safely take on, like painting, site cleanup, or removing certain non-structural features (with your builder’s approval). While you should leave structural and weatherproofing work to the professionals, some basic tasks could reduce labour hours.
Only do this if you’re sure it won’t interfere with warranties, building code compliance, or safety. Always check with your contractor before stepping in.
Working With Experienced, Licensed Builders
Hiring the right contractor can save you thousands over the life of your reclad. Experienced builders are more likely to identify and solve issues early, preventing expensive mistakes down the track. They also tend to be more efficient, which can reduce labour hours and material waste. Make sure your builder is licensed and has experience with recladding, ideally with weatherboard homes similar to yours. Ask to see previous work, customer references, and details about what’s included in their pricing.
Saving money on recladding doesn’t mean going cheap, it means making informed, strategic choices. From selecting the right materials to working with trusted professionals, you can keep costs under control without sacrificing the quality of your home.
How To Choose The Right Recladding Contractor
Choosing the right contractor for recladding your weatherboard home in New Zealand is one of the most important steps in your renovation journey. A great contractor can save you time, money, and stress, while a bad one can leave you with delays, poor workmanship, or even building code violations. Here’s how to make the right decision:
What To Ask Before Hiring
Don’t rush into hiring the first contractor you find. Take time to ask important questions like:
- How many weatherboard homes have you reclad in NZ?
- Are you familiar with local council consent processes?
- Can you provide a detailed, itemised quote?
- What’s your expected timeline for completion?
- Do you offer a warranty or guarantee on your work?
Asking these questions helps you gauge their experience, transparency, and how well they communicate. If a contractor struggles to answer clearly or avoids giving details, that’s a sign to keep looking.
How To Check Licenses And Past Work
Make sure the contractor is licensed and qualified to carry out recladding work. In New Zealand, look for:
- A Licensed Building Practitioner (LBP) number
- Proof of liability insurance
- Membership in trusted trade bodies like Master Builders or Certified Builders
Also, ask for a portfolio of past projects. Don’t just rely on photos, ask for contact details of previous clients. Reach out and ask about their experience, how the project went, and whether they’d recommend the contractor.
You can also check reviews online, but focus on verified platforms like NoCowboys or Builderscrack, where homeowners leave honest feedback.
Red Flags To Watch For
Watch out for warning signs that may suggest poor quality or risky contractors:
- Vague or overly low quotes
- Unwillingness to sign a written contract
- Pressure to pay upfront in full
- No clear timeline or project milestones
- Poor communication or failure to return calls/emails
If something feels off, trust your instincts. A good contractor will be transparent, communicative, and willing to work with your budget and expectations.
Why Cheapest Isn’t Always Best
It’s tempting to go with the lowest quote, especially when recladding costs are high. But cheaper isn’t always better. Low bids often cut corners, using cheaper materials, skipping proper prep, or rushing through jobs to move on quickly. In some cases, this can lead to more serious issues down the line, like moisture leaks, structural problems, or even non-compliance with NZ building codes.
Instead of choosing based on price alone, look for value. A mid-range or higher quote that includes quality materials, skilled labour, and a strong warranty can save you more in the long run.
Taking time to vet your recladding contractor carefully can mean the difference between a smooth, stress-free project and a costly nightmare. Ask questions, check credentials, watch for red flags, and remember, you’re not just hiring a builder; you’re trusting someone with your home.
FAQs: About Cost To Reclad A Weatherboard Home In NZ
Conclusion
Recladding a weatherboard home in NZ isn’t just about improving appearance, it’s a long-term investment in your home’s safety, performance, and value. Whether you’re dealing with leaky issues, outdated materials, or building code upgrades, recladding gives your home a fresh start. But it’s a major project that requires proper planning, realistic budgeting, and expert input. Rushing the process or choosing the cheapest option can lead to bigger problems down the line. That’s why it’s worth getting professional advice, comparing quotes, and working with experienced builders who understand NZ building standards. If you’re considering recladding, now’s the time to take the next step, get a detailed quote and start planning with confidence.
Find A Professional Cladding Company Near You!
- Cladding Hamilton
- Cladding Napier
- Cladding Hastings
- Cladding Hawkes Bay
- Cladding Specialists Wellington
About the Author:
Mike Veail is a recognized digital marketing expert with over 6 years of experience in helping tradespeople and small businesses thrive online. A former quantity surveyor, Mike combines deep industry knowledge with hands-on expertise in SEO and Google Ads. His marketing strategies are tailored to the specific needs of the trades sector, helping businesses increase visibility and generate more leads through proven, ethical methods.
Mike has successfully partnered with numerous companies, establishing a track record of delivering measurable results. His work has been featured across various platforms that showcase his expertise in lead generation and online marketing for the trades sector.
Learn more about Mike's experience and services at https://theleadguy.online or follow him on social media: