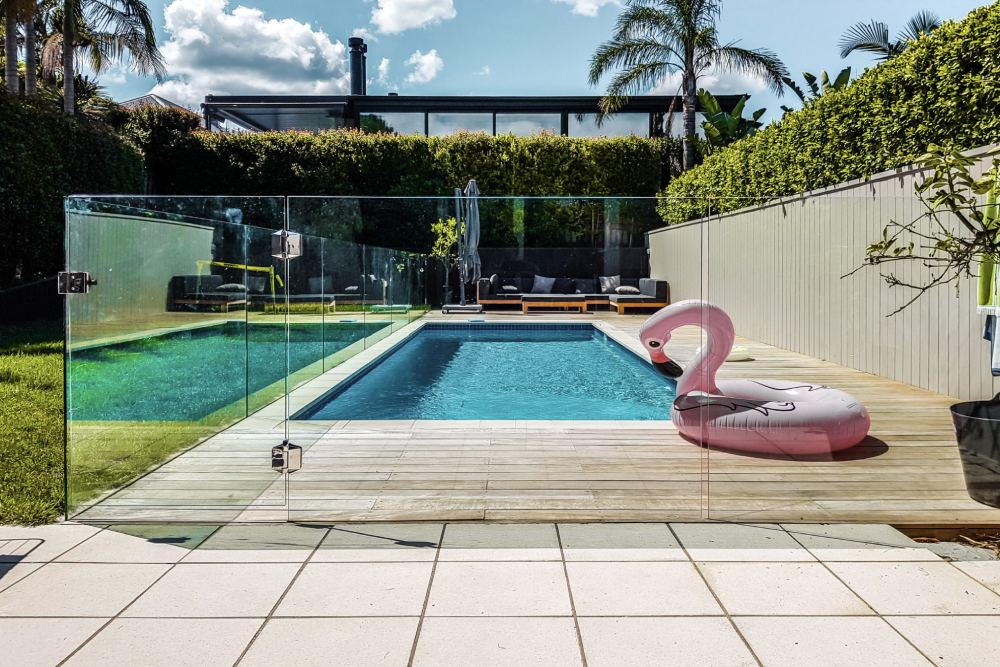
Welcome to your go-to guide on understanding the cost of recladding a plaster house. If you own or are thinking about buying a plaster-clad home, you’ve probably heard about issues like water damage, leaky buildings, and the expensive surprises they can bring. Recladding is often the solution, but it comes with a big question: how much is it really going to cost? In this post, you’ll learn what affects recladding expenses, what kind of numbers to expect, and how to make informed choices that protect your home, and your wallet. Consider working with concrete-contractors-nz/concrete-floor-slabs-kapiti-coast/”>concrete-contractors-nz/concrete-layers-lower-hutt/”>concrete services for professional results.
The cost of recladding a plaster house typically ranges from $150,000 to $300,000, depending on the home’s size, cladding material, extent of water damage, and structural repairs needed. Factors like council fees, scaffolding, and labor also affect the total price.
- What Is Recladding And Why It’s Often Needed
- Main Factors That Affect Recladding Costs
- Average Cost Range To Reclad A Plaster House
- Breakdown Of Recladding Costs
- Comparing Recladding Materials And Their Costs
- How Long Does Recladding Take?
- Can You Reclad Part Of The House To Save Money?
- DIY Vs. Hiring Professionals
- How To Choose The Right Recladding Contractor
- Funding Options And Financial Support
- How Recladding Affects Property Value
- Tips To Keep Recladding Costs Under Control
- Common Mistakes To Avoid
- FAQs: About Cost To Reclad A Plaster House
- Conclusion
- Find A Professional Cladding Company Near You!
What Is Recladding And Why It’s Often Needed
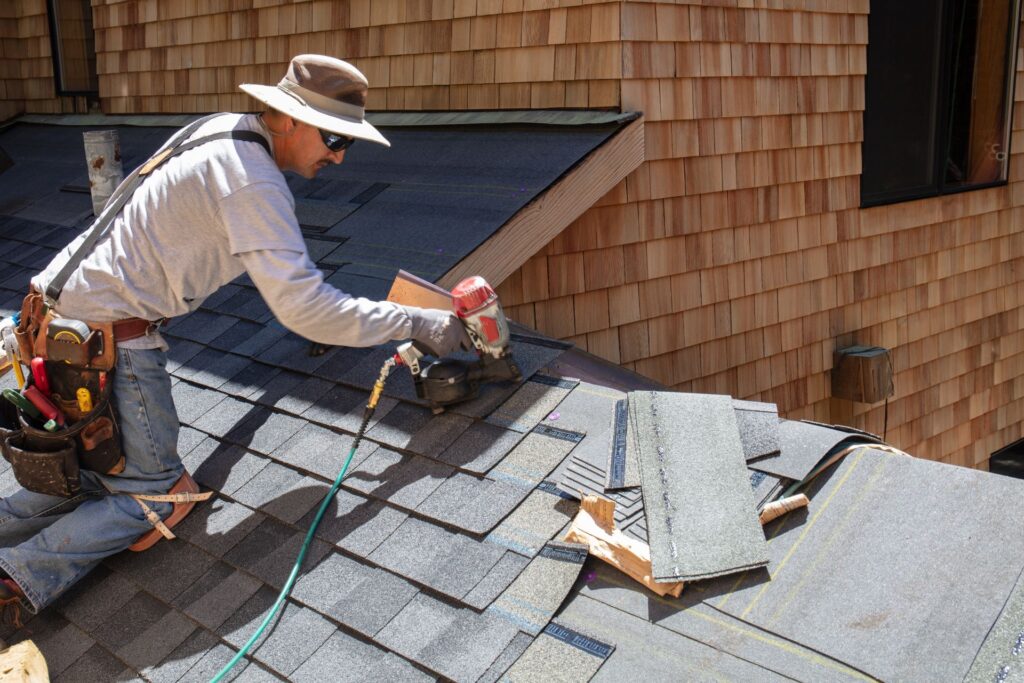
Recladding is the process of removing and replacing the exterior cladding of a house. In simple terms, it’s like giving your home a new skin. This is often done when the original cladding, especially plaster, starts to fail, either due to age, design flaws, or moisture damage. For many homeowners, recladding isn’t just about making the house look better. It’s a necessary step to keep the structure sound and healthy.
What Does Recladding Really Mean?
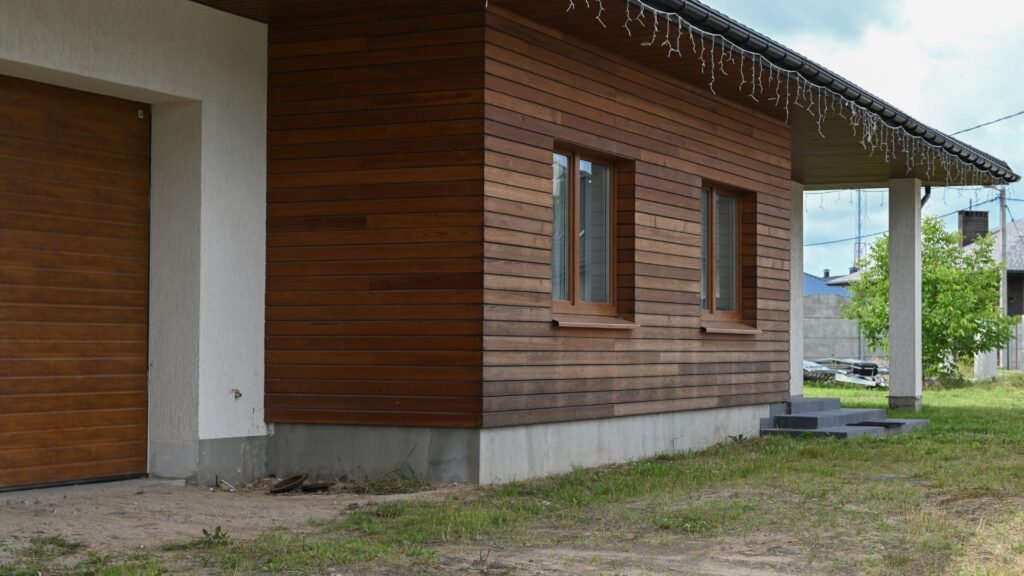
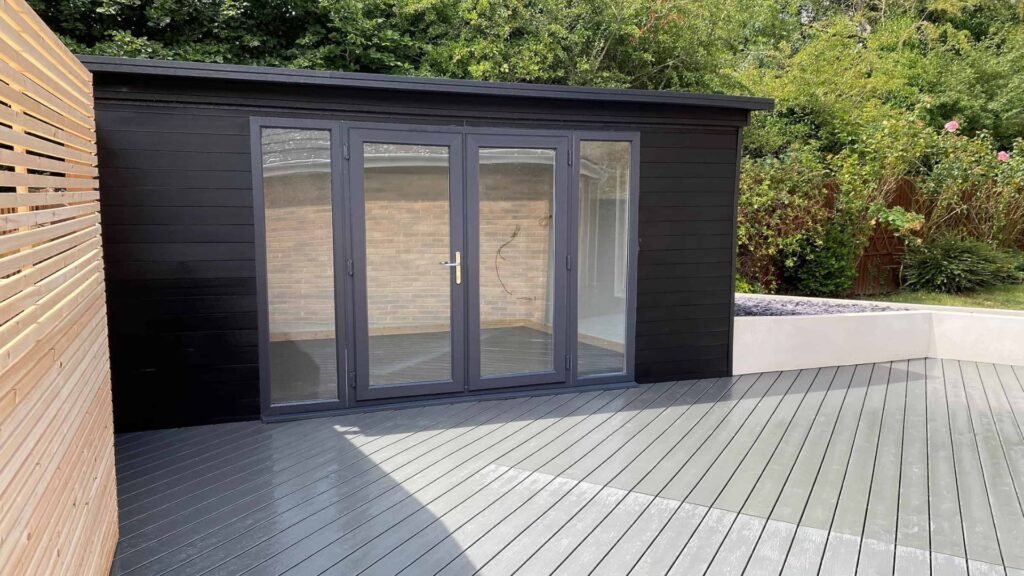
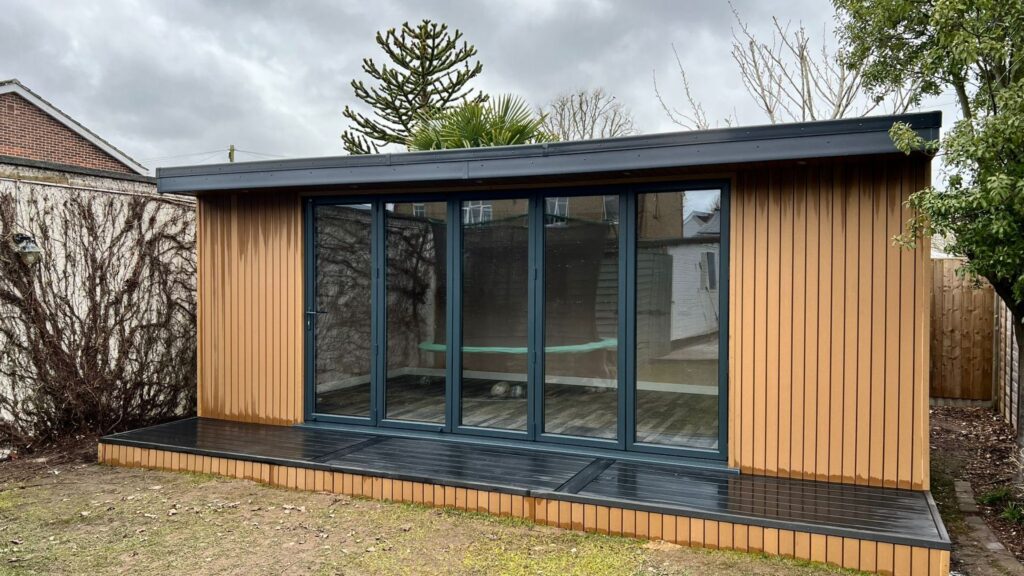
At its core, recladding involves stripping off the outer layer of your home and replacing it with a more reliable, compliant material. This can include weatherboards, fibre cement panels, or brick veneer. The goal is to create a watertight barrier that keeps moisture out and extends the life of your home. Recladding also gives you the chance to upgrade insulation, fix damaged framing, and bring the building up to current code standards.
Common Issues With Plaster Homes
Plaster-clad homes, especially those built in the late 1990s and early 2000s, have a reputation for being risky. Many were built without proper cavity systems, meaning there’s little to no space between the cladding and the timber framing. As a result, moisture can get trapped behind the walls and cause serious problems.
This is often referred to as “leaky building syndrome.” It’s not just about water getting in, it’s about what happens when it stays there. Trapped moisture can lead to timber rot, mold growth, and a decline in the overall structural integrity of the home. Over time, even minor leaks can turn into major repairs if left unchecked.
When Recladding Becomes Necessary
Recladding becomes necessary when the damage goes beyond cosmetic. If a building report shows signs of water ingress, soft or rotting framing, or mold inside the walls, recladding is often the only long-term solution. Cosmetic fixes like painting or patching cracks won’t solve the underlying problem. In fact, covering up symptoms can make things worse.
It’s also required if you plan to sell and the property has been flagged as a potential leaky home. Buyers want peace of mind, and a fully reclad home is often easier to sell, and for a higher price.
Signs Your Home Might Need Recladding
There are a few telltale signs that your home may need a reclad.
- Cracks in the plaster cladding
- Staining or bubbling paint on the exterior
- Musty smells inside the home
- Uneven or soft interior walls
- Leaks during or after rainfall
- Visible mold or mildew in corners or ceilings
- High moisture readings in a building inspection
Even if you only notice one or two of these, it’s worth getting a qualified building inspector to take a closer look. Early detection can help reduce costs and prevent serious damage.
Recladding may sound like a big job, and it is, but it’s also one of the smartest investments you can make if your home is at risk. It protects your biggest asset, keeps your family safe, and brings your property up to modern standards.

Main Factors That Affect Recladding Costs
When planning to reclad a plaster house, one of the first questions that comes up is, “How much is this going to cost?” The truth is, there’s no one-size-fits-all answer. Several factors can influence the total price of the project. Understanding these details helps you budget smarter and avoid surprises during the process. Here’s what drives the cost up, or helps keep it down.
Size Of The House (Single-level Vs. Multi-level)
The size of your home has a major impact on the total cost. A single-level home is typically cheaper to reclad than a multi-level one. Why? Because multi-level homes need more scaffolding, more materials, and more labor time. The more square meters that need recladding, the higher the material and labor costs. For example, a compact 100-square-meter house may cost significantly less than a two-story 250-square-meter property.
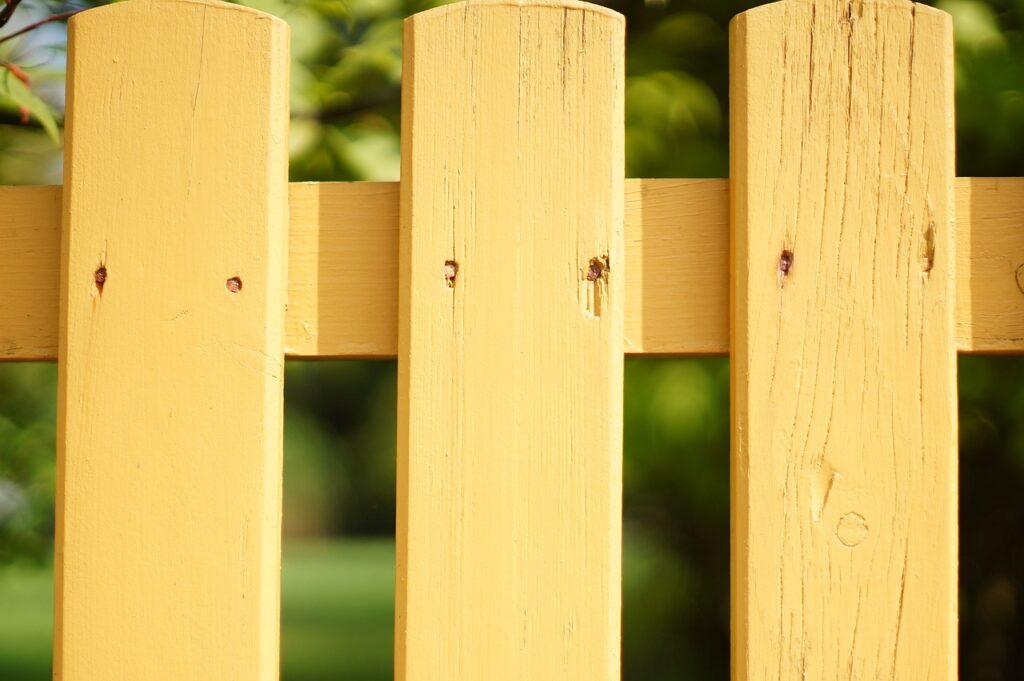
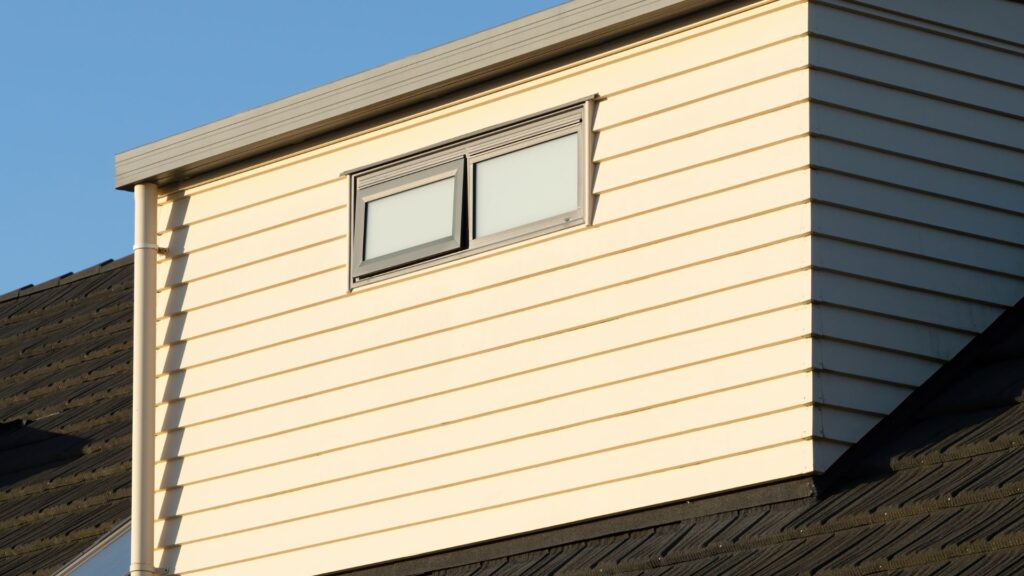
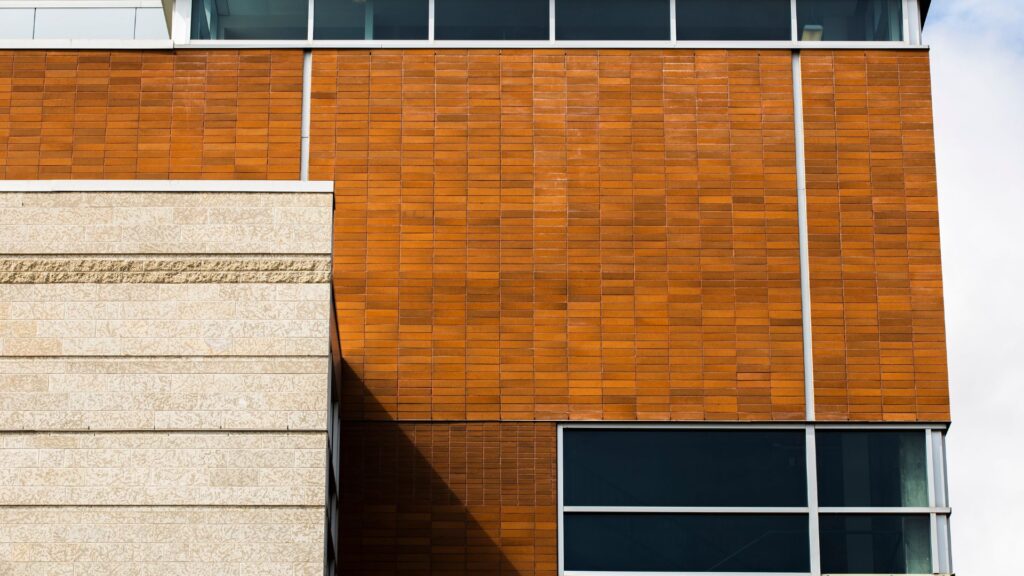
Type Of Cladding Material You Choose (Weatherboard, fibre cement, etc.)
Not all cladding materials cost the same. Your choice here can make a big difference. Fibre cement is often a budget-friendly option that still offers durability and a clean look. Timber weatherboard adds a classic style but tends to be more expensive and requires more upkeep. Brick veneer and metal cladding are also available, with varying price points and benefits. Your final decision should balance appearance, lifespan, maintenance, and cost.
Extent Of Internal Damage (Rot, Framing issues)
If your plaster home has been leaking, there’s a high chance of hidden damage inside the walls. The more damage there is, like rotten timber or mold, the more expensive the repair. Minor framing fixes might be manageable, but if your builder discovers widespread rot or structural issues, the project costs can skyrocket. Always budget for unexpected repairs, even if the outside looks fine.
Access And Scaffolding Needs
Getting to the cladding is sometimes more difficult than it sounds. Homes on sloped sections, tight urban spaces, or with complex designs can be harder to work on. That means more scaffolding, more safety gear, and more hours on the clock. Easy-to-access single-level homes with flat ground are faster and cheaper to reclad. The more complicated your site, the more you’ll likely spend on setup and logistics.
Location And Labor Rates
Where you live also affects how much you’ll pay. Labor rates vary depending on demand, location, and regional costs. Homeowners in major cities like Auckland or Wellington usually pay more than those in smaller towns. Material delivery costs can also be higher in remote areas. It’s worth getting quotes from local contractors to see how prices compare in your region.
Whether You Stay In The Home During The Process
Some homeowners choose to move out during recladding, especially if there’s major internal work involved. Others prefer to stay and live around the construction. While staying might save money on rent, it can slow the project down, especially if the builders have to work around your schedule. In some cases, moving out may help reduce overall costs by speeding up the process and avoiding delays.
Each of these factors plays a role in the final quote you’ll get from your builder. Knowing what affects recladding costs puts you in a stronger position to make smart decisions, avoid budget blowouts, and get the job done right the first time. Always get multiple quotes, ask detailed questions, and plan for both the visible and hidden costs.
Average Cost Range To Reclad A Plaster House
Recladding a plaster house is a major investment, and knowing the average cost helps you prepare both mentally and financially. Whether you’re doing it to fix damage, improve your home’s appearance, or meet building code requirements, understanding the cost range per square meter, and what that means for your home size and condition, is key.
General Cost Range Per Square Meter
On average, the cost to reclad a plaster house falls between $400 and $600 per square meter. This estimate includes materials, labor, building consent, site setup, and scaffolding. If hidden damage is discovered, the cost can go higher due to additional repairs.
Here’s a quick breakdown.
- Basic Reclad With Minimal Issues: $400–$450 per sqm
- Moderate Repairs With Standard Finish: $450–$550 per sqm
- Full Reclad With Damage Repair And Premium Materials: $550–$600 per sqm
Keep in mind that prices vary based on your location, builder rates, and the type of cladding material you choose.
Total Estimate For Small, Medium, And Large Homes
Now, let’s apply those rates to typical house sizes. These estimates assume a full reclad with average conditions.
- Small Home (100–130 sqm): $40,000 to $78,000
- Medium Home (150–200 sqm): $60,000 to $120,000
- Large Home (220–300 sqm): $88,000 to $180,000
These are base ranges. If rot, framing issues, or council-required upgrades come up, your total can increase significantly.
Example Scenarios
Every house is different, and the cost depends on what’s found once the cladding comes off.
Here are three common examples.
Minor Damage, Minimal Repairs
If your plaster home has no signs of leaks, no framing damage, and you’re recladding for appearance or future-proofing, you’ll likely pay on the lower end of the scale.
- Estimated Cost: $40,000–$80,000
- Timeframe: 2–3 months
- What’s Involved: Removing cladding, applying wrap, installing new material, finishing.
This is most common in homes that have been well-maintained or had past weatherproofing work done.
Moderate Damage And Full Reclad
This is the most typical scenario for plaster homes built between the 1990s and early 2000s. Leaks may be present but isolated. Some framing might need replacing, but the structure is still sound.
- Estimated Cost: $90,000–$150,000
- Timeframe: 3–5 months
- What’s Involved: Cladding removal, rot treatment, some framing work, full reclad, and council compliance.
This level often uncovers damage behind windows or under eaves where moisture gets trapped.
Full Reclad Plus Structural Work
In more serious cases, homes have widespread water damage, mold, or failing structure. This requires major repairs and possibly internal reconstruction.
- Estimated Cost: $160,000–$300,000+
- Timeframe: 5–7 months or longer
- What’s Involved: Full reclad, extensive framing replacement, internal work (walls, insulation, wiring), and complete council documentation.
These are complex jobs and often cost more than homeowners initially expect. Builders may also bring in specialists like engineers or environmental testers.
Understanding the full cost range helps you avoid budget shocks. Whether you’re planning ahead or facing urgent repairs, knowing where your house fits into these scenarios gives you a clearer path forward. Always get detailed quotes, and don’t be afraid to ask builders what’s included, and what’s not.
Breakdown Of Recladding Costs
Understanding the true cost of recladding a plaster house means looking beyond the headline figure. Each home is different, and a wide range of cost components can influence the total. Here’s a clear breakdown of what you’re likely to pay for, and why each part matters.
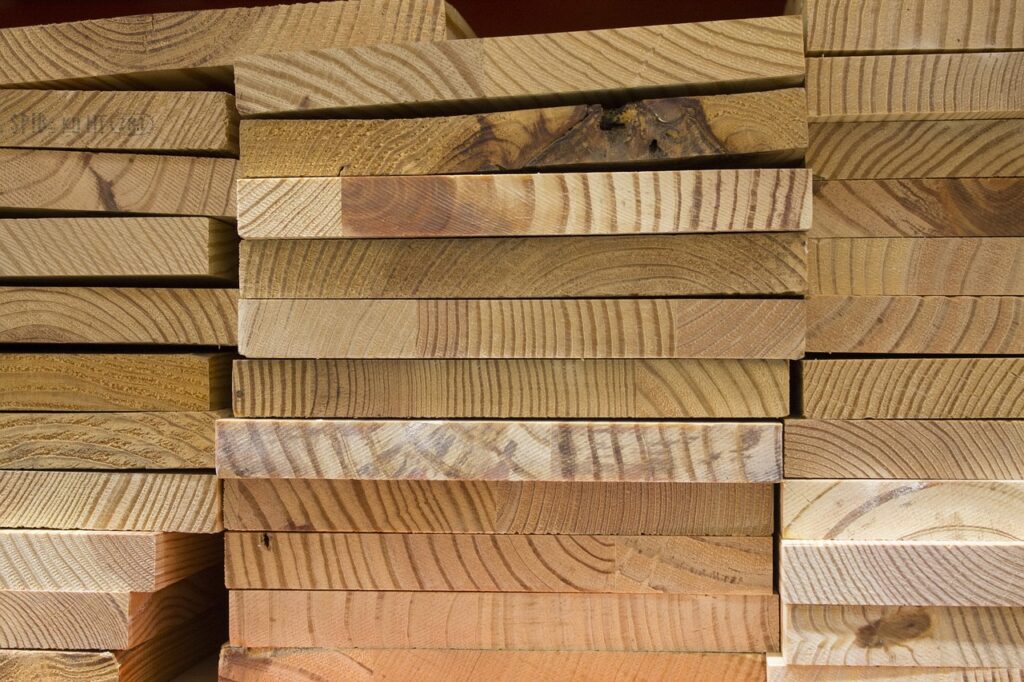
Material Costs
The type of cladding material you choose plays a big role in the final price. Some materials cost more upfront but offer better durability and lower maintenance. Common options include timber weatherboards, fibre cement, brick veneer, and metal panels. Fibre cement is often chosen for its affordability and resilience, while timber offers a classic look but may require more upkeep over time. Material costs also cover wraps, flashings, insulation, and fixings, every item that forms the protective skin of your home.
Labour Costs
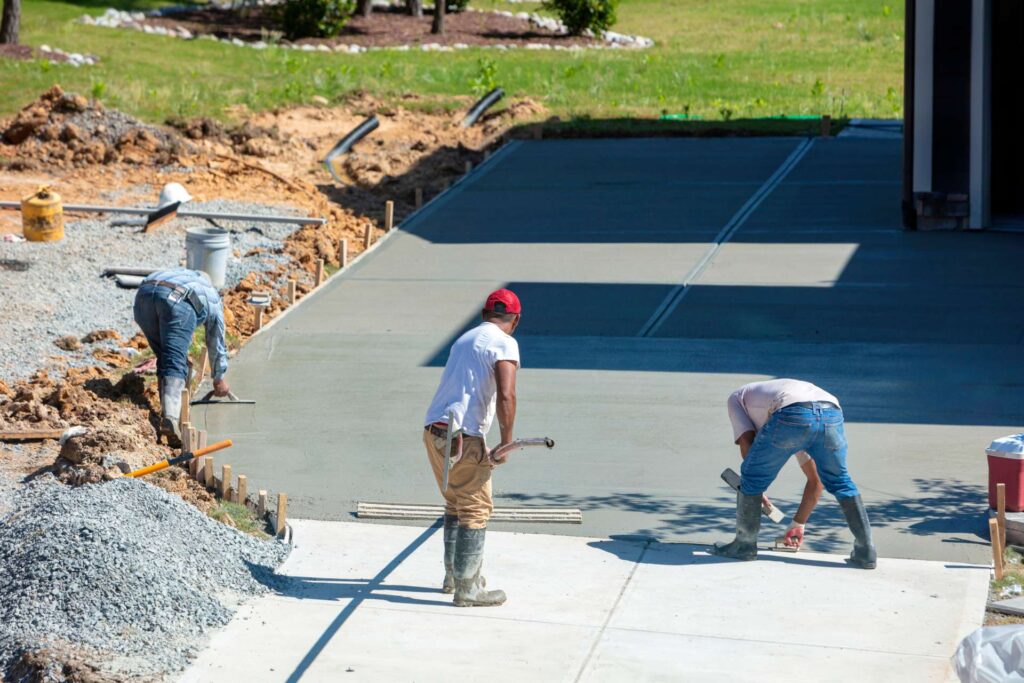
Skilled labor is one of the largest expenses in any recladding project. Builders, licensed building practitioners, carpenters, and their teams are needed to remove the old cladding, inspect the framing, install the new system, and ensure the work meets building codes. Labour costs can vary by region, complexity of the job, and demand in your local area. The more access issues or custom work involved, the higher the labor bill will climb.
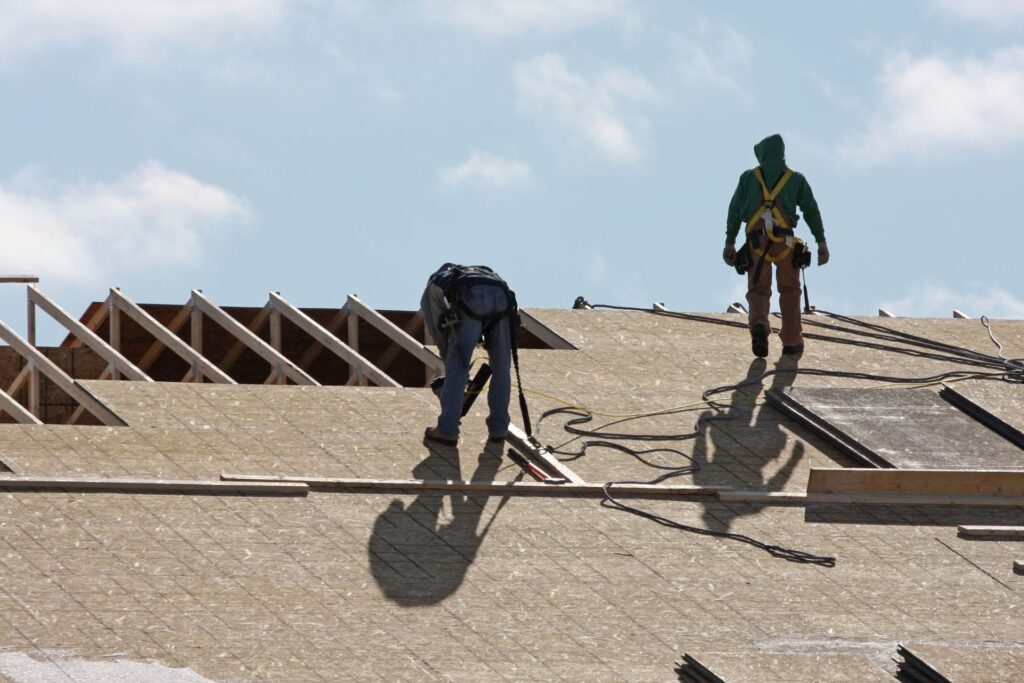
Scaffolding And Site Access
Even a single-level house needs scaffolding for safe, efficient work. If your home is multi-story or has hard-to-reach corners, the scaffolding will be more complex, and expensive. Good site access makes the project run faster, but narrow driveways, steep sections, or tight boundaries can increase both time and cost. Don’t overlook this part, it’s often a hidden cost that surprises many homeowners.
Building Consent And Council Fees
Recladding almost always requires building consent. The application process involves drawings, documents, and fees paid to your local council. Costs vary depending on your area and the scale of the work, but they can run into the thousands. Inspections are carried out during and after the work to confirm everything is built to code. Skipping this step risks fines or legal trouble later when selling your home.
Architectural Drawings And Project Management
Before the work starts, you’ll need detailed plans. These are usually created by an architect or architectural designer and form the basis for your building consent. If your recladding project includes design changes, like altering windows or door placement you’ll need up, dated drawings. Project management adds another layer of cost but is often worth it. A good manager keeps timelines on track, handles council communication, and prevents costly mistakes.
Hidden Costs (Remediation, Mold Treatment, Electrical/Plumbing Work)
These are the costs most homeowners don’t see coming. Once the old cladding is removed, damage to the timber framing or internal walls may be revealed. You might find rot, mold, or structural weaknesses that need urgent repair. Electrical wiring or plumbing that doesn’t meet current standards might also need updating. It’s wise to budget an extra 10–20% of your total cost to cover these unexpected but necessary expenses.
Recladding isn’t just a cosmetic update, it’s a full-scale construction project. Knowing what each component costs helps you plan smarter, avoid shocks, and protect your home for the long haul. Always ask your builder for a detailed cost breakdown before signing a contract.
Comparing Recladding Materials And Their Costs
Choosing the right recladding material is one of the most important decisions you’ll make during the recladding process. Not only does it affect the look and durability of your home, but it also plays a big role in your overall cost and future resale value. Below is a clear and detailed comparison of the most common recladding materials, their pros and cons, and what you can expect to pay.
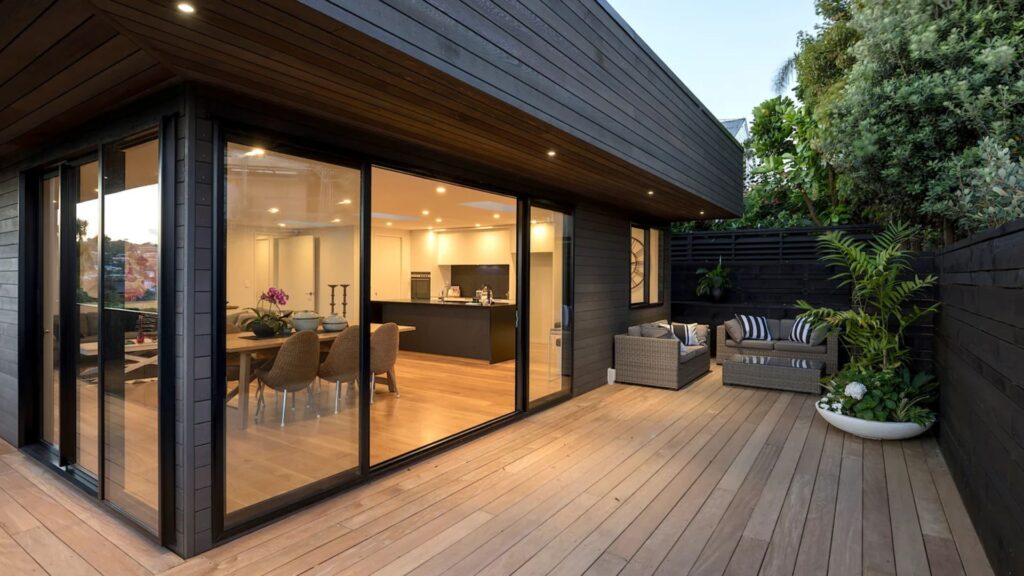
Weatherboard (Timber Vs. Composite)
Timber Weatherboard is a classic choice for many homeowners. It offers a warm, traditional look that suits a wide range of homes. Most timber weatherboards are made from treated pine or cedar, which are both known for their aesthetic appeal.
Pros
- Natural and timeless appearance
- Easy to repaint or refresh over time
- Readily available in most regions
Cons
- Requires regular maintenance (painting or staining)
- Can be vulnerable to rot and insects if not treated properly
- Higher long-term upkeep costs
Composite Weatherboard is made from engineered wood or fiber-based materials. It mimics the look of timber without the high maintenance.
Pros
- Lower maintenance compared to timber
- Resistant to rot, pests, and moisture
- Often comes pre-finished in various colors
Cons
- Can be more expensive upfront
- Doesn’t have the same natural feel as real timber
- Cost Range: Moderate to high depending on type and finish.
Fibre Cement
Fibre cement is a highly popular option due to its durability and modern appeal. It’s made from a mix of cement, sand, and cellulose fibers, and is available in a range of styles, including smooth panels or weatherboard profiles.
Pros
- Very low maintenance
- Fire-resistant and weather-resistant
- Holds paint well and doesn’t warp over time
Cons
- Heavier than other materials, requiring skilled installation
- Less insulating than some natural materials
- Cracks can appear if installed poorly
- Cost Range: Affordable to mid-range, depending on brand and finish.
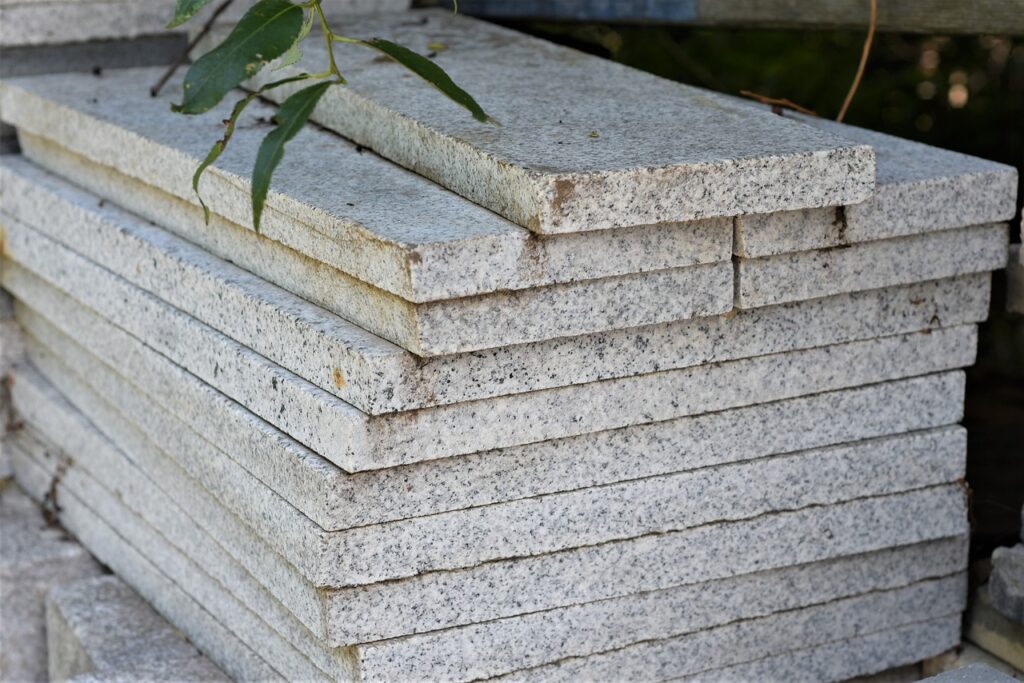
Brick Veneer
Brick veneer involves attaching a non-load-bearing layer of bricks to the outside of a timber or steel frame. It gives the home a solid brick look without the full weight or cost of structural brickwork.
Pros
- Strong curb appeal and premium feel
- Extremely durable and long-lasting
- Fire and pest resistant
Cons
- More expensive than other cladding types
- Limited flexibility for design changes once installed
- Requires experienced installers
- Cost Range: Higher than weatherboard or fibre cement.
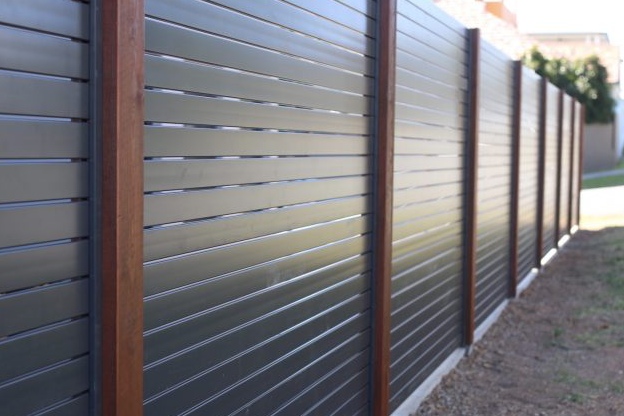
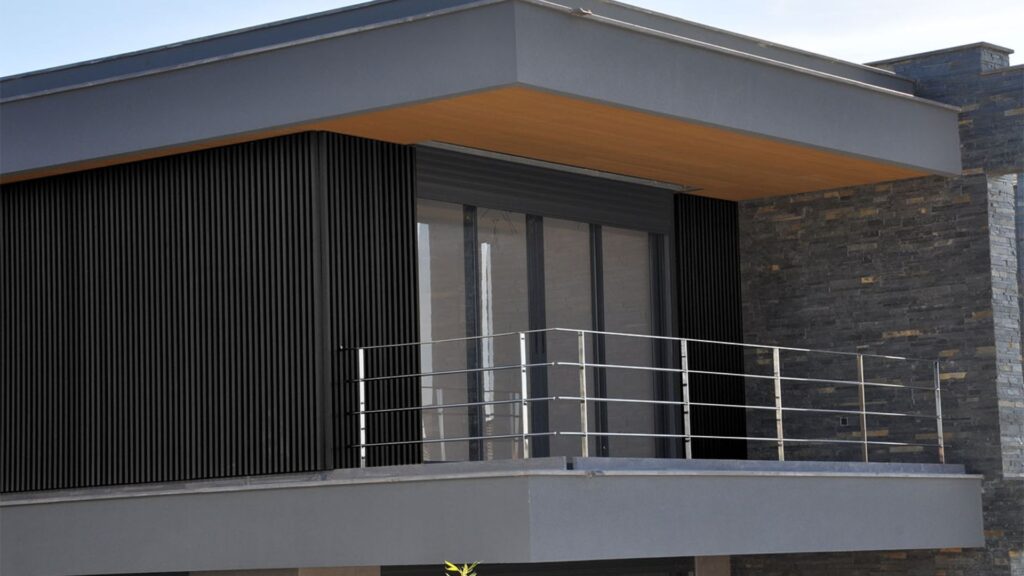
Metal Or Steel Cladding
Metal cladding, including options like Colorsteel or corrugated iron, offers a modern and industrial aesthetic. It’s often used in contemporary or minimalist homes.
Pros
- Extremely durable and long-lasting
- Low maintenance and resistant to moisture
- Quick to install and lightweight
Cons
- Can dent easily with strong impact
- May feel too industrial for traditional homes
- Limited insulation unless paired with extra layers
- Cost Range: Moderate to high, depending on finish and insulation.
Which Options Add The Most Value To Resale
When it comes to resale value, buyers generally look for materials that are both low maintenance and visually appealing. In most areas, timber weatherboard and fibre cement are safe, desirable choices that appeal to a wide market. Brick veneer adds the most perceived value due to its durability and upscale appearance, especially in higher-end suburbs.
Composite materials are also gaining traction among buyers who want a modern look without the maintenance headaches. Metal cladding appeals to niche buyers but may not suit every home style or neighborhood.
To choose the best option, consider your budget, long-term maintenance goals, and the style of homes in your area. Talk to your builder about what materials make the most sense for your location and resale potential.
How Long Does Recladding Take?
Recladding a plaster house is not a quick job. It’s a major project that involves more than just removing old cladding and nailing in new boards. If you’re planning to reclad, you’ll want to understand the typical timeframes, what could slow things down, and how to keep things moving. Below is a full breakdown to help you set realistic expectations.
Typical Time Frames For Each Stage
The full recladding process usually takes 3 to 6 months, depending on your home’s size, design, and the amount of work involved. Here’s what each stage typically looks like.
Planning And Design (2–4 Weeks)
This includes getting a building report, choosing materials, finalizing your design, and hiring a builder or project manager.
Consent And Council Approvals (4–8 Weeks)
Your plans need to go through the local council for approval. This can take longer if there are any questions or revisions.
Site Setup And Demolition (1–2 Weeks)
Scaffolding is installed, protective measures are set up, and the old cladding is stripped away.
Repairs And Framing Work (2–6 Weeks)
Once the cladding is removed, any damage underneath, like rot or mold, gets repaired. This stage often uncovers surprises.
Installing New Cladding (2–4 Weeks)
The new material is installed and sealed according to building code. Weather can impact how fast this part goes.
Final Inspections And Sign-Off (1–2 Weeks)
Council or independent inspectors check the work before issuing a final code of compliance certificate.
Factors That Can Delay The Process
No recladding job ever goes 100% to plan. Here are common reasons projects take longer than expected.
Hidden Damage
Once the cladding comes off, serious framing or moisture issues might be found, which can extend the repair phase.
Weather Conditions
Heavy rain or cold weather can slow down installation and sealing.
Council Delays
Approvals, inspections, or paperwork might take longer than planned, especially during busy periods.
Material Shortages
If your chosen cladding isn’t in stock or custom materials are needed, you may face delivery delays.
Contractor Availability
Experienced builders get booked out. If they’re managing multiple jobs, your timeline might stretch.
How To Reduce Downtime And Speed Up Work
You can’t control everything, but here’s what you can do to help the project stay on track.
Hire Experienced Contractors
Choose a builder who specializes in recladding. They’ll know how to manage permits, anticipate problems, and avoid common delays.
Get Approvals Early
Submit all documents to the council as soon as possible. Working with an architect who knows the local process can speed things up.
Use Readily Available Materials
Choosing common cladding types like fibre cement or timber weatherboard may save time on sourcing.
Stay Off The Property If Needed
If your builder has full access to the site, they can work faster without having to move around you or your family.
Communicate Regularly
Regular check-ins with your builder or project manager will help identify delays before they become serious.
By understanding the full timeline and planning for delays, you’ll be in a better position to manage expectations and make smart decisions. While recladding takes time, doing it right will protect your home, add value, and give you peace of mind for years to come.
Can You Reclad Part Of The House To Save Money?
Recladding is a big investment, and it’s natural to look for ways to reduce the cost. One question homeowners often ask is whether they can reclad only part of the house instead of the whole thing. On the surface, this might seem like a smart way to save money. But in reality, partial recladding comes with limitations, rules, and potential risks you need to know about before making a decision.
Partial Recladding: When It’s Possible And When It’s Not
In some situations, partial recladding may be allowed, especially if only one section of the house is damaged, and the rest is in good shape. For example, if just one wall is exposed to severe weather and shows signs of failure, a builder might consider recladding only that area.
But in most cases, it’s not that simple. With plaster homes, water damage isn’t always visible. Moisture can travel behind the cladding and affect areas that appear fine from the outside. By focusing on just one section, you could miss hidden damage elsewhere, costing you even more down the track.
You also need to think about resale. Buyers are cautious about plaster homes. If they see that only part of the house has been reclad, they’ll wonder what’s being hidden. Full recladding offers peace of mind and can help the property sell faster and for more.
Council Requirements
Most local councils have strict rules around recladding, especially if the house falls into the “leaky building” category. Even if you’re planning a partial reclad, you’ll likely need building consent. The council may require you to submit a full inspection report, and they could insist on recladding the entire house if there’s widespread moisture damage.
In some regions, partial reclads are discouraged altogether. Councils prefer full reclads because they bring the house up to current building code standards. If the original construction lacked a cavity system (which allows water to drain), a partial reclad won’t solve the underlying problem.
Before making any decisions, talk to a licensed building practitioner or architect. They can assess your home, liaise with the council, and explain what’s realistically possible under local regulations.
Risks Of Mixing Materials Or Ignoring Problem Areas
Mixing old plaster with new materials might save money in the short term, but it can lead to long-term headaches. Different cladding materials age differently. Weatherboard, for example, expands and contracts at a different rate than plaster. This can create gaps, cracks, and entry points for water over time.
A mismatched exterior also affects the appearance of your home. Uneven textures and finishes can make the house look patched together. That alone can raise red flags for future buyers, even if the structure is sound.
Worse still is ignoring problem areas just to cut costs. Moisture and rot don’t stay in one place. If you leave any damaged areas untreated, the issues will spread, leading to major repairs later. You could end up recladding twice, which defeats the purpose of saving money in the first place.
Partial recladding can work in very limited situations, but it’s not always a safe or council-approved option. For most homeowners, a full reclad is the smarter investment, protecting both the structure of the home and its future value. Before starting any work, get a detailed building report, check with your council, and get professional advice so you can make the right call for your home.

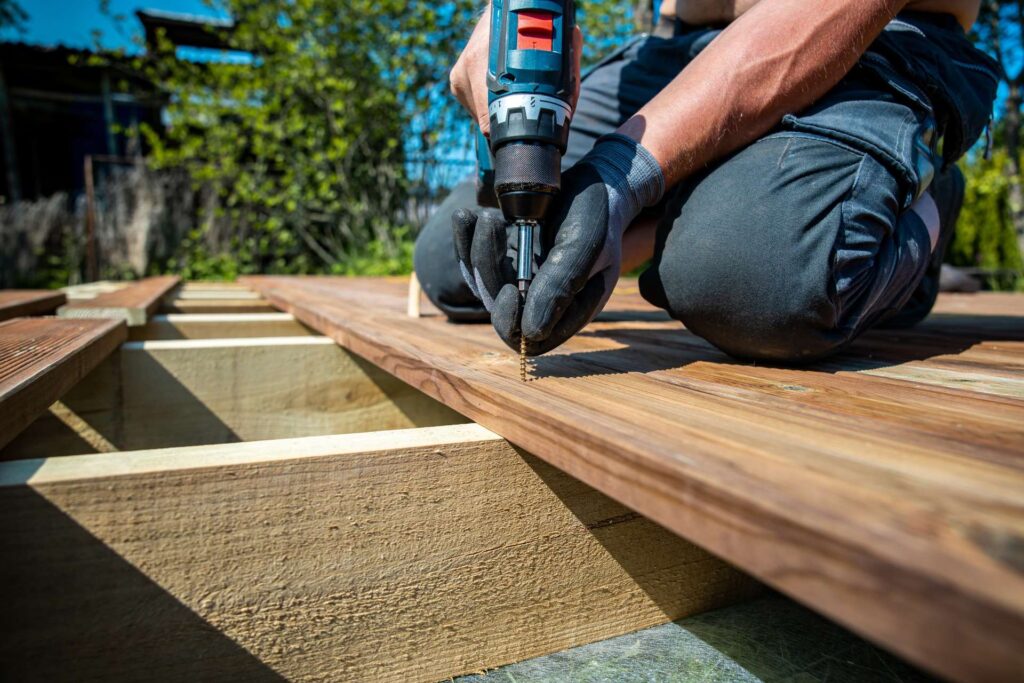
DIY Vs. Hiring Professionals
When it comes to recladding a plaster house, one of the first questions homeowners ask is whether they can do some of the work themselves to save money. While this sounds appealing in theory, the reality is more complicated, and the risks are high if it’s not done properly.
Why Recladding Is Almost Always A Licensed Building Job
Recladding isn’t like painting a wall or fixing a fence. It involves opening up the walls of your home, assessing and repairing potential structural damage, and installing new weatherproof cladding that complies with modern building standards. That’s why most recladding work is classified as Restricted Building Work (RBW) in countries like New Zealand and Australia.
Only Licensed Building Practitioners (LBPs) are legally allowed to carry out or supervise RBW. This rule exists for a reason, faulty recladding can lead to water damage, failed inspections, and even legal action if you decide to sell the home later. Using a licensed builder ensures your project is code-compliant and properly documented.
Legal Restrictions And Building Code Requirements
Every region has its own building codes, but they generally share a common goal: protecting your home from future damage. These codes regulate.
- The materials that can be used
- Installation techniques
- Moisture barriers and cavity systems
- Flashings and joinery
- Ventilation and drainage paths
Failing to follow these standards could result in your building consent being rejected or revoked. Worse, if an inspector finds code violations during the project, you may be forced to redo large parts of the job, costing you more in the long run.
That’s why professional oversight is non-negotiable for full reclads.
When It’s Safe To Do Minor Prep Work Yourself
While the actual recladding must be done by licensed pros, there are still a few tasks you might safely take on, if approved by your contractor.
- Clearing landscaping or obstacles around your home to allow access
- Removing non-structural cladding (in specific cases)
- Assisting with site clean-up or disposal
- Painting or staining the finished cladding
Even small tasks should be cleared with your builder in advance. Unauthorized work, even with good intentions, can void warranties or create safety hazards.
Importance Of Warranties And Guarantees
Hiring professionals doesn’t just ensure quality, it gives you protection. A licensed recladding company usually offers.
- Workmanship warranties (typically 5–10 years)
- Product guarantees on the cladding materials
- Producer Statements and compliance documentation
- Moisture testing reports for resale purposes
Without these, you’re left exposed if something goes wrong. If you ever plan to sell the property, buyers will want proof that the work was done to standard and signed off by a qualified expert.
Even if you’re staying in the home, a professional job brings peace of mind. It protects your investment, prevents future problems, and ensures your home meets modern safety and weather-tightness standards.
Trying to DIY a reclad might save you money today, but could cost you far more down the line. In most cases, hiring a licensed builder isn’t just the smarter option, it’s the only legal one.
How To Choose The Right Recladding Contractor
Hiring the right contractor is one of the most important steps when recladding a plaster house. Your home is a major investment, and recladding is not something you want to repeat or fix later due to poor workmanship. Choosing a reliable, skilled, and experienced contractor ensures the job is done right the first time, saving you time, money, and stress.
Here’s what you need to look for before signing any contract.
What To Look For: Experience, Certifications, Past Projects
Start by checking how long the contractor has been working in the recladding space. You want someone who has dealt specifically with plaster homes, not just general builders. Look for.
- Years of Experience: Contractors with proven experience in recladding are more likely to understand moisture issues, council requirements, and building code updates.
- Licensing And Certifications: They should be Licensed Building Practitioners (LBPs) or members of a trusted building association in your region.
- Previous Work Samples: Ask for photos of completed recladding projects, and if possible, talk to past clients. Check online reviews, ratings, or testimonials on their website and other platforms.
Experience means they’ve seen the hidden surprises that come with plaster homes, and know how to fix them.
Questions To Ask During Quotes
Don’t just ask “How much?” when getting a quote. Ask these questions to understand what you’re paying for.
- What is included and excluded in this quote?
- Have you worked on plaster homes like mine before?
- How do you handle unexpected structural issues?
- Will I receive documentation for council approval and future resale?
- How long will the project take?
- Who will be on-site managing the project daily?
Clear answers to these questions help you compare quotes properly and avoid nasty surprises once work begins.
Warning Signs Of Untrustworthy Operators
Some red flags to watch out for:
- Vague Quotes: If they can’t break down the costs, that’s a bad sign.
- Pressure Tactics: Anyone pushing you to sign quickly likely has something to hide.
- Lack Of Permits: If they suggest skipping council consent, walk away.
- No References Or Portfolio: A reputable contractor should proudly show you past work.
Trust your gut, if something feels off, don’t ignore it.
Why Going With The Cheapest Option Can Cost You More
Everyone wants to save money, but choosing the lowest quote can be risky. The cheapest contractor might.
- Use low-quality materials
- Cut corners on waterproofing
- Hire inexperienced subcontractors
- Fail inspections and delay the project
You could end up spending more fixing their mistakes than hiring a qualified team from the start. Paying for quality upfront brings peace of mind and a longer-lasting result.
- Final Tip: Take your time choosing a contractor. Ask questions, compare carefully, and make sure you’re comfortable with who you’re hiring. It’s your home, and it deserves to be reclad by someone you trust.
Funding Options And Financial Support
Recladding a plaster house isn’t cheap, and most homeowners need help managing the cost. Whether you’re preparing for a full reclad or just starting to explore your options, understanding the ways to fund the project is critical. Let’s break down the most practical and realistic funding options available today.
Using Home Equity Or Refinancing
One of the most common ways to pay for recladding is by tapping into your home’s existing equity. If your property has gained value over time, you may be able to borrow against that equity through a home loan top-up or by refinancing your mortgage.
This option allows you to spread the cost of recladding over a longer period, often with lower interest rates compared to personal loans or credit cards. Homeowners who choose to refinance usually do so to secure a better interest rate or to consolidate other debt alongside the renovation. Just make sure to factor in loan fees, updated valuations, and any legal costs that may apply.
- Tip: Talk to your bank or mortgage broker. They can assess how much equity you have and advise whether refinancing is your best option based on your current repayments and long-term financial goals.
Loans Or Government Grants (If Available In Your Area)
If you don’t have enough equity or prefer not to refinance, personal loans are another route. Some lenders offer renovation-specific loan packages that are more tailored to home improvement projects like recladding. These often have shorter repayment terms and higher interest rates, but they’re easier to set up if you don’t want to touch your mortgage.
In certain regions or cities, government support may also be available. This could come in the form of low-interest renovation loans, energy efficiency grants, or weather-tightness assistance programs. These are usually designed to help homeowners bring older homes up to modern building code and safety standards.
You’ll need to check your local council or government housing authority to see if you qualify. Grant programs change frequently, so keep an eye on application deadlines and eligibility rules.
Whether Insurance May Cover Recladding (Rare, But Possible)
In most cases, standard home insurance won’t cover recladding costs. Insurance policies generally exclude long-term issues like gradual water damage or structural wear unless the damage was caused by a specific event, such as a storm, flood, or fire. Even then, only the damage directly caused by the event might be covered, not a full reclad.
That said, there are exceptions. If a licensed building inspector identifies damage tied to a faulty renovation or a leaky building syndrome diagnosis, you might be eligible for support under past warranty schemes or legal settlements, though these are rare and often time-sensitive.
- The bottom line: always talk to your insurer and request a formal policy review. Don’t assume you’re covered until you get confirmation in writing.
Before starting your recladding project, sit down and review all funding paths available to you. Compare interest rates, repayment terms, and long-term implications. Making the right financial move upfront can save you tens of thousands over the life of your home. If you’re unsure, speak with a financial advisor or mortgage specialist who understands renovation projects.
How Recladding Affects Property Value
When you’re investing in recladding a plaster house, one of the biggest questions is whether the money you put in will increase the value of your home. The short answer? Yes, it usually does, especially when it’s done right. Let’s look at how a reclad exterior changes the way buyers see your home and how it directly impacts resale value.
How A Modern Exterior Boosts Curb Appeal And Resale
First impressions matter. A fresh, modern exterior instantly improves the curb appeal of your home. Plaster homes, especially those built in the 1990s and early 2000s, often look outdated and can raise concerns about moisture problems. Recladding transforms that image.
When buyers see timber weatherboards, fibre cement, or another modern finish, they associate the home with durability, better insulation, and long-term value. Even if the inside of your home hasn’t been fully renovated, a well-executed reclad can dramatically shift the perception of quality and care.
Real estate agents often mention that homes with clean, modern exteriors attract more attention, sell faster, and receive stronger offers compared to similar properties with outdated or weather-worn cladding.
Buyers’ Trust In A Fully Reclad, Compliant Home
Recladding isn’t just about looks, it’s also about trust. Buyers today are cautious, especially when it comes to plaster-clad homes due to the leaky building issues seen in past decades. When they learn a home has been fully reclad and brought up to modern building code standards, it changes everything.
A reclad home tells buyers.
- The moisture issues have been addressed
- The framing and structure have been checked and repaired
- The property now meets council and building compliance
- There’s documentation, warranties, and possibly a recent moisture report
This gives buyers peace of mind. It reduces their perceived risk, which makes them more willing to pay a fair, or even premium, price. Many homebuyers won’t even consider purchasing a plaster home unless it’s been reclad and certified. So if you’re planning to sell in the next few years, recladding could be the move that unlocks your property’s full market potential.
Case Studies Of Before And After Value Comparisons
Let’s look at a few real-world examples to see how recladding has impacted home values.
Case 1 – 3-Bedroom Home In Auckland
- Before recladding: $820,000 valuation
- After recladding with weatherboard: Sold for $1.03M
The home was on the market for months before the reclad. After recladding, it sold within three weeks.
Case 2 – Suburban Wellington Property
- Before recladding: Valued at $700,000
- Post-recladding and moisture report: Sold for $920,000
Buyers cited peace of mind and updated compliance as their top reasons for offering above market rate.
Case 3 – Christchurch Investor Property
- Recladding cost: $180,000
- Rent increase post-reclad: $120 per week
- Result: Increased rental yield and tenant quality, with a higher resale estimate from local agents
These examples show that while recladding is a serious investment, the return is not just emotional, it’s financial. Whether you’re planning to sell soon or hold your property for the long term, a fully reclad home gives you a strong edge in a competitive market.
Tips To Keep Recladding Costs Under Control
Recladding a plaster house is a major investment. But there are smart ways to keep your budget in check without cutting corners or risking quality. Whether you’re just starting to research or already planning a project, these tips will help you avoid common cost traps and keep your finances under control.
Get Multiple Quotes
Don’t settle for the first price you receive. Always get at least three detailed quotes from qualified contractors. Compare not just the total cost, but also what’s included, materials, labor, council fees, scaffolding, and contingencies. Look for transparency. A well-outlined quote helps you spot hidden charges or exclusions early. It also gives you leverage to negotiate better terms.
Set Aside 10–20% For Unexpected Repairs
Even if your home looks fine on the surface, plaster-clad houses often hide moisture damage behind the walls. Once the cladding comes off, you might discover rotten framing, mold, or compromised insulation. That’s why it’s essential to set aside a contingency fund, 10% is a bare minimum, but 15–20% is safer. This buffer gives you peace of mind and flexibility if surprises come up.
Choose Mid-Range Materials Wisely
You don’t need to choose the cheapest materials to save money, but going for the most expensive ones isn’t always necessary either. Many mid-range cladding options, like fibre cement or treated timber weatherboards, offer durability, modern looks, and lower maintenance. Focus on what performs well in your climate and fits your long-term needs. Talk to your builder about lifespan, warranty, and upkeep before making a final decision.
Work With Experienced Project Managers Or Builders
A skilled, experienced builder can actually save you money. Why? Because they spot problems early, manage timelines better, and avoid costly mistakes. Ask for proof of recladding experience, check past projects, and read reviews. A project manager who handles the paperwork, inspections, and council approvals can also help you avoid delays and penalties that drive up the cost.
Avoid Seasonal Spikes In Labor Or Supply Costs
Construction demand usually peaks during spring and summer. During these times, labor costs may rise, materials can be harder to source, and timelines stretch out. If you’re flexible, consider booking work during off-peak months like autumn or early winter. Some contractors even offer better rates when their schedules are lighter. Just make sure the weather in your region supports year-round work.
Keeping recladding costs under control isn’t just about spending less, it’s about spending smartly. With careful planning, the right team, and clear decisions, you can protect your home and your wallet at the same time.
Common Mistakes To Avoid
When it comes to recladding a plaster house, avoiding common mistakes can save you thousands of dollars, prevent delays, and protect your home’s value. Many homeowners dive into the process without fully understanding what’s involved or what could go wrong. Below are some of the most frequent mistakes people make, and how you can steer clear of them.
Ignoring Early Signs Of Damage
One of the biggest mistakes homeowners make is brushing off small issues like hairline cracks, discolored paint, or a musty smell. These are often early signs of water ingress, which can lead to serious structural damage if left untreated. The longer you wait, the worse, and more expensive, the problem becomes. Acting early can reduce costs and may even limit the extent of recladding needed.
Choosing Based On Price Only
Everyone wants to save money, but choosing the cheapest quote can backfire. A low price often means shortcuts, subpar materials, or inexperienced builders. This can lead to failed inspections, poor workmanship, and more repairs down the road. Look beyond the dollar signs. Check references, qualifications, and whether the contractor has handled similar recladding jobs before. Quality should always come before cost.
Not Checking Council Or Code Compliance
Building code compliance isn’t optional. It’s required. Some homeowners skip this step to speed things up or cut corners. That’s a huge risk. Failing to get proper consent or meet local building regulations can result in fines, rework, and delays when you try to sell the home. Make sure your recladding project is approved by your local council and that it’s being handled by licensed professionals who understand current requirements.
Underestimating How Long It Will Take
Recladding is not a quick fix. It involves removing the old cladding, checking for hidden damage, getting approvals, sourcing materials, and carrying out the rebuild. Weather delays, inspection timelines, and unexpected repairs can stretch the project. Many homeowners assume it’ll take a few weeks, when it’s often 3 to 6 months or longer. Plan realistically, especially if you need to move out during the process.
Skipping The Building Report Before Buying A Plaster Home
If you’re thinking about buying a plaster house, never skip the building report. What looks fine on the outside might be hiding major issues underneath. A qualified inspector can check moisture levels, wall cavities, and signs of decay. This report can help you avoid a money pit, or give you solid negotiating power before making an offer. It’s a small upfront cost that could save you tens of thousands later.
Avoiding these common mistakes isn’t just about saving money. It’s about protecting your home, making informed decisions, and ensuring the job is done right the first time. Always ask questions, do your research, and work with professionals who value transparency and quality.
FAQs: About Cost To Reclad A Plaster House
Conclusion
Recladding a plaster house can come with a significant price tag, but it’s one of the smartest long-term decisions you can make as a homeowner, especially if your property shows signs of moisture damage or has an outdated exterior that doesn’t meet today’s building standards. While it may be tempting to cut corners or choose the cheapest option, doing so often leads to more problems down the road, including hidden damage, non-compliance, and reduced property value. It’s always better to invest in quality work and trusted professionals who understand the complexities of recladding. Before making any decisions, get a full property inspection to assess the current condition of your home. If recladding is recommended, request quotes from experienced builders, compare your options, and move forward with a clear plan. This approach not only protects your home but also brings peace of mind knowing that your investment is safe, secure, and future-ready.
Find A Professional Cladding Company Near You!
- Cladding Hamilton
- Cladding Napier
- Cladding Hastings
- Cladding Hawkes Bay
- Cladding Specialists Wellington
About the Author:
Mike Veail is a recognized digital marketing expert with over 6 years of experience in helping tradespeople and small businesses thrive online. A former quantity surveyor, Mike combines deep industry knowledge with hands-on expertise in SEO and Google Ads. His marketing strategies are tailored to the specific needs of the trades sector, helping businesses increase visibility and generate more leads through proven, ethical methods.
Mike has successfully partnered with numerous companies, establishing a track record of delivering measurable results. His work has been featured across various platforms that showcase his expertise in lead generation and online marketing for the trades sector.
Learn more about Mike's experience and services at https://theleadguy.online or follow him on social media: