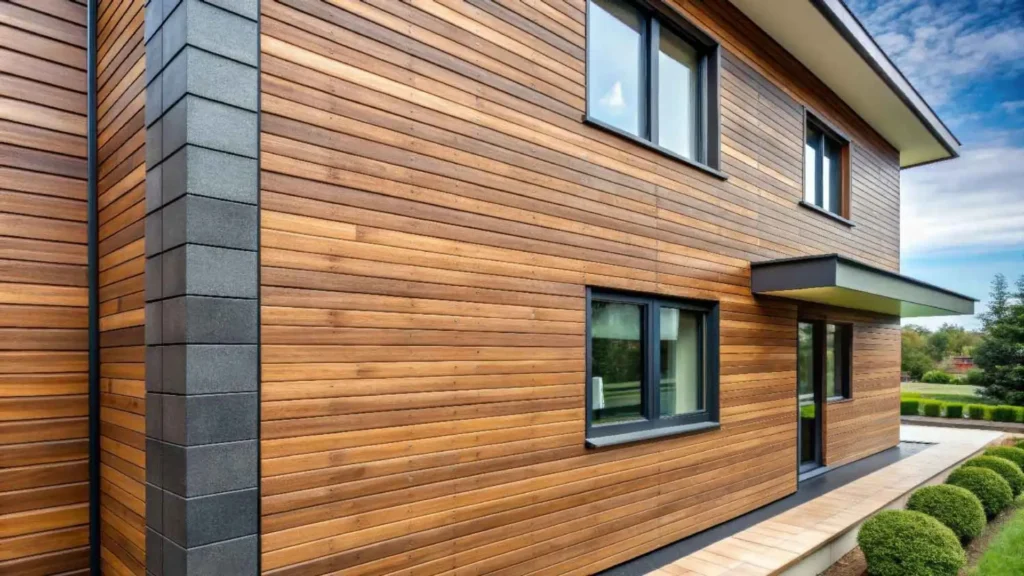
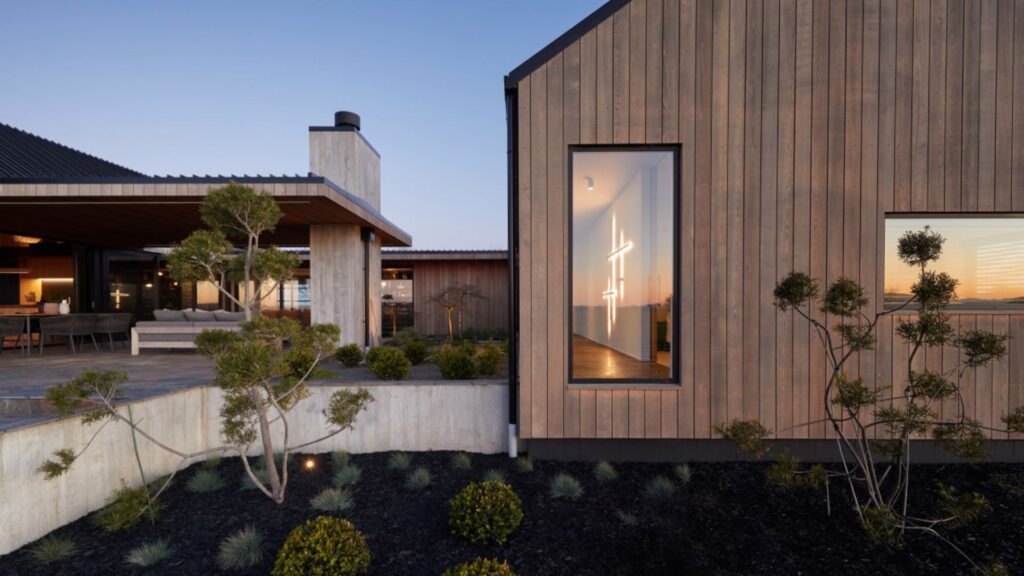
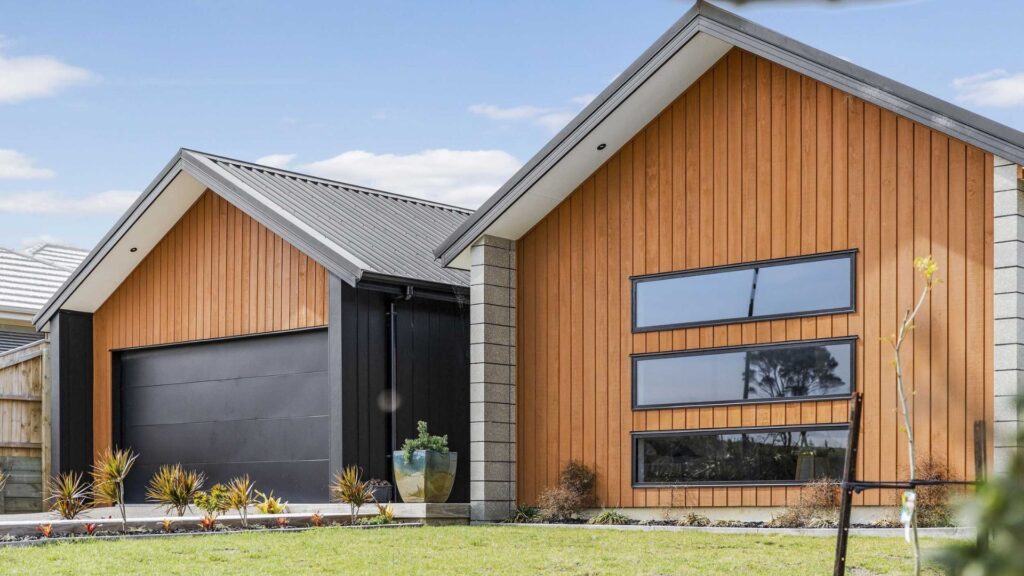
Welcome to your go-to guide for cedar cladding maintenance in New Zealand, where the unique mix of sun, rain, and coastal air can make or break the look and lifespan of your home’s exterior. Cedar cladding is loved for its natural warmth, rich texture, and timeless appeal, but keeping it in top shape here means understanding how local weather impacts the wood and what steps you can take to protect it. In this article, you’ll learn practical tips to prevent fading, control mould, and guard against damage, so your cedar not only lasts for decades but continues to enhance your home’s style and value. For professional help, contact experienced roofing contractors in your area.
Cedar cladding maintenance in NZ involves regular cleaning, re-oiling or staining, and protecting the wood from harsh weather. To keep cedar looking its best, wash it gently once or twice a year, apply a UV-protective finish every two to three years, and inspect for signs of mould, cracks, or fading. Consistent care helps cedar last longer and maintain its natural beauty in New Zealand’s climate.
- Why Cedar Cladding Needs Maintenance In NZ
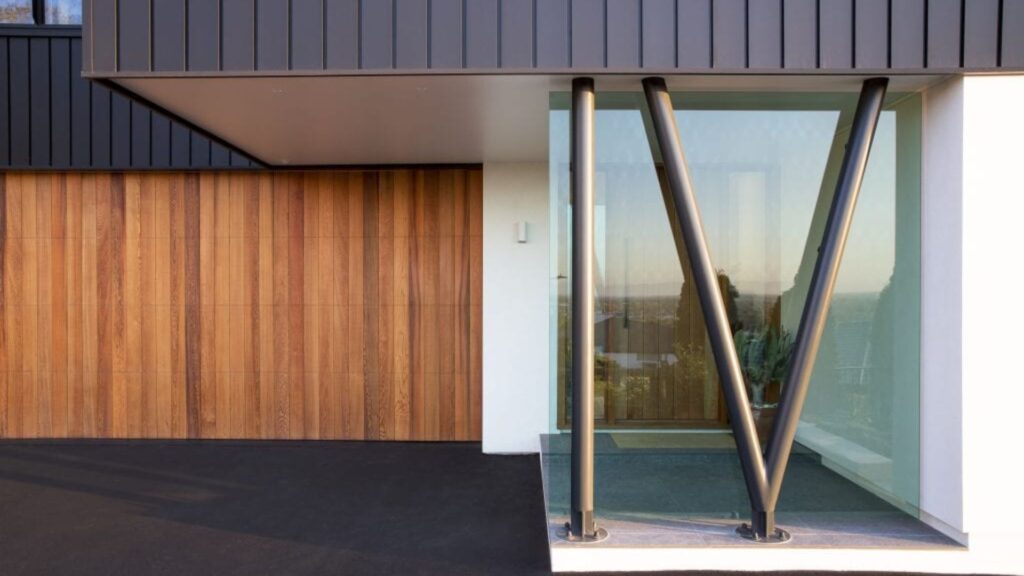
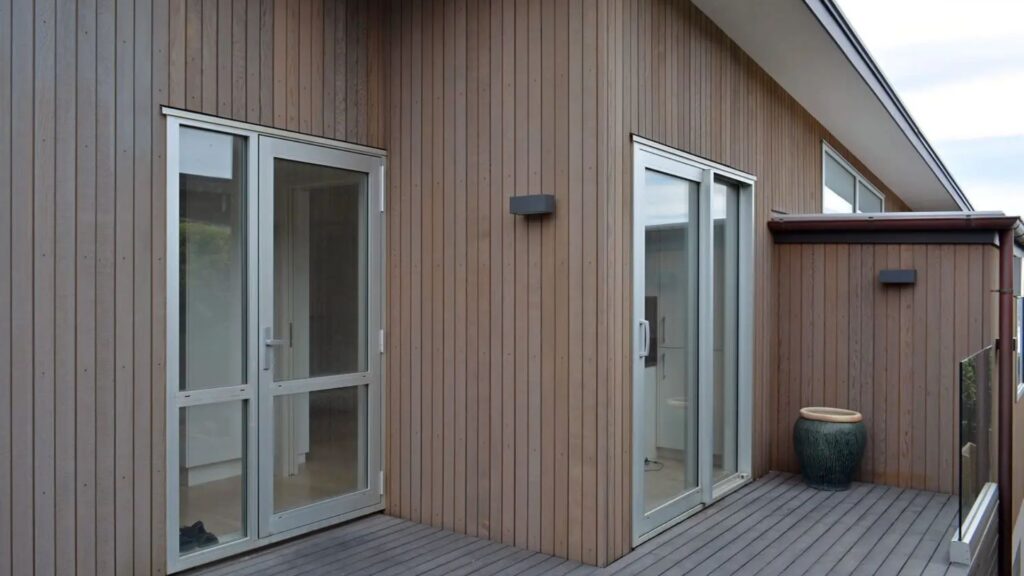
- Understanding Cedar Cladding In The NZ Context
- Signs Your Cedar Cladding Needs Attention
- Routine Maintenance Schedule
- Cleaning Cedar Cladding Safely
- Staining, Oiling, And Sealing
- Repairing And Replacing Damaged Cedar
- Preventing Common Cedar Issues
- Eco-Friendly And Sustainable Maintenance Practices
- Cost Considerations
- Professional Cedar Cladding Maintenance In NZ
- FAQs: About Cedar Cladding Maintenance NZ
- Conclusion
- Find A Professional Cladding Company Near You!
Why Cedar Cladding Needs Maintenance In NZ
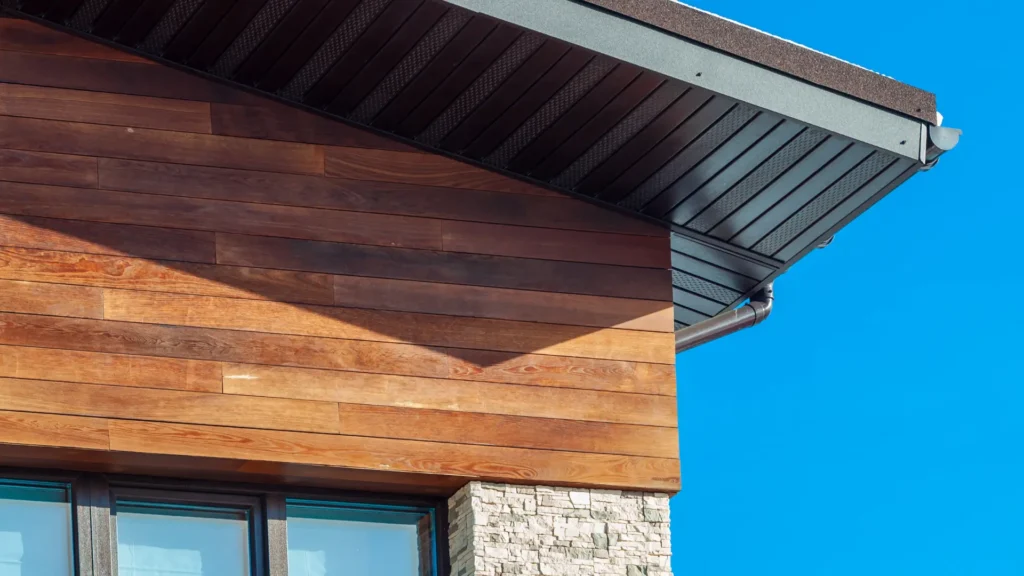
New Zealand’s climate is tough on timber, so cedar cladding needs steady care to stay sound and good-looking. You face strong UV, frequent rain, salt-laden winds near the coast, and wide regional differences. Each factor stresses the wood in a different way, which is why a simple, regular maintenance plan pays off.
The Effect Of NZ’s Coastal And Varied Climates On Cedar
- UV intensity breaks down the wood’s surface lignin. Colour fades and the grain opens up, making the timber more absorbent.
- Wind-driven rain pushes moisture into joints and end grain. Repeated wet-dry cycles cause swelling and shrinkage.
- Coastal salt spray draws and holds moisture on the surface. This speeds up weathering and encourages mould.
- Cooler alpine zones bring frost and wider temperature swings. These amplify movement and surface checking.
- Humid, shaded sites stay damp longer after rain. That raises the risk of mould and soft surface fibres.
- Microclimates matter. An exposed north or west wall ages faster than a sheltered south wall. Look at each elevation on its own.
Common Issues To Watch
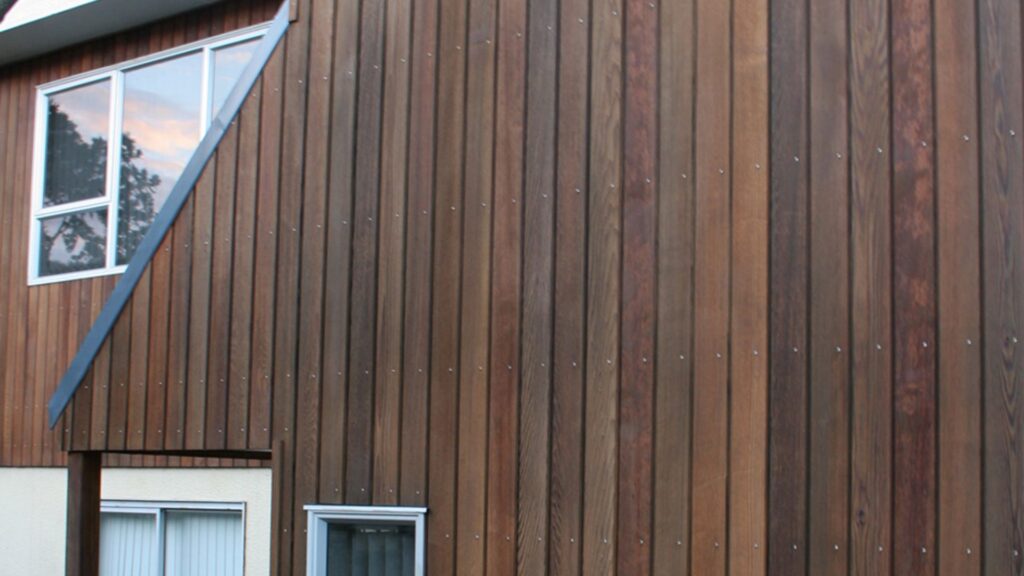
- Fading and greying: a sign UV is degrading the surface. If you like the silver look, you still need cleaning to slow fibre breakdown.
- Mould and mildew: dark or green patches, often under eaves or near gardens. They hold moisture and stain finishes.
- Cracking and checking: tiny surface cracks from repeated movement. They widen if left unsealed.
- Warping or cupping: boards move when one face stays wetter or sunnier than the other. Poor ventilation or blocked drainage makes it worse.
- Extractive staining: brown streaks from cedar’s natural oils when heavy rain hits fresh or unsealed timber.
- Fastener issues: corroded nails or screws leave rust marks and loosen boards, especially in marine zones.
Why Preventive Care Saves You Money
- Regular washing (once or twice a year) removes salt, dirt, and spores. Clean timber holds finishes better, so you recoat less often.
- Re-oiling or restaining every two to three years with UV protection keeps the surface flexible and water-repellent. That reduces cracking and board movement.
- Quick fixes beat big repairs. Spot-sand checks, seal end grain, and touch up exposed edges before water gets in.
- Good detailing extends life. Keep 150–200 mm ground clearance, trim plants away from walls, clear gutters, and check flashings and weep paths.
- Smart placement of sprinklers and outdoor features prevents constant wetting, which shortens coating life and stains timber.
- A simple inspection routine helps you act early. Walk around after heavy rain and at the end of summer. Do you see dark patches, soft spots, or lifted sealant?
What You Can Do Next
- Rinse and soft-wash cedar cladding maintenance NZ style: low pressure, soft brush, mild cleaner.
- Choose finishes made for exterior cedar with UV inhibitors and water repellency. Follow the maker’s recoat window.
- Seal cut ends and penetrations on the day they are made. End grain is the fastest path for water.
- Ventilate the cavity and keep drainage paths clear so walls dry fast after rain.
- Keep a simple log: clean dates, products used, and areas that age faster. This makes future work faster and cheaper.
If you can see uneven colour, mould in shaded corners, or dry, thirsty boards, a clean and fresh coat now will protect the timber and avoid costly board replacement later.
Understanding Cedar Cladding In The NZ Context
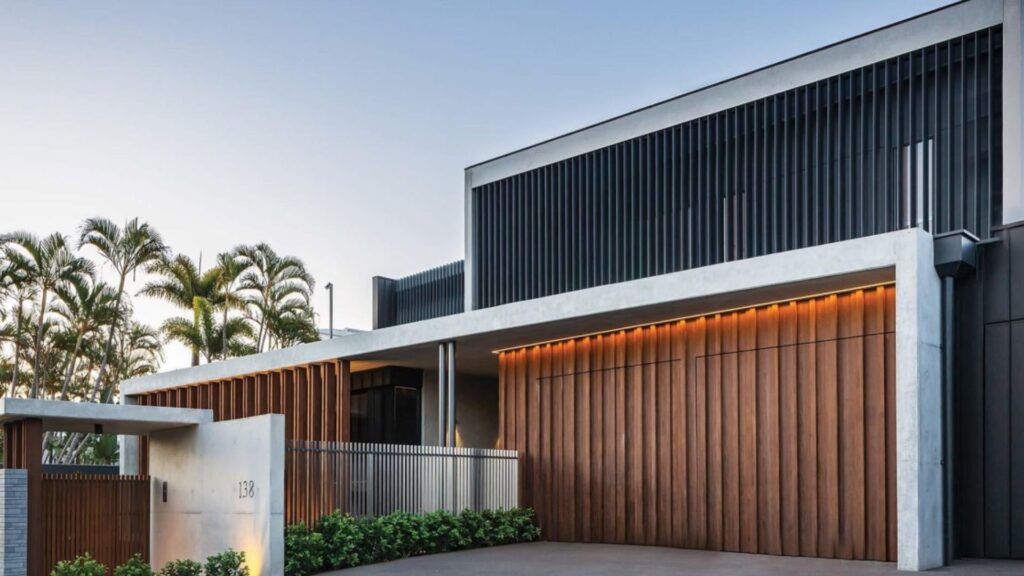
Cedar cladding is one of the most popular exterior choices for New Zealand homes, but its performance and appearance can vary depending on the type of cedar used, how it’s treated, and the conditions it faces. To make the right maintenance decisions, it’s important to understand how local and imported cedar compare, what role building standards play, and how NZ’s unique climate impacts the wood over time.
Local Cedar Species Vs Imported Cedar
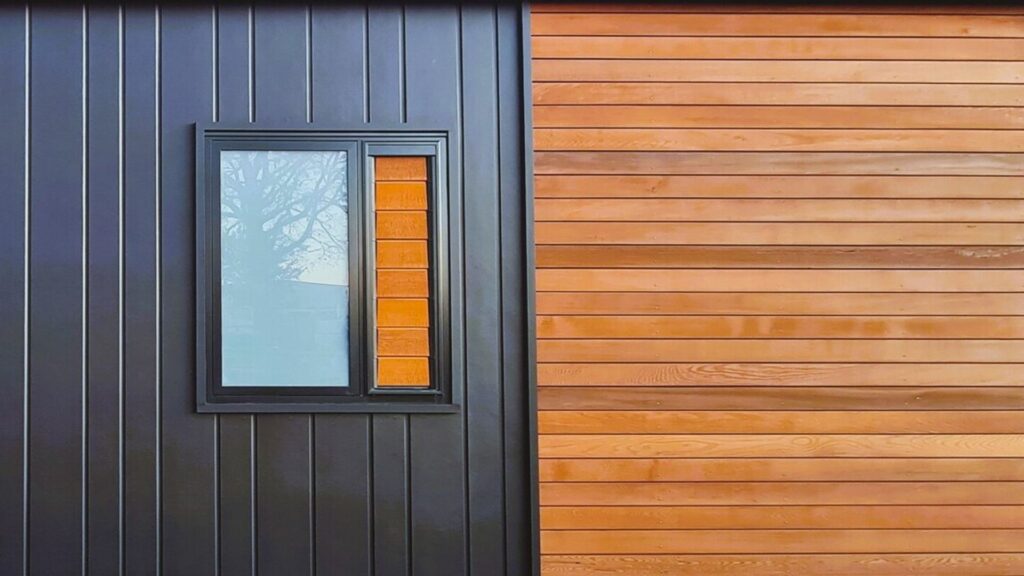
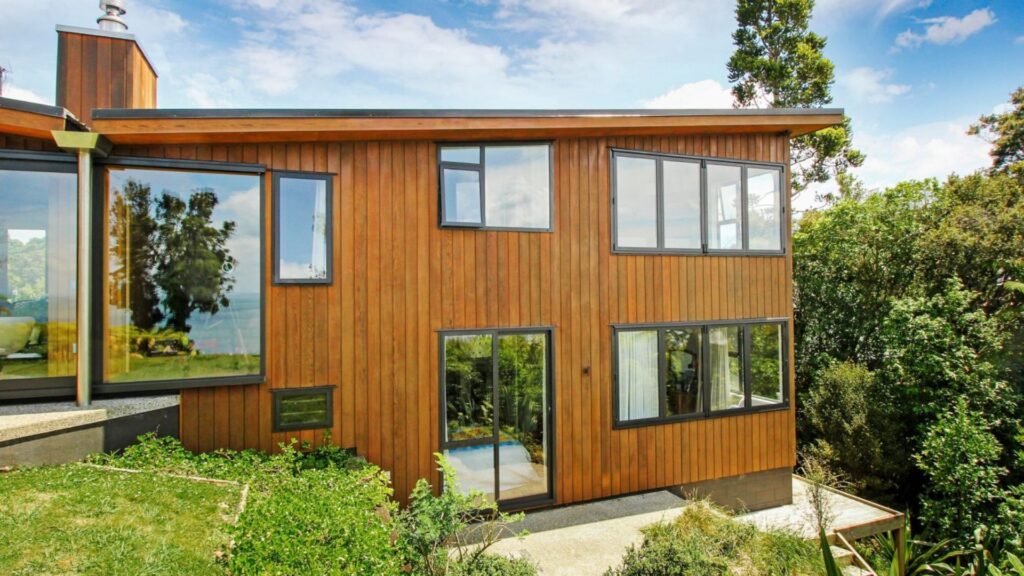
In New Zealand, cedar cladding is often made from either Western Red Cedar, imported from Canada and North America, or locally grown alternatives such as Macrocarpa and Lawson’s Cypress. Western Red Cedar is prized for its light weight, natural resistance to decay, and rich reddish tones. It tends to retain its colour longer and weathers more evenly, making it a premium choice for homeowners who want both beauty and longevity. On the other hand, locally grown options like Macrocarpa can be more affordable and sustainable due to lower transport costs, but they may require more frequent maintenance. They often weather faster and may not have the same level of natural oils that give imported cedar its durability. For many NZ homeowners, the choice comes down to budget, desired appearance, and how much effort they are willing to invest in ongoing care.
How NZ Building Standards And Treatments Influence Cedar Performance
Cedar cladding in New Zealand must comply with the Building Code, which sets requirements for durability, moisture resistance, and safety. This means that the way cedar is milled, installed, and treated can greatly influence its long-term performance. Many boards are factory-treated with protective coatings or stains before installation to guard against early weathering. In coastal or high-rainfall areas, additional treatments such as oiling or sealing are strongly recommended to meet the Code’s durability expectations. Proper installation is just as important, cedar boards need correct spacing, ventilation, and flashings to prevent trapped moisture and allow the timber to breathe. Following these standards ensures that cedar not only looks good but also performs well in NZ’s demanding climate.
Role Of UV, Moisture, And Salt Air
New Zealand’s environment is tough on exterior materials, and cedar cladding is no exception. Strong UV rays, especially in summer, can quickly break down cedar’s natural pigments, causing fading and a weathered silver-grey look if not protected. Moisture from heavy rain and high humidity creates the perfect conditions for mould, mildew, and rot, especially on south-facing walls that get less sun. Coastal homes face another challenge, salt air, which can speed up surface erosion and leave deposits that damage protective coatings over time. Without regular cleaning and re-application of oils or stains, these elements can shorten cedar’s lifespan and affect its appearance. The key to preserving cedar cladding in New Zealand is understanding these environmental factors and taking proactive steps, such as scheduled washing and UV-protective treatments, to keep the wood in top condition.
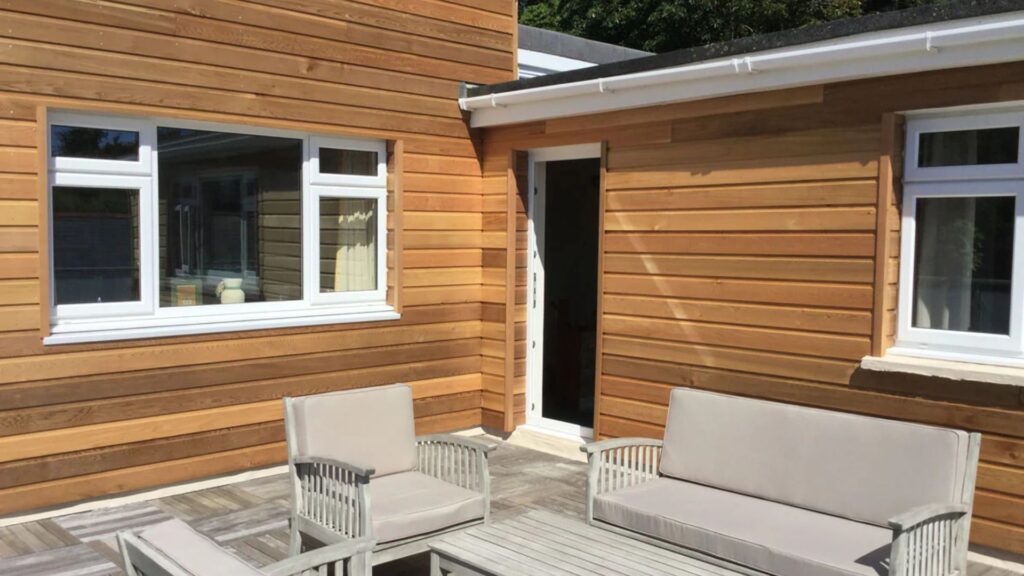
Signs Your Cedar Cladding Needs Attention
Cedar cladding is known for its natural warmth and durability, but even the toughest timber shows wear and tear over time, especially in New Zealand’s unique climate. Spotting early warning signs can save you from costly repairs later and keep your home looking sharp. Here are the most common signs that your cedar cladding needs attention.
Visible Fading Or Greying
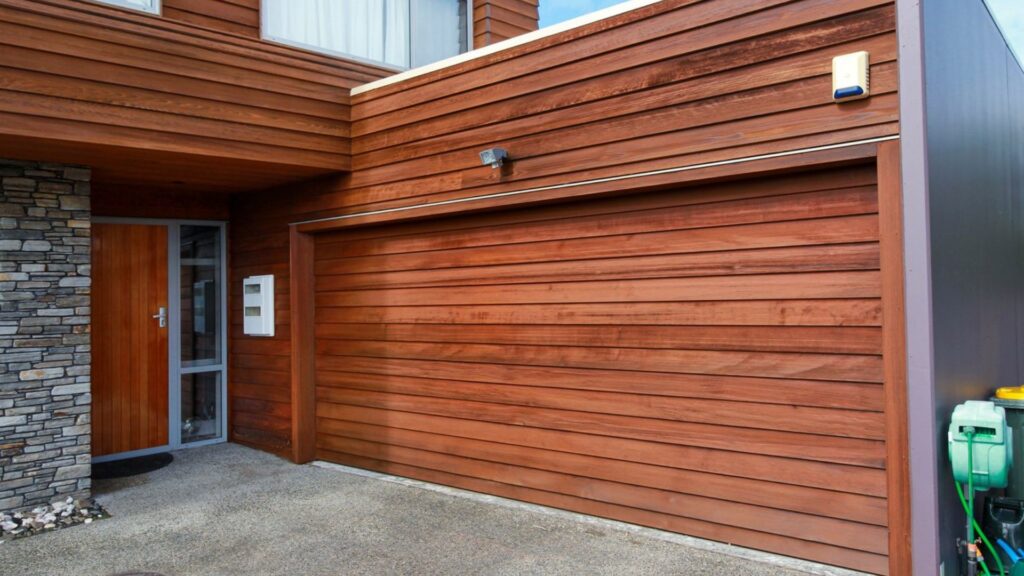
If your cedar cladding is starting to lose its rich colour and turn silver-grey, it’s a clear sign that UV rays and weather exposure are taking a toll. While some homeowners like the weathered look, untreated fading often means the wood has lost its protective finish. Without maintenance, this can make the timber more vulnerable to moisture and cracking. Re-staining or oiling can restore the colour and add a protective layer against the harsh New Zealand sun.
Rough Or Cracked Surfaces
Run your hand along the boards, if the surface feels rough, splintered, or shows visible cracks, your cedar is drying out. This usually happens when the protective oils or stains wear off, leaving the wood exposed. Cracks not only affect the look but can also let water seep in, which may lead to bigger problems like rot or mould. Sanding and refinishing can smooth out the surface and protect the boards from further damage.
Moss, Mould, Or Mildew Growth
Cedar cladding that looks green, black, or patchy is often struggling with moss, mould, or mildew. New Zealand’s damp and coastal conditions make this a common issue. Not only does it make your home look unkempt, but it can also eat into the wood fibers if left untreated. Regular cleaning with a mild detergent or specialised cladding cleaner can prevent growth, while applying a water-repellent finish reduces the risk of it coming back.
Gaps Or Warping On Boards
When you notice boards pulling apart, bending, or warping, it’s usually due to moisture imbalance or poor ventilation. In NZ’s wet and humid conditions, cedar can swell, and during hot, dry months, it can shrink, leading to gaps and misaligned boards. Warping not only spoils the appearance but can compromise weatherproofing. Repairing or replacing damaged boards quickly will protect the structure of your home and prevent water ingress.
Routine Maintenance Schedule
Cedar cladding is one of the most attractive choices for New Zealand homes, but it requires consistent care to stay in good condition. Establishing a routine maintenance schedule not only protects the natural beauty of cedar but also extends its lifespan. By keeping on top of cleaning, inspections, and seasonal upkeep, you can prevent costly repairs and ensure your home always looks its best.
Cleaning Frequency And Methods
Cedar cladding should be cleaned at least once or twice a year, depending on your home’s location. Homes near the coast or in damp areas may need more frequent cleaning due to salt spray, mould, and algae growth. The best method is a gentle wash using mild soapy water, a soft brush, or a low-pressure washer. Avoid harsh chemicals and high-pressure systems as these can strip natural oils, roughen the surface, and weaken the timber. Regular cleaning removes dirt and grime that can trap moisture and accelerate deterioration.
When To Inspect For Damage
Inspections should be carried out every few months, with a thorough check at least twice a year. Look for visible signs such as fading, cracks, warping, or gaps between boards. Pay special attention to areas exposed to heavy sunlight, rain, or salt air, as they are more prone to early wear. Checking for loose nails, damaged sealant, and early mould growth is also important. Early detection allows for quick fixes, saving you money in the long run and preventing structural issues from developing.
Seasonal Tips, Summer Vs Winter Care In NZ
New Zealand’s climate demands seasonal maintenance. During summer, the strong UV rays can quickly fade cedar, so applying a protective oil or stain at this time helps maintain its colour and durability. In winter, moisture and cold temperatures increase the risk of mould, mildew, and swelling in the timber. Ensure gutters and downpipes are clear to stop water from pooling near cladding. Trim back plants and shrubs to allow airflow and reduce dampness. Performing small seasonal tasks keeps cedar cladding healthy year-round and reduces the need for major restoration later.
Cleaning Cedar Cladding Safely
Cedar cladding lasts longer in New Zealand when you clean it gently, keep chemicals mild, and protect the wood from force and heat. Aim for once or twice a year, with extra attention for coastal homes exposed to salt spray.
Tools and Products To Use
- Mild, pH-neutral detergent diluted in warm water
- Oxygen bleach (sodium percarbonate) for mould and algae, mixed per label
- Soft-bristle brush or microfiber cloth
- Garden hose with spray nozzle or a low-pressure washer
- Low-pressure setting around 500–800 PSI, 40° fan tip, test patch first
- Buckets, drop cloths for plants, masking tape for fixtures
- Safety gear: gloves, eye protection, stable ladder with standoff
Avoiding Damage From Harsh Chemicals Or High-Pressure Water
- Skip chlorine bleach; it can strip colour, weaken fibres, and corrode metal fixings
- Don’t exceed light pressure; keep the nozzle 30–45 cm from the surface
- Never use wire brushes or abrasive pads that scratch the grain
- Keep water out of joints, vents, and window laps
- Avoid strong midday sun; rapid drying can leave streaks
- Rinse fully so no cleaner dries on the wood
Step-By-Step Cleaning Process
1. Prep The Area
- Check for loose boards or popped nails and fix first
- Cover plants and hardware; switch off outdoor power where needed
- Dry brush cobwebs and dust so the wash works better
2. Pre-Wet The Cladding
- Lightly mist the surface with a hose to stop the wood from sucking in detergent
3. Apply Cleaner
- Mix a mild detergent in a bucket, or use oxygen bleach for visible mould
- Work in small panels from top to bottom to reduce streaking
- Keep the surface wet; don’t let cleaner dry on the timber
4. Agitate Gently
- Use a soft brush and move with the grain
- Focus on shaded south walls where mould often settles in NZ homes
- Ask yourself: do you see suds carrying off dirt, or is the solution drying too fast? Adjust water as needed
5. Rinse Thoroughly
- Use a hose or low-pressure washer with a wide fan tip
- Rinse top to bottom until runoff is clear
- Keep the nozzle moving and angled so water doesn’t drive into laps or end grain
6. Spot-Treat Stains
- Mildew left after rinsing: re-apply oxygen bleach and wait the full dwell time
- Tannin or rust streaks: use a cedar-safe wood brightener (oxalic-acid based), follow the label, then rinse well
7. Dry Time
- Let the cladding dry 24–48 hours in settled weather
- Target a moisture content under ~15% before oiling or staining
- No rush here; dry wood holds finish better and lasts longer
8. Post-Clean Checks
- Clear gutters and downpipes so runoff doesn’t splash dirt back
- Trim plants so foliage doesn’t touch the timber
- Note areas that weather faster (coastal façades, windward walls) for your next maintenance cycle
Practical NZ Examples
- Coastal Bay Of Plenty Home: light hose-down each quarter to remove salt, full clean and UV oil every two years
- Shaded Wellington Wall: extra mould risk; plan a spring clean plus spot treatments after long wet spells
Key Takeaways You Can Act On Today
- Choose gentle tools and a mild cleaner
- Keep pressure low and brushes soft
- Work top to bottom in small sections
- Rinse well and allow proper drying before any finish
- Schedule cleaning around your local weather to get the most from each wash
Staining, Oiling, And Sealing
Cedar cladding is prized for its natural beauty, but to protect it from New Zealand’s sun, rain, and salty coastal air, regular treatment is essential. Staining, oiling, and sealing are the three main ways to preserve cedar’s appearance and extend its lifespan. While each option has its own advantages, the right choice depends on the look you want, the level of protection needed, and how much maintenance you’re willing to do.
Differences Between Oil, Stain, And Sealant
- Cedar Oil: Oils penetrate deep into the timber, nourishing the wood from the inside out. They enhance the natural grain and give cedar a warm, rich tone. Oils are ideal if you want to maintain a natural look while adding some weather resistance.
- Cedar Stain: Stains add color while also protecting the surface. They sit on top of the wood and provide stronger UV protection than oils. Semi-transparent stains allow some grain to show through, while solid stains completely cover the wood.
- Cedar Sealant: Sealants act as a protective shield against moisture and UV rays. They’re clear or lightly tinted and are best for homeowners who want a natural look but still need strong water repellency.
How Often To Re-Apply In NZ’s Conditions
New Zealand’s climate is tough on cedar. Strong UV exposure, high rainfall in some regions, and salty coastal winds all speed up weathering.
- Oils typically need to be reapplied every 12–18 months.
- Stains usually last 2–3 years before reapplication is required.
- Sealants can last around 2 years, depending on the product and exposure.
Homes located near the coast or in areas with strong sun may need treatments more frequently. Regular inspection is key, if cedar looks dry, faded, or uneven in color, it’s time for another coat.
Choosing Finishes That Suit NZ Weather
When selecting oils, stains, or sealants, choose products specifically designed for exterior cedar in harsh climates. Look for:
- UV Protection: Prevents fading and greying caused by strong sunlight.
- Water Repellency: Reduces the risk of warping, swelling, and mould growth.
- Breathability: Allows the wood to release moisture naturally without trapping it inside.
- Non-Toxic Formulas: Eco-friendly options are better for homes near waterways and safer for families and pets.
Popular choices in NZ include tinted oils that combine nourishment with UV protection, or high-quality stains that balance durability and appearance.
DIY Application Tips Vs Hiring A Professional
- DIY Application: Homeowners who enjoy hands-on work can apply oil or stain themselves. Clean the cladding thoroughly, let it dry, then use a brush, roller, or sprayer for even coverage. Always follow the manufacturer’s instructions and apply in dry, mild weather for best results.
- Hiring A Professional: If your cedar is heavily weathered, if you want an even finish across large areas, or if you simply don’t have the time, hiring a professional is a smart option. Professionals have the right tools, experience, and product knowledge to ensure cedar cladding is treated properly.
While DIY saves money, professionals can extend the life of your cedar by applying high-quality finishes with precision and care.
Repairing And Replacing Damaged Cedar
Cedar cladding is durable, but even the toughest timber can show signs of wear over time. In New Zealand’s climate, exposure to strong sun, heavy rain, and coastal salt air can cause cracks, fading, or even structural issues if left unchecked. Knowing when to repair and when to replace damaged cedar is essential to keeping your home both beautiful and weatherproof.
Small Crack Repairs And Sanding
Small cracks in cedar boards are common, especially as the wood expands and contracts with changes in temperature and moisture. Most of these cracks can be fixed without replacing the entire board. Light sanding is usually the first step to smooth out rough surfaces and remove weathered fibres. After sanding, applying a quality oil or stain helps seal the wood, protect against further splitting, and restore a uniform look. This simple repair extends the life of the board and prevents minor issues from becoming bigger problems.
When To Replace Boards Completely
Not every piece of cedar can be saved. If a board is warped, rotting, or has deep cracks that compromise its strength, replacement is the best option. Boards that have mould damage beyond the surface also need to be removed to protect the rest of the cladding. Replacing these boards ensures your home remains structurally sound and prevents costly repairs later. In New Zealand’s damp or coastal regions, it’s wise to check for hidden moisture damage, as this can spread quickly if ignored.
Matching New Boards To Existing Colour And Texture
One of the biggest challenges with cedar cladding repairs is blending new boards with older ones. Fresh cedar has a lighter tone, while existing boards may have darkened or developed a silver-grey patina. To create a consistent finish, many homeowners choose to sand and re-stain surrounding boards after replacing a section. Using the same oil or stain across the entire surface helps achieve a uniform appearance and protects both new and old boards equally. Over time, the natural aging process will also bring the tones closer together, but proper finishing speeds up the match and keeps your cladding looking seamless.
Preventing Common Cedar Issues
Cedar cladding is durable, but New Zealand’s weather can quickly wear it down if you don’t take steps to prevent common problems. Simple, consistent care goes a long way in keeping cedar looking fresh and strong for years.
Proper Ventilation To Prevent Moisture Build-Up
Moisture is one of cedar’s biggest threats. When air cannot circulate properly, dampness settles into the timber and creates the perfect environment for mould, mildew, and rot. To avoid this, ensure there is enough ventilation behind the cladding so the wood can breathe. Installing cavity battens or leaving small gaps between boards allows air to flow freely and helps the cladding dry faster after rain. Inside your home, good airflow also plays a role, using extractor fans in kitchens and bathrooms reduces the amount of moisture that can seep through to exterior walls.
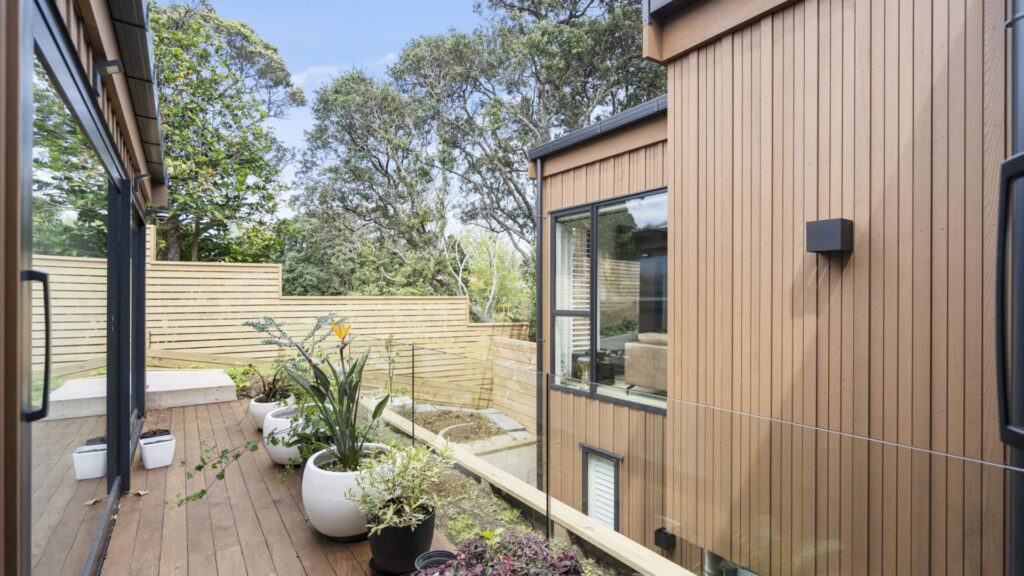
Landscaping Tips To Keep Plants And Soil Away From Cladding
Many New Zealand homes have beautiful gardens that sit close to the house, but plants and soil that touch cedar cladding can trap moisture and cause long-term damage. Keep shrubs, trees, and climbing plants trimmed back so they don’t rub against the wood. This reduces both scratching and shading, which can slow drying after rain. Avoid piling soil, mulch, or grass right up against the base of your cladding. When the bottom boards are constantly damp, they are more likely to rot. Leaving at least a small clearance between the ground and the cladding is one of the simplest ways to protect the timber.
Regular Gutter And Downpipe Maintenance
Overflowing gutters and blocked downpipes are a common cause of cedar damage. When water spills over instead of draining properly, it runs down your cladding and leaves behind stains, damp patches, and mould growth. To prevent this, check and clean your gutters at least twice a year, more often if your home is surrounded by trees. Make sure downpipes are securely attached and channel water away from your walls and foundation. Adding gutter guards can also reduce the build-up of leaves and debris, saving you time in the long run.
Eco-Friendly And Sustainable Maintenance Practices
Cedar cladding is one of the most attractive choices for New Zealand homes, but taking care of it responsibly means going beyond just looks and durability. More homeowners today want to protect both their property and the environment, which makes eco-friendly maintenance practices essential. By choosing the right cleaning methods, finishes, and materials, you not only extend the life of your cedar cladding but also reduce your environmental impact.
Using Non-Toxic Cleaners And Oils
When cleaning cedar cladding, harsh chemicals can damage the wood surface, harm surrounding plants, and pollute waterways. Instead, choose biodegradable cleaners made from natural ingredients like citrus or plant-based solutions. These products are tough on dirt, mould, and mildew without leaving behind harmful residues. For finishing, opt for natural oils such as linseed or tung oil, which penetrate the wood to protect it while being safe for both people and pets. In New Zealand’s sunny climate, pairing these oils with UV-protective formulas ensures the cladding stays nourished and shielded without introducing toxins into the environment.
Responsible Disposal Of Old Finishes And Materials
During maintenance, it’s common to strip away old stains, oils, or damaged boards. Instead of discarding them improperly, take steps to dispose of these materials responsibly. Collect old finishes in sealed containers and bring them to local hazardous waste facilities, where they can be processed safely. For timber offcuts or removed cedar boards, consider repurposing them for garden edging, small projects, or firewood (if untreated). Recycling and reusing not only reduces landfill waste but also makes maintenance more sustainable in the long run.
Choosing Sustainably Sourced Cedar Replacements
Over time, some cedar boards may need replacing due to weathering or damage. When buying new timber, look for cedar sourced from certified sustainable forests, such as those approved by the Forest Stewardship Council (FSC). This ensures that the wood comes from responsibly managed forests, where biodiversity and long-term supply are protected. By choosing sustainable cedar replacements, homeowners support eco-friendly forestry practices while keeping the natural beauty of their homes intact.
Why Eco-Friendly Maintenance Matters For NZ Homes
New Zealand’s unique environment, coastal air, high UV exposure, and frequent rainfall, makes cedar cladding care especially important. By adopting eco-friendly practices, you not only maintain the health of your home but also protect the land and waterways around it. With every choice, from cleaners to timber sourcing, you’re contributing to a home that’s both beautiful and sustainable for future generations.
Cost Considerations
When planning cedar cladding maintenance in New Zealand, it’s important to understand the typical costs involved. Proper care not only protects the natural look of cedar but also saves you from expensive replacements down the track.
Average Costs For Cleaning, Staining, And Repairs In NZ
On average, professional cedar cladding cleaning in New Zealand can range from $300 to $800, depending on the size of your home and whether it requires low-pressure washing or a deeper treatment to remove mould and salt deposits. If you choose to stain or oil your cedar cladding, expect to pay between $15 and $30 per square metre for professional application. The price varies based on the quality of the finish, the number of coats required, and how easily accessible your cladding is.
Repairs, such as replacing cracked or warped boards, can cost anywhere from $50 to $150 per board, not including labour. Labour charges for cladding specialists often range from $40 to $70 per hour, with higher rates in larger cities. If significant sections of cedar need to be replaced, costs can climb quickly, often reaching several thousand dollars for full-scale restoration projects.
For homeowners looking to cut down expenses, DIY cleaning and oiling are possible, but it’s essential to use the right products to avoid damage. While this can reduce immediate costs, poor technique or the wrong finish may lead to higher expenses later.
Cost Savings From Regular Upkeep Compared To Full Replacement
Regular maintenance is far more cost-effective than a complete cladding replacement. By cleaning and re-oiling every couple of years, you maintain cedar’s natural oils and prevent deep weathering or structural issues. This routine care often extends the lifespan of cedar cladding from 20–30 years to 40–60 years or more.
In contrast, a full replacement of cedar cladding on a typical New Zealand home can cost anywhere from $40,000 to $70,000 or higher, depending on the type of cedar, the complexity of installation, and labour costs. When you compare these figures, spending a few hundred to a few thousand dollars every few years on cleaning and staining is a small investment that pays off significantly.
Homeowners who stick to a consistent maintenance schedule also enjoy better property value. Well-maintained cedar cladding enhances curb appeal and reassures potential buyers that the home has been properly cared for. In a competitive property market, this attention to detail can translate into a higher resale price.
Professional Cedar Cladding Maintenance In NZ
Cedar cladding is one of the most attractive features you can add to a home in New Zealand, but looking after it properly takes effort and knowledge. While some basic cleaning and oiling can be done by homeowners, there are times when hiring a professional is the smarter and more cost-effective choice. Below is a closer look at when to call in a pro, what you should expect from their service, and how to find a trustworthy contractor in NZ.
When It’s Best To Hire A Pro
You don’t always need a professional for cedar cladding care, but certain situations make it highly recommended. If your cladding shows advanced weathering, such as deep cracks, uneven fading, or significant mould growth, it’s safer to leave the work to experts who have the right equipment and treatments. Homes in coastal regions, where salt air accelerates damage, also benefit from professional maintenance every few years. Another reason to hire a pro is if you want a long-lasting finish with even coverage, something that’s difficult to achieve without experience. By investing in professional help, you reduce the risk of mistakes that could shorten the life of your cedar.
What To Expect From A Professional Service
A professional cedar cladding maintenance service in NZ usually starts with a full inspection of your home’s exterior. They’ll assess the condition of the timber, look for damage, and recommend the best treatment. Cleaning is done carefully, often with low-pressure washing, to avoid stripping the wood’s surface. After that, professionals will sand areas that need smoothing before applying high-quality oils or stains designed for New Zealand’s climate. Many concrete-contractors-nz/concrete-floor-slabs-kapiti-coast/”>concrete-contractors-nz/concrete-layers-lower-hutt/”>services also provide mould treatments and UV-protective coatings to shield your cladding from future damage. You can expect a smooth, even finish and a detailed aftercare plan so you know when the next maintenance cycle is due.
How To Choose A Reliable Contractor In NZ
Choosing the right contractor is just as important as the work itself. Start by looking for local businesses with strong reputations and proven experience in cedar cladding care. Check online reviews, ask for before-and-after photos, and request references from past clients. Make sure the contractor uses products suited for NZ’s conditions, especially UV-resistant oils and stains. It’s also a good idea to ask about guarantees or warranties on their work, which shows confidence in their service. Finally, compare quotes, but don’t just go with the cheapest option, focus on quality, expertise, and trustworthiness. The right contractor will help your cedar cladding last longer and look its best for years to come.
FAQs: About Cedar Cladding Maintenance NZ
Conclusion
Cedar cladding is one of the most attractive and durable choices for New Zealand homes, but its beauty and lifespan depend heavily on regular care and attention. Consistent maintenance such as cleaning, re-oiling, or staining not only keeps the timber looking fresh but also protects it from the harsh effects of UV rays, salt air, and heavy rainfall that are common across the country. By making cedar upkeep a routine part of home care, you save yourself from costly repairs and extend the life of your cladding for decades. If you have noticed fading, mould, or cracks, now is the perfect time to schedule your next maintenance session and ensure your cedar cladding continues to add warmth, style, and value to your home.
Find A Professional Cladding Company Near You!
- Cladding Hamilton
- Cladding Napier
- Cladding Hastings
- Cladding Hawkes Bay
- Cladding Specialists Wellington
About the Author:
Mike Veail is a recognized digital marketing expert with over 6 years of experience in helping tradespeople and small businesses thrive online. A former quantity surveyor, Mike combines deep industry knowledge with hands-on expertise in SEO and Google Ads. His marketing strategies are tailored to the specific needs of the trades sector, helping businesses increase visibility and generate more leads through proven, ethical methods.
Mike has successfully partnered with numerous companies, establishing a track record of delivering measurable results. His work has been featured across various platforms that showcase his expertise in lead generation and online marketing for the trades sector.
Learn more about Mike's experience and services at https://theleadguy.online or follow him on social media: