Welcome to our comprehensive guide on the average cost to clad a house in New Zealand, designed to help homeowners, renovators, and anyone interested in upgrading their home’s exterior. Cladding plays a vital role in protecting your home from the elements, improving insulation, and boosting curb appeal, but understanding the costs involved can be daunting. In this guide, we’ll walk you through everything you need to know about house cladding in NZ, from the various materials available to the factors that affect pricing, so you can make informed decisions and budget effectively for your project. Whether you’re building new or re-cladding, this post will give you valuable insights into one of the most significant investments in home maintenance and aesthetics. For professional help, contact experienced roofing contractors in your area.
The average cost to clad a house in New Zealand typically ranges from NZD $150 to $400 per square meter, depending on the material used, the size of the house, and labor costs. For a standard 150-square-meter home, this translates to a total cost of NZD $22,500 to $60,000, with timber and vinyl being more affordable options, while brick veneer and stone are on the higher end of the price spectrum.
- What Is House Cladding And Why Does It Matter
- Average Cost To Clad A House In New Zealand
- Popular Cladding Materials In NZ: Pros, Cons, and Costs
- How To Budget For Cladding Your House
- The Process Of Cladding Your Home In New Zealand
- Should You DIY Or Hire A Professional For Cladding
- Additional Considerations For Cladding In New Zealand
- FAQs: About Average Cost To Clad A House In NZ
- Conclusion
- Find A Professional Cladding Company Near You!
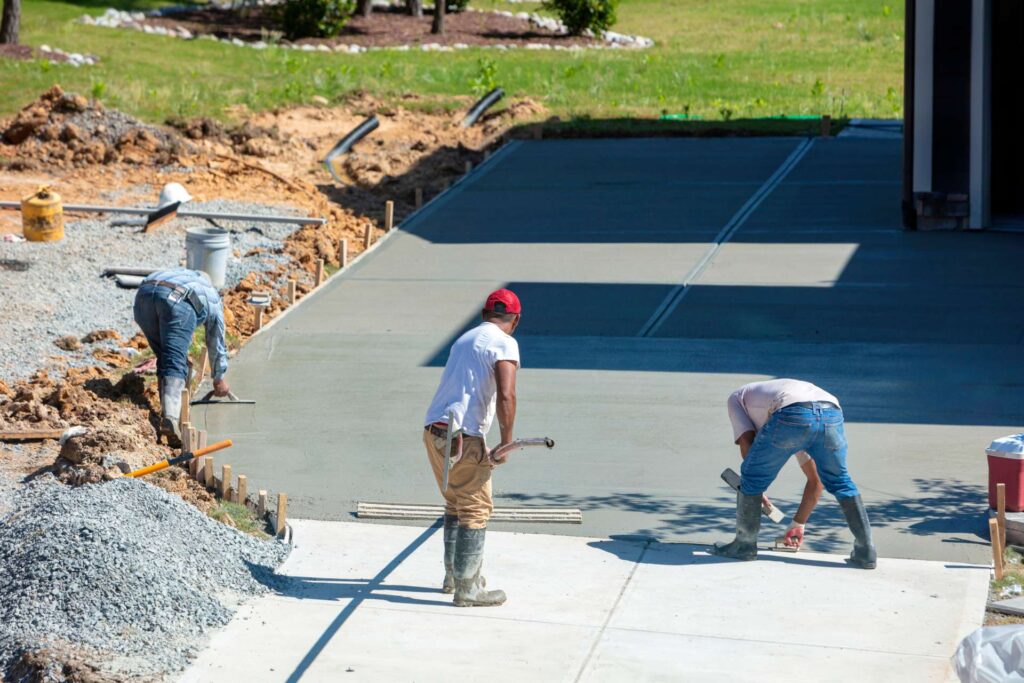
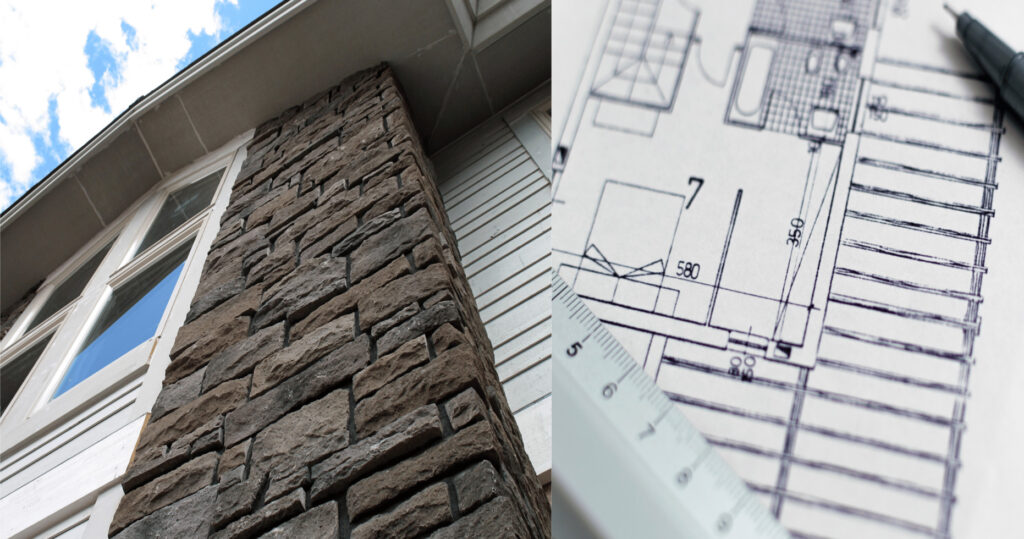
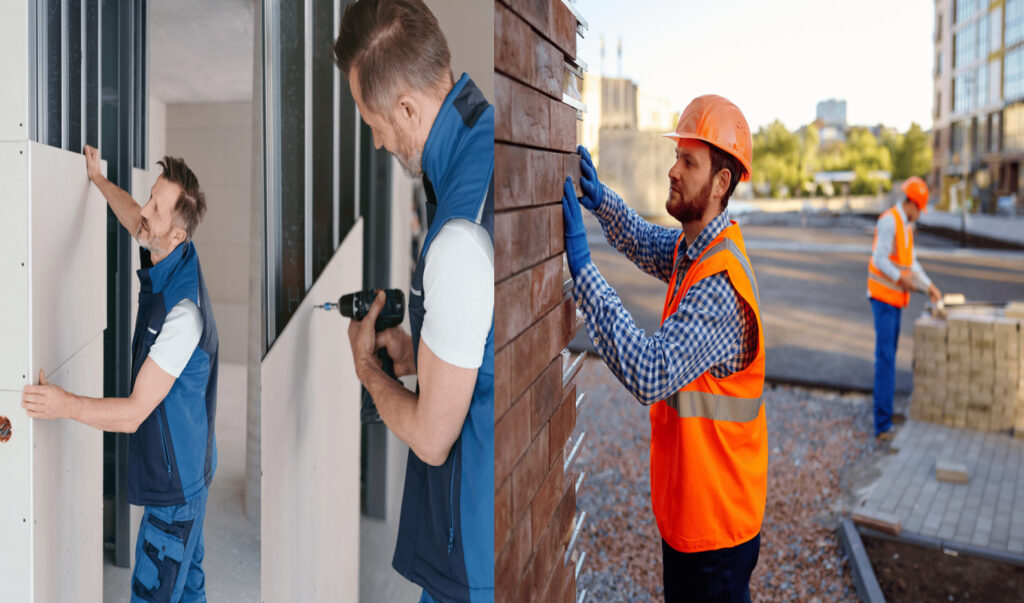
What Is House Cladding And Why Does It Matter
House cladding is an essential component in the construction and renovation of homes. It acts as an external layer that serves multiple functions, making it a critical aspect of any building. Understanding house cladding and its importance can help homeowners make informed decisions when it comes to the protection, insulation, and overall appearance of their homes.
Definition of Cladding
In simple terms, cladding refers to the external layer or skin that is applied to the outside of a house. This layer provides a range of practical and aesthetic benefits. Primarily, cladding serves three key purposes.
- Protection: Cladding acts as a shield, protecting the structural integrity of the building from the elements. It defends the home against harsh weather conditions such as rain, wind, and extreme temperatures, while also helping to prevent moisture infiltration, which can lead to issues like mold or rot.
- Insulation: Cladding can also enhance a home’s insulation, making it more energy-efficient. The extra layer helps to regulate the temperature inside the house, keeping it cooler in the summer and warmer in the winter. This, in turn, reduces the need for artificial heating and cooling, leading to lower energy bills.
- Aesthetic Appeal: Beyond its functional advantages, cladding significantly enhances the appearance of a home. The choice of cladding material can greatly influence a house’s overall style, allowing homeowners to achieve a modern, traditional, or even rustic look depending on their preferences.
Types of Cladding
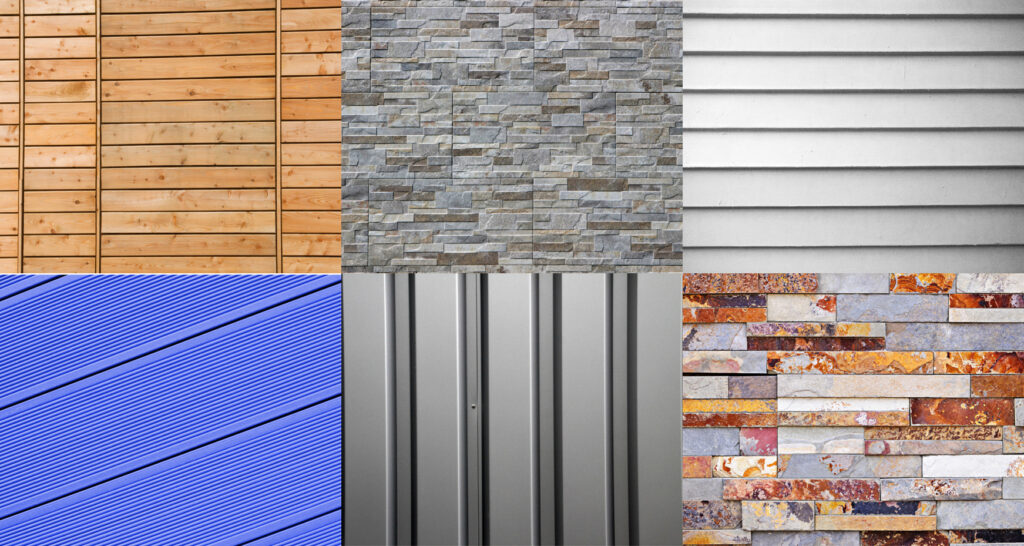
There are several types of cladding available, each with its own distinct advantages. In New Zealand, some of the most common cladding materials include.
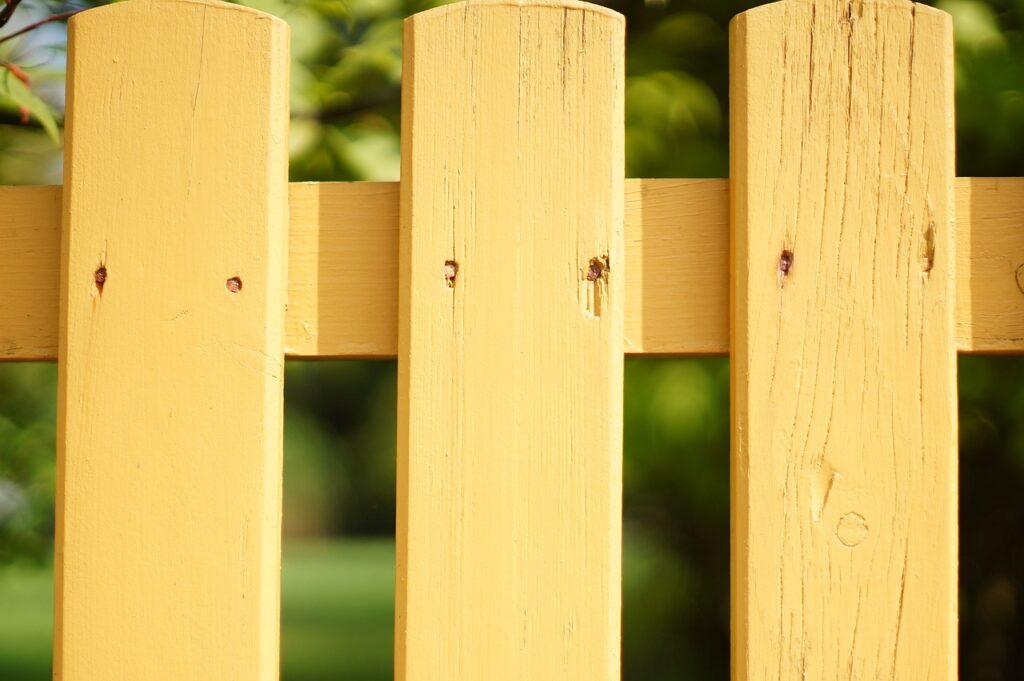
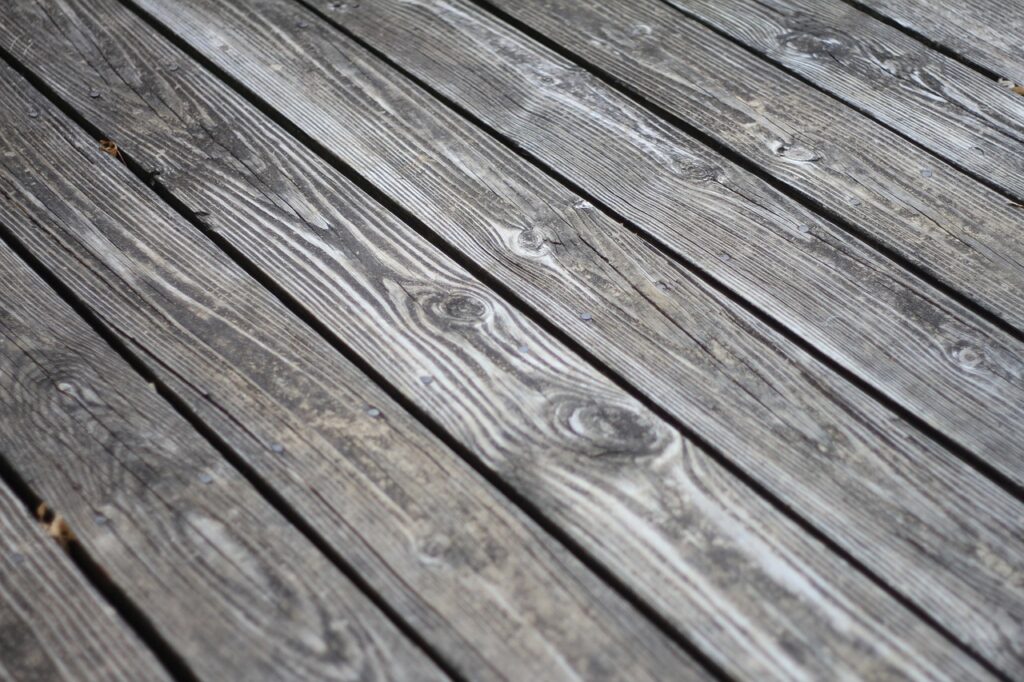
- Timber Cladding: Timber cladding offers a natural and warm aesthetic. It is popular for its sustainability and timeless appeal. Commonly used woods include cedar and pine, which can be treated to improve durability. Timber cladding requires regular maintenance, such as painting or staining, to preserve its appearance.
- Brick Veneer: Brick veneer is known for its durability and low maintenance. It consists of a single layer of brick applied to the exterior, giving the appearance of a solid brick structure without the cost and weight of full brick construction. It offers excellent thermal mass, helping to regulate indoor temperatures.
- Weatherboard: Weatherboard cladding is available in various materials, such as timber or fiber cement. This cladding style features overlapping horizontal boards that create a classic, traditional look. Fiber cement weatherboards are particularly popular for their low maintenance and resilience against moisture and fire.
- Vinyl Cladding: Vinyl cladding is a cost-effective option that is highly resistant to moisture and insect damage. It is available in a wide range of colors and finishes, making it a versatile choice. However, it may not be as durable in extreme weather conditions as other materials.
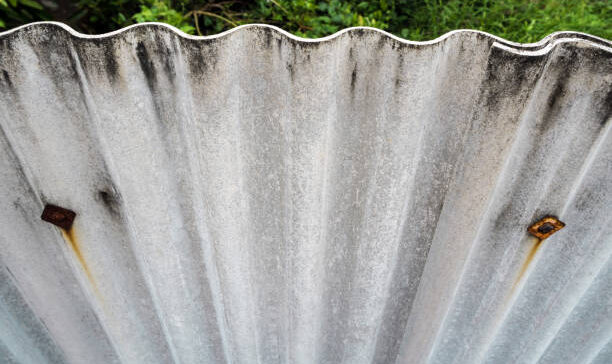
- Metal Cladding (Steel or Aluminum): Metal cladding, often made from steel or aluminum, is a modern and sleek option. It is extremely durable, resistant to fire, and requires minimal maintenance. Metal cladding is also highly customizable in terms of color and finish, offering homeowners design flexibility.
- Stucco or Plaster: Stucco or plaster cladding creates a smooth, solid exterior surface. It is made from a mixture of cement, sand, and lime, applied in layers. Stucco is popular for its textured finish and ability to cover imperfections in the building structure. It also offers good insulation properties but may require more maintenance to prevent cracking.
- Stone Veneer: Stone veneer cladding provides the natural, elegant appearance of real stone without the heavy weight and cost. This option is popular for its durability and timeless appeal. It can be made from natural stone or manufactured materials designed to mimic the look of stone.
- uPVC Cladding: uPVC cladding is made from unplasticized polyvinyl chloride and is a relatively low-maintenance option. It is resistant to weather, rot, and insects, and is available in a range of styles and colors. uPVC cladding is lightweight and easy to install, making it a popular choice for modern homes.
Benefits of Good Cladding
Investing in good quality cladding can significantly enhance your home’s performance in multiple areas. Here are some key benefits.
- Improved Insulation: High-quality cladding can help reduce heat loss or gain, making your home more energy-efficient. This means lower heating and cooling costs and a more comfortable living environment all year round.
- Reduced Maintenance: Durable cladding materials can reduce the time and cost associated with home maintenance. For example, brick veneer and metal cladding require less upkeep compared to timber, which needs regular treatments to remain weatherproof.
- Enhanced Curb Appeal: Cladding has a considerable impact on your home’s aesthetic appeal. Whether you prefer a modern, sleek look or a more traditional design, the right cladding can transform your house’s appearance, increasing its value and street appeal.
- Increased Protection: Cladding serves as the first line of defense against external factors like rain, wind, and UV exposure. It helps to prolong the life of the building by protecting the underlying structure from potential damage caused by moisture, pests, and other environmental factors.
House cladding is not just an exterior feature but a critical element in enhancing your home’s longevity, comfort, and beauty. The right choice of cladding material can offer a balance of protection, insulation, and visual appeal, making it an essential consideration for any homeowner. Whether you are building a new home or renovating an existing one, understanding the role of cladding will ensure you make an informed decision that meets your needs.
Average Cost To Clad A House In New Zealand
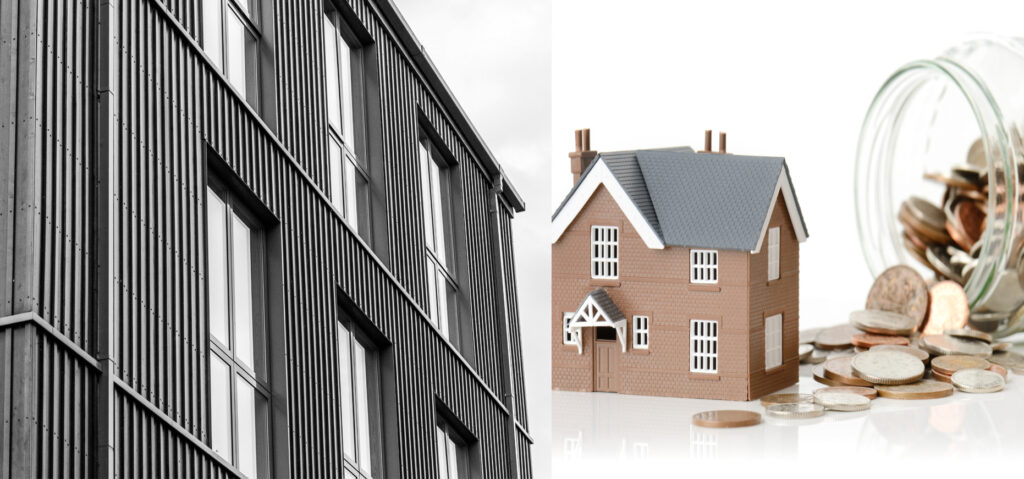
When planning a home renovation or new build in New Zealand, cladding is a critical aspect that can impact both the aesthetic and durability of your house. As cladding protects your home from the elements, selecting the right material and understanding the associated costs is vital. In this article, we break down the average costs of cladding in New Zealand, examine the factors that influence those costs, and compare various material options.
Overview of Costs
The cost of cladding a house in New Zealand varies significantly depending on the material chosen, the size of the house, and labor expenses. Here’s a breakdown of typical costs per square meter for various cladding materials commonly used in New Zealand:
- Timber: $150 – $300 per square meter
- Brick Veneer: $180 – $250 per square meter
- Vinyl: $130 – $220 per square meter
- Fibre Cement Board: $120 – $200 per square meter
- Metal Cladding: $120 – $220 per square meter
While these figures offer a rough estimate, the overall cost of cladding a house will depend on the size of the property.
- Small House (100 sqm): $15,000 – $30,000
- Medium House (200 sqm): $30,000 – $60,000
- Large House (300 sqm): $45,000 – $90,000
These estimates provide a general idea, but there are several factors that can influence the final cost.
Factors Influencing Cost
- Material Choice
The most significant factor in the cost of cladding is the material you choose. For instance, timber is generally more expensive than vinyl but offers a more natural look that appeals to many homeowners. Brick veneer, while durable, requires more labor to install, which drives up the price. Fibre cement is an affordable and low-maintenance option, but may not have the same appeal as natural timber or brick. - Size and Shape of the House
Larger homes naturally require more materials and labor. Additionally, houses with complex shapes, such as irregular angles or multiple stories, can lead to higher labor costs due to the difficulty of installation. - Location
Where you live in New Zealand can significantly affect your cladding costs. In urban areas, material and labor costs tend to be higher due to demand. In contrast, rural areas might have lower labor costs, but the cost of transporting materials to the site can increase your overall expense. - Accessibility of the Site
If your building site is difficult to access, such as being on a steep slope or in a remote area, this can add to the cost of cladding. Additional scaffolding, specialized equipment, or extra labor may be required, all of which contribute to the final bill. - Labor Costs in New Zealand
Labor costs in New Zealand are a substantial part of any construction project. According to recent reports, labor for cladding installation can range between $45 to $90 per hour, depending on the complexity of the job and the region in which you’re building. - Additional Elements
When planning your cladding project, don’t forget to factor in extra costs like insulation, scaffolding, or removing old cladding. Insulation can add significantly to the cost, especially if you opt for high-performance materials. Scaffolding may be necessary for taller buildings, and the cost of safely removing old or damaged cladding should also be taken into account.
Price Comparisons of Popular Cladding Materials in New Zealand
To help you compare the costs of various cladding materials, here’s a quick reference table.
| Cladding Material | Cost Range per Sqm | Durability | Maintenance Requirements |
| Timber | $150 – $300 | Moderate to High | Regular maintenance needed |
| Brick Veneer | $180 – $250 | High | Low |
| Vinyl | $130 – $220 | Moderate | Low |
| Fibre Cement Board | $120 – $200 | High | Low |
| Metal Cladding | $120 – $220 | High | Low |
The table above provides a snapshot of the most popular materials and their general pricing, durability, and maintenance requirements. For homeowners focused on long-term investment, materials like brick veneer or metal cladding may offer greater durability with low maintenance, though they tend to cost more upfront. On the other hand, those looking for a budget-friendly option might lean towards vinyl or fibre cement board, which can still provide decent protection with lower initial costs.
Cladding your house is a significant investment that not only affects your home’s exterior appearance but also its longevity and energy efficiency. By carefully weighing the costs, understanding the factors that influence pricing, and comparing the available materials, you can make an informed decision that suits both your budget and aesthetic preferences. Whether you are cladding a small cottage or a large modern home, this guide should help you navigate the choices and costs involved in cladding a house in New Zealand. For best results, consult with local contractors who can provide accurate quotes based on your specific project and location.
Popular Cladding Materials In NZ: Pros, Cons, and Costs
When it comes to cladding materials in New Zealand, homeowners and builders have a wide range of options to choose from, each with its unique aesthetic appeal, durability, and cost considerations. This guide will dive deep into the most popular cladding materials available in New Zealand, highlighting the pros, cons, and associated costs to help you make an informed decision.
Timber Cladding
Average Cost: Timber cladding costs typically range from NZD $180 to $300 per square meter, depending on the type of timber used (such as cedar, pine, or macrocarpa).
Pros
- Natural Aesthetic: Timber cladding is renowned for its warm, organic appearance that complements both traditional and modern home designs.
- Eco-Friendly: Sourced from sustainable forests, timber is a renewable material that has a low carbon footprint.
- Customizable: Timber can be painted or stained to suit various color schemes, offering design flexibility.
Cons
- Regular Maintenance: Timber cladding requires regular maintenance, including sealing and repainting, to protect against moisture and weathering.
- Prone to Moisture Damage: Timber can be susceptible to rot, mold, and insect damage, especially in New Zealand’s wet and humid climates, unless properly maintained.
Brick Veneer
Average Cost: Brick veneer cladding typically costs between NZD $140 to $280 per square meter, depending on the style and quality of the bricks.
Pros
- Durability: Brick veneer is incredibly long-lasting and can withstand extreme weather conditions without deteriorating.
- Low Maintenance: Brick requires very little maintenance, aside from occasional cleaning, making it a hassle-free cladding option.
- Fire-Resistant: Brick is naturally fire-resistant, adding an extra layer of safety to your home.
Cons
- Expensive: The upfront cost of brick veneer is relatively high compared to other cladding materials.
- Heavy and Labor-Intensive: Brick is heavy, making installation labor-intensive and time-consuming, which can add to overall costs.
Weatherboard (Timber and Fiber Cement)
Average Cost: Weatherboard cladding generally costs between NZD $120 to $250 per square meter. Timber weatherboards are on the higher end, while fiber cement tends to be more affordable.
Pros:
- Versatile: Weatherboard cladding suits a wide range of architectural styles, from classic colonial homes to sleek contemporary designs.
- Easy to Install: Both timber and fiber cement weatherboards are relatively straightforward to install, speeding up construction time.
- Low Maintenance (Fiber Cement): Fiber cement weatherboards are low-maintenance and highly resistant to warping, rotting, and insect damage.
Cons:
- Timber Requires Maintenance: Like traditional timber cladding, timber weatherboards need regular upkeep to prevent decay and maintain their appearance.
- Fiber Cement Can Be Brittle: While durable, fiber cement can crack or chip if subjected to significant impact during installation or from harsh weather.
Vinyl Cladding
Average Cost: Vinyl cladding is one of the most affordable options, with costs ranging from NZD $100 to $200 per square meter.
Pros
- Affordable: Vinyl cladding offers a budget-friendly solution for homeowners looking to save on upfront costs.
- Low Maintenance: Vinyl is highly resistant to pests, rot, and moisture, requiring little to no maintenance over its lifetime.
- Lightweight: Its lightweight nature makes vinyl easy to transport and install, further reducing labor costs.
Cons
- Limited Aesthetic Options: While available in a variety of colors and finishes, vinyl lacks the natural beauty of timber or the prestige of stone or brick.
- Color Fading: Over time, vinyl can fade due to UV exposure, especially in sun-drenched areas, necessitating eventual replacement or painting.
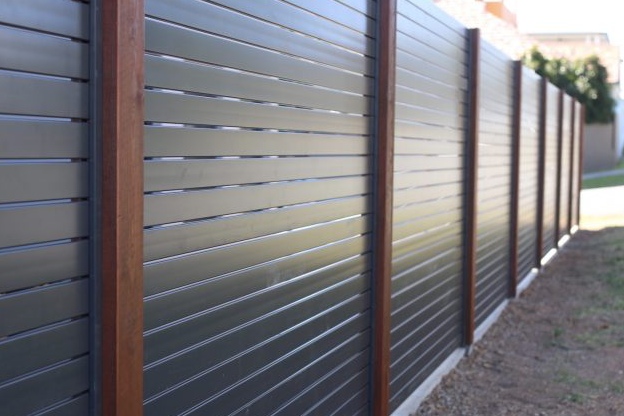
Metal Cladding (Steel/Aluminum)
Average Cost: Metal cladding prices range from NZD $150 to $300 per square meter, depending on whether steel or aluminum is chosen, and the type of finish.
Pros
- Durable: Metal cladding, whether steel or aluminum, is exceptionally strong and resistant to both impact and harsh weather conditions.
- Weather-Resistant: Metal cladding can withstand extreme weather, including heavy rain, strong winds, and hail, making it ideal for New Zealand’s diverse climate.
- Modern Look: Metal cladding offers a sleek, contemporary aesthetic that is popular in modern architectural designs.
Cons:
- Dents Easily: Metal cladding, particularly aluminum, can dent if impacted by hard objects like hail or debris.
- Noisy in Heavy Rain: Metal cladding can be noisy during heavy rain, which may be a consideration for homes in regions with frequent rainfall.
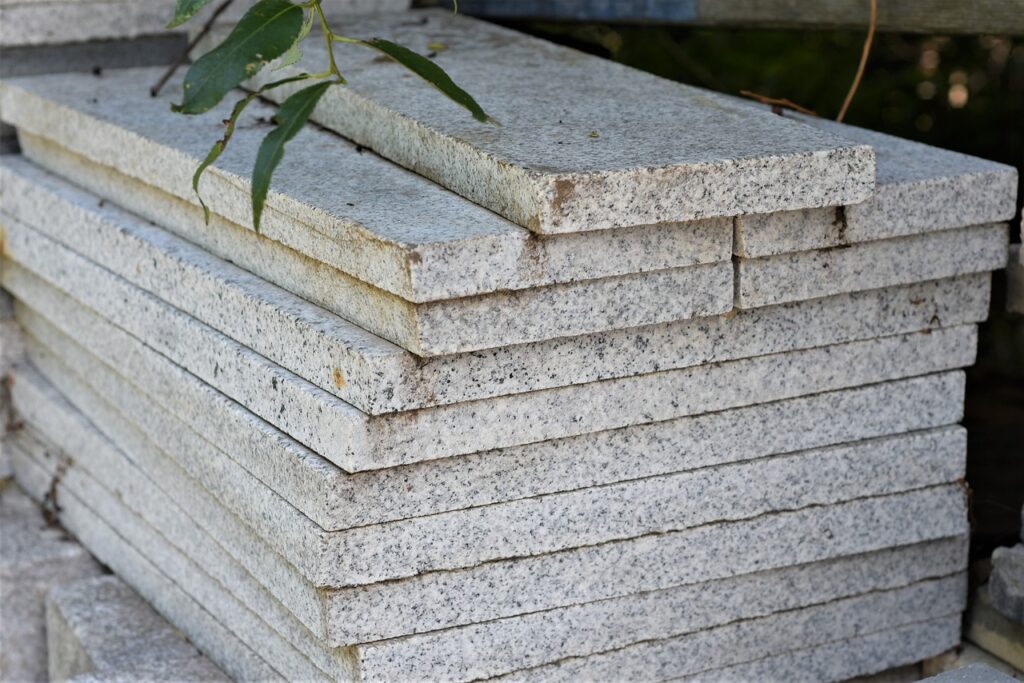
Stone Veneer or Brick Look-Alike
Average Cost: Stone veneer cladding typically costs between NZD $200 and $350 per square meter, making it one of the more expensive options.
Pros
- Strong: Stone veneer is highly durable, offering excellent resistance to weather and damage.
- Weatherproof: It provides an impenetrable barrier against the elements, ensuring your home stays protected in all conditions.
- High Aesthetic Value: Stone veneer mimics the look of natural stone or brick, adding a timeless, elegant appearance to any property.
Cons:
- High Cost: Stone veneer can be one of the most expensive cladding materials due to its premium appearance and durability.
- Labor-Intensive Installation: The installation process is more complex and requires skilled labor, which can further increase the overall project costs.
Choosing the right cladding material for your New Zealand home involves balancing factors like cost, maintenance, durability, and aesthetic appeal. Timber cladding offers a beautiful natural look but requires regular upkeep, while brick veneer provides longevity with minimal maintenance. Weatherboard is a versatile option, and metal cladding brings a modern edge but might come with noise concerns. For those seeking high-end aesthetics and durability, stone veneer is an excellent, though expensive, choice. Ultimately, your decision should align with your budget, the local climate, and the desired appearance of your home.
How To Budget For Cladding Your House
Cladding your home is a big decision that can boost both its aesthetic appeal and energy efficiency. But before you dive in, it’s crucial to develop a clear budget to ensure you can complete the project without unexpected financial strain. Whether you’re going for wood, vinyl, stone, or metal cladding, budgeting smartly will keep your costs under control while delivering the best results for your home. Here’s how to do it.
Planning and Setting a Realistic Budget
Creating a well-thought-out budget is the first step toward a successful cladding project. Here’s how you can set a realistic budget that covers all bases.
- Determine Your Material Preference: The material you choose for your cladding will have the biggest impact on your budget. Some options, like vinyl or fiber cement, are more affordable, while others, like natural stone or timber, can be quite expensive. Start by researching the pros and cons of each material. Factor in not only the upfront cost but also the long-term maintenance and durability. Opting for a durable material might cost more initially, but it can save you money down the road by requiring fewer repairs and upkeep.
- Factor in Hidden Costs: Many homeowners overlook the extra costs that can quickly add up. For example, if your project requires scaffolding to reach higher areas, this can be a significant expense. Additionally, if your home has existing cladding, you’ll need to budget for its removal and proper disposal. Be sure to include these in your initial calculations to avoid surprises later on.
- Allow Room for Unexpected Expenses: Even with the best planning, unexpected expenses are almost inevitable. Materials may be more expensive than anticipated, or unforeseen structural issues may arise during the project. A good rule of thumb is to add a buffer of around 10-15% to your total budget. This cushion will give you peace of mind if anything goes off course, ensuring your project continues smoothly.
Cost-Saving Tips for Cladding Your Home
Cladding can be a major investment, but that doesn’t mean there aren’t ways to save money while still achieving a high-quality result. Here are some practical tips to help you reduce costs without sacrificing quality.
- Buy Materials in Bulk: If you’re planning a larger cladding project, purchasing materials in bulk can save you a significant amount of money. Many suppliers offer discounts on bulk purchases, so it’s worth shopping around and negotiating prices. Just be sure that you buy from reputable sources to avoid compromising on material quality.
- Time Your Project Wisely: The time of year you choose to carry out your cladding project can also affect your costs. Contractors tend to charge more during peak seasons, typically spring and summer, when demand is high. By scheduling your project during the off-peak season, such as autumn or winter, you may be able to secure lower rates. However, be mindful of weather conditions that could delay progress.
- Choose Durable, Low-Maintenance Materials for Long-Term Savings: While some materials may be cheaper upfront, they can end up costing you more in the long run due to frequent maintenance and repairs. For example, while timber cladding may have a lower initial cost, it requires regular staining or painting to keep it in good condition. On the other hand, materials like fiber cement or metal may cost more initially but require less upkeep over time, leading to long-term savings. Investing in durable, low-maintenance cladding materials can be a smart way to reduce future costs and increase the longevity of your home’s exterior.
Budgeting for cladding your house involves more than just calculating the cost of materials. By carefully considering hidden costs, allowing for unexpected expenses, and taking advantage of cost-saving strategies, you can set a realistic budget that works for you. Remember, the goal is to enhance your home’s appearance and performance without breaking the bank. By following these tips, you’ll be well on your way to a successful cladding project that delivers value for years to come.
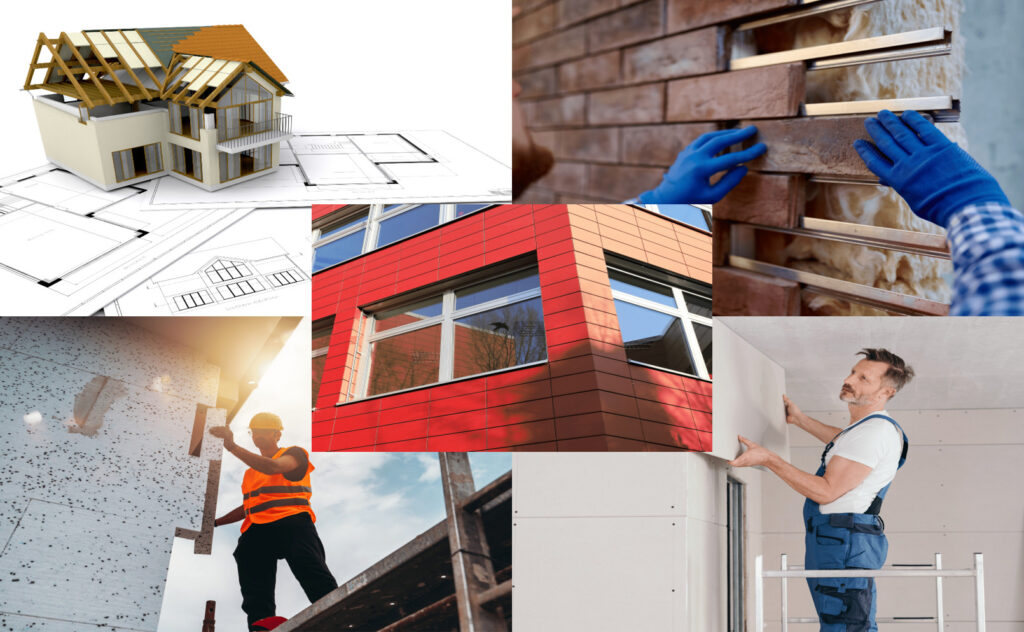
The Process Of Cladding Your Home In New Zealand
Cladding is a crucial element of home construction and renovation, offering both aesthetic and protective benefits. Whether you’re building a new home or updating an older property, cladding can enhance the look and durability of your house. Here’s a comprehensive, step-by-step overview of the cladding process in New Zealand, from material selection to maintenance, tailored to help homeowners navigate the journey seamlessly.
Step 1: Choosing Materials and Getting Quotes
The first step in the cladding process is selecting the right material for your home. The choice you make will impact both the appearance and performance of your home, so it’s essential to evaluate the available options carefully. In New Zealand, popular cladding materials include timber, brick, stone veneer, fiber cement, metal, and vinyl. Each material offers distinct advantages, whether you’re looking for a traditional, modern, or low-maintenance finish.
When choosing your cladding material, consider factors such as:
- Durability: Some materials, like brick or metal, offer long-lasting protection against New Zealand’s varied climate.
- Aesthetics: Ensure the material complements the style of your home and the surrounding environment.
- Energy efficiency: Certain materials provide better insulation, contributing to overall energy savings.
- Cost: Prices can vary significantly depending on the material, installation complexity, and location. Obtain multiple quotes from reputable suppliers and contractors to compare prices and ensure the project fits within your budget.
Step 2: Hiring a Licensed Builder or Contractor
Once you’ve chosen your cladding material and received quotes, the next step is hiring a professional to carry out the work. This is where thorough research is essential, as the quality of installation directly affects the longevity and performance of your cladding.
In New Zealand, it’s crucial to hire a licensed builder or contractor. They should be registered with the Licensed Building Practitioners (LBP) scheme, ensuring they meet the standards set by the New Zealand Building Code. Before making a decision, verify their credentials, review previous work, and check online reviews or request references from past clients. This will give you peace of mind that the job will be completed to a high standard.
Remember to discuss timelines, scope, and any potential challenges upfront with your builder. Clear communication helps avoid delays and ensures everyone is on the same page.
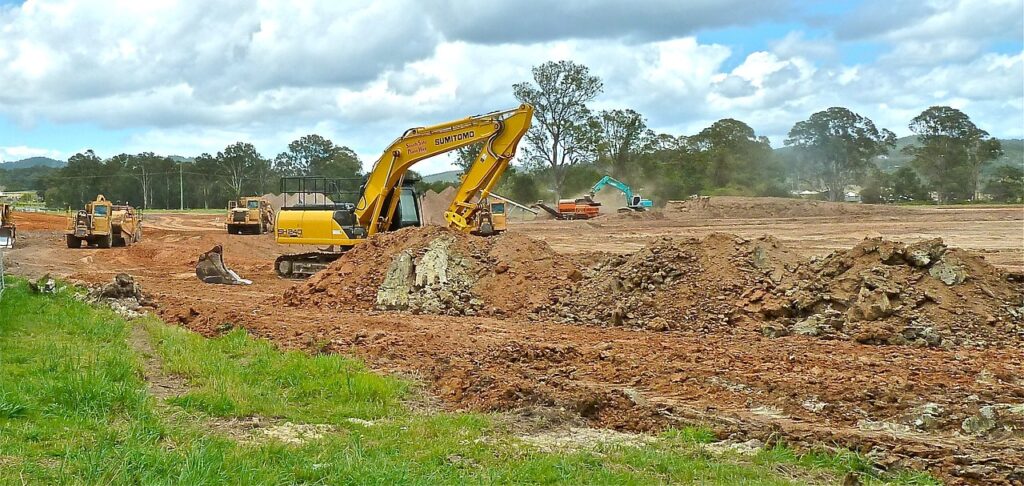
Step 3: Preparing the House for Cladding
Preparation is a key step in the cladding process. If you’re replacing old cladding, this means safely removing the existing material and preparing the underlying structure. This step may reveal areas of the house that need repair or reinforcement, so it’s essential to address any structural issues before proceeding.
In some cases, additional insulation may need to be installed to enhance the energy efficiency of your home. This is a good time to consider updating or improving insulation before the new cladding is installed, as it can be a cost-effective way to increase your home’s thermal performance.
Step 4: Installation Phase and Inspections
Once the house is prepped, the installation of the cladding can begin. The process typically involves securing the cladding material to the exterior walls, ensuring it is level, weatherproof, and meets all building code requirements. This step requires precision, as improper installation can lead to moisture problems, leaks, or even structural issues over time.
During this phase, regular inspections may be necessary to ensure that the work complies with New Zealand’s building standards. Depending on the scope of the project, local council inspections may be required at various stages of the installation. These inspections are designed to check the structural integrity, weathertightness, and overall safety of the project.
Your licensed builder or contractor will guide you through this process, ensuring that all necessary inspections are completed and signed off before moving forward.
Step 5: Finishing Touches and Ongoing Maintenance
After the cladding is fully installed, it’s time for the finishing touches. This might include painting or staining timber cladding, sealing joints to enhance weatherproofing, or adding decorative trims to improve the overall appearance.
Once the project is complete, the focus shifts to ongoing maintenance. While some cladding materials are low-maintenance, others—such as timber—require regular upkeep to ensure they remain in good condition. For example, timber cladding may need to be repainted or re-stained every few years to protect it from moisture and UV damage. In contrast, materials like metal or fiber cement typically require less frequent attention but should still be inspected periodically for signs of wear or damage.
Proactive maintenance can extend the life of your cladding and prevent costly repairs down the road, so it’s important to develop a regular inspection and care routine based on the material you’ve chosen.
Cladding your home in New Zealand is a significant investment that requires careful planning, material selection, and the involvement of skilled professionals. By following these steps—choosing the right materials, hiring a licensed builder, preparing the home, overseeing the installation, and committing to regular maintenance—you can ensure that your home not only looks great but is protected from the elements for years to come. Make informed decisions, stay involved in the process, and you’ll end up with a beautifully clad home that stands the test of time in New Zealand’s unique climate.
Should You DIY Or Hire A Professional For Cladding
Choosing between DIY or hiring a professional for cladding is a significant decision that can affect the overall success of your project. Cladding is an essential aspect of your home’s exterior, enhancing its aesthetics and providing protection against the elements. While taking on a cladding project yourself can seem like a cost-saving opportunity, it’s important to carefully weigh the pros and cons of DIY cladding versus hiring a professional. This article explores both options to help you make an informed decision.
Pros and Cons of DIY Cladding
Is Cladding a Feasible DIY Project?
For those who enjoy hands-on projects and have a knack for home improvement, DIY cladding might seem like an appealing option. However, it’s not always as simple as it appears. Cladding involves installing materials like wood, vinyl, or metal onto the exterior walls of your home, which requires a solid understanding of construction principles, tools, and safety practices.
- Skill Level Required: Successful cladding installation requires more than just basic handyman skills. You’ll need to measure and cut materials precisely, ensure proper ventilation, and understand how to secure cladding to prevent moisture buildup and structural damage. If you’re new to construction or lack experience with exterior home projects, cladding can quickly become overwhelming. Mistakes made during installation could lead to costly repairs down the line.
- Potential Savings: One of the primary reasons people opt for DIY cladding is to save money. When you take on the project yourself, you eliminate labor costs, which can be a significant portion of the budget. Depending on the materials you choose, DIY cladding could save you thousands of dollars. However, it’s crucial to consider the time and effort involved. Cladding can be labor-intensive, especially for larger homes, so be prepared to dedicate several weekends (or more) to the project.
- Risks Involved: With DIY cladding, the biggest risk is improper installation. Poorly installed cladding can result in leaks, structural damage, and even pest infestations. Additionally, handling some cladding materials can be hazardous without the right equipment. For instance, fiber cement cladding produces silica dust, which can be harmful when inhaled. DIYers must invest in safety gear and ensure they’re following best practices to avoid accidents.
When to Hire a Professional
If you’re unsure about your ability to successfully complete a cladding project, or if the job is too complex, hiring a professional is often the better choice. Here are the key benefits of working with a licensed contractor.
Benefits of Hiring a Professional
- Expertise and Experience: Professional contractors specialize in cladding installation, which means they bring years of experience and technical know-how to the table. They understand the intricacies of various materials, from wood and vinyl to fiber cement and metal, and can recommend the best option for your home. With a professional, you can expect a higher level of craftsmanship, ensuring your cladding is installed correctly and will stand the test of time.
- Time Efficiency: A professional team can complete a cladding project far more quickly than the average DIYer. This is particularly important if you’re working against a deadline or need the project done before seasonal changes (e.g., before winter weather sets in). Contractors have the manpower and equipment to handle large-scale projects efficiently, reducing the risk of delays and unexpected issues.
- Guaranteed Workmanship: Most licensed contractors offer warranties on their work, giving you peace of mind. If any issues arise after the installation, they will typically return to fix them at no extra cost. This type of guarantee is invaluable, especially for larger or more complex cladding jobs where the stakes are higher. In contrast, DIY projects leave you fully responsible for any repairs or rework needed in the future.
- Safety Considerations: Cladding often involves working at heights, especially for multi-story homes. Professionals have the necessary safety equipment and training to work safely, reducing the risk of falls and other accidents. Moreover, licensed contractors are usually insured, meaning you’re protected in case of any mishaps on the job.
What to Look for in a Contractor
When hiring a professional for your cladding project, it’s essential to choose the right contractor. Here are a few key factors to consider.
- Licensing and Insurance: Ensure that the contractor is fully licensed and insured. This not only protects you in case of accidents but also assures you that the contractor has met the necessary industry standards.
- Experience and Reviews: Look for contractors with extensive experience in cladding. Read reviews from previous clients and ask for references to gauge their workmanship and reliability. A well-reviewed contractor is more likely to deliver quality work.
- Portfolio of Work: Ask to see examples of their previous cladding projects. A reputable contractor should have a portfolio showcasing a variety of materials and home styles, so you can assess whether their work aligns with your vision.
- Clear Communication: A good contractor should be easy to communicate with, willing to answer questions, and provide clear timelines and cost estimates. This ensures that you’re on the same page throughout the project and that there are no surprises when it comes to timeframes or budget.
Deciding whether to DIY or hire a professional for cladding ultimately depends on your skill level, the complexity of the project, and your budget. If you have the experience and time, DIY cladding can be a rewarding way to save money. However, for more complex projects, or if you lack the necessary skills, hiring a professional can provide peace of mind, superior results, and long-term protection for your home.
If you decide to hire a professional, be diligent in selecting a qualified contractor with a solid track record, ensuring your cladding project is completed to the highest standards. By carefully considering these factors, you can make the best decision for your home’s cladding and ensure a successful, durable installation.
Additional Considerations For Cladding In New Zealand
When planning a cladding project in New Zealand, there are several important factors to keep in mind. These include the country’s diverse climate conditions, the need for energy efficiency, and the requirements to meet council regulations and building code compliance. Each of these elements can impact both the type of cladding you choose and the overall cost and success of your project. Here’s a closer look at these considerations.
Climate Considerations
New Zealand’s climate is as diverse as its landscapes, which makes the choice of cladding material particularly important. Depending on where you live, the climate can greatly influence your cladding options.
- Coastal Areas: If you’re living near the coast, your home is likely exposed to high levels of moisture, salt air, and strong winds. In these regions, cladding materials need to be highly resistant to corrosion and moisture damage. Materials like aluminum, fiber cement, and treated timber are popular choices due to their durability and resistance to rust and decay.
- Windy Regions: High wind areas, such as Wellington and parts of the South Island, demand cladding materials that are both strong and securely fixed to the home. Lightweight materials that can handle wind pressure without warping or coming loose are essential in these regions.
- High Rainfall Zones: Areas with significant rainfall, such as the West Coast of the South Island, need cladding that effectively sheds water and prevents moisture from seeping into the home’s structure. Weatherboards, brick veneer, and metal cladding are effective options due to their ability to manage water runoff and prevent leaks.
By carefully considering your local climate, you can choose cladding that not only looks good but also stands up to the specific environmental challenges in your area.
Energy Efficiency and Insulation
When selecting cladding, energy efficiency is another critical factor. The type of cladding you choose can have a significant impact on your home’s insulation, which in turn affects energy consumption and costs. Proper insulation helps keep your home warm in winter and cool in summer, reducing the need for heating and air conditioning.
- Thermal Performance: Some cladding materials provide better insulation than others. Insulated panels, for example, offer built-in insulation, helping to regulate indoor temperatures and reduce energy costs. Other materials, like brick and stone, have natural thermal properties that contribute to energy efficiency.
- Insulation Upgrades: When undertaking a cladding project, it’s worth considering insulation upgrades. Retrofitting insulation behind your new cladding can improve your home’s energy performance, making it more comfortable year-round and potentially increasing its resale value. This is especially important in older homes that may lack adequate insulation.
Overall, combining efficient cladding with upgraded insulation can significantly reduce your energy bills and your environmental footprint, making it a wise long-term investment.
Council Regulations and Building Code Compliance
Before starting any cladding project, it’s crucial to ensure that your plans comply with local council regulations and the New Zealand Building Code. This can help you avoid fines, delays, or complications down the road.
- Council Consent Requirements: Depending on the scale and scope of your cladding project, you may need to obtain council consent. For example, if you’re making substantial changes to your home’s exterior, you’ll likely need to submit plans to the local council for approval. The council will check to ensure that the materials and methods used meet safety and environmental standards.
- Building Code Compliance: The New Zealand Building Code sets out performance standards for all construction work, including cladding. These regulations ensure that your home’s cladding will provide adequate durability, moisture control, and energy efficiency. Working with a licensed building practitioner can help ensure your project complies with these requirements, as they are familiar with the latest building codes and best practices.
Taking the time to navigate council requirements and building code standards can save you from potential headaches and ensure your cladding project is both legal and built to last.
When planning a cladding project in New Zealand, it’s essential to consider the climate, energy efficiency, and legal requirements. By selecting materials suited to your region’s climate, upgrading insulation for better energy performance, and ensuring compliance with council and building code regulations, you can enhance the durability, appearance, and value of your home. Careful planning and informed decisions will help you create a home that not only looks great but also stands up to New Zealand’s unique conditions for years to come.
FAQs: About Average Cost To Clad A House In NZ
Conclusion
In summary, cladding is a significant investment that plays a crucial role in enhancing both the aesthetic appeal and the longevity of a home. It’s important to keep in mind the typical costs involved, which vary based on material choice, as well as the importance of selecting the right cladding material for your specific needs and climate. Budgeting wisely and doing thorough research before making a decision can help avoid costly mistakes. While the upfront expense may seem high, the long-term benefits, such as increased property value and protection from the elements, make it worthwhile. If you’re considering a cladding project, consult with professionals to ensure you make the right choices. We encourage you to share your own experiences with cladding in the comments, and feel free to reach out if you need personalized advice for your home improvement journey.
Find A Professional Cladding Company Near You!
Cladding Paihia
Cladding Kerikeri
Cladding Waikato
Cladding Warkworth
Cladding Christchurch
Leaky Home Repairs Auckland
About the Author:
Mike Veail is a recognized digital marketing expert with over 6 years of experience in helping tradespeople and small businesses thrive online. A former quantity surveyor, Mike combines deep industry knowledge with hands-on expertise in SEO and Google Ads. His marketing strategies are tailored to the specific needs of the trades sector, helping businesses increase visibility and generate more leads through proven, ethical methods.
Mike has successfully partnered with numerous companies, establishing a track record of delivering measurable results. His work has been featured across various platforms that showcase his expertise in lead generation and online marketing for the trades sector.
Learn more about Mike's experience and services at https://theleadguy.online or follow him on social media: