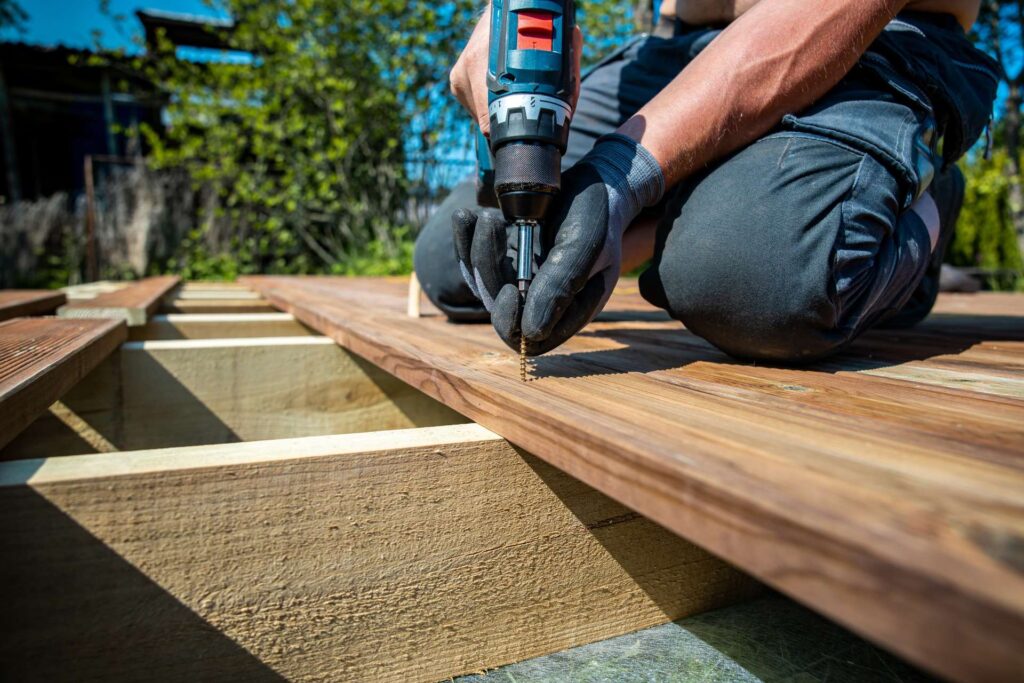
Welcome to our complete guide on how to paint decking in New Zealand, where we’ll walk you through everything you need to know to refresh your outdoor space. Whether you’re looking to enhance your deck’s appearance or protect it from the harsh Kiwi climate, painting your decking is a great way to boost its longevity and curb appeal. In this guide, we’ll cover the essential tools, paint options, and step-by-step instructions to ensure your deck is well-prepared and beautifully finished. By the end, you’ll feel confident tackling this project and enjoying your newly transformed deck for years to come. For professional help, contact experienced fencing contractors in your area.
To paint decking in NZ, start by cleaning and sanding the surface to remove dirt and old finishes. Choose a high-quality, weather-resistant decking paint suitable for New Zealand’s climate. Apply a primer if needed, followed by two coats of paint, allowing proper drying time between each coat. Ensure the weather conditions are dry and mild for best results. Regular maintenance and touch-ups will help your deck stay protected and look great.
- Why Should You Paint Your Decking?
- Choosing The Right Paint For Decking
- Tools And Materials You’ll Need For Painting Your Decking
- Preparing Your Deck For Painting: A Step-By-Step Guide
- Step-By-Step Guide To Painting Your Deck
- Common Mistakes To Avoid When Painting Decking
- Maintenance Tips After Painting Your Deck
- Sustainable Painting Practices
- FAQs: About How To Paint Decking NZ
- Conclusion
- Find A Professional Decking Company Near You!
Why Should You Paint Your Decking?
When it comes to maintaining and enhancing the look of your outdoor decking, many homeowners in New Zealand face the decision of whether to paint, stain, or leave the wood untreated. Each option has its pros and cons, but painting your decking can offer several significant benefits that might make it the best choice for your home.
Benefits of Painting Decking vs. Staining or Leaving it Untreated
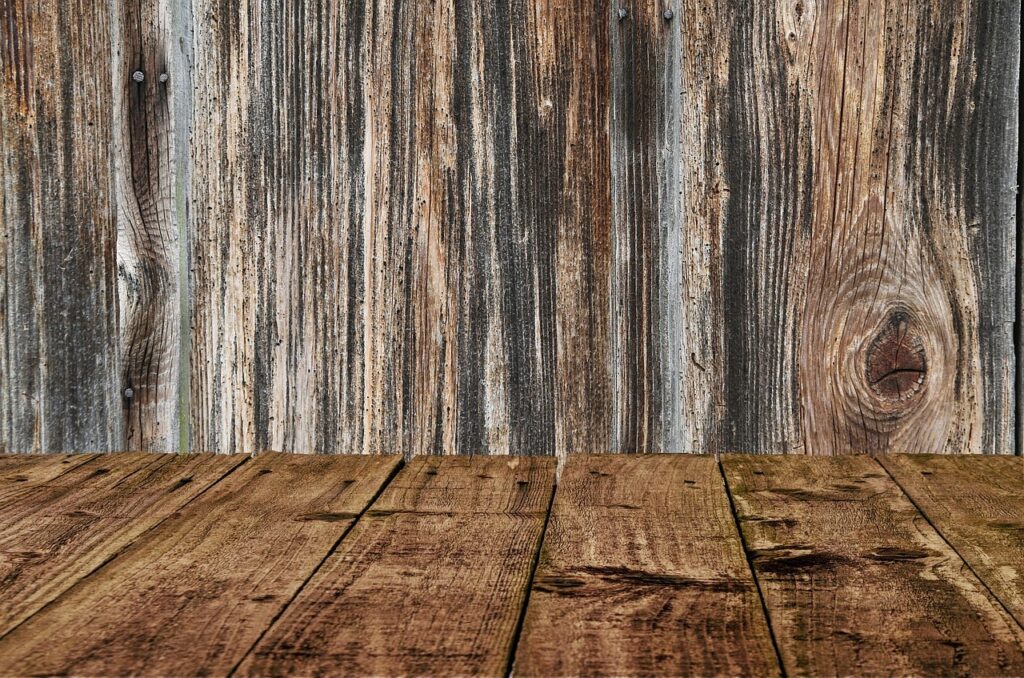
While staining or leaving your deck untreated might seem like lower-maintenance options, they don’t provide the same level of protection and long-term benefits as painting. Staining allows the natural wood grain to show through, which can be a beautiful option but requires regular reapplication—often annually—to maintain its appearance and protective qualities. Untreated decking, on the other hand, is highly vulnerable to the elements, leading to warping, cracking, or rotting over time. Without a protective coating, the wood can quickly degrade, resulting in expensive repairs or the need for replacement.
Painting, by contrast, offers a more durable solution. A quality paint designed for outdoor wood surfaces can create a strong barrier that protects against moisture, UV rays, and general wear and tear. Painted decks often last longer between maintenance cycles, typically requiring a touch-up or repainting every two to three years depending on environmental exposure and traffic. Additionally, paint allows you to completely customize the look of your deck, offering a wider range of colors and finishes to suit your home’s style.
Protection from New Zealand’s Weather Conditions
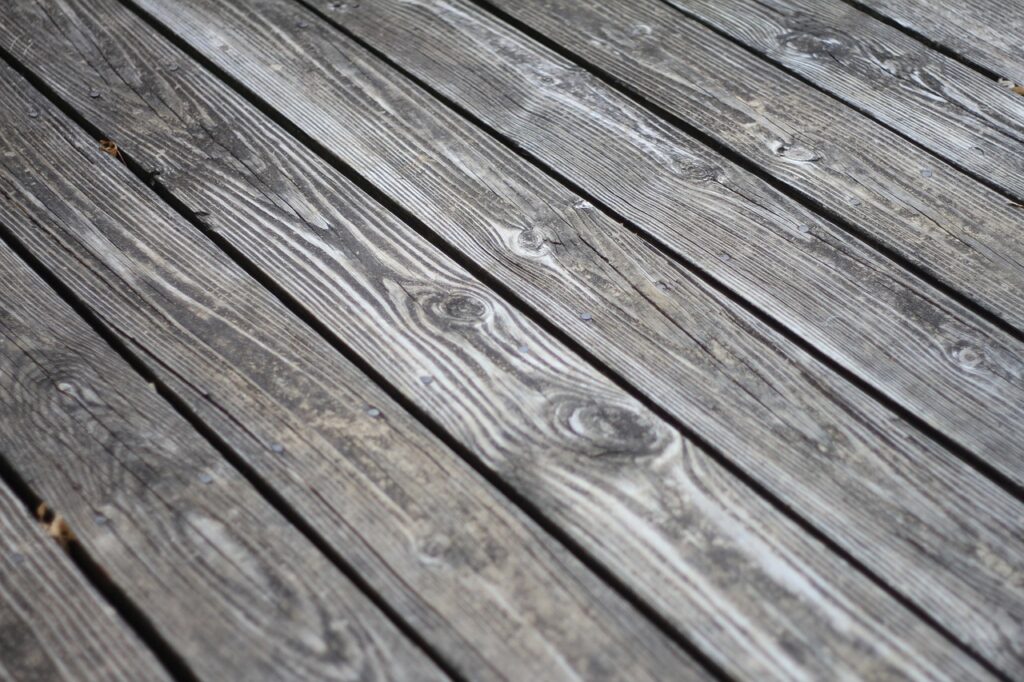
New Zealand’s unique climate can be harsh on outdoor wood surfaces, especially decking. From the scorching summer UV rays to the damp, humid winters, your deck is exposed to a wide variety of conditions that can cause damage if not properly protected. UV rays are particularly damaging to untreated or stained decks, as they can cause the wood to fade, dry out, and even crack over time. A good-quality paint specifically formulated for outdoor use offers strong UV resistance, helping to prevent the sun’s harmful rays from degrading the wood.
Rain and humidity present additional challenges. Untreated decking can absorb water, leading to swelling, warping, or mold growth, especially in the wetter regions of New Zealand. Paint creates a waterproof seal that prevents moisture from penetrating the wood. This is particularly important in areas that experience frequent rainfall, as moisture can quickly lead to rotting, reducing the lifespan of your deck. By painting your decking, you’re ensuring that it stays protected from New Zealand’s varying weather conditions year-round.
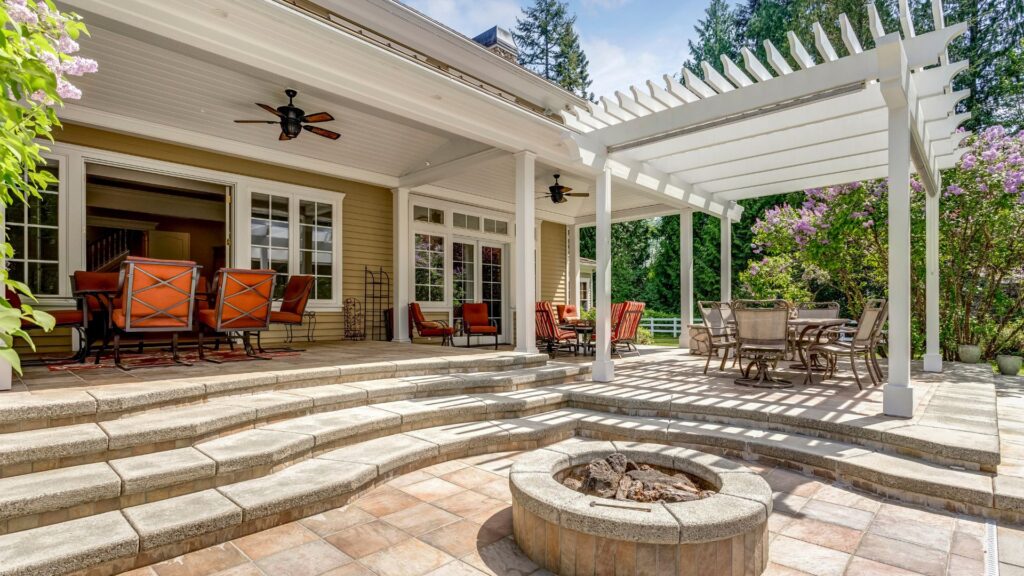
Adding Value and Visual Appeal to Your Outdoor Space
A freshly painted deck not only protects the wood but also adds a polished, finished look to your outdoor space. Your deck is often one of the first things people notice about your backyard or garden, and a well-maintained, aesthetically pleasing deck can significantly boost your home’s curb appeal. Whether you opt for a bold, modern color or a neutral shade that complements the natural surroundings, paint gives you complete control over the look of your deck, allowing it to become a seamless extension of your home’s style.
In addition to visual appeal, painting your deck can also add real value to your property. If you’re planning to sell your home, a beautifully painted deck can be a strong selling point, especially if prospective buyers are looking for a low-maintenance outdoor space. A deck that has been properly painted and maintained is not only more attractive but also signals to buyers that the property has been well cared for, potentially increasing its market value.
By painting your deck, you’re making an investment not only in its longevity but also in the overall aesthetic and value of your home. With the right preparation, paint, and care, your decking will remain a standout feature of your outdoor space for years to come.
Choosing The Right Paint For Decking
When it comes to painting your deck, choosing the right paint is crucial to ensuring a long-lasting and aesthetically pleasing result. In New Zealand, where the weather can range from scorching summers to damp, rainy winters, selecting a paint that can withstand these environmental challenges is essential. Let’s dive into the factors you need to consider when choosing the best paint for your decking project.
Types of Paint Suitable for Decking
There are three main types of paint commonly used for decking: oil-based, water-based, and acrylic. Each of these options has its own strengths and is suited to different conditions and preferences.
- Oil-Based Paint: Known for its durability, oil-based paint penetrates deeply into the wood, providing a robust layer of protection against the elements. It’s particularly well-suited for older or weathered decks because it helps seal the wood, preventing moisture from penetrating. However, oil-based paints take longer to dry and require more maintenance in terms of cleaning up, as they often need solvents for washing brushes and spills.
- Water-Based Paint: Water-based paints are a popular choice for many homeowners due to their ease of use and eco-friendliness. These paints dry faster than oil-based alternatives and are easier to clean up with just soap and water. They also tend to be more UV-resistant, making them a good option for decks exposed to a lot of sun. However, they might not offer the same level of deep penetration as oil-based paints, making them more suitable for newer decks or those in good condition.
- Acrylic Paint: Acrylic paints provide a balance between durability and flexibility. They are known for their ability to expand and contract with the wood, which is particularly useful in New Zealand’s varied climate, where temperature fluctuations can cause wood to expand and contract. Acrylic paints are also UV-resistant and are available in a wide range of colors, offering homeowners plenty of choices in terms of aesthetics.
Factors to Consider When Selecting Paint
Choosing the right paint isn’t just about picking a color. There are several important factors to consider that will affect how well the paint performs over time.
- Weather Resistance: Given New Zealand’s diverse climate, it’s critical to select a paint that can withstand the harsh elements. UV rays can cause paint to fade or crack, while heavy rain can lead to moisture damage if the paint doesn’t provide an adequate seal. Look for paints labeled as “weather-resistant” or “outdoor-specific” to ensure your deck stays protected throughout the year.
- Durability: Durability is a key factor, especially for high-traffic decks. You’ll want a paint that can handle constant foot traffic, as well as the occasional scrape from furniture or pets. Oil-based paints are typically more durable, but advances in water-based and acrylic options mean you can now find highly durable choices in these categories as well.
- Eco-Friendliness: For environmentally conscious homeowners, the eco-friendliness of the paint is an important consideration. Water-based and acrylic paints tend to be lower in VOCs (volatile organic compounds), making them safer for the environment and your health. Oil-based paints, while durable, typically contain higher levels of VOCs, which can be harmful over time. If sustainability is important to you, look for low-VOC or eco-certified paints.
Top Recommended Decking Paint Brands in New Zealand
When selecting decking paint, it’s helpful to choose reputable brands known for producing high-quality, durable products that are well-suited to New Zealand’s climate. Here are three top recommended decking paint brands:
- Resene: Resene is a well-known brand in New Zealand, offering a wide range of outdoor paints designed specifically for the local climate. Their Decking Oil Stain and Lumbersider are popular choices for decks, providing excellent protection and a smooth finish. Resene paints are also known for their durability and UV resistance, making them ideal for decks exposed to a lot of sun.
- Dulux: Dulux is another trusted brand that offers a range of weather-resistant outdoor paints. Their Weathershield range is particularly popular for decks, providing a tough, long-lasting finish that protects against rain, wind, and UV rays. Dulux paints are also available in a wide variety of colors, allowing you to find the perfect shade to match your home’s exterior.
- Cabot’s: Specializing in timber finishes, Cabot’s is a great choice for those looking for a premium finish that enhances the natural beauty of wood. Their Deck and Exterior Stain is designed to protect and beautify decks, offering excellent durability and resistance to New Zealand’s changing weather conditions.
Ensuring You Choose the Right Color and Finish to Complement Your Home
The color and finish you choose for your deck can significantly impact the overall look of your outdoor space, so it’s worth taking the time to select a shade that complements your home’s exterior.
- Color Choice: When choosing a color, consider the existing color scheme of your home and outdoor area. Neutral tones like browns, greys, and natural wood colors are popular choices as they blend seamlessly with most garden settings. However, bolder colors like blues or dark greens can add a modern touch if you’re looking to make a statement. It’s also important to think about practicality—lighter colors reflect heat better, making them a good choice for decks in direct sunlight, while darker colors can add a sleek, contemporary feel.
- Finish: In addition to color, the finish of the paint plays a role in the final look and feel of your deck. A glossy finish can give your deck a sleek, polished look, while a matte or satin finish offers a more natural, understated appearance. Additionally, consider the slip resistance of the finish, especially if your deck will be used frequently or is exposed to moisture. Many outdoor paints come with anti-slip additives, which can provide an extra layer of safety without compromising on aesthetics.
Choosing the right paint for your decking project involves more than just selecting a color. By considering the type of paint, its durability, weather resistance, and eco-friendliness, along with trusted local brands like Resene, Dulux, and Cabot’s, you can ensure that your deck not only looks great but is also well-protected for years to come.
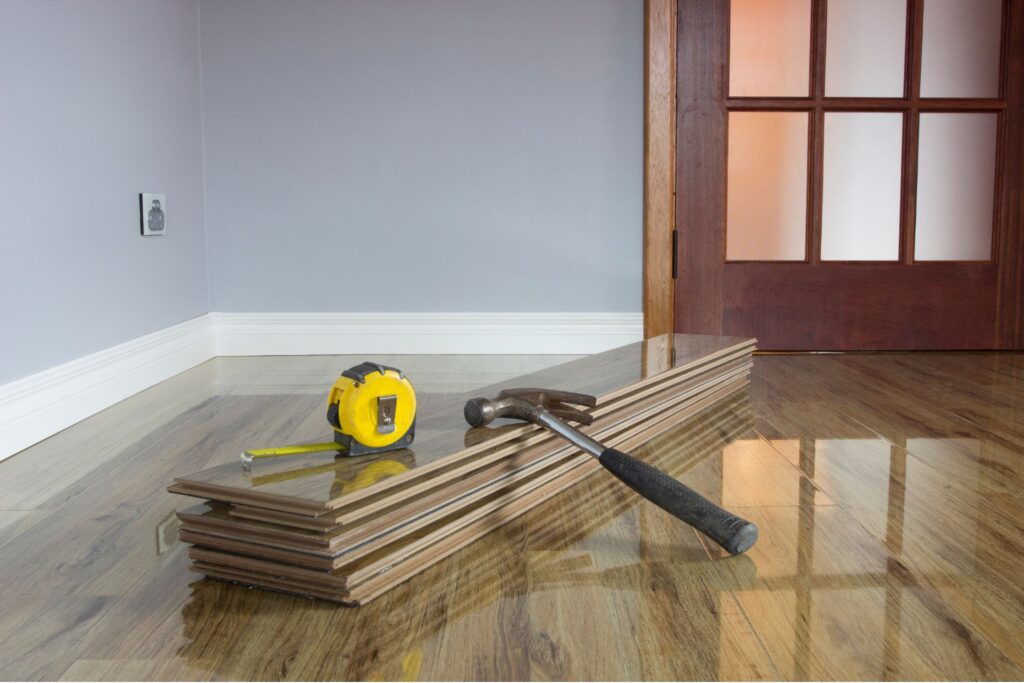
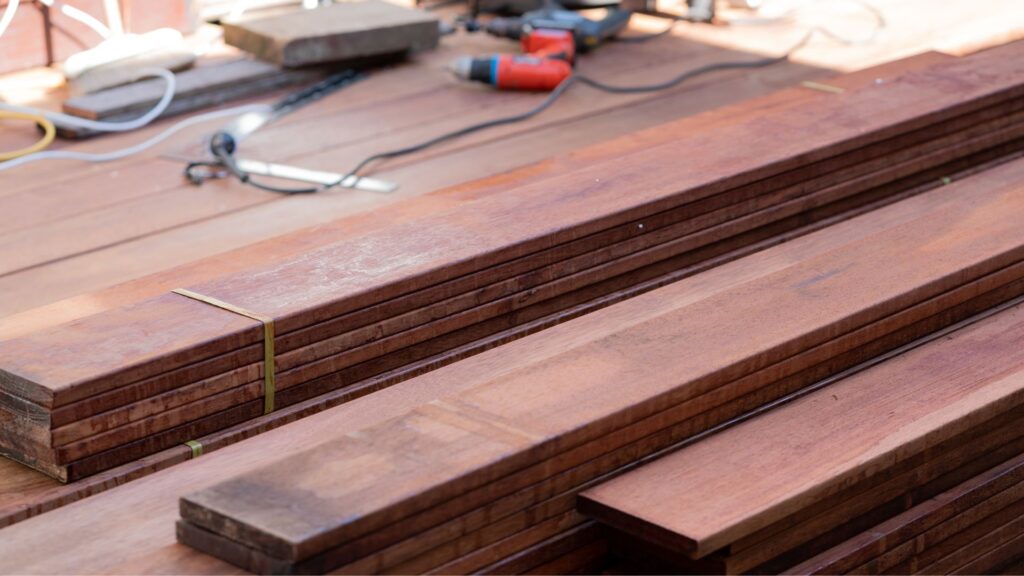
Tools And Materials You’ll Need For Painting Your Decking
Before you begin painting your deck, it’s essential to gather all the necessary tools and materials. Having the right supplies on hand ensures that your project goes smoothly, delivers a professional finish, and prevents unnecessary trips to the hardware store in the middle of your work. Below is a list of the must-have tools and materials you’ll need, along with some optional extras that can make the job easier and more effective.
Essential Materials
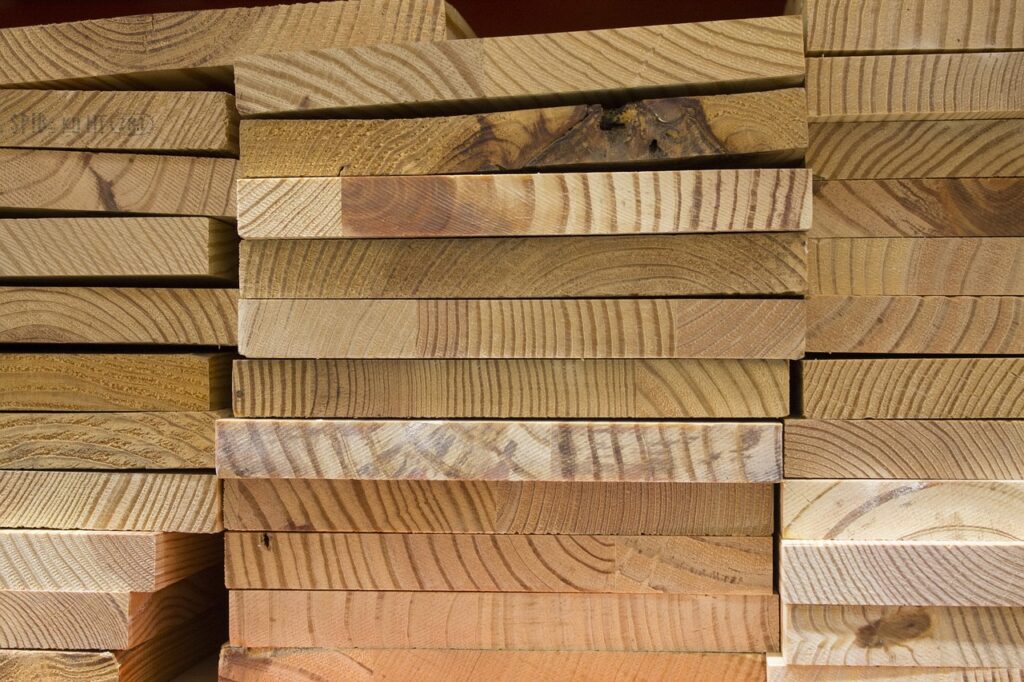
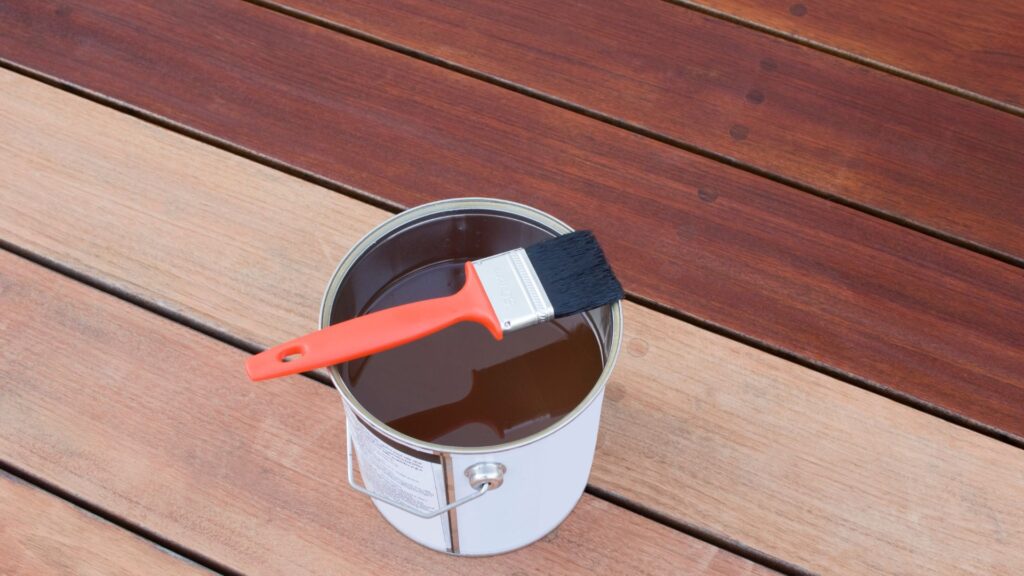
1. Paint: Selecting the right paint is crucial for a durable and long-lasting finish. For decking in New Zealand, opt for high-quality outdoor paint that’s specifically designed for wooden surfaces. Choose a product that offers UV protection, is weather-resistant, and can stand up to New Zealand’s varied climate. Whether you pick an oil-based or water-based paint, ensure it’s suitable for the deck’s material and your local conditions.
2. Primer: Depending on the current state of your deck, you may need a primer. Priming is essential if the wood is bare, old, or particularly porous. It helps the paint adhere better and provides a smooth, even surface for top coats. A primer also enhances the longevity of your paint job by creating a protective base layer.
3. Cleaner: Thoroughly cleaning the deck before you begin painting is non-negotiable. Use a deck cleaner or a mix of water and detergent to scrub away dirt, grime, mold, and mildew. This ensures that the paint bonds properly to the wood, preventing peeling or bubbling later on. Some cleaners also include mold inhibitors, which can be particularly useful in New Zealand’s damp regions.
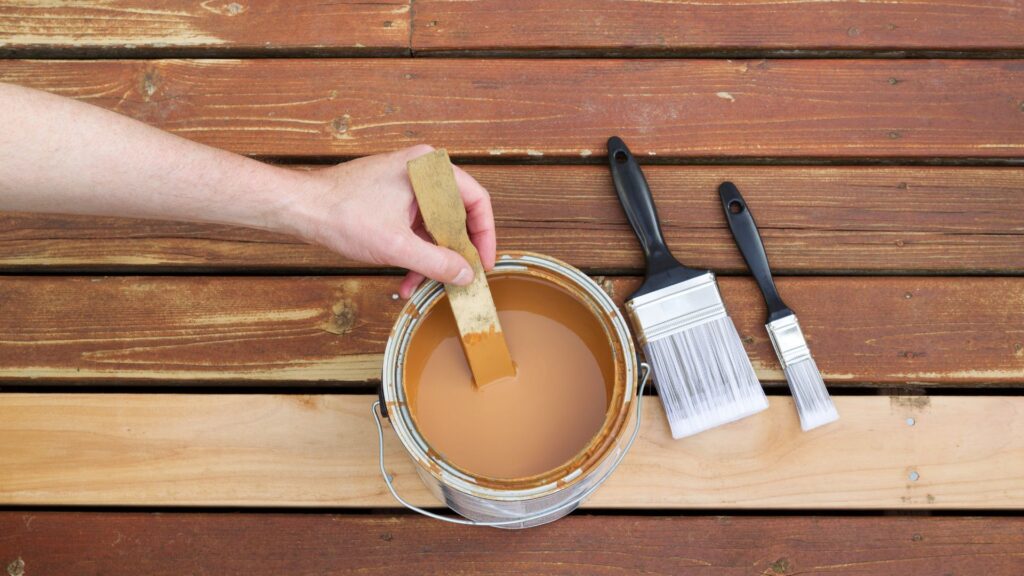
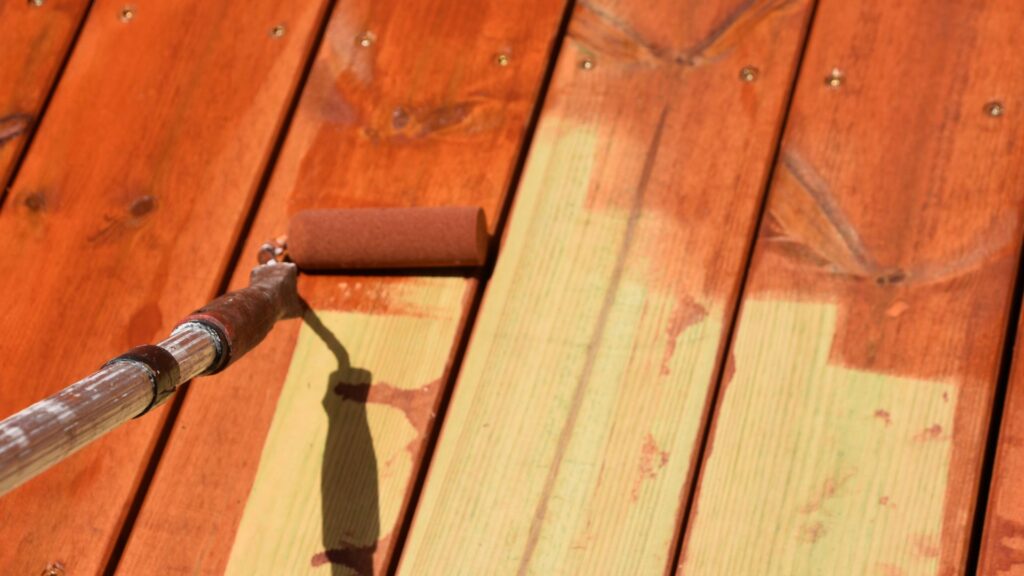
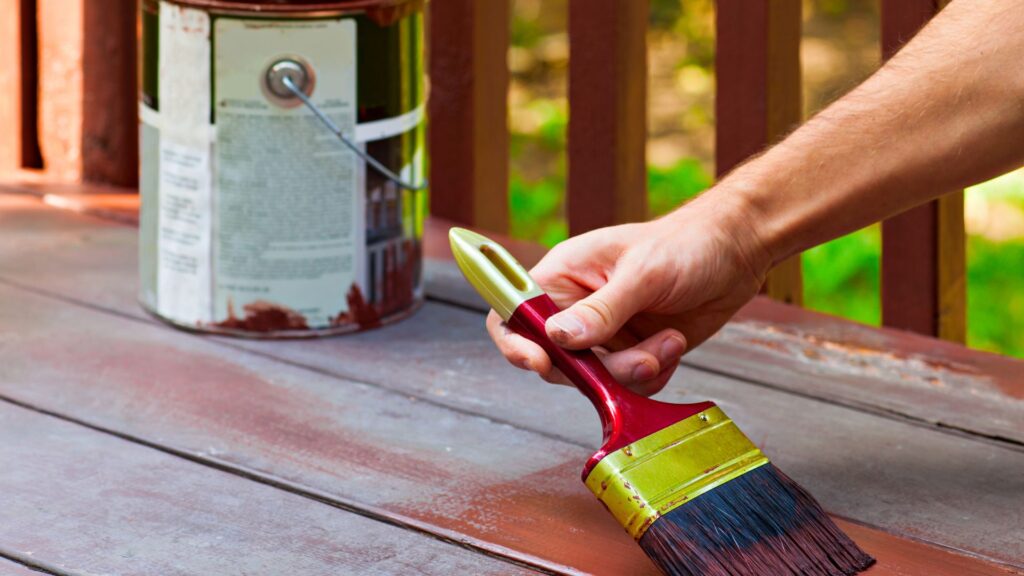
4. Paintbrushes and Rollers: You’ll need high-quality brushes and rollers designed for outdoor use. A combination of both is ideal—use brushes for detailed areas like edges, corners, and between deck boards, while rollers can cover large surfaces quickly. For an even finish, use a roller with a medium to thick nap that is suitable for rough or textured surfaces.
5. Drop Cloths: Drop cloths are essential for protecting nearby surfaces, such as patios, walls, or plants, from paint splatters. Whether you’re working with a roller, brush, or sprayer, accidents happen, and drop cloths will save you the hassle of cleaning up unwanted paint spots.
Why Having the Right Tools Matters
Using the right tools is crucial for achieving a professional-looking result. Low-quality or inappropriate tools can lead to an uneven finish, streaks, or missed spots, which will ultimately reduce the longevity of your paint job. For example, using the wrong type of roller can result in paint that doesn’t properly cover the wood grain, leaving your deck vulnerable to moisture damage. Similarly, not having a primer when needed can cause paint to peel or wear away quickly, especially in the face of New Zealand’s unpredictable weather.
Investing in good tools doesn’t just make the painting process easier; it also improves the overall quality and durability of your work. Well-made brushes and rollers will help distribute the paint more evenly, while a high-quality primer ensures that your paint stays intact for years to come. In short, the right tools set you up for success from the start.
Optional but Helpful Extras
1. Paint Sprayer: If you’re covering a large deck or looking to speed up the process, a paint sprayer can be a fantastic tool. It allows for quicker application and can reach tight spaces that a roller or brush might miss. Just be sure to practice first and mask off surrounding areas to avoid overspray.
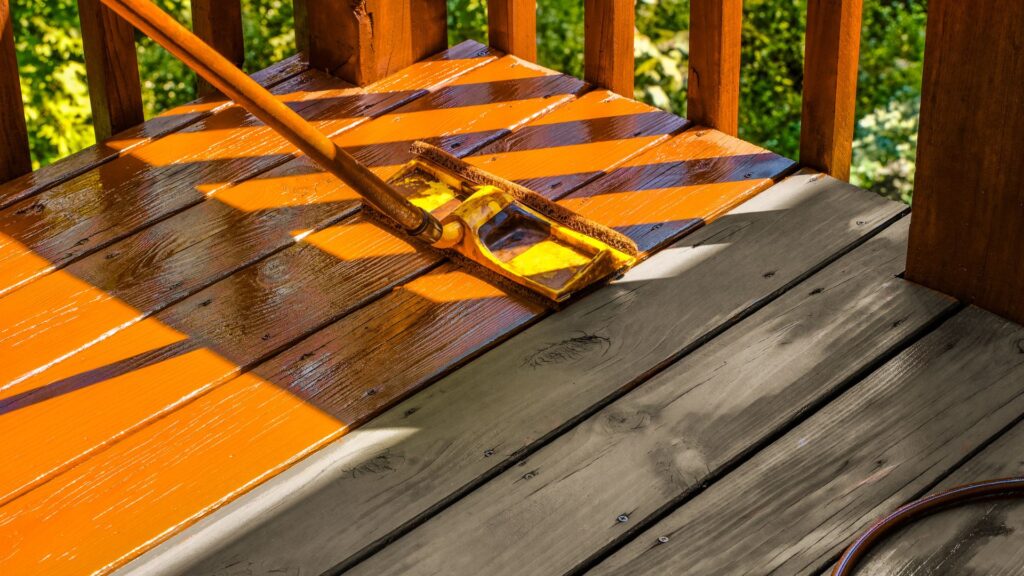
2. Extension Poles: Attaching a roller to an extension pole can save you from bending or crouching while painting large areas. This is especially useful for decks that are close to the ground or if you’re trying to cover a lot of space quickly. It also helps maintain even pressure across the entire surface.
3. Anti-Slip Additives: These can be mixed into your paint or applied as a top layer to improve safety, especially in areas prone to becoming slippery when wet. Anti-slip additives are particularly useful in rainy regions or if your deck is frequently exposed to water, making it safer for family and guests.
Having the right tools and materials not only ensures a smoother process but also guarantees that your deck will look great and stand the test of time. Proper preparation and the use of high-quality equipment make all the difference between a quick, short-lived paint job and a beautiful, durable deck you can enjoy for years. By starting with these essential items and considering the helpful extras, you’re setting yourself up for success on your deck painting project.
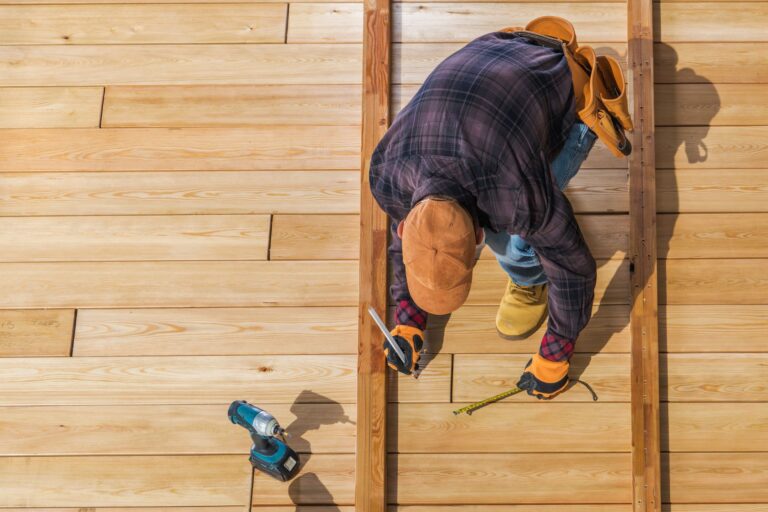
Preparing Your Deck For Painting: A Step-By-Step Guide
Before diving into painting your deck, the preparation process is critical. Proper preparation ensures that the paint adheres well, lasts longer, and looks great. This section will guide you through inspecting, cleaning, sanding, and priming your deck—essential steps to guarantee a professional and durable finish.
Inspect the Deck
The first step in preparing your deck for painting is a thorough inspection. Look for any signs of damage that might affect the quality of your paint job. This includes checking for.
- Rotting Wood: Decks are constantly exposed to moisture, and even the most well-maintained wood can begin to rot over time. Look closely at the boards, especially near the edges or in places where water tends to collect. If you find rot, you’ll need to replace those boards before moving forward.
- Loose or Warped Boards: Check for any loose nails or screws and secure them tightly. Warped boards should either be sanded down or replaced if they’re too damaged. Loose boards can affect how the paint adheres and can cause safety issues later on.
- Mold and Mildew: Due to New Zealand’s humid climate, mold and mildew can be common on decks. Any areas showing signs of this must be treated with a mildew remover before painting.
Addressing these issues early on prevents future problems and ensures a solid foundation for the paint.
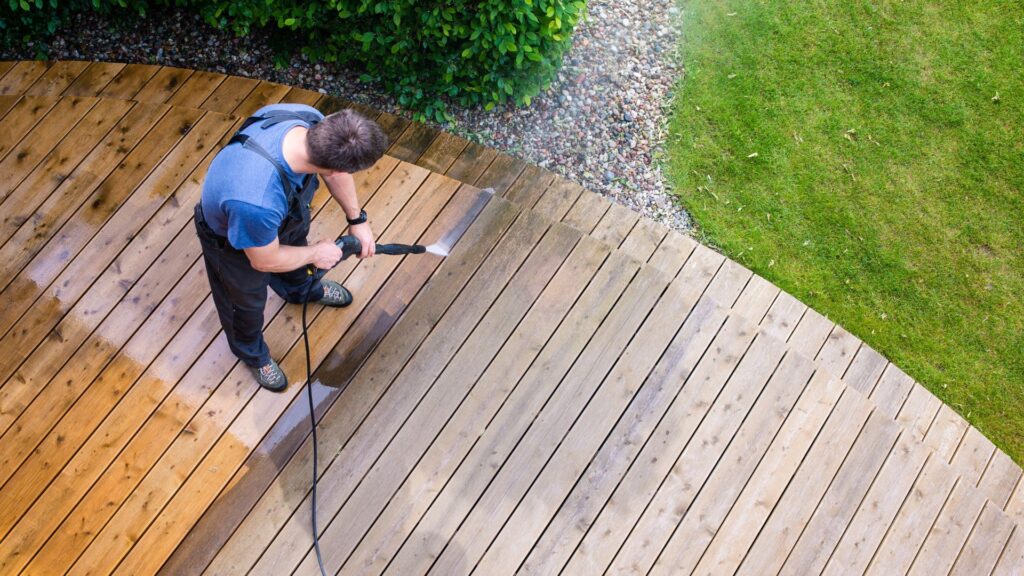
Cleaning the Deck
Once your deck is free from damage, the next step is cleaning it thoroughly. Dirt, grime, mildew, and any remnants of old finishes can prevent the paint from sticking properly. Follow these steps to clean your deck effectively.
1. Remove Debris: Use a broom to sweep away leaves, dirt, and other debris. Pay close attention to the spaces between the boards, as debris can get stuck there.
2. Use a Deck Cleaner: Apply a deck cleaning solution that’s suitable for removing dirt, mildew, and old stains. A mixture of warm water and mild detergent can also work if you prefer a more eco-friendly option. For tougher mildew or mold, consider using a solution of bleach and water.
3. Scrub the Surface: Using a stiff-bristle brush, scrub the deck thoroughly, paying extra attention to areas with mold or mildew. For large decks, you might find a pressure washer useful, but be cautious not to use too much pressure as it can damage the wood.
4. Rinse: After scrubbing, rinse the deck with clean water and allow it to dry completely. This drying process is crucial—painting on a wet surface will prevent the paint from adhering properly and can lead to peeling down the line.
Sanding the Deck
Sanding is a vital step to create a smooth surface for painting, and it also helps the paint adhere better by removing any rough spots or leftover finishes. Here’s how to sand your deck properly
1. Choose the Right Grit: For most decks, an 80-grit sandpaper works well to smooth the surface without over-sanding. If the wood is particularly rough, start with a coarser grit (60-grit) and finish with a finer one (100-grit).
2. Use a Power Sander: While you can sand by hand, a power sander (like a belt or orbital sander) will save you time and give more even results, especially on larger areas. Be sure to sand in the direction of the wood grain to avoid damaging the wood.
3. Focus on Edges and Details: Don’t forget to sand the edges and in between the deck boards where a power sander might not reach. Use a sanding block or sandpaper to smooth these areas by hand.
4. Clean Up Dust: After sanding, it’s essential to clean up all the dust, as it can interfere with the paint. Use a vacuum or a blower to remove dust from the surface, and wipe it down with a damp cloth if necessary.
Priming the Deck
Priming your deck is another step that can significantly enhance the durability of the paint, especially if you’re working with older or untreated wood. Primers act as a sealant and help the paint bond more effectively to the surface. Here’s when and how to apply primer.
1. When to Use a Primer: Priming is recommended if the wood is old, weathered, or porous. If your deck has never been painted before, priming will ensure the paint adheres evenly and lasts longer. If you are painting over a stained or previously treated surface, a primer can help to cover the old finish and prevent any stains from bleeding through the new paint.
2. Choosing the Right Primer: Use a high-quality exterior primer designed for wood. There are specific primers available for different types of wood and conditions, such as those that offer added mildew resistance, which is beneficial in New Zealand’s climate.
3. Applying the Primer: Using a paintbrush or roller, apply the primer in thin, even coats. Make sure to get into the gaps between the boards and cover any areas prone to wear or exposure. Allow the primer to dry fully, following the manufacturer’s recommendations—this could take anywhere from a few hours to a full day depending on the product and weather conditions.
By following these preparation steps carefully, you set a strong foundation for a successful paint job. Taking the time to inspect, clean, sand, and prime your deck properly will not only improve the quality of the finish but also ensure that it lasts longer, withstanding the elements and everyday wear and tear.
Step-By-Step Guide To Painting Your Deck
Weather Check
Before you begin painting your deck, it’s essential to check the weather forecast. In New Zealand, where the climate can change rapidly, choosing the right day to paint is critical. You want a day that’s dry, with mild temperatures. Avoid painting on extremely hot, sunny days as the paint can dry too quickly, leading to uneven patches, peeling, or cracking. Similarly, rainy or humid days should be avoided, as moisture can cause the paint to bubble or fail to adhere properly. Ideal conditions for painting are when the temperature is between 10°C and 30°C, with minimal wind. Checking the weather and planning ahead ensures you’ll get the best possible finish.
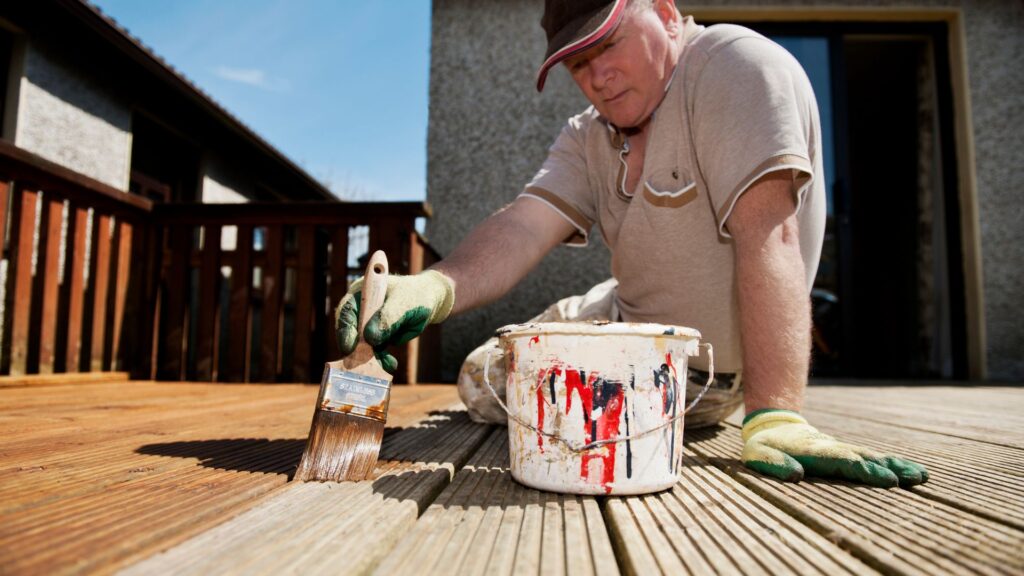
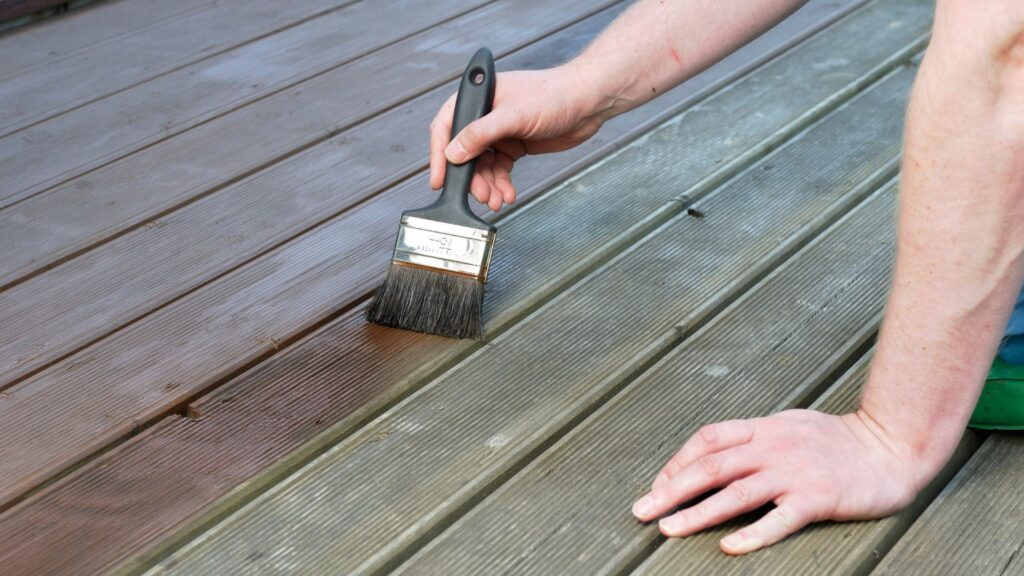
Applying the First Coat
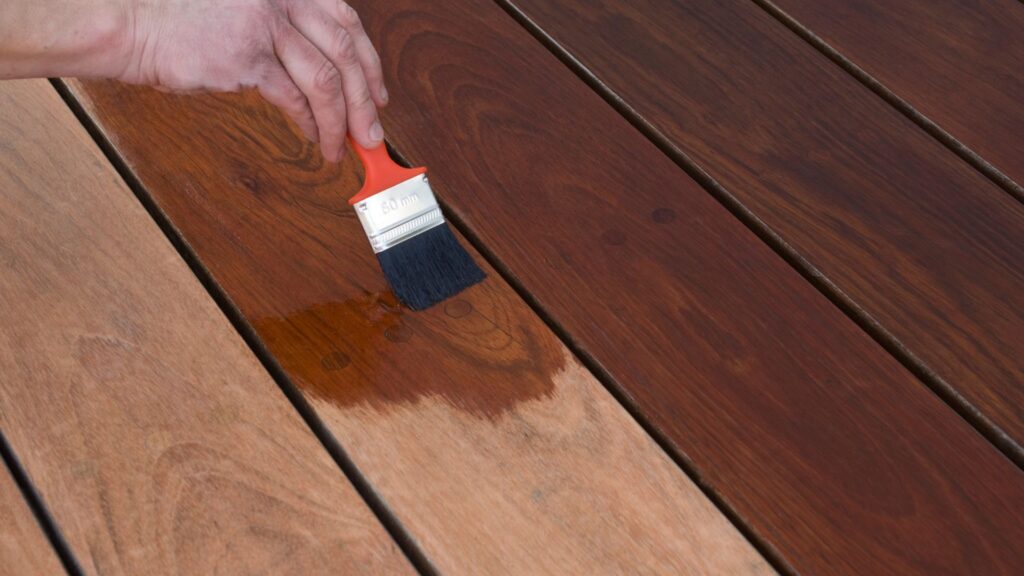
Once the weather is in your favor and your deck is prepped, it’s time to start painting. For the first coat, make sure to use a high-quality paintbrush or roller. For smaller or detailed areas, a brush works best, while a roller can help cover larger sections more quickly. When applying the first coat, it’s important to ensure even coverage. Start by painting along the grain of the wood to avoid streaks or patches. Don’t overload the brush or roller with paint, as this can lead to dripping and uneven application. Thin, even layers are key to ensuring a smooth and durable finish. Be patient and take your time to get into all the nooks and crannies, especially between the deck boards.
Drying Time
After applying the first coat, the next step is to let it dry completely before moving on to the second coat. In New Zealand’s climate, drying time can vary depending on the temperature and humidity levels. Generally, you should allow the paint to dry for 4 to 6 hours in warm, dry conditions. If the weather is cooler or more humid, it may take longer—up to 24 hours in some cases. Avoid rushing this step, as painting over a wet or tacky first coat can lead to peeling or uneven textures. Proper drying time ensures the paint bonds well to the wood and provides a smooth surface for the second coat.
Applying the Second Coat
Once the first coat is fully dry, it’s time to apply the second coat. This step is crucial for achieving a long-lasting, even finish. Start by lightly sanding the surface with fine-grit sandpaper to remove any rough spots or imperfections that may have appeared after the first coat. This helps the second coat adhere better and results in a smoother finish. When applying the second coat, use the same techniques as the first—painting along the grain and ensuring even coverage. If you notice any areas that seem too thin or patchy, you can add a little more paint, but be careful not to overdo it. A thin, even second coat is the best way to ensure durability and a professional-looking result.
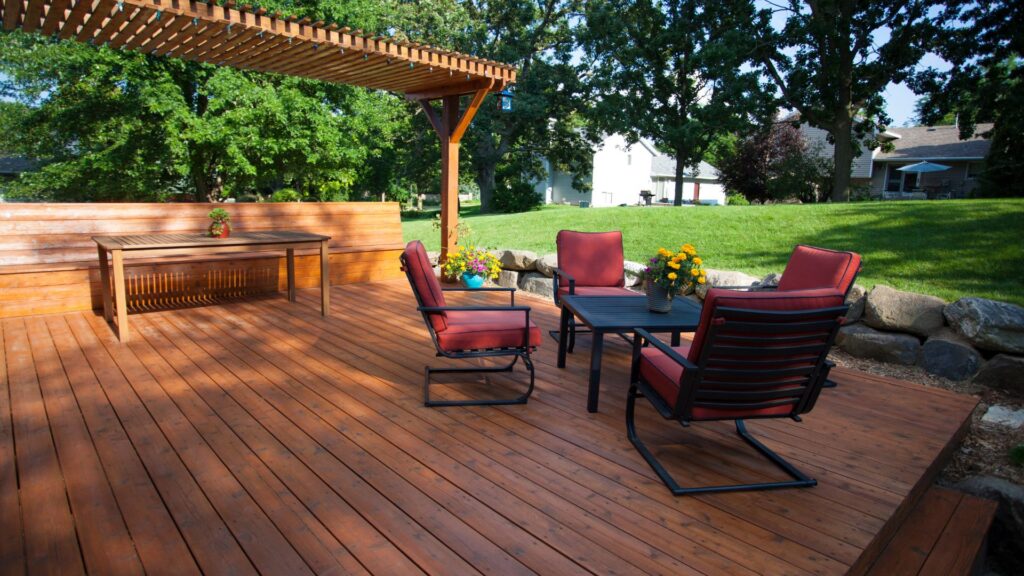
Finishing Touches
Once the second coat is dry, your deck is almost ready to enjoy, but there are a few finishing touches that can make a big difference. Consider adding an anti-slip paint or coating to high-traffic areas, especially if your deck is in a location that tends to get wet or is exposed to moisture. Anti-slip paint adds an extra layer of safety without compromising the look of your deck. You can also get creative by adding decorative features like stencils or contrasting colors to give your deck a unique, personal touch. Taking the time to apply these final touches will not only make your deck look great but also ensure that it remains safe and functional for years to come.
By following these steps carefully, you’ll have a beautifully painted deck that not only enhances the look of your outdoor space but also stands up to New Zealand’s unique climate. Proper preparation, the right tools, and attention to detail are all you need to achieve a professional-quality finish.
Common Mistakes To Avoid When Painting Decking
When it comes to painting your decking, a successful outcome depends not just on the effort you put into the process, but also on avoiding some common mistakes. These missteps can lead to an uneven, damaged, or short-lived finish, which might require you to redo the entire job much sooner than expected. Below, we’ll take a closer look at some of the most frequent mistakes people make when painting their decks and how to avoid them.
Using the Wrong Type of Paint or Skipping Primer
One of the biggest mistakes homeowners make is choosing the wrong type of paint for their deck. Not all paints are created equal, and using interior paint, or even the wrong kind of exterior paint, can lead to poor results. For decking, you need a paint specifically designed for outdoor wooden surfaces, one that can withstand weather changes, UV exposure, and heavy foot traffic. In New Zealand, where the weather can vary drastically, it’s crucial to pick a high-quality, durable paint.
Additionally, skipping the primer is a mistake many people make, especially when they’re in a rush to get the job done. Primer helps the paint adhere better to the wood, particularly if the deck is old or has never been painted before. It also seals the wood, providing a smoother and more even surface for the paint to bond to. Without a primer, your paint may peel or chip more easily, especially in high-moisture areas.
Painting Over Wet or Dirty Decking
Preparation is key when it comes to painting a deck. Painting over a wet or dirty surface is a recipe for disaster, yet this is a common error. If your deck is dirty, the paint won’t adhere properly to the wood, and you’ll be left with a patchy, unattractive finish. Dirt, mold, mildew, and even previous coatings need to be completely removed before you start painting.
Similarly, painting over a wet deck is problematic. Moisture trapped in the wood can cause bubbling, peeling, and cracking once the paint dries. To avoid this, ensure the deck is thoroughly cleaned and allowed to dry completely before you begin the painting process. In New Zealand’s sometimes unpredictable weather, it’s best to check the forecast and plan your painting during a few consecutive dry days.
Applying Too Thick of a Coat, Leading to Cracks or Peeling
While it may seem tempting to apply a thick coat of paint to finish the job faster, this is another mistake that can lead to unsatisfactory results. Thick coats of paint may not dry evenly, which can lead to cracks or peeling once it fully dries. Instead of a smooth, even finish, you may end up with a lumpy or uneven surface.
The best approach is to apply thin, even coats of paint. It may take more time and patience, but the final result will be well worth it. Thin coats are much more likely to dry properly and provide long-lasting protection for your deck. Additionally, multiple thin coats ensure that the wood absorbs the paint evenly, reducing the risk of cracking or peeling over time.
Neglecting to Account for Drying Time Between Coats
One of the most critical parts of painting your deck is ensuring that each coat of paint has sufficient drying time before applying the next one. Rushing through the process can lead to poor adhesion between layers, resulting in peeling or uneven coverage. Many people make the mistake of painting too soon after the first coat, which can trap moisture between the layers and ruin the finish.
The drying time between coats can vary depending on the type of paint, the weather, and the humidity levels. In New Zealand’s coastal regions, humidity can be high, so it’s essential to factor that in. Always follow the paint manufacturer’s guidelines on how long to wait between coats, and if the weather is cool or humid, give the paint extra time to dry to ensure a smooth, durable finish.
By taking the time to avoid these common mistakes, you can ensure that your deck will not only look great but will also stand the test of time against New Zealand’s varied climate. Proper preparation, the right materials, and a little patience go a long way in achieving a professional-looking deck that enhances your outdoor living space for years to come.
Maintenance Tips After Painting Your Deck
After you’ve put in the time and effort to paint your decking, it’s important to maintain it properly so that it continues to look fresh and vibrant for years to come. Regular maintenance will not only preserve the appearance of your deck but also extend its lifespan by protecting it from the elements. Below are some practical tips on how to care for your newly painted deck.
Keeping Your Deck Looking Fresh
To keep your painted deck in top condition, regular cleaning is essential. Dirt, dust, and debris can accumulate over time and dull the paint’s appearance. A simple cleaning routine, using a soft broom or leaf blower, can prevent this buildup. For a more thorough clean, especially after storms or heavy usage, use a gentle cleaner mixed with water. Opt for a product designed for outdoor wood surfaces or a mild dish soap solution to avoid damaging the paint. Scrub lightly with a soft-bristle brush to lift grime and rinse with a hose. Avoid using high-pressure washers as they can strip the paint and damage the wood.
Cleaning and Resealing Recommendations
In addition to regular cleaning, resealing your deck can add an extra layer of protection and help maintain the paint’s finish. While the frequency of resealing depends on the climate and level of foot traffic, a good rule of thumb is to reseal the deck every 1 to 2 years. Resealing is especially important in New Zealand’s diverse climate, where UV rays, rain, and humidity can wear down the paint more quickly.
When selecting a sealant, choose a clear, weather-resistant sealer that is compatible with your deck’s paint. The best products for this purpose are those specifically designed to protect against UV rays, water, and mildew. After cleaning the deck thoroughly and ensuring it is dry, apply the sealer evenly across the surface. This will help lock in the paint’s color, prevent cracking and peeling, and repel moisture, which is a common cause of paint degradation.
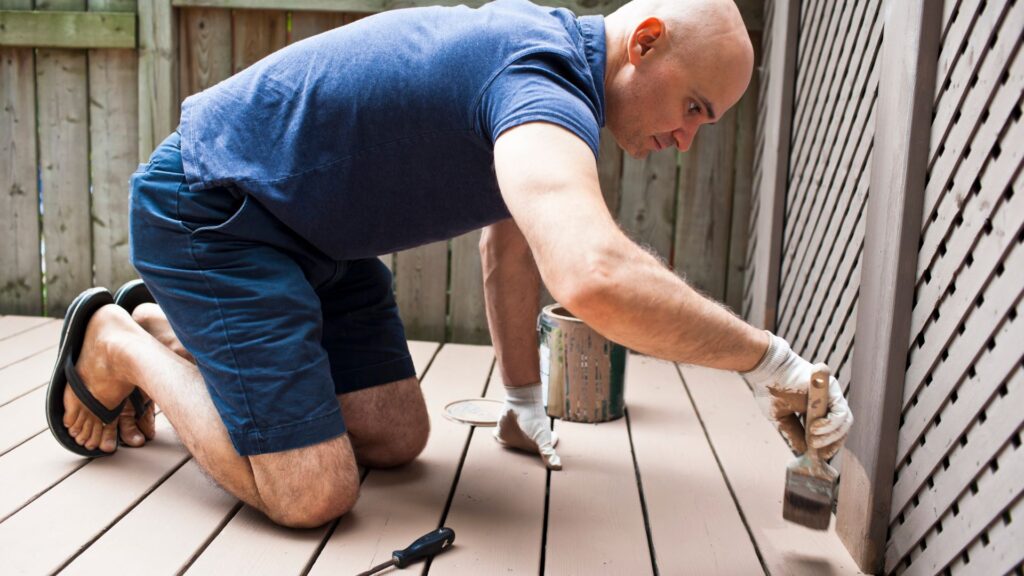
Touching Up High-Wear Areas
Even with the best care, certain areas of your deck are bound to show signs of wear over time, particularly in places with heavy foot traffic or those exposed to harsh weather conditions. To keep your deck looking its best, it’s important to inspect it regularly and touch up any spots where the paint may be fading, chipping, or peeling. High-wear areas such as stair treads, corners, and entryways often need more attention.
For touch-ups, use the same paint that was originally applied to maintain consistency. Before repainting, lightly sand the affected area to smooth out any rough edges and ensure the new paint adheres properly. Clean the area thoroughly, let it dry, and apply a fresh coat of paint using a small brush or roller. For areas prone to repeated wear, consider applying an extra layer of sealant to offer additional protection.
By following these simple maintenance steps—regular cleaning, resealing as needed, and touching up worn areas—you can preserve your deck’s appearance and durability, ensuring it stays a stunning feature of your outdoor space for years to come. With the proper care, your painted deck will continue to resist New Zealand’s unpredictable weather, keeping its fresh, attractive finish intact.
Sustainable Painting Practices
When it comes to painting decking in New Zealand, adopting sustainable practices not only helps the environment but can also contribute to a healthier, safer outdoor space for you and your family. Let’s explore some key sustainable painting practices that can make a real difference, from choosing eco-friendly products to reducing waste effectively.
Eco-friendly Paint Options Available in NZ
In recent years, the availability of eco-friendly paints in New Zealand has grown significantly, as more consumers become conscious of the environmental impacts of their choices. Eco-friendly paints are typically low in volatile organic compounds (VOCs), which can be harmful to both the environment and human health. These low-VOC or VOC-free paints emit fewer toxins into the air, improving air quality during and after the painting process.
Several New Zealand-based brands, such as Resene, offer eco-friendly paint ranges specifically designed for outdoor use, including decking. These paints provide excellent durability and weather resistance while being kinder to the environment. Dulux also provides environmentally responsible paints that meet strict eco-label standards, ensuring your deck looks great without compromising on sustainability. By opting for these products, you can significantly reduce your environmental footprint and contribute to cleaner, safer air.
Proper Disposal of Paint Cans and Other Materials
Once the painting is done, it’s essential to dispose of your leftover materials responsibly. Improper disposal of paint cans and cleaning solvents can have harmful effects on soil, waterways, and wildlife. In New Zealand, many local councils offer paint recycling programs, making it easier for homeowners to dispose of used paint in an eco-friendly manner.
Here’s how to dispose of painting materials sustainably.
- Leftover Paint: If you have leftover paint, consider storing it properly for future touch-ups, or donating it to community projects or friends who might need it. Alternatively, look for recycling centers that accept old paint.
- Empty Cans: Once completely empty, paint cans can often be recycled as scrap metal. Check with your local recycling facility to ensure proper disposal.
- Brushes and Rollers: Clean your brushes and rollers using water-based cleaning methods if you’ve used water-based paints. Avoid rinsing them directly into drains, as this can contaminate water supplies. Instead, use a bucket to clean tools, then let the water evaporate before disposing of the solid residue.
By being mindful of how you dispose of these materials, you’re not only keeping harmful chemicals out of the environment but also contributing to waste reduction efforts in New Zealand.
How to Reduce Waste by Calculating the Right Amount of Paint and Materials
One of the best ways to practice sustainability during your decking project is to minimize waste from the outset. This can be achieved by accurately calculating the amount of paint and materials you’ll need, which prevents overbuying and reduces leftover waste.
To calculate the right amount of paint.
1. Measure Your Deck: Start by measuring the total surface area of your deck, including any steps or railings. Multiply the length by the width to get the total square meters.
2. Check the Paint Coverage: Most paint cans will list the expected coverage area (usually in square meters per liter). Divide your deck’s total square meters by the coverage to estimate how many liters of paint you’ll need. Keep in mind that porous or older decks may require more paint for proper coverage.
3. Factor in Two Coats: For a long-lasting finish, you’ll likely need two coats of paint. Double the amount of paint needed for the first coat to ensure you have enough for the second.
4. Avoid Overbuying: While it’s smart to buy a little extra paint in case of touch-ups, avoid purchasing excessive amounts. This reduces the chance of waste and keeps your project cost-efficient.
Beyond paint, make sure to purchase only the necessary tools and materials, such as brushes, rollers, and cleaning supplies, in the correct quantities. By accurately planning your purchases, you’ll avoid unnecessary waste and reduce your overall environmental impact.
Incorporating sustainable painting practices into your decking project is a great way to contribute to environmental conservation efforts while still achieving a beautiful, long-lasting result. By choosing eco-friendly paints, responsibly disposing of materials, and minimizing waste through careful planning, you can enjoy a freshly painted deck knowing you’ve made choices that benefit both your home and the planet.
FAQs: About How To Paint Decking NZ
Conclusion
In conclusion, painting your decking in New Zealand is a rewarding project that can significantly enhance both the appearance and durability of your outdoor space. By following key steps like cleaning, sanding, priming (if needed), and applying the right type of paint, you’ll ensure a professional and long-lasting finish that can withstand the country’s varied climate. Taking your time to carefully plan, choose high-quality materials, and avoid common mistakes will result in a deck that not only looks great but also holds up to wear and tear. Don’t hesitate to take on this project—it’s a fantastic way to revitalize your decking and enjoy your outdoor area even more. If you have any questions or want to share your own tips and experiences, feel free to leave a comment below—we’d love to hear from you!
Find A Professional Decking Company Near You!
- Balcony Construction Christchurch
- Deck Builders Alexandra
- Deck Builders Alexandra, Clyde & Cromwell
- Deck Builders Auckland
- Deck Builders Central Otago
- Deck Builders Christchurch
- Deck Builders Clyde
- Deck Builders Cromwell
- Deck Builders Hamilton
- Deck Builders Hawkes Bay
- Deck Builders Invercargill
- Deck Builders Kapiti Coast
- Deck Builders Kerikeri
- Deck Builders Lower Hutt
- Deck Builders Nelson
- Deck Builders New Plymouth
- Deck Builders Paihia
- Deck Builders Palmerston North
- Deck Builders Porirua
- Deck Builders Queenstown
- Deck Builders Taupo
- Deck Builders Tauranga
- Deck Builders Upper Hutt
- Deck Builders Wanaka
- Deck Builders Warkworth
- Deck Builders Wellington
- Deck Builders West Auckland
- Deck Staining Palmerston North
About the Author:
Mike Veail is a recognized digital marketing expert with over 6 years of experience in helping tradespeople and small businesses thrive online. A former quantity surveyor, Mike combines deep industry knowledge with hands-on expertise in SEO and Google Ads. His marketing strategies are tailored to the specific needs of the trades sector, helping businesses increase visibility and generate more leads through proven, ethical methods.
Mike has successfully partnered with numerous companies, establishing a track record of delivering measurable results. His work has been featured across various platforms that showcase his expertise in lead generation and online marketing for the trades sector.
Learn more about Mike's experience and services at https://theleadguy.online or follow him on social media: